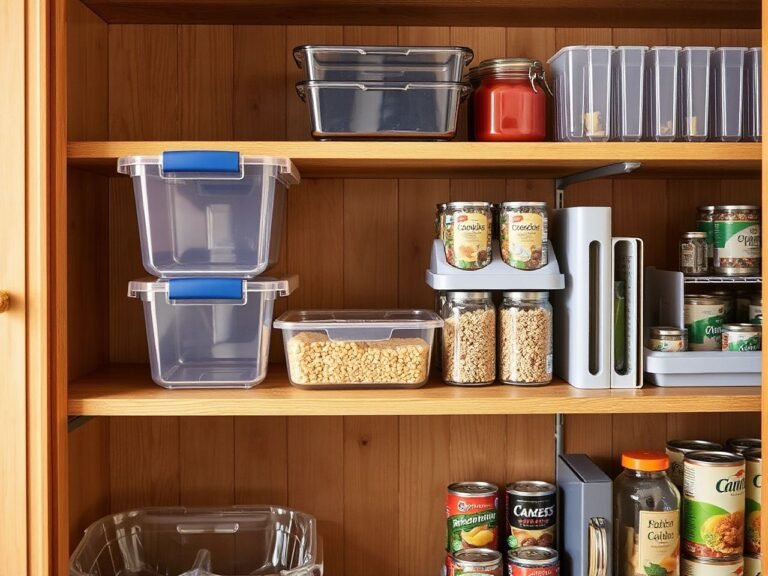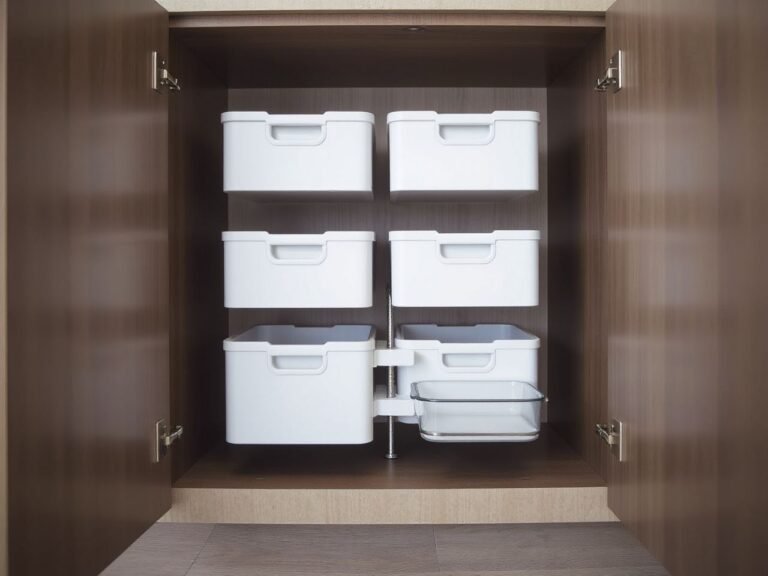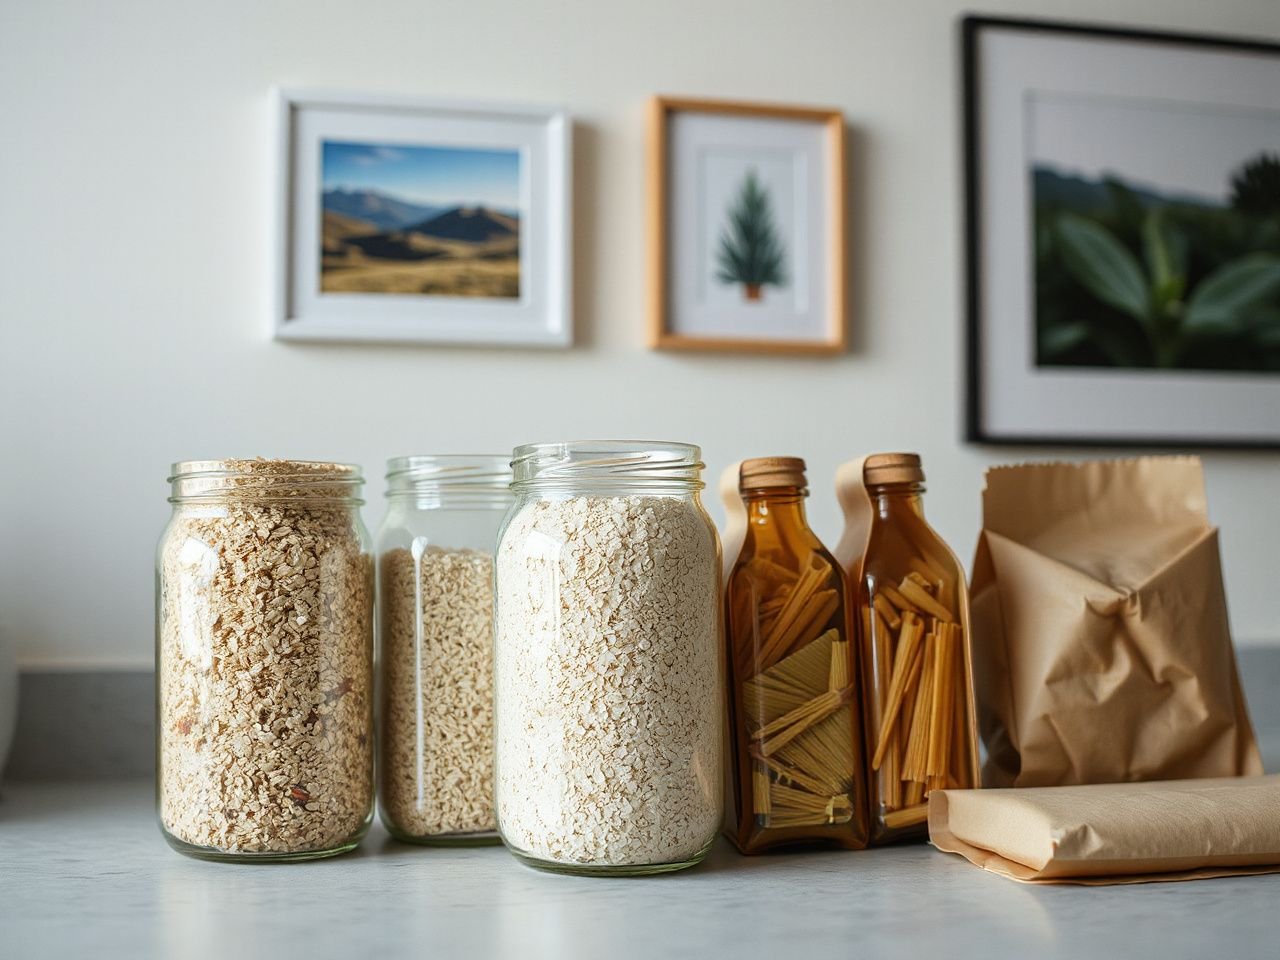
Clear containers and matching labels with organized shelves are common pantry trends. Decanting is often done for visibility, easy access, and consistent storage. It’s important to know that decanting isn’t a freshness treatment; an airtight container reduces moisture and pests but doesn’t reset shelf life. If you ask should you decant pantry staples, consider how each food reacts to moisture, odors, pests, and handling. Keep the original package info for safe use.
Key Takeaways
- Decant dry staples for clearer storage and easier access, not to extend their original shelf life.
- Clean, completely dry containers and a proper lid seal matter more than a uniform appearance.
- Keep original labels or transfer essential ingredient, allergen, date, and preparation information.
Should You Decant Pantry Staples? Start With the Reason
Decanting means moving food from its original package into another container. This change can make shelves look tidier and help with measuring. It also creates extra work since each container needs checking, washing, drying, labeling, and refilling over time.
Airtight containers can limit contact with moisture and pantry pests. But they can’t fix food that was already stale, damp, or contaminated before decanting. A sealed lid can’t fix a hot, damp, or poorly maintained storage area either. The condition of the pantry and the original packaging info still matter for the food’s safety.
Visibility and freshness are different goals
Decanting can make contents easier to see at a glance. Labels help identify food names and note when you opened or transferred them. This makes pantry management and food rotation simpler and can reduce waste.
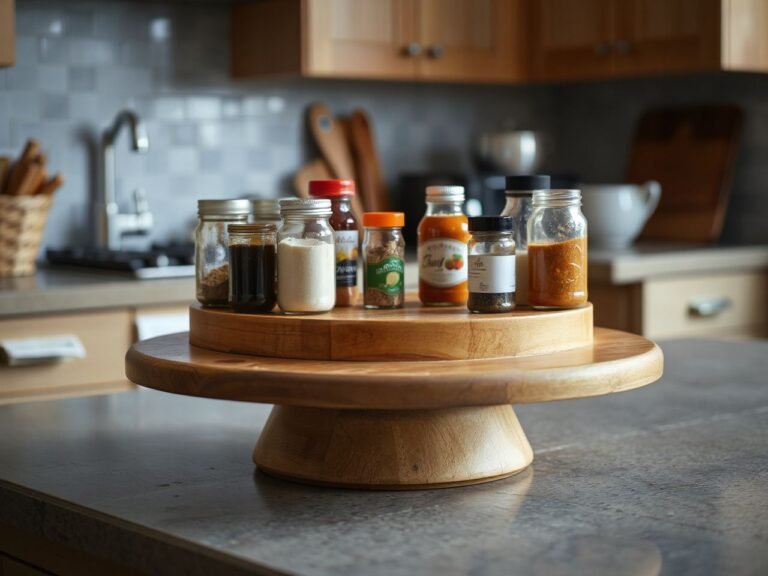
Freshness is a different concern. Herbs and spices lose flavor over time because their oils evaporate, usually after 6 months to a year. Moving spices into a neat jar won’t reverse that. While a container can slow exposure to air, light, moisture, or odors, it can’t bring back lost flavor.
Decanting does not extend a pantry staple beyond its original shelf life. Always treat the date and storage instructions as part of the food, not just the packaging.
Ask what problem the container solves
Start with the shelf rather than the container when deciding whether to decant. A torn bag that spills might benefit from a clear jar or food-grade plastic container. But if the original packet closes securely, stands neatly, and has useful instructions, transferring may just add effort without fixing a real issue.
- Choose decanting for access when a stable container makes a measuring scoop easier to use.
- Choose decanting for visibility when the original package is hard to identify or difficult to stack.
- Choose decanting for consistent storage when loose bags create spills or leave gaps on a shelf.
- Skip decanting when the transfer would remove information you cannot reliably copy.
Your storage choices should match your routine. A pantry full of containers that need washing and labeling can create more work than they save. Make sure the organizational benefits outweigh that maintenance.
Which Pantry Staples Are Worth Decanting?
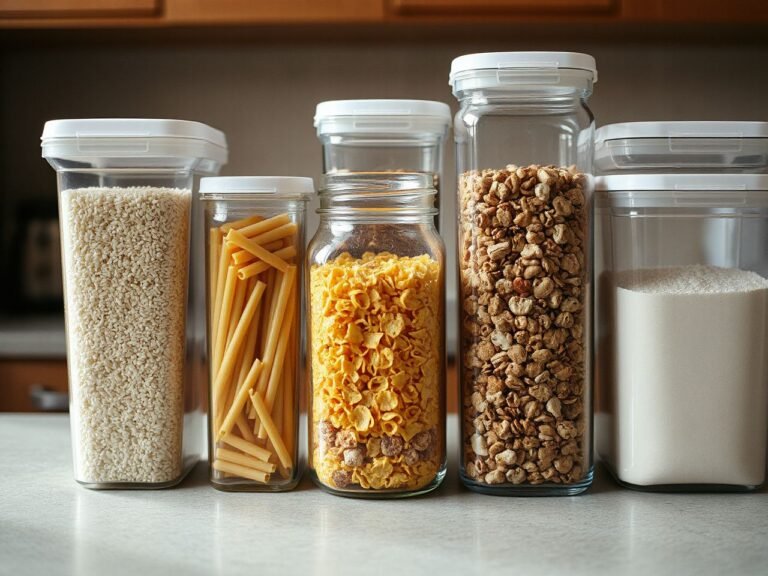
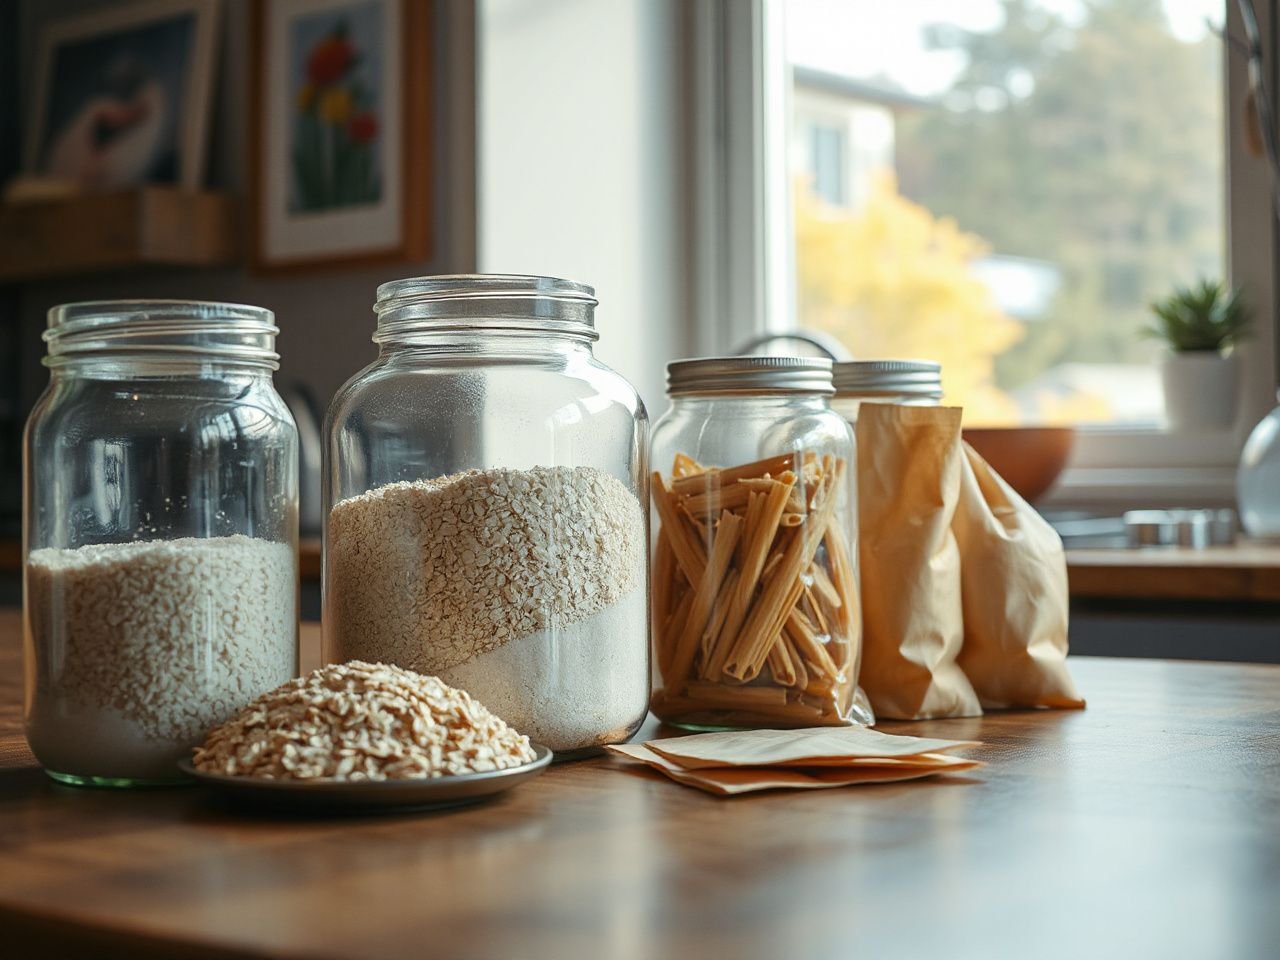
Dry staples respond differently to storage changes. Flour can form hard lumps if moisture gets in. Rice and dried beans are usually easier to portion from a firm container than from a soft bag. Pasta may be simple to identify in its package, but a container can prevent broken packaging from shedding pieces across a shelf.
Flour
Flour is a good candidate for a sealed container if it’s completely dry before filling. Residual moisture can cause clumping, spoilage, or mold. A wide opening matters because flour needs to be poured without dusting the shelf and should be reachable by the measuring scoop.
Keep the flour type and original package info available. A label that says only “flour” may not be enough if different varieties are used for various recipes. Record the date info somewhere that stays with the container or keep the original package nearby.
Flour should enter a container only after the container is clean, dry, and clearly labeled. That rule protects both the food and the information needed to use it correctly.
Sugar
Sugar can be decanted for easier scooping and a cleaner shelf. The main concern is moisture because a damp container or humid storage area can change the texture and make contents hard to handle. A silicone gasket lid can help create a tight seal, but the gasket itself must stay clean and dry.
Don’t assume a container is dry just because no droplets are visible. Check the inside corners, lid groove, and gasket area after washing. A faint damp film can be enough to affect a dry ingredient.
Rice and dried beans
Rice and dried beans often benefit from containers that make stock levels visible. Seeing the contents helps with rotation and noticing a package that’s been sitting unused. The transfer is worthwhile only if the new label keeps the food’s identity and date info.
Airtight storage limits moisture and pests, but it doesn’t protect every staple equally. Food that already has an odor, shows signs of dampness, or has been stored poorly shouldn’t be considered improved just because it’s in a sealed container.
Pasta
Pasta is easy to decant when the container opening matches the shape and the quantity can be removed without forcing pieces through a narrow neck. Long pasta needs a container that can hold it without bending or breaking. Short pasta may be easier to scoop from a broad opening.
Keep the cooking instructions available, especially if several pasta shapes or varieties are stored together. A label with the food name helps, but it might not replace the original preparation guidance.
Staples that need special handling
Strongly scented, oily, or moisture-sensitive foods need a more cautious approach. Their odors can transfer to a container or linger after cleaning. Oils can make a lid and gasket harder to clean thoroughly. A food that is tough to scoop, clumps repeatedly, or absorbs odors might be better left in its original package inside a clean outer bin.
- Decant cautiously: flour, sugar, rice, dried beans, and pasta when the container suits the food.
- Keep original packaging close: foods with detailed preparation, ingredient, allergen, or date information.
- Pause before transferring: oily foods, strongly scented foods, and foods that repeatedly become damp or clumped.
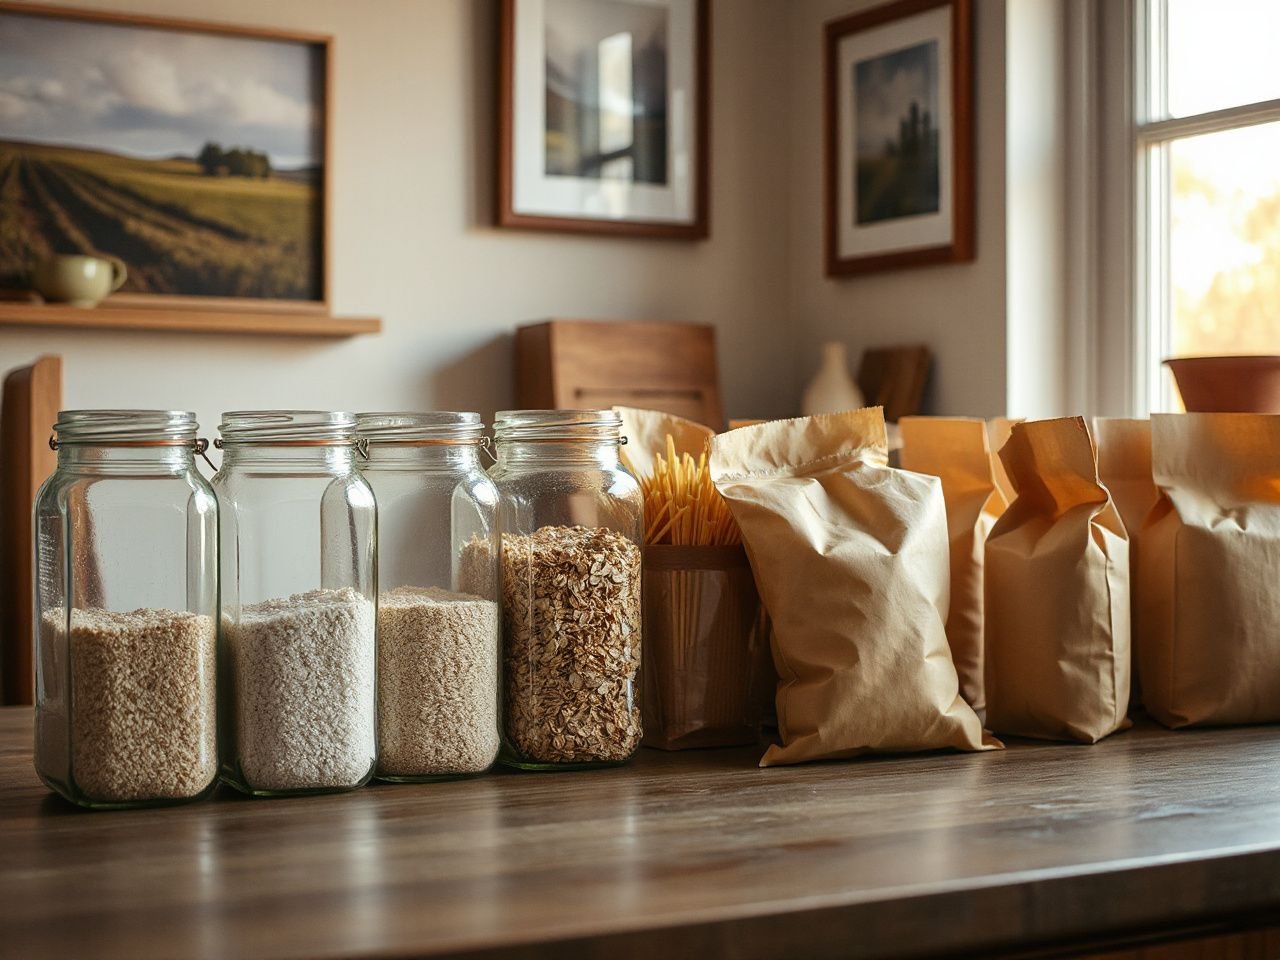
How to Choose a Container That Fits the Food and Pantry
Container choice should start with the food and where it sits on the shelf. A tall jar can use vertical space well but may be awkward under a low shelf. A wide container might be easier to scoop from but takes up more front-to-back space. The best container is the one that allows you to identify, reach, measure, and refill the food easily, with minimal handling.
Check the lid before the shape
Start by inspecting the lid. A container can look neat and still be unsuitable if the closure isn’t even or the gasket is out of place. Place the lid on the container without any food inside and check if it closes fully around the rim.
Silicone gasket lids need special attention because the gasket sits in a groove that can collect flour, sugar, or wash water. The seal should be clean and fit consistently. If the lid rocks, leaves a gap, or opens when handled gently, store that container upright and avoid relying on it for moisture-sensitive foods.
A lid seal should be judged at the rim, not by the container’s appearance. A clear body shows the contents, but only a properly seated, clean closure can prevent unwanted exposure.
Glass jars and food-grade plastic containers
Glass jars let you see what’s inside and can feel stable on a shelf, but their weight and breakability matter. Food-grade plastic containers are often easier to handle, though the label, closure, and cleaning condition are usually more important than how they look.
Glass isn’t always better for every pantry staple, and plastic isn’t always worse. Pick the material that fits the location, the food, the people using the pantry, and the cleaning routine. Avoid placing a heavy container where lifting could be awkward or where a fall might cause a hazard.
Match the opening to the measuring method
A measuring scoop needs enough space to enter and leave without scraping the sides. A narrow opening can cause flour to spill or leave material behind. A wider opening makes access easier but may expose more contents if the lid stays open for a long time.
Use one clean measuring scoop per food when practical. Or, wash and dry the scoop before moving it to another food. Scoops shouldn’t be stored inside the food if they’re damp, oily, or hard to clean.
Fit containers to the pantry shelf
Don’t fill a container just because it fits the food. Check if the filled container can be lifted, turned, labeled, and put back without knocking nearby items over. Leave enough label space for the food name and date.
- Place frequently used staples where the opening is easy to reach.
- Keep heavier glass jars on a stable, accessible shelf.
- Use a label that remains readable after handling and cleaning.
- Group similar ingredients without making their labels difficult to distinguish.
- Keep the original package until its relevant information has been transferred safely.
If you’re organizing storage around a bigger kitchen routine, cleaning tools need the same care for seals and residue. The step-by-step guide in How Often Should You Descale a Coffee Maker: Step-By-Step reminds you that hidden buildup can matter more than how tidy the outside looks.
How to Decant Pantry Staples Safely and Maintain Them
Transferring food carefully is quick, but skipping steps can ruin the whole system. The order is important: check the food, prepare the container, record details, transfer the contents, and develop a rotation habit.
Step 1: Inspect the food and the package
Check the original package before opening it. Note the food name, ingredients, allergens, date, and any prep instructions that might be useful later. Look for dampness, unusual clumping, insects, or any odors that don’t belong.
Don’t transfer questionable food just to make the shelf look uniform. A new container hides the original packaging, so any concerns should be addressed first.
Step 2: Clean and completely dry the container
Wash the container, lid, and removable silicone gasket as instructed with that container. Rinse away any cleaning residue. Let every part dry completely before filling, including the inside of the lid groove and beneath the gasket.
Residual moisture can lead to clumping, spoilage, or mold. A container that feels cool or damp inside isn’t ready for flour, sugar, rice, beans, or pasta.
Containers must be completely dry before pantry staples are added. Drying is a food-storage step, not a cosmetic finishing step.
Step 3: Transfer information before transferring food
Write the food name on the label before pouring. Add the relevant date information and retain ingredient, allergen, and preparation details in a way that stays connected to the container. If the original package contains information that cannot fit on the label, keep the package in a designated place or store a clear record with the food.
Labels should be readable from the shelf. A beautiful label that cannot be distinguished from the next container does not improve pantry control.
Step 4: Empty the old container before refilling
Never pour new food over existing stock. Empty the container, inspect the bottom and corners, clean it thoroughly, dry it completely, and ensure the lid still seals tight before adding new food.
Adding fresh food on top can hide older items underneath. It might also conceal pests, stale material, damp patches, or residues that would be visible if the container were empty. Use food rotation by moving older stock forward and checking the container before refilling.
Step 5: Check the seal and position the container
Close the lid and check the rim. The gasket should sit evenly, the closure should click fully, and the lid shouldn’t shift during normal handling. If you’re unsure whether it’s sealed, treat it as an upright container and keep it away from foods needing extra moisture or odor protection.
Place the container where the label is visible and you can reach the contents without tipping it repeatedly. A side position works only if the closure stays secure and the food doesn’t press against the lid, which could break the seal.
Step 6: Maintain the system
Maintenance should be straightforward enough to keep up with. Check labels during pantry checks, wipe spills quickly, and wash a container before refilling. Replace damaged or poorly sealing lids instead of taping, overfilling, or placing it in an awkward spot on the shelf.
Use a rotation routine that matches how quickly your household consumes the food. The goal isn’t to create a display; it’s to know what’s available, what needs using, and which information belongs with each staple.
Decanting can become costly in time and materials if every food needs a separate container, label, scoop, and lid. It’s cheaper in the long run only when this setup reduces waste and stays easy to maintain. The cost isn’t just about how it looks.
Prevent moisture, odors, and pests
Keep the pantry dry and clean, and close containers right after using them. Wipe spills from the outside and shelves promptly. Relying on an airtight lid to fix damp storage or make questionable food safe isn’t a good idea.
Strong odors can linger on storage parts. Wash the container and lid thoroughly before using for a different food, and consider keeping strongly scented foods in their original packaging if odor transfer happens often.
For food-safety info and guidance, check out the U.S. Food and Drug Administration. They offer public info about food handling and storage. The NSF also develops standards and certifications for food equipment and materials; a mark on a container should be checked against their info, not just appearance.
A simple rule for pantry organization is to decant foods that are easier to identify, reach, and rotate. Leave foods in their original packaging if that packaging provides info or protection a new container can’t replace.
Common Decanting Questions and Practical Answers
Should flour, sugar, rice, and pasta be decanted?
Containers can be, provided they are clean, fully dry, correctly labeled, and suitable for the food. Flour and sugar need special attention to moisture and scooping. Rice and pasta benefit from visible stock levels and stable storage. Keep original packaging info accessible, especially for cooking instructions, allergens, or ingredients.
Are glass containers better than food-grade plastic?
Neither material is automatically better. Glass jars show contents clearly but may be heavier and less suited for high or awkward shelves. Food-grade plastic containers might be easier to handle, but their lids and surfaces still need proper cleaning. Pick the material that fits the food, pantry position, handling needs, and maintenance routine.
Does decanting keep food fresher?
Decanting mainly improves organization, access, and visibility. An airtight container can help reduce exposure to moisture and pests. But it does not reset shelf life or restore flavor. Herbs and spices can lose taste as their oils evaporate. Flavor usually declines after 6 months to a year. Storage cannot reverse that change.
What should happen to the original package?
Keep it until all relevant information has been transferred accurately. You also need a dependable place for that information. Date details, ingredients, allergens, and instructions may be needed after the package is gone. A label with only a short food name might not provide enough info for safe or accurate use.
If you organize a kitchen around measuring and prep habits, the discussion in How Long Should You Blend A Smoothie shows why clear instructions are helpful at the point of use. Pantry labels serve a similar purpose: they keep necessary info close to the ingredient.
How should containers be cleaned before refilling?
Empty the container fully, then wash it and the lid following its care instructions. Rinse away any residue and dry all surfaces completely. Check corners, threads, closure points, and silicone gasket grooves. Don’t add dry food if any area feels damp. Inspect the container for cracks, residue, odor, or a lid that no longer closes evenly.
What if food clumps, absorbs odors, or becomes hard to scoop?
First, inspect the container, lid, gasket, scoop, and pantry conditions for moisture or residue. If the food has an unusual odor or visible spoilage, don’t hide the problem with a new container. If the issue keeps happening, the original package might be a better storage choice. Or the food may need a container with a more suitable opening and seal.
Is a decanted pantry cheaper in the long run?
There’s no universal way to save. Containers, labels, scoops, washing, refilling, and replacement lids all add work or cost. Decanting can reduce spills and food waste if it genuinely improves rotation. But a decorative system that’s hard to clean or maintain can cost more than it saves.
Frequently Asked Questions
Should you decant pantry staples if the original bag already closes securely?
Not necessarily. If the original package protects the food, is easy to identify, and has useful date, ingredient, allergen, and prep info, transferring might not add much value. Decanting makes more sense when the new container improves access, visibility, spill control, or rotation. The choice should be based on a practical storage problem, not just matching containers.
Can an airtight container make flour or rice last longer?
An airtight container can help reduce exposure to moisture and pests. But it can’t extend the food beyond its original shelf life. It also can’t repair food that was already stale or damp. Flour and rice should only be transferred into clean, completely dry containers. Keep the original date and food info available, and check the container before each refill.
How can you tell whether a pantry container lid seals properly?
Inspect the rim, closure points, and silicone gasket. The gasket should sit evenly in its groove. The lid should close without visible gaps or unusual movement. Handle the empty container gently before trusting it on its side. If the seal feels uncertain, keep the container upright and use it for a food that does not depend on strong moisture protection.
Why should new food not be poured over an older batch?
Fresh food can hide older food underneath, which may be stale, damp, or attract pantry pests. Empty the container before refilling it. Inspect the bottom and corners carefully. Wash the container, dry it completely, and check the lid. Rotate usable older food so it gets used first. This routine helps with food labeling, pantry inventory, and reducing waste.
Should glass jars or food-grade plastic containers be used for pantry staples?
Both options can work depending on the food and where the pantry is. Glass jars make contents visible but can be heavy or awkward on a high shelf. Food-grade plastic containers may be easier to handle, but they still need clean surfaces and a reliable lid. Choose based on access, handling, cleaning, odor concerns, and the label system quality, not just appearance.