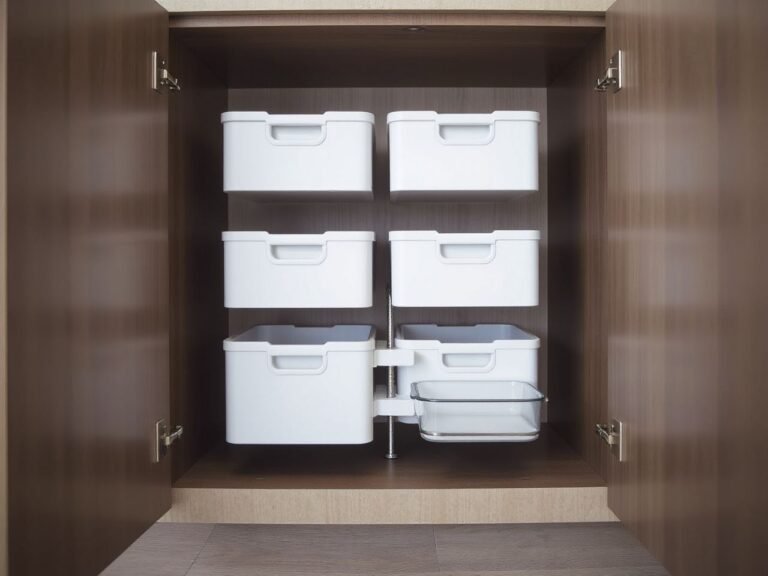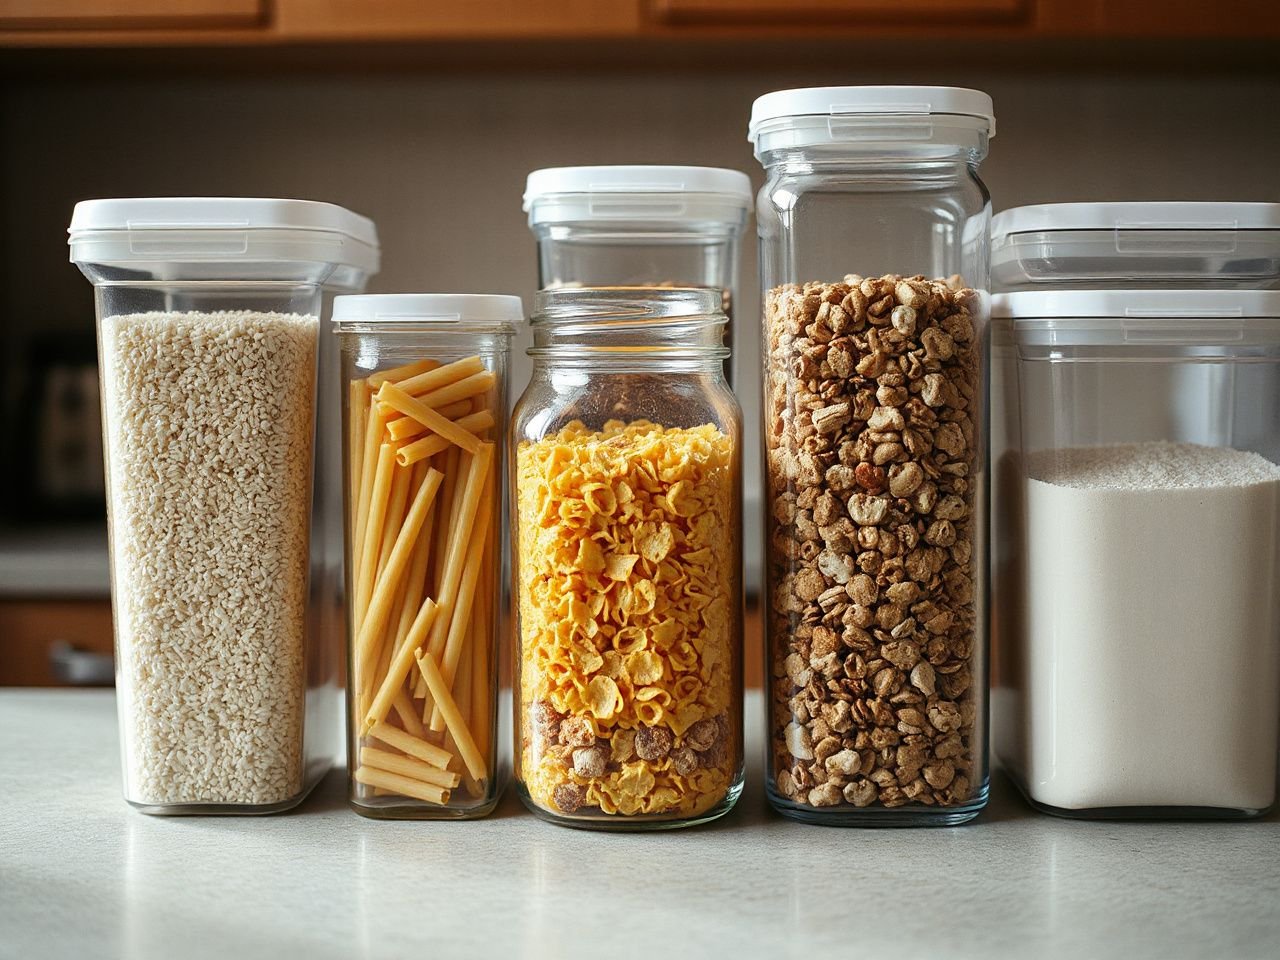
Food-contact materials in the United States are restricted to a maximum of 1% residual styrene monomers by weight, a detail that shows why material markings deserve more attention than attractive shapes. The useful distinction is between a container that technically holds a food and one that supports the entire storage task: filling, scooping, cleaning, identifying, rotating, and removing it from the shelf. Seal design, opening shape, and usable capacity matter as much as the material, while decanting is not automatically better than keeping food in its original packaging.
This pantry containers buying guide focuses on that complete task. I distrust any system that demands constant decanting, so the advice starts with a simpler question: will the container reduce work after the first fill, or merely move the work from a cupboard to a countertop?
Key Takeaways
- Choose a container around the food, shelf, opening, seal, and scoop—not appearance alone.
- Airtight storage depends on clean sealing surfaces, the lid, the gasket, and the closure working together.
- Original packaging is often the sensible choice when transferring food would add cleaning, labeling, or rotation work.
Beginner: Start with the complete storage task
Why decanting is not automatically an improvement
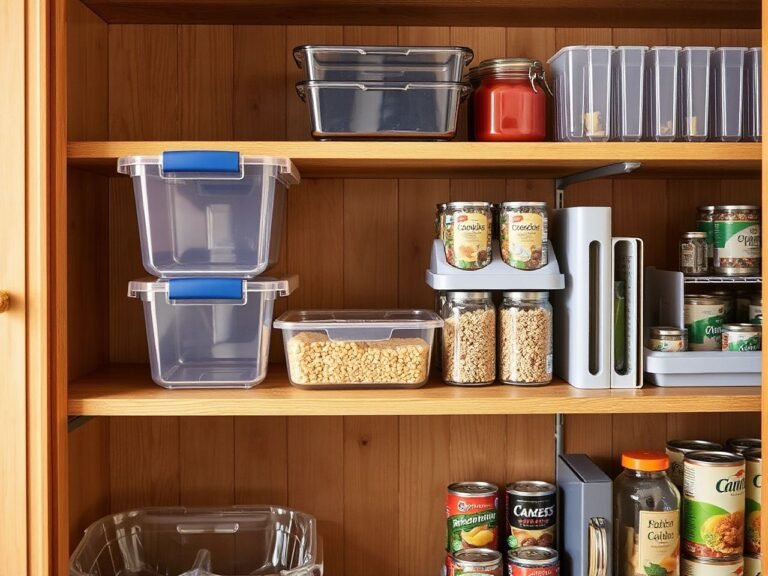
Moving flour, pasta, grains, spices, or snacks into matching containers can make a shelf look orderly. That visual result is useful only if the new system also makes filling, serving, cleaning, identifying, and rotating food easier. A row of containers that must be emptied, washed, dried, labeled, and refilled after every purchase can create more work than the original packets.
Original packaging can be better when it already identifies the food clearly, includes preparation or allergen information, and can be closed adequately for the way the food is used. Keeping a package in its original form also makes it easier to distinguish an older batch from a newly opened one. The container should serve the routine, not replace a workable routine for the sake of uniformity.
Decanting adds value only when the new container makes an everyday action easier. A wide opening may improve scooping, a transparent body may make contents easy to identify, and a secure closure may help limit exposure to humidity or pantry pests. If none of those changes solves a real problem, the transfer is decoration rather than organization.
Match the container to the food
Different dry foods create different handling demands. Flour needs an opening that allows a measuring scoop to enter without brushing against the sides. Pasta needs enough width for pieces to come out without shaking the container over a work surface. Grains and other pourable foods need a stable body and an opening that supports controlled filling and serving.
- Flour: Favor a broad opening, smooth interior, and lid that can be removed without disturbing the container on the shelf. A narrow mouth turns scooping into scraping.
- Pasta: Choose an opening that accepts the shape of the pasta and lets the package be emptied without repeated tapping. The container must also fit the shelf with its lid attached.
- Grains: Look for a stable base, a closure that keeps the sealing surface clean, and enough room for a scoop or controlled pour.
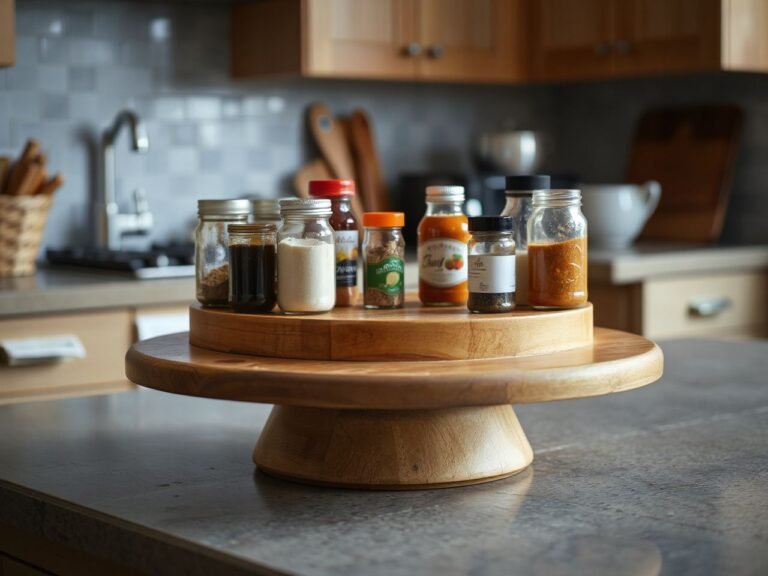
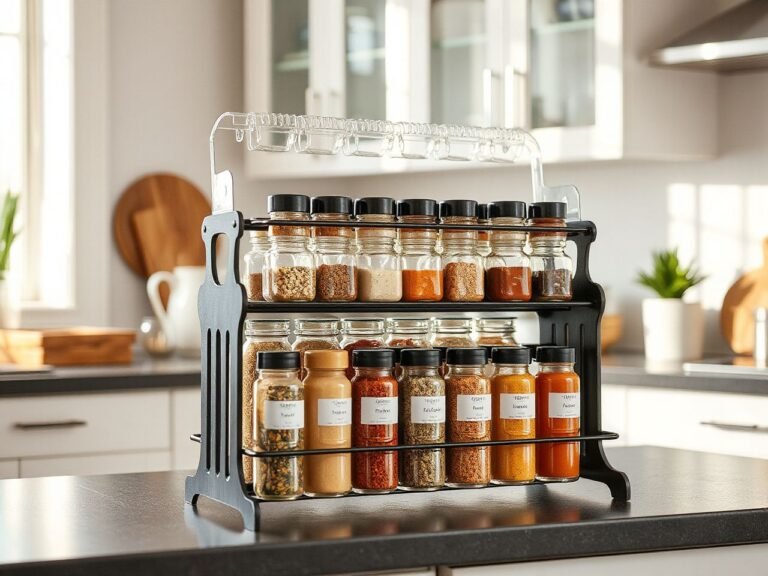
- Spices: Small containers are useful only when the labels remain readable and the lids can be opened without confusion. Original spice packaging may be preferable if it carries information the new jar would lose.
- Snacks: A wide opening helps hand access, while a closure that can be operated repeatedly matters more than a decorative shape.
Usable capacity is different from the outer size printed or implied by a container. A thick lid, sloping shoulder, narrow neck, or internal ledge can leave less practical room than the body suggests. The manufacturer does not always list a useful capacity in the form that matters to a particular food, so judge the opening and internal shape as carefully as the stated capacity.
Use a shelf-first check
Measure the storage space before choosing a container, but do not stop at height, width, and depth. Shelf fit includes the opening, lid clearance, hand access, and the space needed to remove the container safely without striking a shelf above or tipping neighboring food.
A pantry container fits properly only when a person can remove, open, fill, and replace it without unsafe twisting or collisions. A tall container may fit while standing still and fail when its lid needs to be lifted. A deep container may use the available space yet force the hand behind other items. A narrow container may leave gaps that collect stray packets and make rotation harder.
- Check the height with the lid in place.
- Check the opening against the shelf above, not just the body.
- Leave room for fingers around the sides or a stable grip on the body.
- Confirm that the base can be set down without catching on a shelf edge.
- Place foods used together near one another without blocking the front of less-used items.
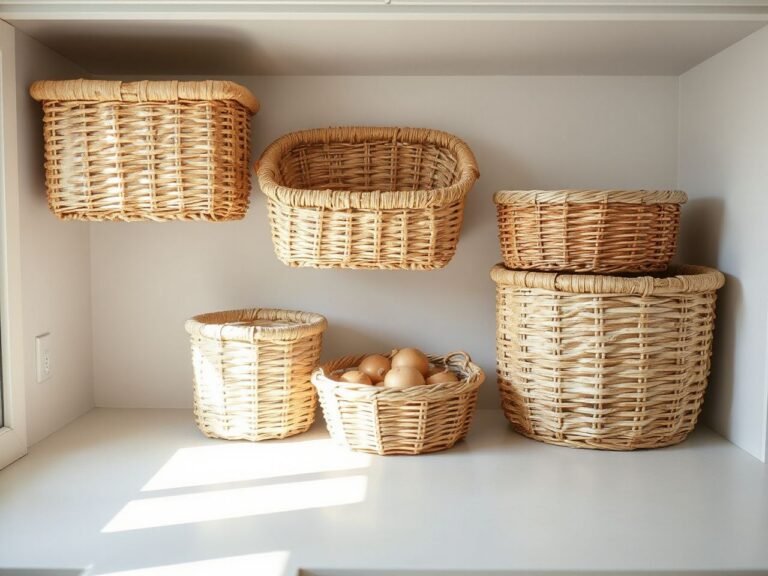
Pantry shelf layout should support the way food leaves the shelf. If a container must be moved every time another container is needed, the layout is working against the storage system. Pantry baskets can help group loose packets, but they should not become a second layer that hides food labels or makes heavier containers difficult to reach. For a broader look at grouping, see how pantry baskets can organize loose foods by shelf role.
Intermediate: Compare materials, openings, and seals
Glass, plastic, and stainless steel in daily use
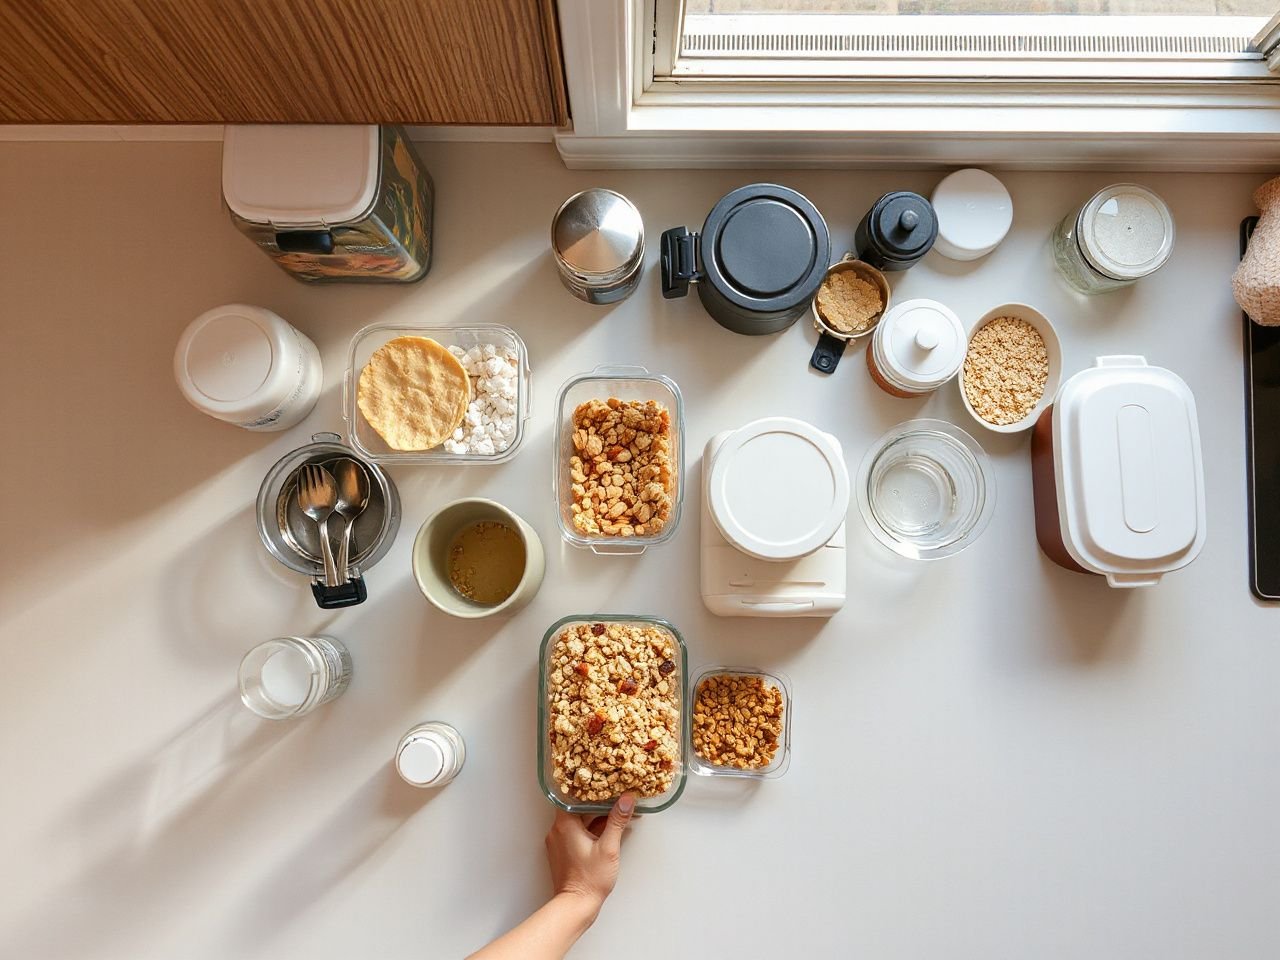
Glass jars, polypropylene containers, polyethylene containers, and stainless steel canisters each change the handling experience. The important question is not which material wins in every pantry. It is which material suits the food, the shelf, the cleaning routine, and the consequences of breakage or replacement.
Glass makes the contents easy to see and does not easily hold onto the visual identity of strongly colored foods, but a glass jar adds breakage concerns and may be tiring to move when full. Stainless steel blocks visual checking, so labels become essential. The body may feel substantial, but a sturdy body cannot compensate for an awkward lid or an opening that does not accept the intended scoop.
Plastic can be light and convenient for frequent handling. Food-contact suitability still matters, especially for oily, acidic, strongly colored, or strongly scented foods. A food-contact mark, such as the wine glass and fork symbol, identifies material intended for that use; for regulatory information about substances that contact food, consult the U.S. Food and Drug Administration.
Do not treat every plastic container as interchangeable. Polypropylene and polyethylene are names of materials, not proof that a particular container suits every food or cleaning method. Read the container markings and manufacturer instructions, then consider whether the lid, gasket, and label will remain practical after repeated use.
What makes a container airtight or moisture resistant
A container body alone does not create an airtight storage space. Airtight performance depends on the lid, gasket, closure, and clean sealing surfaces working together. Snap-lock lids can provide a clear closing action, while screw-top lids depend on even engagement and a clean rim; the design must suit the way the container will be opened and closed.
Silicone gaskets deserve separate attention because they sit at the boundary between the food and the outside air. A gasket with food residue, trapped powder, or an odor from a previous food cannot seal cleanly. The lid may appear closed while the sealing surface is obstructed.
A clean gasket and an unobstructed rim are essential parts of a moisture-resistant pantry seal. Inspect the contact area in good light. Look for crumbs, oily film, dried paste, cracks, distortion, or a gasket that has moved out of its channel. The lid should close according to its design rather than being forced into position.
Airtight storage is not a reason to transfer every food. If the original package already works for the food’s expected use, adding a second container can create a false sense of security while introducing a dirty scoop, a damp countertop, or an unlabeled batch. Pantry pest prevention also depends on closing the actual food package or container correctly, not on the appearance of a matching set.
Choose openings around tools, not trends
Measuring scoops need room to enter and leave without striking the lid or dragging along a dusty shoulder. A small opening may preserve a neat silhouette but make flour difficult to level. A very broad opening may improve access yet expose more food during every opening, especially if the container is left open while cooking.
Pour spouts can help with grains, but they do not replace a proper lid seal. A wide mouth can suit snacks and pasta, although it may encourage hands to enter the food. The right form depends on whether the food is scooped, poured, pinched, or taken by hand.
Cleaning follows the same logic. Smooth walls and removable seals are easier to inspect than hidden channels. A lid with many recesses can retain powder or scent even if the main body looks clean. Choose a closure that can be taken apart only if the parts can also be reassembled correctly and dried completely.
Advanced: Build a system that does not create constant work
Transfer food without mixing batches
Clean, completely dry equipment comes first. Trapped moisture can cause clumping, spoilage, or mold in dry foods, so a container should not receive food merely because it looks dry from the outside. The lid, gasket, rim, scoop, and interior all need the same attention.
Dry food should never be transferred into a container that contains hidden moisture. Let the container and lid dry fully according to the care instructions, then inspect the sealing surfaces before filling. A damp scoop can introduce the same problem even when the container began clean.
Do not pour a newly opened bag into a container that still holds the previous batch. This is one of the easiest ways to lose track of age, texture, and possible contamination from an older portion. Empty the container, clean it, dry it, and refill it only when the older contents have been used or moved into a clearly identified temporary arrangement.
Food labels should identify the food and help distinguish older contents from newly opened or transferred batches. Write the food name in plain language. Add a date mark that follows the household’s chosen system, and preserve useful information from the original package when the transfer would otherwise remove it.
- Label the container before or immediately after transfer.
- Keep the original package until important information has been copied or the food is used.
- Place older contents where they will be used first.
- Do not combine batches simply because they look alike.
- Replace a label when it becomes hard to read or detached from the container.
Clean containers, lids, and gaskets as separate parts
Cleaning the body while ignoring the lid can leave the most important sealing area dirty. Remove a silicone gasket only when the design allows it and the care instructions support removal. Wash away food residue, inspect the channel, and return the gasket only after each part is fully dry.
Strongly scented foods can leave an odor in a lid or gasket. Strongly colored foods may leave visible staining on some plastics. Those observations do not automatically mean the container is unsafe, but they do show that the material or closure may not suit the next food in the storage plan.
Follow the manufacturer’s cleaning instructions instead of assuming that every container, lid, and gasket tolerates the same method. The NSF provides information about food equipment and public-health standards, but a general standards body does not replace the care instructions supplied for a specific container.
Know when a lid, seal, label, or body has reached its limit
Replacement should follow an observable problem, not a calendar. A gasket needs attention when it is cracked, permanently distorted, difficult to seat, or unable to keep the closure aligned. A lid should be replaced when it no longer closes as designed, has damage around the locking points, or leaves the sealing surface exposed to food residue that cannot be removed.
A container body needs replacement when it is cracked, chipped, warped, or difficult to clean. A glass jar with a chip at the rim can no longer provide a smooth sealing surface. A stainless steel canister with a missing or damaged label may still hold food, but it has become harder to identify safely and rotate accurately.
Labels are storage equipment too. Replace one that has faded, peeled, smeared, or lost the distinction between an older batch and a newer one. If a replacement lid, gasket, or label is difficult to source, that ongoing dependency counts against the system. A container that requires frequent parts hunting can be less practical than original packaging.
Account for breakage, waste, and replacement work
Container cost is not limited to the initial purchase. Breakage, replacement lids, replacement gaskets, wasted food from forgotten batches, and repeated decanting all consume resources. A container that is awkward to open may encourage the food to remain untouched until it loses quality, while a container that hides its contents may cause duplicate purchases.
For a broader comparison of storage decisions beyond the pantry, the food storage containers guide can help separate pantry needs from general refrigerator or leftover storage. Pantry containers should earn their space by reducing friction in the specific routine they support.
A storage system wastes food when its labels, visibility, or access prevent timely rotation. First-in, first-out pantry rotation does not require every item to be decanted. It requires older food to remain identifiable and reachable before newer food is placed in front of it.
Preventive measures: Keep the pantry useful over time
Use a small set of rules for every container
A reliable pantry system can be simple. Store foods in clean, dry vessels; preserve identifying information; keep older batches visible; and place the container where its opening and lid can be used without rearranging the shelf. The system should remain workable after the novelty of matching containers disappears.
- Before transfer: Check the food, container, lid, gasket, scoop, and label.
- During transfer: Keep the original package nearby and prevent old and new batches from mixing.
- After transfer: Apply a readable label, return the container to a reachable position, and keep the older batch ahead.
- During cleaning: Inspect hidden lid channels and sealing surfaces, not only the visible body.
- During review: Replace damaged closures, unclear labels, and containers that repeatedly create work.
Know when the original package is the better container
Keep original packaging when it is already easy to close, easy to identify, and compatible with the shelf. This choice is particularly sensible for foods used infrequently, foods with important package information, and foods that would occupy an awkwardly shaped container after transfer.
Bulk food decanting can still make sense when the package is difficult to store, the food is used often, or the new container improves access and rotation. The transfer should be deliberate. Do not decant simply because a set of identical containers looks tidy in a photograph.
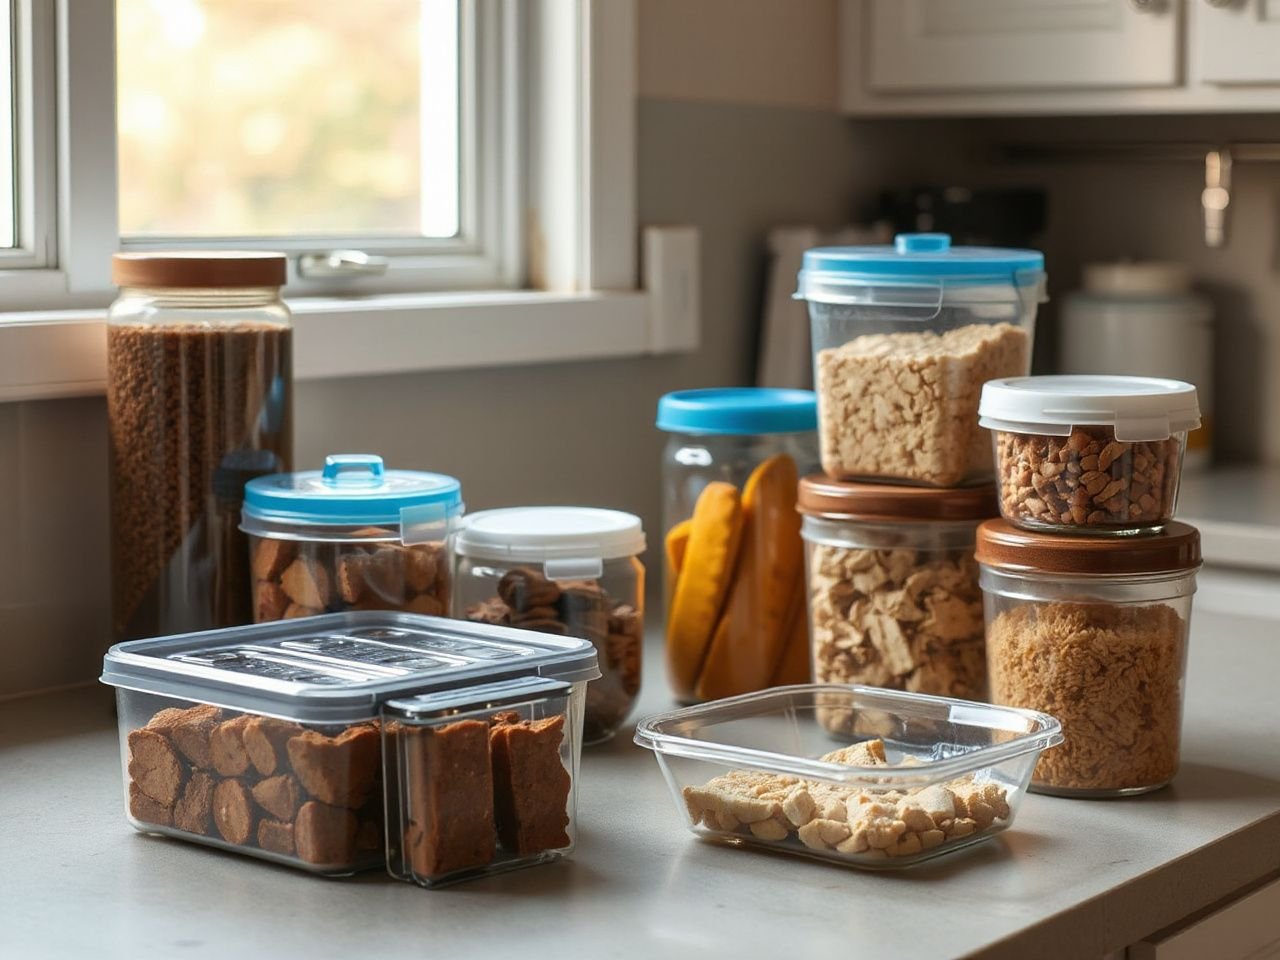
The best pantry storage plan may combine methods. Use glass jars for foods where visibility and a stable, washable body matter. Use polypropylene or polyethylene containers where light handling and a suitable food-contact marking fit the task. Use stainless steel canisters when opaque storage is acceptable and the labeling system is strong. Keep original packaging for foods that gain little from transfer.
Review the shelf by actions, not by appearance
Open the cupboard and consider what the hand does first. Can the food be identified without moving three other items? Can the lid be removed without hitting the shelf above? Can the measuring scoop reach the bottom? Can the full container be lifted securely? Can an older batch be distinguished from a new one?
A well-organized pantry makes food identification and removal straightforward without requiring a second storage layer. If baskets, bins, or containers hide the original label and make the food harder to reach, the arrangement needs editing. Remove the feature that adds work.
For readers comparing pantry storage with meal preparation storage, the meal prep containers buying guide addresses a different set of handling demands. Pantry containers remain on the shelf longer, so opening access, dry-food protection, and batch identification deserve priority.
Frequently Asked Questions: pantry containers buying guide
Which container shape suits flour, pasta, grains, spices, and snacks?
Flour benefits from a broad opening that accepts a measuring scoop without scraping the sides. Pasta needs an opening suited to its shape, while grains need a stable body and controlled pour or scoop access. Spices need readable labels and easy lid handling. Snacks usually benefit from hand access. Choose the shape around the action, not around a matching appearance.
How can I tell if a pantry container will keep humidity and pests out?
Inspect the lid, gasket, closure, and sealing surfaces as a single system. Look for a gasket that sits evenly, a rim free of crumbs and residue, and a lid that closes according to its design. No container should be trusted from appearance alone. If the closure is damaged, the gasket is distorted, or powder blocks the seal, clean or replace the affected part.
Should I mix a new batch with food already in the container?
No. Mixing batches removes the clear distinction needed for food labeling and first-in, first-out pantry rotation. Use the older contents first, then clean and dry the container before transferring the new batch. Keep the original package until important information has been copied. A readable label should identify the food and distinguish the newer transfer from the older one.
When is original packaging better than a pantry container?
Original packaging is often better when it already closes adequately, remains easy to identify, and carries information that a new label may omit. It also avoids the extra cycle of transferring, cleaning, drying, and relabeling. Decant when a suitable container clearly improves access, shelf fit, humidity control, or rotation. If the change adds work without solving a problem, keep the original package.