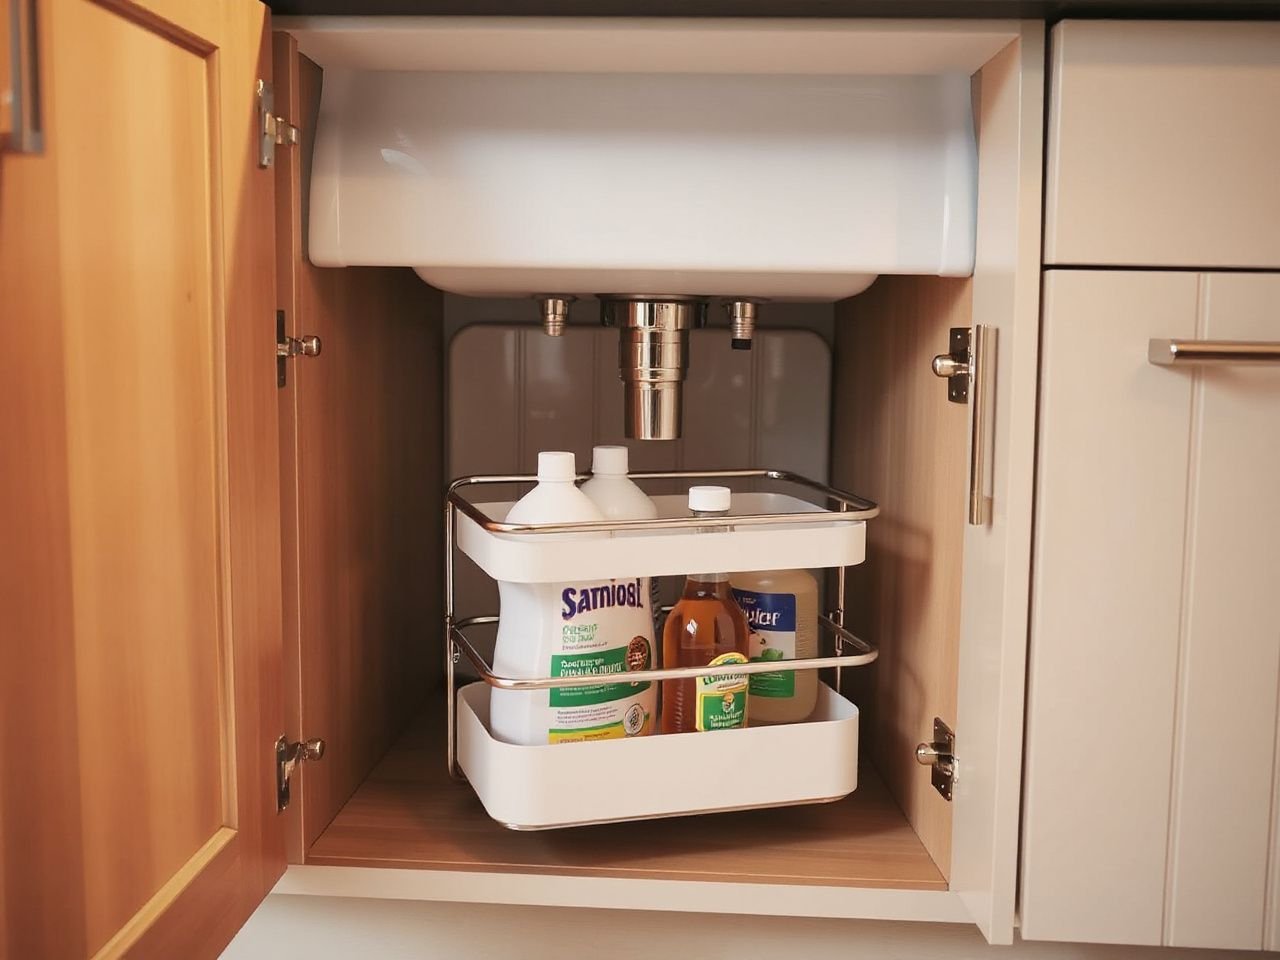
Measure the cabinet before buying storage.
The useful distinction is between storage capacity and usable access: an organizer only helps when its contents remain reachable without removing plumbing or unloading the cabinet. Evaluation should therefore focus on clearances, movement around fixed pipes, leak visibility, cleaning access, and whether mounting or replacement parts create more maintenance than the storage system saves.
This under-sink organizer buying guide treats the cabinet as a working space, not an empty box. Drain traps, supply lines, shutoff valves, hinges, the cabinet frame, and the garbage disposal decide what can fit. A tidy arrangement that blocks a valve or hides a slow leak has failed its basic job.
Key Takeaways
- Measure around plumbing, hinges, the cabinet frame, and the garbage disposal before selecting an organizer.
- Choose access first: pull-out storage, freestanding bins, and fixed shelves solve different clearance problems.
- Protect the cabinet base, keep chemicals in original containers, and leave leaks visible for inspection.
Beginner: Start With the Cabinet, Not the Organizer
Step 1: Empty the cabinet and inspect every obstruction
Remove bottles, bags, sponges, spare parts, and waste before measuring or planning. A clear cabinet reveals the actual route of the drain trap and supply lines. Look at the garbage disposal, shutoff valves, hinges, cabinet frame, and the point where the doors close.
The cabinet interior must be checked around the drain trap, water lines, garbage disposal, shutoff valves, hinges, and cabinet frame before an organizer is selected. Those parts determine the usable footprint more reliably than the cabinet’s outside width.
- Drain trap: Note where the curved pipe occupies vertical and horizontal space. A shelf that looks suitable on paper may collide with the trap.
- Supply lines: Trace the lines from the wall or floor to the faucet. Leave room for their fixed path rather than pressing storage against them.
- Garbage disposal: Check the motor housing and connected plumbing before choosing a tall bin or drawer.
- Shutoff valves: Keep the handles reachable by hand. Do not make an emergency water shutoff depend on removing a loaded organizer.
- Hinges and cabinet frame: Open both doors and watch the hinge movement. A basket can fit inside the box and still interfere with the doors.
Use cardboard or folded paper to mark the occupied areas on the cabinet base. This simple mock-up shows where a drawer, shelf, or bin would travel without pretending that empty floor space is fully usable.
Step 2: Check the cabinet base and surrounding moisture
The cabinet base should be sound and protected from moisture before a heavy, mounted, or sliding organizer is installed. Press lightly around visible seams and inspect for swelling, soft patches, peeling finish, dark marks, or a stale damp smell. A damaged base can make mounting hardware unreliable and can leave a freestanding organizer sitting unevenly.
Damp conditions can swell wood, corrode metal, loosen adhesives, and encourage residue buildup, so material and ventilation matter. A stainless steel component may be easier to keep in service than a part that shows corrosion, but the label alone does not replace inspection of seams, fasteners, feet, and moving tracks.
Look underneath the sink after running ordinary water and after using the cabinet. Plumbing leak detection starts with visibility: a concealed drip can spread beneath the cabinet before the stored items reveal the problem. An organizer should not obstruct access to plumbing connections or hide leaks.
Step 3: Record the access you need
List the objects that belong under the sink and how often each one is used. Cleaning sprays used daily need a different position from spare sponges, waste bags, or an occasional appliance attachment. This is part of kitchen cabinet decluttering, but the goal is not simply fewer objects. The goal is a clear path to the objects and the plumbing.
Group products by safe handling and frequency rather than by bottle height alone. Cleaning chemicals should remain in their original containers, separated when necessary, and secured from children and pets. Keep products that should not contact one another apart, and never decant an unlabeled liquid into a food container.
For child-safe chemical storage guidance, consult the U.S. Consumer Product Safety Commission. The cabinet should also remain unsuitable for children to explore, particularly if the doors do not have a secure barrier.
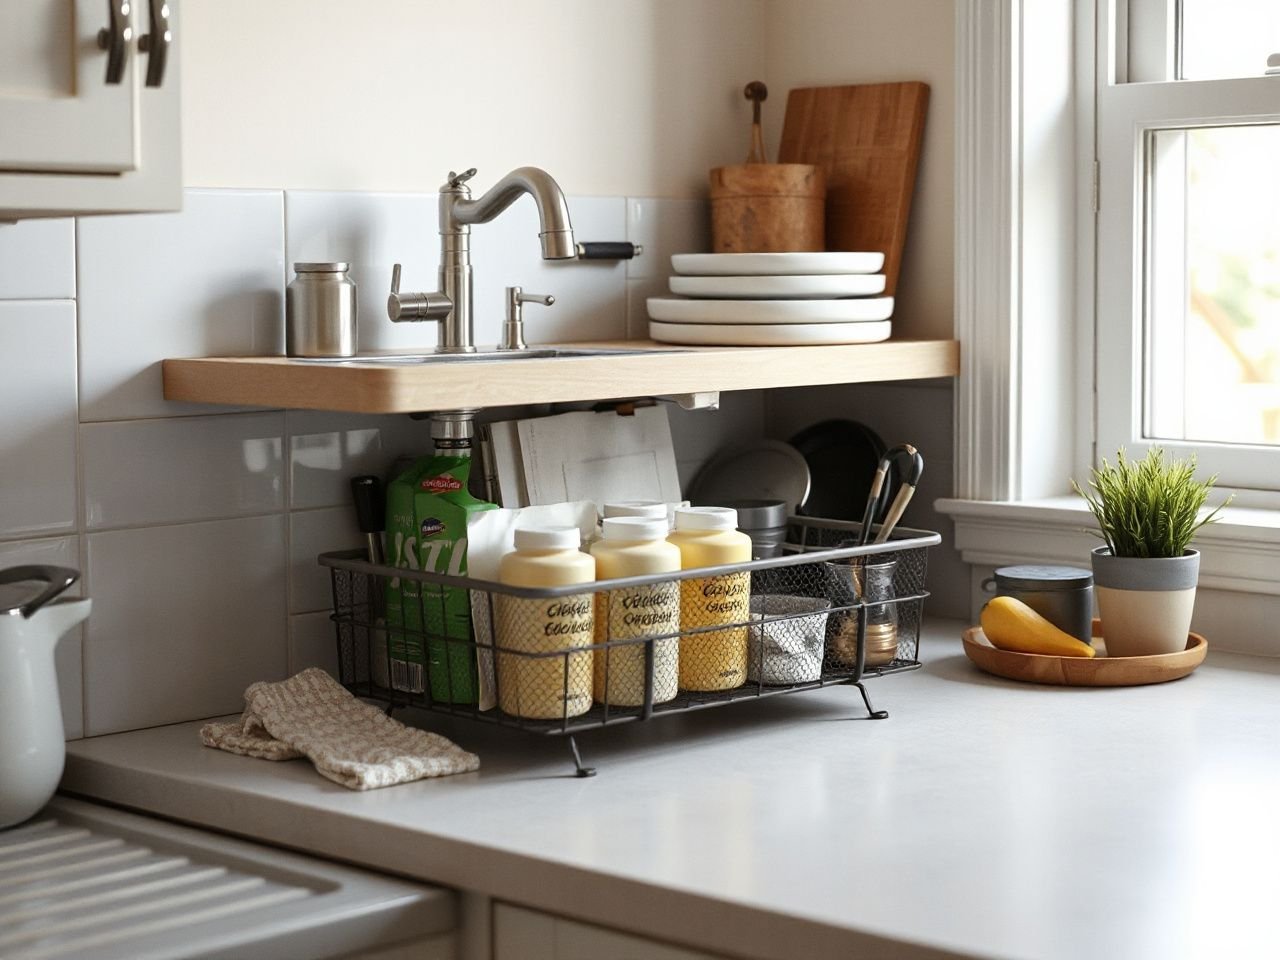
Intermediate: Match the Storage Type to the Clearance
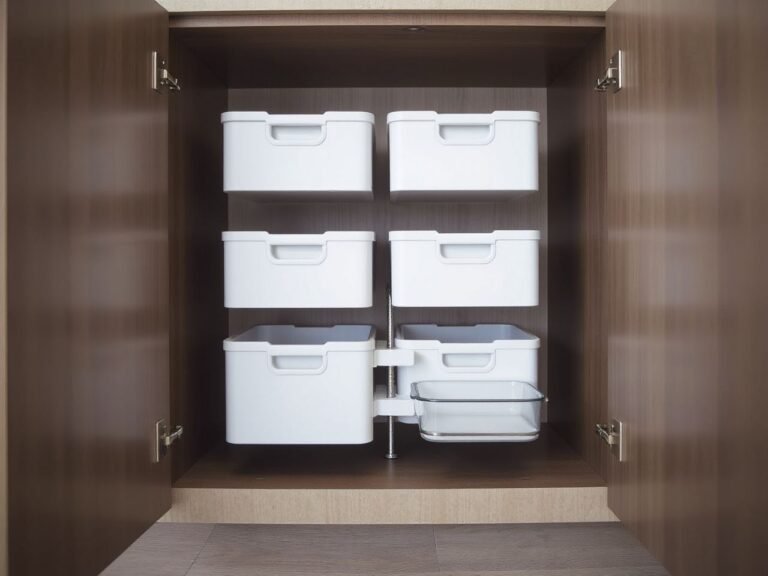
Sliding pull-out drawer
A sliding pull-out drawer brings stored items toward the cabinet opening instead of requiring a reach to the back. That movement is useful when the cabinet is deep or when a fixed pipe divides the available floor area. The drawer still needs a clear travel path, and the track or mounting hardware must stay away from plumbing connections.
A sliding drawer is not automatically the most accessible choice. If the drain trap crosses the travel path, a straight drawer can bind, stop short, or leave one side of the cabinet unusable. Check whether the drawer moves around the pipe rather than assuming the listed shape will do so.
Some sliding drawers use mounting hardware attached to the cabinet base. This creates an ongoing inspection point. Damp wood, loose fasteners, or water damage can affect the attachment, so a mounted drawer should not be installed over a questionable cabinet floor.
Fixed shelf and adjustable shelf
A fixed shelf divides vertical space and can make short bottles easier to see. It has fewer moving parts than a drawer, but its usefulness depends on whether the shelf can fit around the drain trap and supply lines. A shelf that leaves a low compartment too short for the bottles you use creates wasted capacity.
An adjustable shelf offers more control over stack height. Adjustability helps when bottle sizes change, but every support must remain stable and must not press against a pipe. Keep the shelf edge clear of shutoff valves so the valve can be reached without lifting the shelf contents.
A fixed shelf is most practical when the plumbing occupies one predictable area and the remaining cabinet floor is easy to reach. The shelf should not turn leak inspection into a dismantling job.
Stackable bin
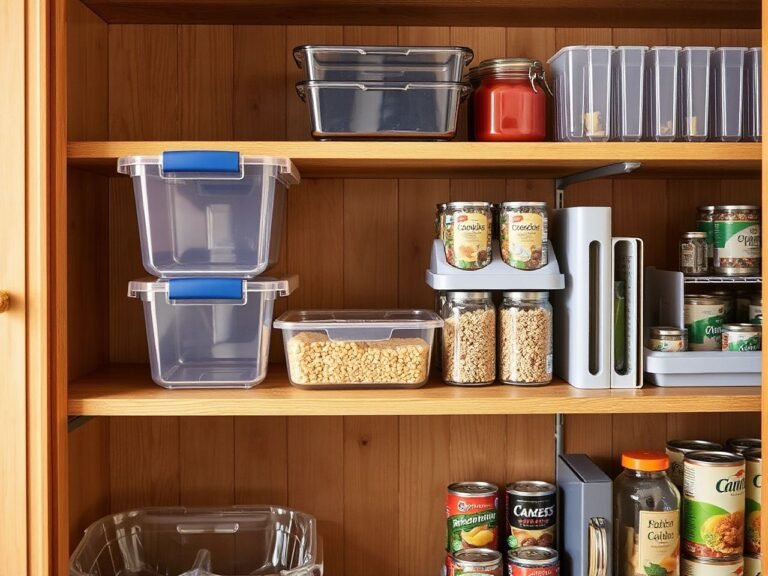
A stackable bin can separate categories while preserving a simple freestanding setup. It is helpful for light items such as sponges, cloths, waste bags, or replacement brushes, provided the lower bin remains reachable and the upper bin does not conceal a plumbing connection.
Stack height deserves close attention. A tall stack may use more of the cabinet’s vertical volume while reducing hand clearance at the front. Keep frequently used supplies low enough to remove without striking the underside of the sink or moving nearby bottles.
Baskets equipped with foam feet can move in or out smoothly. Feet also create a small separation from the cabinet base, but they do not make a wet or damaged cabinet safe for heavy storage.
Freestanding organizer
A freestanding organizer is often more practical than a mounted or pull-out design when the cabinet base is uncertain, the plumbing layout changes, or leak inspection matters more than maximum capacity. It can be lifted away from the pipe area without removing hardware.
Freestanding storage has a tradeoff: the whole unit may need to move before the rear plumbing is visible. Choose an open form or a shape that leaves a sightline to the wall connections and drain trap. A removable bin can also make cleaning easier after bottle drips.
Over-door rack
An over-door rack uses the cabinet door rather than the cabinet floor. That can preserve floor space for plumbing-friendly bins, but the rack must not interfere with hinges or prevent the door from closing. Check the door’s inside surface, frame, and hinge clearance before loading it.
Door storage works best for light, frequently used items. Heavy bottles can pull on the door or make the door harder to control, especially if the rack shifts. The manufacturer’s installation instructions should determine the permitted load; do not infer capacity from appearance.
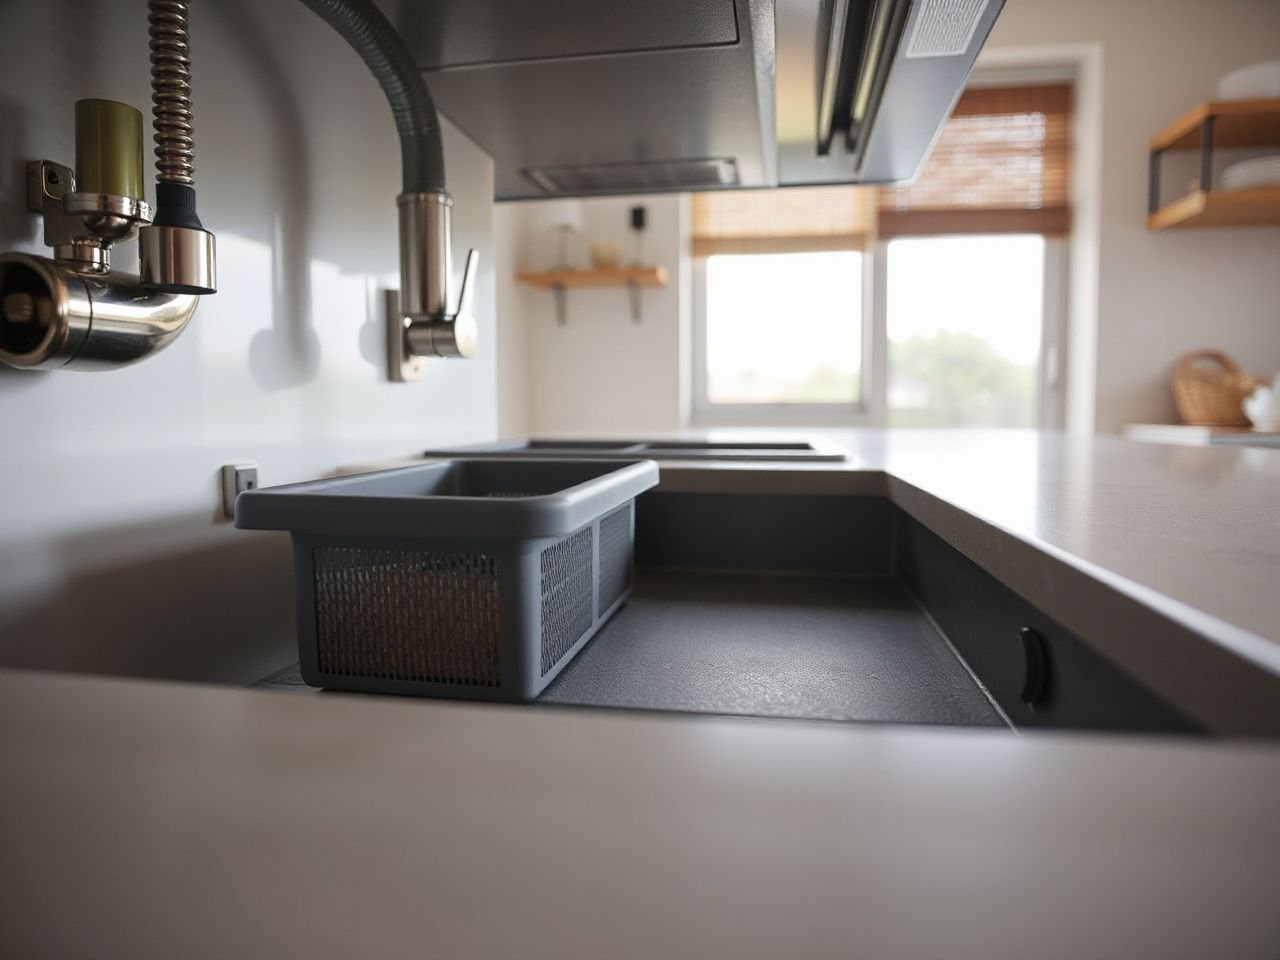
Intermediate: Compare Capacity With Usable Access
Use clear zones instead of empty volume
Capacity is the amount an organizer can hold. Usable access is the amount you can reach, identify, remove, and return without disturbing plumbing or unloading the cabinet. Usable access is the more important measure.
A cabinet with a tall rear stack may look efficient, but the rear items are functionally lost if a front bin blocks them. A lower arrangement with open sightlines may hold less while making daily household cleaning supply storage easier.
- Place daily-use items in the front or on a drawer that reaches them without lifting other containers.
- Keep leak-prone bottles upright in a washable tray or bin, with labels facing outward.
- Reserve the area around shutoff valves for access rather than storage.
- Leave a visible route to the drain trap and wall connections.
- Keep recycling and waste sorting items from pressing against pipes or cabinet doors.
Storage near the back should be limited to items that can remain undisturbed. If accessing one bottle requires moving three others, the organizer has created storage capacity without usable access.
Look for movement problems before installation
Organizers shift when their feet sit unevenly, when the cabinet base is damp or swollen, or when the load is placed off-center. Sliding parts can stop moving smoothly when the track is misaligned, obstructed, or exposed to residue. A cabinet organizer should be checked for level contact, clear travel, and stable placement before it is loaded.
Foam feet can help baskets move in and out smoothly, but they do not correct a cabinet base that slopes, swells, or has water damage. Wipe spills promptly and inspect the contact points after cleaning.
Mounted organizers add another failure point because the cabinet floor and mounting hardware must both remain sound. Replacement parts may also become an ongoing cost if a track, foot, bin, or fastener is damaged. Before choosing a complex system, confirm that replacement components are available and that the parts can be removed for cleaning.
Choose materials for damp conditions
Polypropylene, stainless steel, and other labeled materials may appear in organizer construction, but material selection should be tied to the cabinet’s conditions. Inspect for exposed edges, trapped seams, adhesive joints, and places where water or cleaning residue can collect.
Rust resistance matters in a cabinet that may experience leaks. Stainless steel can be a sensible material to consider, while any metal component still needs inspection after exposure to water. Plastic bins may be easier to rinse, but they can still retain residue in textured surfaces or closed corners.
Ventilation helps the cabinet dry. Avoid filling every open area with bins, especially around wet sponges or dripping bottles. A washable liner can protect a sound base, but it does not replace leak repair or allow a damaged floor to carry a heavy organizer.
Plan cleaning access
Bottles and sponges drip. Store wet items in a container that can be removed and cleaned, rather than allowing liquid to collect beneath a fixed track or under a permanent stack.
Choose open sides where possible, wipe the cabinet base during routine cleaning, and lift freestanding bins so the surface beneath them remains visible. A mounted organizer should leave enough room to inspect the fasteners and the cabinet floor.
The Food and Drug Administration provides consumer information through FDA.gov; follow the product label and the relevant manufacturer instructions for any cleaner used near food-contact items. Under-sink storage should never be treated as a place to store food, utensils, or cookware with cleaning chemicals.
Advanced: Build a System That Stays Reachable
Separate plumbing access from supply storage
Divide the cabinet mentally into a service zone and a storage zone. The service zone contains the drain trap, supply lines, shutoff valves, disposal connections, and visible cabinet seams. The storage zone contains the bins, bottles, cloths, and waste supplies that can be removed without disturbing that service zone.
Plumbing connections need open access for inspection and repair. An organizer that hides a connection can delay leak detection and increase the chance that moisture damage spreads beneath the cabinet.
Use a narrow bin beside a pipe only if the bin can be lifted out without catching on the plumbing. Do not force a tall container into a gap simply because it fits at the front. The rear clearance controls the real usefulness.
Arrange cleaning products with care
Keep cleaning chemicals in their original containers with labels intact. Separate products when their labels call for separation, and keep containers closed and upright. Store cloths and sponges away from leaking bottles so they do not become damp, sticky, or difficult to identify.
Children and pets should not have access to household chemicals. For additional consumer safety information, use the CPSC consumer guidance rather than relying on an organizer’s marketing description.
Do not place chemicals beside food-related items, reusable shopping bags, or cookware. Under-sink storage belongs to household maintenance, not pantry overflow, even when a nearby pantry organizer system uses similar bins. For broader dry-storage planning, see this pantry organization guide before assigning kitchen supplies to the sink cabinet.
Account for replacement and maintenance costs
The purchase price is only one part of the decision. Consider replacement bins, mounting parts, damaged feet, rusted hardware, and water damage to the cabinet base. A system that needs proprietary parts may become difficult to maintain if a small component fails.
Freestanding bins generally make inspection and removal straightforward, while mounted systems can save floor movement but add attachment points. Neither approach is automatically superior. The better choice is the one that fits the plumbing, preserves leak visibility, and can be cleaned without dismantling the cabinet.
Check the manufacturer’s stated capacity rather than guessing from size. One listed dual-slide drawer provides an 88-pound weight capacity, but that figure belongs only to that specified product and should not be applied to another drawer, shelf, or cabinet base.
Use a final clearance review
Before loading the organizer, open and close the doors, reach the shutoff valves, look behind the drain trap, and inspect the cabinet seams. Slide every moving part through its full path. If any action requires force, remove the system and find the obstruction.
- Place the organizer in the empty cabinet.
- Confirm that plumbing connections remain visible and reachable.
- Check that doors and hinges move freely.
- Load the heaviest items low and near the organizer’s stable center.
- Test access to the rear before adding more containers.
- Leave a clear path for wiping the cabinet base and checking for leaks.
A sound under-sink arrangement makes routine work easier without turning plumbing maintenance into a storage project. That standard matters more than filling every open space.
Frequently Asked Questions
How do I choose an organizer that fits around the drain trap and supply lines?
Empty the cabinet first and mark the drain trap, supply lines, garbage disposal, shutoff valves, hinges, and cabinet frame. Compare those marked zones with the organizer’s footprint and movement path. A sliding drawer must travel without striking the pipes, while a shelf or bin must remain removable. Choose the option that preserves plumbing access even after it is fully loaded.
How does a pull-out organizer differ from a fixed shelf or stackable bin?
A pull-out organizer brings contents forward, which can improve access in a deep cabinet, but it needs a clear travel path and sound mounting area. A fixed shelf divides vertical space with fewer moving parts, while a stackable bin separates categories without installation. The plumbing layout should decide the format. A drawer that collides with the trap is less useful than a simple freestanding bin.
Why do under-sink organizers shift, sag, or stop sliding smoothly?
Common causes include an uneven or moisture-damaged cabinet base, overloaded storage, off-center loading, residue in a track, or mounting hardware that has loosened. Foam feet can help baskets move smoothly, but they cannot correct swelling or structural damage. Empty the organizer, inspect its feet and fasteners, clear the travel path, and repair moisture problems before reloading it.
Which materials handle damp cabinets and occasional leaks best?
Look for materials and finishes that are easy to wipe, inspect, and keep dry. Stainless steel may offer useful rust resistance, while polypropylene bins can be convenient to remove and clean, but neither material prevents water damage. Check seams, exposed edges, feet, and fasteners. A sound cabinet base, visible plumbing, prompt spill cleanup, and ventilation matter as much as the material label.
How can I compare the space gained with the cabinet access an organizer blocks?
Count usable access rather than empty volume. Place daily-use items where they can be removed without lifting other containers, and keep shutoff valves and plumbing connections open. Test the organizer empty, then partly loaded, before committing to the arrangement. For a wider approach to storage planning, the cabinet organizer guide explains how clearance changes the result.