
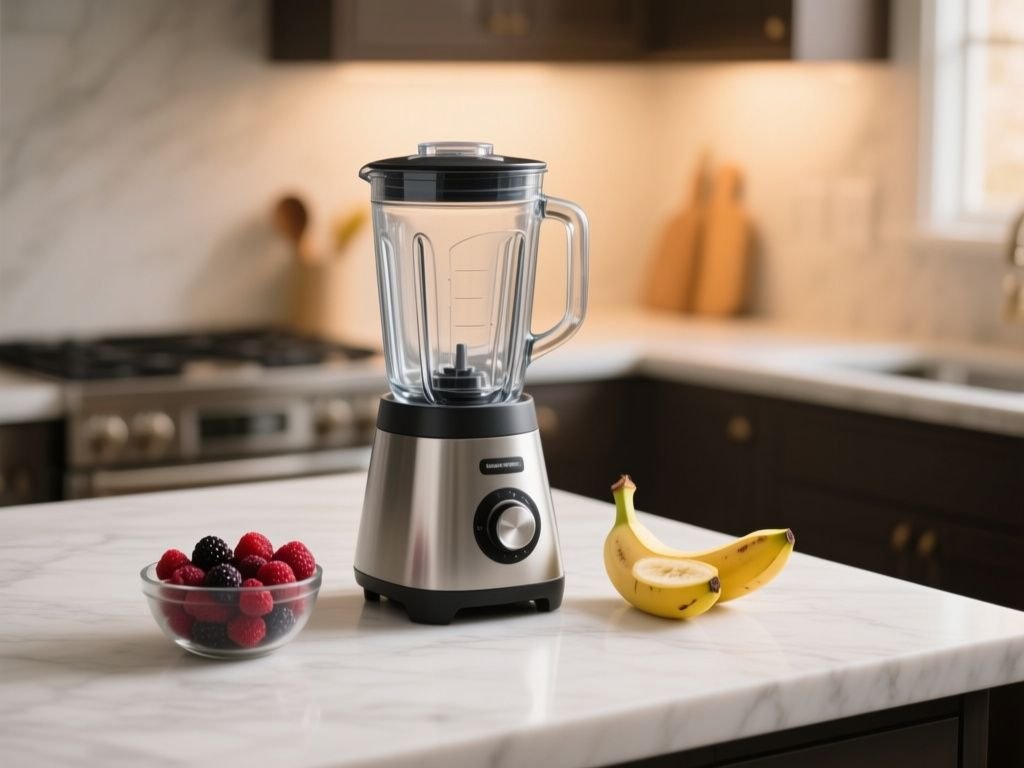
Your kitchen timer is the least useful tool for making a smoothie. The thirty-second rule repeated across every recipe blog is a guess, not a method. How long you should blend a smoothie depends on your machine’s wattage, the temperature of your ingredients, and the order you stacked them in the jar. A high-speed blender can finish in 40 seconds; a budget model may need three minutes. The real skill is knowing when to stop, not counting down.
Key Takeaways
- High-speed machines (1,000+ watts) reach a silky texture in 30–60 seconds. Standard blenders need 2–3 minutes, often in pulses.
- Stop when you see a stable vortex and hear the pitch drop. That means ingredients are fully incorporated.
- Over-blending heats the mixture and dulls blades. Going longer than necessary adds nothing but warmth.
Step 1: Know Your Machine’s Power Before You Press Start
Every blender on your counter has a power rating, and that number is the biggest factor in blending time. A Vitamix or Blendtec typically runs 1,200 to 1,800 watts, which spins blades fast enough to pulverize frozen fruit in under a minute. A Ninja with 1,000 watts lands in the middle. An Oster or Hamilton Beach model at 300 to 700 watts will take longer because the blades move slower and the motor has to work harder against resistance.
On paper, wattage tells you how much mechanical energy the motor can deliver. More watts mean faster blade tip speed and less time needed to break down cell walls in leafy greens and ice. The spec sheet never lies about that part.
Wattage Sets the Baseline
A 1,500-watt blender can turn frozen strawberries, kale, and ice into a drinkable consistency in 45 seconds or less. A 500-watt blender may require 2 to 3 minutes of total run time, often in short bursts to avoid overheating the motor. The difference is not just convenience; it is texture. Longer blending in a weak machine can still leave fibrous bits from kale stems or berry seeds.
You can tell if your blender is underpowered without running a stopwatch. If it struggles to form a vortex with a basic berry smoothie after 30 seconds, or if the motor sounds strained and the blades stall on frozen banana, the wattage is too low. In that case, you will need to blend in shorter pulses and accept longer total time. A machine that cannot pull ingredients down on its own is one that does not earn its counter space.
The wattage of a blender, not the recipe, determines how long you should blend a smoothie.
Jar Material and Blade Design Change the Equation
The jar itself matters. BPA-free Tritan copolyester jars, common on high-end models, are light and shatter-resistant, but they transfer less heat than glass jars. That means a glass jar can hold colder ingredients longer, but it also absorbs more heat from the motor over time. Stainless steel blades are standard on every decent blender; the shape and number of blades affect how quickly a vortex forms. A wide, angled blade assembly pulls ingredients down faster than a flat, narrow one.
If you are blending in a glass jar on a low-wattage base, expect to add 20–30 seconds compared with the same recipe in a plastic jar on the same base. The extra mass of glass takes longer to transmit the motor’s energy into the food.
The Tamper Is Not Optional for Thick Blends
High-powered blenders from Vitamix and Blendtec ship with a tamper for a reason. When you load frozen fruit, nut butter, and only a splash of liquid, the blades can spin without touching the ingredients—a phenomenon called cavitation. Using the tamper to push food toward the blades while the motor runs can cut blending time in half. Without it, you would need to stop and stir repeatedly, adding minutes to the process.
Step 2: Load the Jar in the Right Order
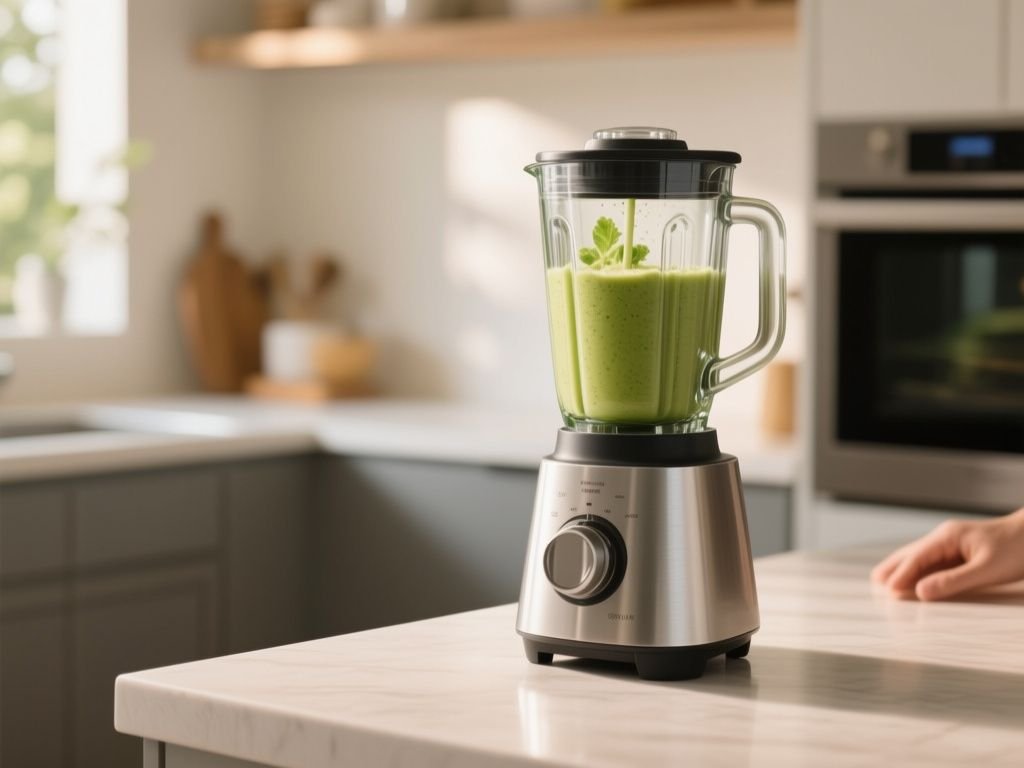
The order you add ingredients changes blending time more than most people realize. A jar loaded in the wrong sequence forces the blades to work against gravity and friction. A correctly loaded jar starts blending immediately and reaches smoothness faster.
Liquid First, Always
Pour your liquid—water, milk, juice, or yogurt—into the jar before anything else. Liquid creates a fluid bed under the blades that helps them pull solid ingredients downward. Without liquid at the bottom, frozen chunks sit on top of the blades and act like a plug. Blending then requires more pulses and longer run time.
This is also why recipes with frozen fruit and no added liquid are harder to blend. You can technically blend frozen fruit without liquid, but you will spend twice as long and risk overheating the motor. The blades need something to move.
Leafy Greens Go Next
Add spinach, kale, or other greens on top of the liquid, before frozen fruit. Greens are light and easily broken down. If you bury them under a pile of ice, the blades may never reach them. Blending greens first—or at least early—allows the blades to puree them into the liquid, which then acts as a carrier for the heavier ingredients.
The answer to should I blend greens first is yes, but not in a separate step. You do not need to blend greens alone before adding everything else. Just place them low in the jar, above the liquid and below the frozen chunks, and the vortex will pull them through efficiently.
Frozen and Hard Ingredients Go on Top
Ice, frozen berries, and frozen banana chunks go in last. Their weight pushes down on the softer items, helping to feed everything toward the blades once the motor starts. This gravity assist reduces the need for tamping and shortens blending time. If you put frozen fruit first, it forms an impenetrable layer at the bottom, and the blades spin uselessly under it.
The order of ingredients alone can save 30–60 seconds on a mediocre blender. On a high-speed blender, it means the difference between a 40-second blend and a 90-second one.
Step 3: Blend in Stages and Listen for the Vortex
Now you are ready to run the motor. The ideal blending sequence has two phases: short pulses to break the load, then continuous blending until the mixture homogenizes. Skipping the pulse phase on a weak blender can stall the motor. Skipping continuous blending on any blender can leave chunks.
Start with Short Pulses
Pulse 3 to 5 times for one second each. This chops the frozen and hard ingredients into smaller pieces and redistributes them without straining the motor. Pulsing also prevents a single large piece from jamming the blade assembly. On a high-wattage machine, you can skip this step, but on anything under 800 watts, pulsing is mandatory to protect the motor.
To avoid overworking a low-power blender, do not run continuously for more than 60 seconds at a time. Give the motor a 10-second rest between cycles. This prevents overheating and extends motor life.
Then Run Continuously Until the Pitch Changes
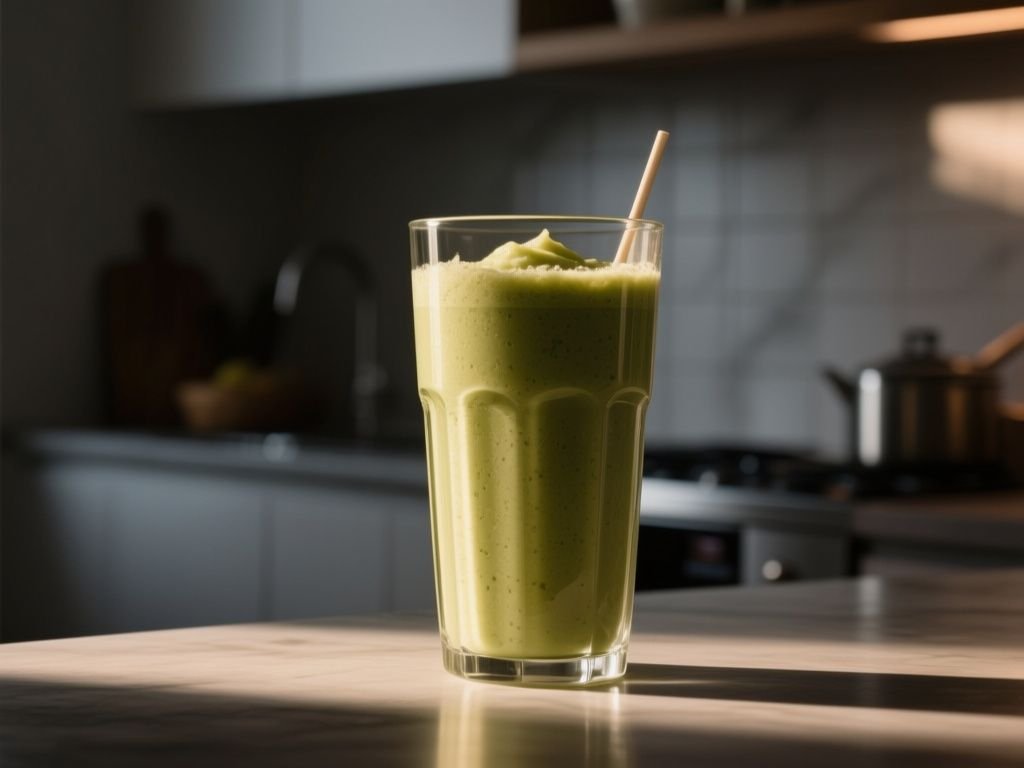
After pulsing, switch to continuous speed—start low, then ramp to high. Listen to the motor. At first, the blades hit chunks, and the sound is uneven and rattling. As the mixture becomes uniform, the pitch drops and smooths out. That change in sound is the signal that the particles have broken down. For a high-speed blender, this happens 30 to 60 seconds after the pulse phase. For a standard blender, expect 2 to 3 minutes total, including pulses.
When the blender’s pitch drops from a rattle to a steady hum, the smoothie has reached a homogeneous texture.
The Vortex Is Your Visual Cue
Watch the top of the mixture. A proper vortex forms when the liquid and solids swirl together in a cone shape, with the center dipping toward the blades. If you see a stable vortex, the ingredients are circulating fully. If the mixture stays flat and unmoving, you need more liquid or a tamper push.
The vortex is also a cue for thick smoothies. A thick strawberry smoothie bowl may never form a deep vortex because the mixture is too stiff. In that case, you judge readiness by texture alone—look for uniform color and no visible chunks on the sides.
When to Use the Tamper
For smoothies with frozen fruit, nut butter, or dates, the tamper is your best friend. Push ingredients down into the blades while the motor runs at medium speed. This action breaks air pockets and forces contact between food and blade. Using the tamper properly can reduce blending time by 30–50% on thick recipes. It also prevents you from adding excess liquid, which would thin the smoothie.
Step 4: Stop at the Right Moment—and No Later
Stopping too early leaves chunks. Stopping too late heats the smoothie and oxidizes the ingredients. The window is narrower than most people think. Once the pitch drops and the vortex stabilizes, you have about 10–20 seconds before you start doing more harm than good.
What Over-Blending Does to Your Smoothie
Blending is mechanical work, and mechanical work generates heat. Run the motor too long, and the temperature of the smoothie rises. Heat destroys heat-sensitive vitamins like vitamin C and some B vitamins. It also changes the flavor—banana and berry smoothies taste flatter when warmed above room temperature. A final blend of 10–20 seconds after the vortex forms is acceptable; two extra minutes is not.
The U.S. Food and Drug Administration notes that heat-sensitive nutrients degrade during processing, so keeping blend time short is a practical way to preserve vitamins.
The Temperature Problem in Low-Power Blenders
Ironically, low-wattage blenders are more likely to overheat the smoothie because they take longer to reach the same result. A 500-watt blender running for three minutes transfers more total heat to the food than a 1,500-watt blender running for 45 seconds, even though the high-power motor itself gets hotter. That is why a cheap blender can turn a frozen fruit smoothie lukewarm.
This is also why high-speed blenders are worth the counter space. A machine that finishes in 45 seconds is a machine that respects your time and your food.
Ice and Blade Wear
Blending ice or hard frozen fruit for too long dulls blades. Stainless steel blades are tough, but they are not indestructible. The constant impact against solid ice chips the cutting edge over time. A dull blade then takes longer to blend, which worsens the heating problem—a slow spiral. The U.S. Consumer Product Safety Commission has documented blender blade failures from repeated stress, which is why most manuals warn against blending nothing but ice for extended periods.
Your goal is to stop as soon as the ice chunks are gone. If you still hear crunching, pulse a few more times instead of running continuously for another minute.
Smoothies, Milkshakes, and Bowls: Different Blending Times
Not all blended drinks are the same, and the ideal blending time changes with the recipe.
Smoothie vs. Milkshake
A milkshake is thicker and colder, typically made with ice cream and milk. It requires less blending because the ice cream is already soft and homogeneous. 15–20 seconds on a standard blender is usually enough to incorporate everything without melting the ice cream. A smoothie with frozen fruit and greens needs longer because those ingredients start as solids. Over-blend a milkshake and it turns into soup; over-blend a smoothie and it just gets warm.
Smoothie Bowls
Smoothie bowls are intentionally thicker than drinkable smoothies. They use less liquid and more frozen fruit, often with added thickeners like chia seeds or nut butter. Blending time is shorter in total run time but requires more tamping and more pulses. You stop when the mixture reaches a soft-serve consistency—this can be as little as 20–40 seconds on a high-speed blender, but the motor works harder because the load is stiffer. A coffee smoothie falls somewhere between: it has liquid but also frozen elements, so aim for 30–45 seconds on high.
For a seasonal twist, a pumpkin pie smoothie uses soft pumpkin puree and spices, which blend fast—under 30 seconds—because there is no ice to break down.
Frozen Fruit vs. Fresh Fruit
Frozen fruit adds body and chill but increases blending time compared with fresh fruit. Frozen berries are hard as rocks, so expect to add 20–30 seconds to your usual time. Fresh fruit blends almost instantly and requires less liquid. If you use all fresh fruit, you do not need to pulse at all on a high-speed blender; just run for 20 seconds and stop.
The temperature of the ingredients matters as much as their hardness. Cold ingredients stay firmer longer, so frozen fruit needs more mechanical action to break apart.
Adjusting for Thin or Thick Results
If your smoothie is too thick after the initial blend, add a splash of liquid and pulse twice—no more than 5 seconds total. If it is too thin, add a few frozen chunks and blend for another 10–15 seconds. Every adjustment should be measured, not open-ended. The most common error is adding too much liquid to fix a thick mixture, which then requires more frozen fruit to thicken, and you end up with twice the volume and a blender that ran for five minutes.
Frequently Asked Questions
Why does my smoothie have chunks even after blending for a minute?
Chunks after a minute usually mean the ingredients were loaded in the wrong order, the blender lacks power, or the mixture is too dry. Check that liquid went in first and frozen fruit went on top. If your blender is under 700 watts, a minute may simply not be enough. Add more liquid or use the tamper rather than running the motor longer.
How do I know when my smoothie is ready to drink?
Watch for a stable vortex and listen for the pitch drop. Visually, the mixture should be uniform in color with no visible pieces of fruit or green flecks on the jar walls. If you stop and stir, there should be no resistance from solid chunks. Taste a spoonful—if it is smooth on the tongue, it is done.
Is it better to blend in short pulses or run the blender continuously?
Use short pulses at the start to break up hard ingredients and prevent motor strain. Then switch to continuous blending at high speed to homogenize. For a high-speed blender, you can skip pulses entirely. For a standard blender, pulses are essential to avoid stalling. The total time is what matters; the sequence is what gets you there efficiently.


