The container body is not the first thing I would trust. A strong vessel is of limited use if its gasket, latch, or vent fails, especially when a filled container rests on its side overnight. The container body and the closure should be evaluated as separate systems: a sturdy vessel is of limited use if its gasket, latch, or vent fails. The practical comparison is also about the full storage cycle—filling, cooling, freezing, reheating, washing, stacking, and replacing worn parts—rather than the container material alone.
This buying guide to food storage containers starts with the seal, then works through materials, storage locations, maintenance, and replacement parts. That order reflects how I judge a container: first, how the lid closes and how the gasket sits; then, whether the body suits the food and the task.
Key Takeaways
- Assess the body and closure as separate systems.
- Choose material according to refrigerator, freezer, microwave, and washing needs.
- Leave room for food to expand during freezing, and inspect lids and gaskets for damage.
- Check food-safe markings, replacement-part availability, and the full storage cycle before buying.
Beginner: Start with the seal, not the material
Why the lid deserves first attention
A container lid creates a seal through contact between its sealing surface and the container rim. A silicone gasket can improve that contact by sitting in a channel or groove, while snap-lock lids use closing pressure to hold the lid against the rim. The seal is only as reliable as the cleanest, flattest, most intact part of that contact.
A silicone gasket cannot compensate for a warped lid or food residue on the rim. Grease, dried sauce, crumbs, and detergent film can interrupt the contact area, so a lid that appears closed may still allow liquid to escape. A clean rim and correctly seated gasket matter more than a large number of locking tabs.
A food container is leak resistant only when its lid, gasket, rim, and closure work together. Treat the closure as a mechanical system rather than assuming that a familiar material guarantees a tight seal.
How to inspect a closure before purchase
Read the package or manufacturer information for the intended storage conditions. Look for clear language about refrigerator, freezer, microwave, and dishwasher use, and check whether the instructions distinguish between the body, lid, gasket, and valve parts.
- Press the gasket gently and check that it sits evenly rather than lifting from its channel.
- Open and close each snap-lock latch without forcing it. A latch that needs excessive pressure may place stress on the lid.
- Look for a vent on microwave lids and confirm that the vent can be opened or closed as directed.
- Check whether replacement lids, silicone gaskets, and valve parts are listed separately.
- Inspect the rim for a smooth contact surface without chips, deep scratches, or visible distortion.
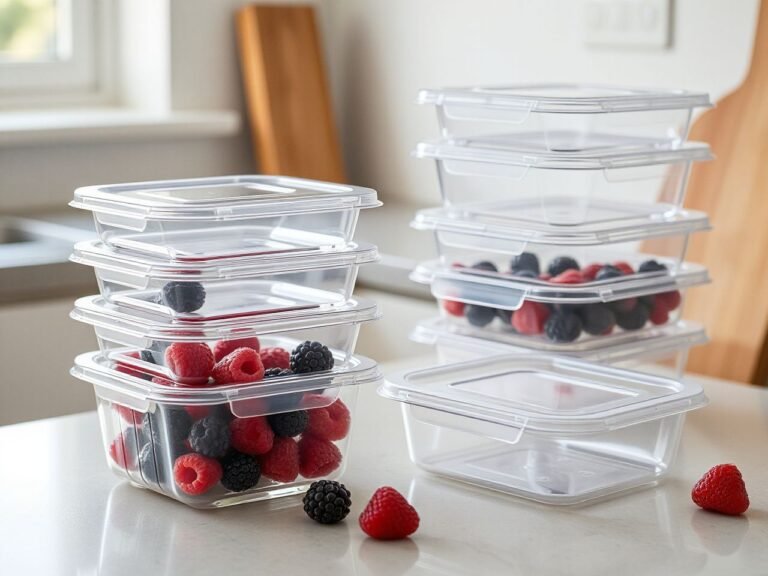
A transparent body can make leftovers easy to identify, but visibility does not reveal a weak closure. For refrigerator organization, a stackable shape may save space while a poorly supported lid can still leak beneath it.
Food-safe markings and material information
A wine glass and fork symbol is the international mark used to denote a food-safe material. For merchandise marketed within Europe, displaying that symbol is a requirement under Framework Regulation EC 1935/2004. The U.S. Food and Drug Administration also provides the relevant food-contact framework for products marketed in the United States, so packaging and manufacturer instructions deserve close attention.
For European food-contact materials, the maximum allowed overall migration is 10 mg of substances per square decimeter of the surface that may touch food. That figure does not tell you that every container suits every food or temperature; intended use still matters.
Polystyrene deserves particular caution around fatty or hot food because contact can cause the material to melt. Residual styrene monomers in food-contact materials used in the United States must not exceed 1% by weight, with a 0.5% by weight limit for materials intended to touch fatty foods. Those limits are regulatory requirements, not a substitute for following the container maker’s use instructions.
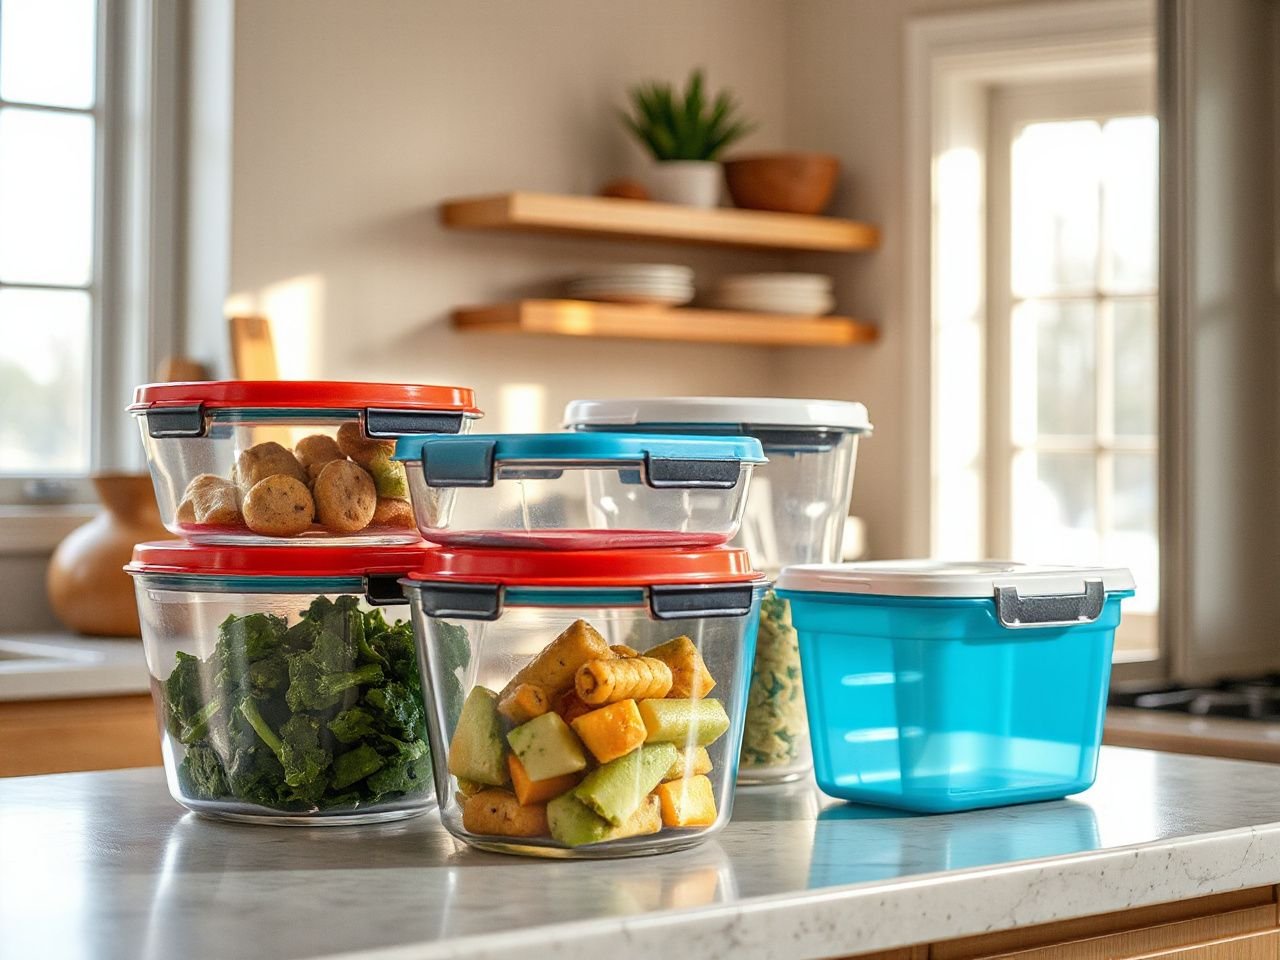
Beginner: Choose glass, plastic, or stainless steel by task
Borosilicate glass containers
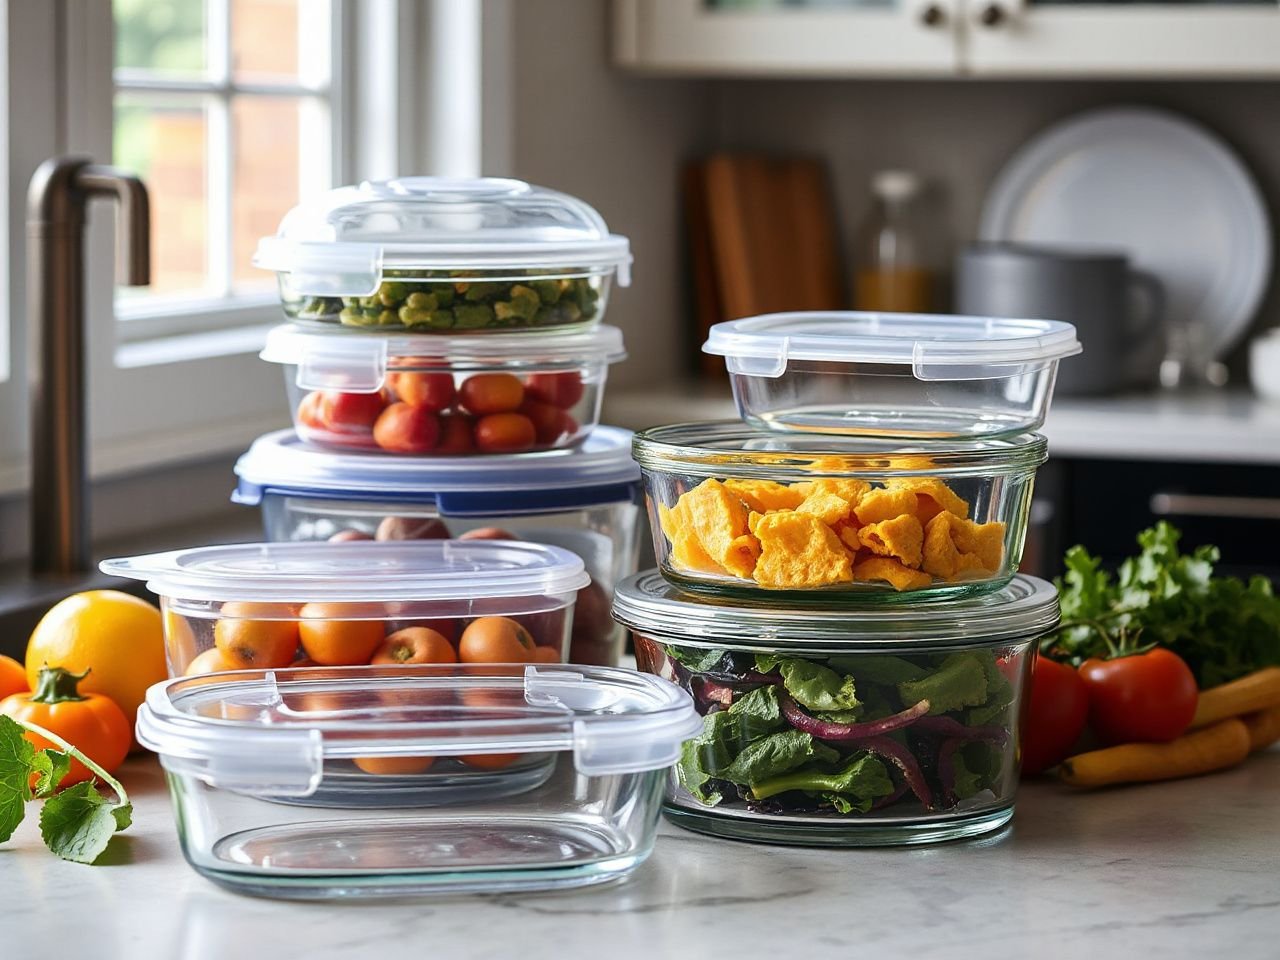
Borosilicate glass is useful when you want to see the food, avoid odor retention in the body, or move a container from storage toward reheating where the instructions permit it. The lid remains a separate question, because a glass body may pair with a plastic lid, silicone gasket, or vented design that has different limits.
Glass can crack or shatter from thermal shock. Hot contents and sudden temperature changes therefore require care: follow the manufacturer’s instructions, avoid moving a hot glass container into a sharply colder setting unless the instructions allow it, and inspect the body for chips or cracks before use.
Borosilicate glass can still fail from thermal shock, so hot food and sudden temperature changes require special care. Do not treat a glass label as permission to transfer a container directly between every storage and heating environment.
Polypropylene containers
Polypropylene containers are often considered for lightweight meal preparation, refrigerator organization, and freezer storage. The material choice alone does not establish microwave suitability. Microwave use depends on the material, the lid design, the venting arrangement, and the presence or absence of metal parts.
Inspect the base and lid markings, then read the specific instructions. A vented microwave lid may help manage steam when used as directed, but a closed lid can behave differently from a vented one. Never assume that a microwave-suitable body makes a lid suitable for the same setting.
Plastic may stain or retain odors after contact with strongly colored or strongly scented foods. That does not automatically mean the container is unusable, but a persistent smell, warped body, cracked rim, or lid that no longer sits correctly is a reason to stop relying on the part.
Stainless steel containers
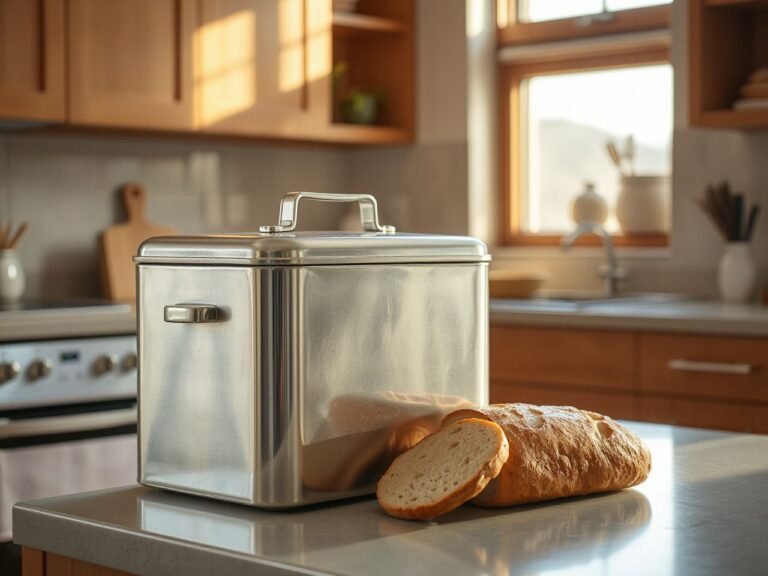
Stainless steel containers are useful for storage tasks that do not involve microwave heating, because metal parts must not be placed in a microwave unless the appliance and container instructions explicitly permit that arrangement. A stainless steel body can be practical for dry pantry storage or cold food, while its lid and gasket still need separate inspection.
Stainless steel does not make a container leak resistant. The lid must maintain pressure against the rim, and any gasket must remain clean, elastic, and correctly positioned. If a steel container has a vent, latch, or removable seal, those parts form part of the storage system rather than optional decoration.
Disposable bags and reusable containers
Reusable containers can reduce repeated purchases of disposable bags and wraps, but the financial result depends on how often a container remains usable, whether replacement parts are available, and how much food is wasted through leaks or poor organization. A container that cannot be repaired or whose lid cannot be replaced may have a shorter practical life than its body suggests.
Compare the complete cycle rather than the shelf price. Include the container body, lid, gasket, cleaning effort, storage space, and any replacement parts. For meal preparation and portioning, a consistent set of shapes may also reduce wasted refrigerator space, even if the individual pieces differ in material.
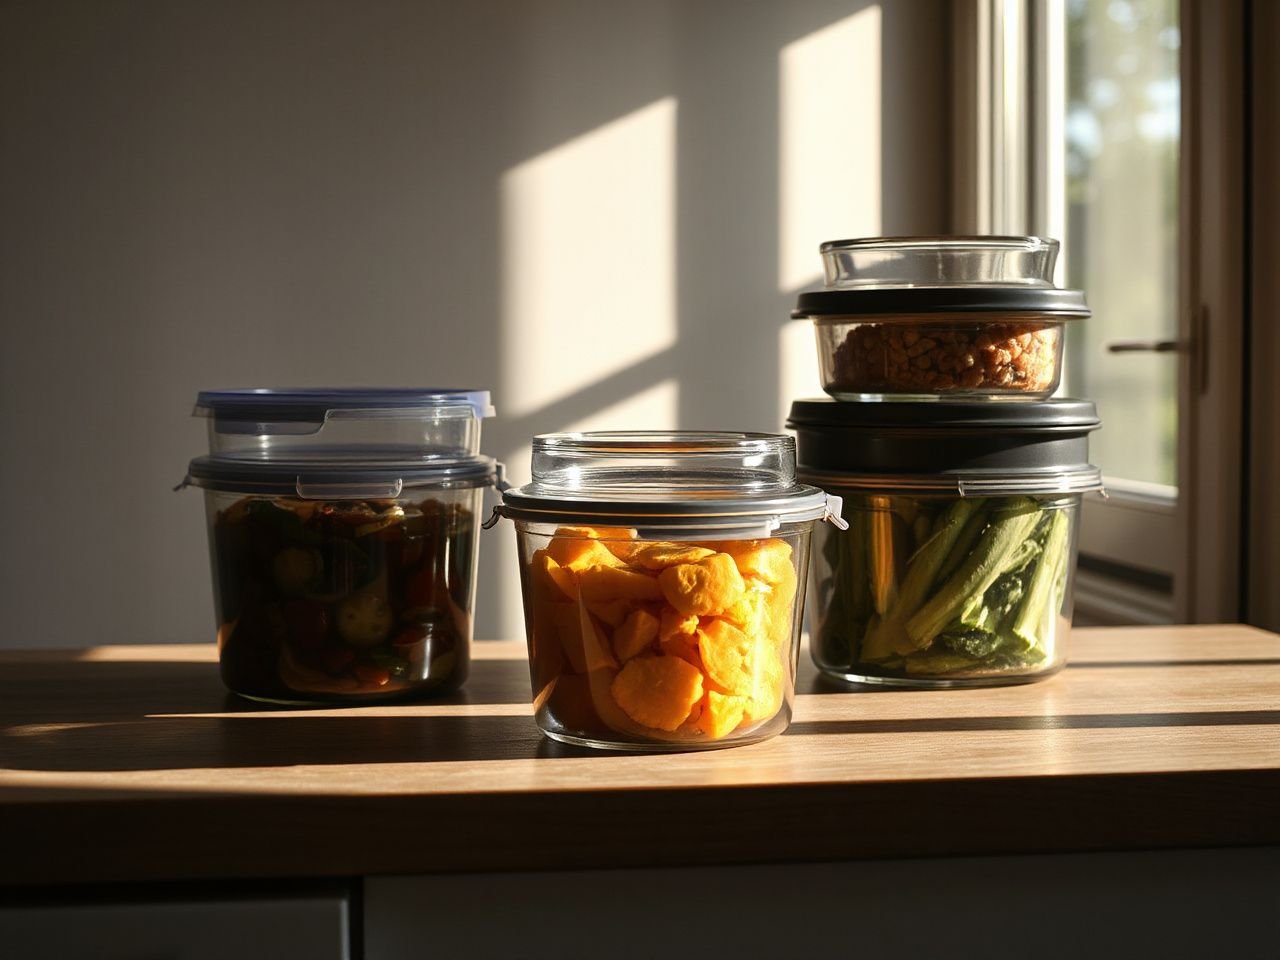
Intermediate: Match containers to refrigerator, freezer, microwave, and dishwasher use
Refrigerator storage
Refrigerator storage puts the greatest emphasis on a reliable seal, a stable base, and a lid that can be opened without disturbing neighboring containers. Use the shape to support refrigerator organization, but keep liquids upright until the closure has been checked.
Cooling and storage instructions should come from the food-safety guidance supplied by the manufacturer or a government authority. The Food and Drug Administration provides food-safety information for consumers, while the container manual explains the limits of that particular body and lid.
A sealed container does not make perishable food safe indefinitely. The closure limits contact with the surrounding environment, but it does not replace proper cooling, storage, labeling, or timely use.
Food storage labels help identify contents and dates, especially when several containers hold similar leftovers. Place the label where it can be read without opening the lid, and use a surface that will remain legible after the container is washed.
Freezer storage
Freezing food requires room for expansion. A full container can split or force its lid open as the contents expand, so follow the manufacturer’s fill guidance and leave visible headspace rather than filling the vessel to its rim.
Frozen food needs expansion room because a completely full container can split or push its lid open. Headspace should be judged from the container’s instructions and the food’s form, since liquids and foods with different textures may behave differently as they freeze.
Freezer burn is associated with poor protection from air and moisture loss, but a sealed container is not an answer to every storage problem. A lid that does not close evenly, a gasket with residue, or a container that is too full can all undermine the intended barrier.
- Allow room for expansion rather than filling to the rim.
- Make sure the lid is fully engaged around the complete perimeter.
- Label the food before freezing so the contents do not need to be thawed for identification.
- Place glass only in conditions permitted by the manufacturer, with special care around temperature changes.
- Remove a container from service if freezing has distorted the lid, body, or gasket.
Microwave use
Microwave suitability depends on the whole assembly. A container body may be suitable while its lid is not, and a vented microwave lid may require the vent to be opened in a particular position. Metal parts, including stainless steel components, need special attention because they may not be suitable for microwave use.
Read the instructions printed on the container, lid, or packaging before reheating. Do not close a lid tightly if the instructions call for venting, and do not use a damaged lid simply because the body still looks sound.
Hot food can create steam and pressure inside a closed container. A vented lid is designed to address that condition only within the use instructions supplied for the product. Open the vent as directed and handle the lid carefully after heating.
Dishwasher cleaning
Dishwasher suitability must be confirmed for each part. The body, lid, silicone gasket, latch, and valve may not share identical care instructions. Remove parts that the manual identifies as removable, and clean grooves where food residue can hide.
Cleaning does not replace proper storage practices. A clean container can still have a warped lid, a stretched gasket, or a valve blocked by residue, so inspect the closure after washing and before refilling.
Intermediate: Understand why containers fail
Leaks and failed seals
Leaks usually point to the closure rather than the main body. The likely areas to inspect are the gasket channel, lid rim, snap-lock hinges, vent, and any valve used for vacuum sealing. Residue can hold a gasket slightly away from the rim, while a warped lid may no longer distribute pressure evenly.
Close the empty container and inspect the gasket all the way around. If the lid rocks, the latches do not meet their usual position, or the gasket lifts from the channel, do not trust the container for sideways storage.
Vacuum-sealing containers add another sealing surface and may include a valve. A vacuum feature does not remove the need to clean the valve, inspect the gasket, and follow food-storage guidance. The vacuum mechanism should be treated as one part of the closure, not as proof that the container is permanently airtight.
Warping, cracking, stains, and odors
Plastic bodies and lids can warp when exposed to conditions outside their instructions. A warped rim changes the contact pattern between body and lid, which can produce a leak even when every latch still closes.
Cracks can occur in plastic, glass, or rigid lid materials. A crack near the rim is especially important because it can affect the seal and may worsen during freezing, washing, or handling. Glass chips and cracks should not be ignored.
Stains and odors are often linked to the food stored in the container and the material’s surface. A stain alone does not prove that the container is unsafe, but a persistent odor combined with a damaged surface, distorted body, or failed seal is a clear reason to replace the affected part.
Replacing worn parts
The lid and gasket are often the main failure points. Before buying a set, search the manufacturer’s instructions and parts information for replacement lids, silicone gaskets, latches, and valves. A replaceable lid can keep a sound body in service, while a missing part may force disposal of the entire container.
Match replacement parts to the exact container family and size shown by the manufacturer. A gasket that looks similar may not sit at the right depth or create the intended contact with the rim.
A damaged gasket should not be trusted to protect food from leaks. Replace a gasket that is split, permanently flattened, stretched, brittle, or unable to remain seated in its channel.
Advanced: Build a buying system that works long term
Plan the full storage cycle
Start by listing the tasks your containers must handle: filling, cooling, freezing, reheating, washing, stacking, labeling, and replacement. A container that meets only one stage can create work or risk at the next stage.
- Filling: Check whether the opening is wide enough for the foods and utensils used during meal preparation.
- Cooling: Follow food-safety and manufacturer instructions rather than assuming a sealed lid changes cooling requirements.
- Freezing: Leave expansion room and verify that the body and lid are approved for freezer use.
- Reheating: Confirm microwave use for the body, lid, vent, and any metal component.
- Washing: Check care directions for every removable part and clean hidden channels.
- Stacking: Prefer stable shapes and lids that do not slide when stored according to the instructions.
- Replacing: Confirm that lids, gaskets, and valves can be identified and purchased separately.
For food portions that will accompany soups or stews, container shape matters alongside cookware and serving habits; the guide to Dutch ovens for soup discusses the cooking side of that storage routine.
Use dimensions and markings intelligently
Container dimensions are governed by the European standard known as Gastronorm. That information can help when matching containers to a particular storage layout, but a listed dimension does not reveal the strength of a closure or the care limits of a gasket.
Look for the food-safe wine glass and fork symbol where relevant, then read the surrounding instructions. The symbol addresses food contact, while microwave, freezer, dishwasher, and temperature guidance addresses use.
Organize by purpose rather than by material
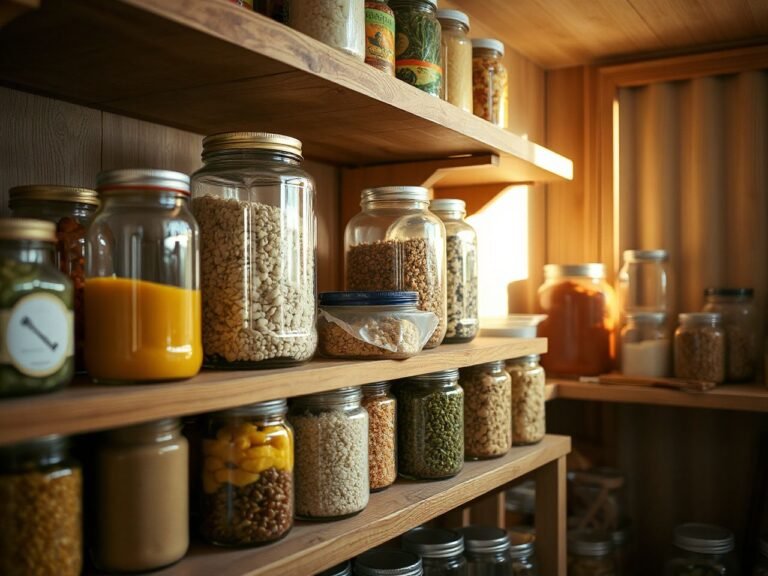
Separate containers for everyday leftovers, freezer portions, dry pantry storage, and transport can make failures easier to spot. A container assigned to dry foods may not need a vent, while a reheating container may need a vented microwave lid. Food storage labels keep those assignments visible.
Use the shape that fits the shelf or freezer drawer, but do not sacrifice closure quality for a perfect stack. A slightly less compact container with a reliable gasket may prevent spills, wasted food, and repeated cleaning.
For a wider kitchen-storage routine, the Food Storage Chart: What You Need to Know Beforehand can sit alongside your container notes, especially when labeling leftovers and planning refrigerator space.
Know when to retire a container
Retire the affected component when a lid no longer closes evenly, a gasket will not stay seated, a valve remains blocked after cleaning, a body is cracked, or a glass rim is chipped. Do not keep using a container for sideways storage simply because the body still appears clean.
Keep usable bodies only when the replacement lid or gasket is the correct match and the resulting closure meets the manufacturer’s instructions. Otherwise, the apparent saving can become a leak, a freezer failure, or wasted food.
Frequently Asked Questions
How do I choose between glass, polypropylene, and stainless steel containers?
Choose by the storage cycle. Borosilicate glass offers visibility but needs care around thermal shock. Polypropylene can suit lightweight storage, subject to its instructions. Stainless steel is not a microwave choice unless the appliance and container directions specifically permit it. In every case, assess the lid, gasket, vents, and replacement parts separately from the body.
What makes a food container genuinely leak resistant?
A leak-resistant container needs a smooth rim, a correctly seated silicone gasket, and a lid whose latches hold the seal evenly around the perimeter. Residue, warping, cracks, or a flattened gasket can compromise that contact. Close the container empty, inspect the full gasket path, and replace damaged parts before trusting the container on its side.
Can I put hot food into a glass or plastic container?
Follow the container maker’s instructions for hot food, cooling, and temperature changes. Glass can crack or shatter from thermal shock, while plastic use depends on the material and stated limits. A vented microwave lid may require a particular vent position. A sealed container does not make perishable food safe indefinitely, so storage guidance still applies.
For related equipment decisions, a cold brew storage and preparation guide can help clarify how a separate beverage container fits into a refrigerator organization plan.