
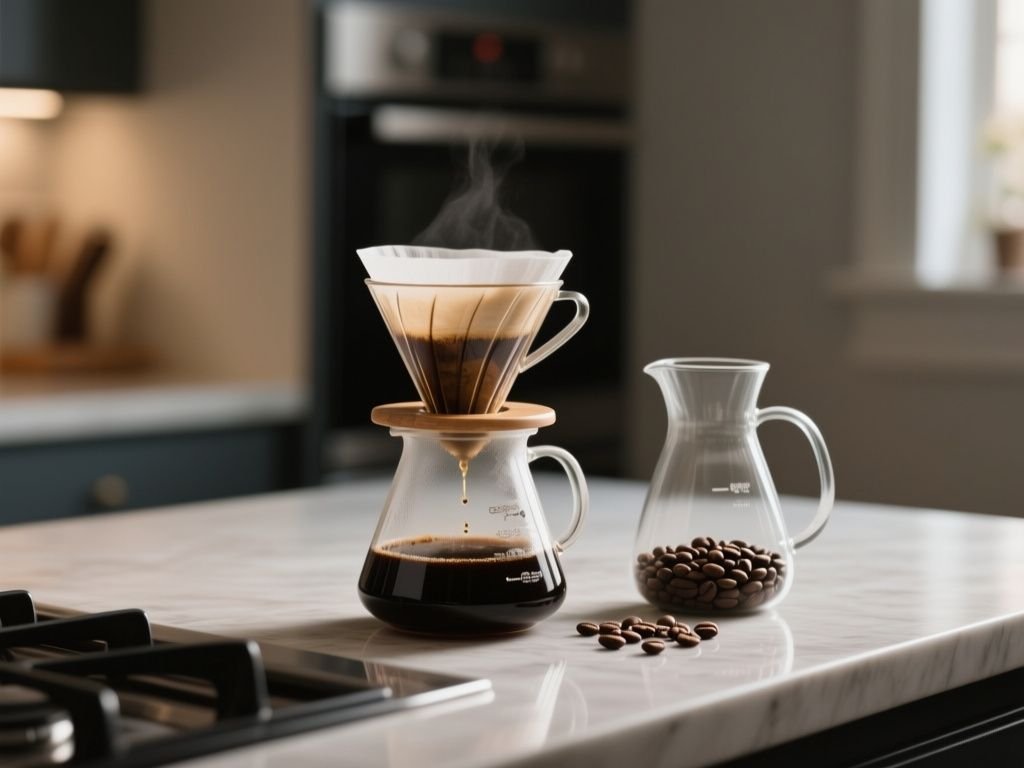
Manual coffee brewing has gained attention as drinkers look for more control than a basic automatic drip machine provides. A useful pour-over coffee maker buying guide must separate the dripper from the rest of the brewing system. The cone or flat-bottom bed controls flow behavior, while grind, water, dose, and pouring technique determine extraction. Material and capacity are practical operating variables too, affecting preheating, heat loss, filter fit, and drawdown rather than deciding flavor by shape alone.
Coffee equipment should be judged by what happens at the sink as much as by what happens over the cup. A brewer that produces a promising cup but traps wet grounds, paper fibers, or coffee oils in awkward seams deserves a harder look.
Key Takeaways
- Dripper geometry controls flow, but grind, dose, water, and pouring control extraction.
- Filter shape and size must match the brewer; cone and flat-bottom filters are not interchangeable.
- Plastic, ceramic, glass, and stainless steel handle heat and cleanup differently.
- A scale, suitable kettle, clean filter interface, and repeatable method matter more than elaborate accessories.
Beginner: Understand the brewer before choosing one
What a pour-over coffee maker actually does
A pour-over brewer is a shaped holder that supports a paper, metal, or cloth filter while water passes through ground coffee and exits into a cup or server. The brewer does not automatically decide the recipe. You control the coffee-to-water ratio, grind setting, water temperature, pouring pattern, and total drawdown.
An automatic drip machine performs the water delivery for you, usually releasing heated water across a brew basket according to its programmed cycle. A manual dripper leaves that delivery in your hands. That difference matters because the same dripper can produce weak, sour, bitter, or muddy coffee when the water path changes.
The SCA Golden Cup Standard is a useful reference point for thinking about brewing quality, but a dripper does not guarantee that a cup meets any standard. The listing may describe the shape and material while omitting the variables that govern extraction.
A pour-over brewer is a passive filter holder, so the brewer alone cannot control extraction. The appliance category called an automatic pour-over coffee maker adds powered heating and water delivery, while a manual dripper depends on the person holding the kettle.
Cone-shaped versus flat-bottom beds
A cone-shaped brewer, such as a Hario V60 or a Melitta dripper, brings the coffee bed toward a narrower outlet. Water has a concentrated path through the grounds, so grind distribution, pouring position, and flow rate strongly affect drawdown. A poorly controlled pour can create channels through the bed or leave parts of the coffee less saturated than others.
A flat-bottom brewer, such as the Kalita Wave, supports coffee across a broader base. The Kalita Wave 185 directs flow through three holes. Its bed geometry and filter shape create a different relationship between water depth, contact with the grounds, and drainage.
Neither shape guarantees superior coffee. Cone and flat-bottom designs simply give water different routes. Your grind, dose, water volume, temperature, and pouring rhythm remain active parts of the system.
The Kalita Wave 185 uses three flow openings, while a cone brewer directs water toward a narrower outlet. That physical difference helps explain why a recipe made for one design may not transfer neatly to another.
Filter interface comes before brand or appearance
Filter compatibility is determined by the brewer’s geometry and size. Cone filters fit cone brewers, while flat-bottom filters fit flat-bottom brewers; the two forms are not interchangeable. A poor fit can create bypass, where water slips around the coffee, or clogging, where the filter presses against an outlet or restricts drainage.
Even filters with similar outlines may differ in height, seam placement, paper structure, and contact with the brewer walls. Match the filter to the exact dripper family and size listed by the manufacturer.
Paper filters are generally single-use. Rinsing a paper filter with hot water can reduce paper taste and preheat the brewer, but rinsing does not replace normal cleaning. Used paper and grounds should be removed before the dripper is washed.
Capacity means more than the label
A brewer may physically hold enough coffee for a larger batch, but practical capacity depends on the filter height, coffee bed depth, server opening, and available space for water. A dripper that works comfortably for a single cup may become awkward when the bed is filled high and the water must be added in several pours.
The brewer, server, and filter must be physically compatible. A dripper that sits loosely on a narrow cup creates a spill risk, while an overfilled filter can collapse or send hot water over the counter. The handle, base, and server opening should all support a stable setup before hot water is added.
Practical capacity is limited by the filter, bed depth, server, and stable water volume rather than by the dripper label alone. If the manufacturer does not list a capacity, judge compatibility from the stated filter size and the vessel opening instead of assigning an unsupported volume.
Intermediate: Match material, heat, and equipment to your routine
Ceramic, glass, plastic, and stainless steel
Ceramic brewers are often chosen for their solid feel and nonmetal brewing surface, but ceramic can absorb heat during preheating. Glass shows the coffee bed and water path clearly, while borosilicate glass offers a material designed for heat use. Glass and ceramic should be protected from sudden temperature changes because thermal shock can cause cracking.
Plastic brewers generally lose less heat to the brewer body than ceramic or glass, which can make the brewing environment easier to keep stable. The precise result depends on construction and room conditions, so a material name alone cannot prove cup quality.
Stainless steel resists breakage and can be practical for travel or a busy sink. Its thermal behavior differs from glass, ceramic, and plastic, and the listing may not state how much insulation or heat retention the particular design provides.
Ceramic and glass brewers can lose heat differently from plastic and stainless steel brewers. Preheating reduces the initial temperature difference between the brewer and brewing water, but the rinse water must be discarded before coffee is added.
Do you need a gooseneck kettle?
A gooseneck kettle is not mandatory. Any kettle that allows a controlled, stable pour can work, provided the water can be directed without flooding one area of the bed. A gooseneck shape makes small, targeted pours easier, especially around the filter edge and across a cone’s surface.
The useful feature is control rather than the curved spout itself. A broad, fast stream can disturb the bed and push fine particles toward the filter, while a restrained stream gives you more control over saturation and flow. The kettle should also be easy to fill, pour, and clean.
Do you need a digital scale and thermometer?
A digital scale is the most useful consistency tool because it lets you repeat the coffee dose and water volume. A starting recipe of 20 grams of coffee with 320 grams of water provides a defined single-cup ratio from which adjustments can be made.
A thermometer can help confirm water temperature, particularly if the kettle does not display it. Brewing quality coffee generally requires water at 195 to 205 degrees Fahrenheit, while coffee makers are frequently described as releasing water at approximately 185 degrees Fahrenheit. That gap matters when comparing a manual kettle with an automatic machine.
The SCA certifies brewers that maintain temperature stability between 195 and 205 degrees Fahrenheit. Certification is a useful specification to look for in an automatic brewer, but it does not remove the need for suitable grind, dose, filter fit, or cleaning.
A scale improves repeatability by measuring both coffee and water instead of relying on volume alone. A thermometer is helpful when temperature is uncertain, but a scale remains the more direct way to repeat the recipe.
For a deeper look at one of the most recognizable cone systems, the Hario coffee maker review and buying guide can sit alongside this general framework. The important point is to evaluate its geometry and filter interface rather than treating the name as a brewing method by itself.
Blooming, pulse pouring, and flow control
Blooming means adding an initial portion of water to wet the grounds before continuing the brew. The purpose is to saturate the bed and allow trapped gas to escape, which helps later water contact the coffee more evenly. A bloom is not a magic switch; an uneven first pour can leave dry pockets behind.
Pulse pouring divides the total water into separate additions rather than pouring everything at once. Each pulse changes the water level and pressure through the bed. Smaller, calmer pours can reduce disturbance, while a large addition may speed flow temporarily and move fines.
Flow rate is the speed at which water enters the brewer. A fast pour can raise the water level and increase agitation; a slow pour gives greater control but can encourage a long drawdown if the bed becomes too compact or fines block the filter.
Blooming wets the grounds before the main pour, while pulse pouring divides water delivery into separate additions. Both methods are ways to control saturation and flow, not substitutes for a suitable grind.
Grind, ratio, and extraction symptoms
A medium-coarse grind is commonly suggested for many automatic drip machines, but a manual pour-over recipe may need adjustment for the specific dripper, filter, coffee, and pouring pattern. Finer particles slow drainage and can increase contact with water. A coarser grind generally opens the flow path, although the cup can become thin if water passes too quickly.
Sour or thin coffee commonly points toward insufficient extraction. Possible causes include a grind that is too coarse for the method, water that is too cool, too little contact with water, or a dose that is too small for the water volume. Change one variable at a time so the result remains understandable.
Bitter or astringent coffee can indicate excessive extraction or an overly aggressive brew path. A grind that is too fine, a slow drawdown, excessive agitation, or very hot water can all shift the balance. The correct adjustment depends on what else changed.
Muddy coffee may come from fines migrating into the filter, a clogged paper interface, excessive agitation, or the use of metal filtration that allows more coffee solids through. A slow drawdown deserves inspection of the grind, filter fit, outlet, and pouring motion before the recipe is abandoned.
Sour coffee often reflects insufficient extraction, while bitter or astringent coffee often reflects excessive extraction. Those descriptions are clues, not diagnoses, so adjust grind, water, dose, or flow separately.
Advanced: Compare methods and manage the sink-side work
Pour-over compared with French press, AeroPress, and automatic drip
A French press uses immersion: the grounds sit in water before the brewed coffee is separated. That design gives the brewer less control over a moving water front but can make the process less dependent on a precise pour. Metal filtration also allows more suspended solids and oils than a paper filter.
An AeroPress uses a compact chamber and manual pressure to move liquid through a filter. Its method differs from a gravity-fed dripper because the plunger adds pressure and the brewer’s short, enclosed shape changes how water contacts the grounds.
An automatic drip machine controls heating and water delivery with powered components. It can be convenient for repeated batches, but the user has less direct control over each pour. A manual pour-over offers more control and more responsibility.
A Chemex combines a glass vessel with a shaped paper filter and a visible brewing path. For readers focused on that system, the Chemex coffee maker review and buying guide explains the design questions that matter without treating every glass brewer as interchangeable.
Cleaning begins with disassembly
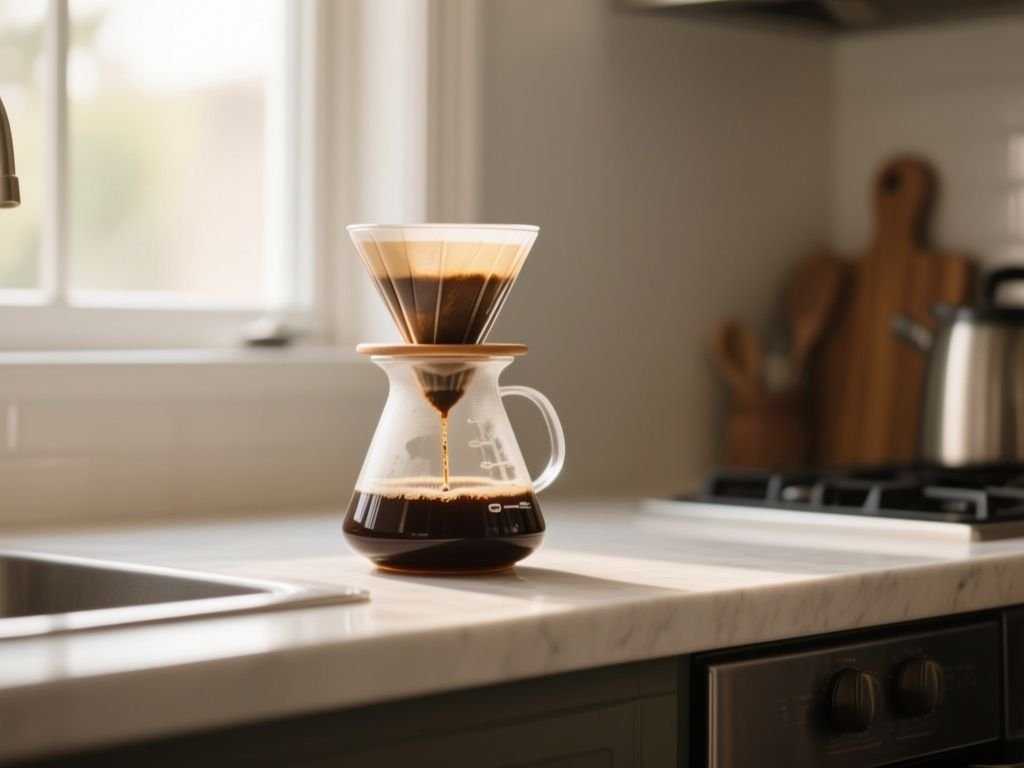
Cleanup-first evaluation starts by asking what separates at the sink. A simple dripper with an open outlet is easier to rinse than a design with hidden channels, narrow recesses, or a permanently attached screen. The filter should lift out cleanly, and the coffee bed should not require scraping that can damage the brewing surface.
After brewing, remove the paper and grounds promptly. Rinse the dripper with warm water, wash coffee residue from the underside and outlet, and allow the parts to dry fully. A clean filter holder does not need to be polished after every brew, but old coffee oils can affect smell and taste if residue remains.
Metal filters need closer attention because coffee oils and fine particles can remain in the mesh. Cloth filters require their own care according to the maker’s instructions. Paper filters reduce the amount of coffee residue in the brewer, but paper is not a replacement for washing.
Cleaning a pour-over brewer requires attention to the outlet, underside, filter support, and any mesh or recess where coffee oils can remain. A brewer that comes apart without tools is generally easier to maintain than one with inaccessible channels.
Mineral scale and water chemistry
Water leaves mineral deposits when it dries repeatedly on brewing equipment. Scale can collect around outlets, kettle spouts, and narrow openings, changing the visible flow path and making cleaning more difficult. The rate depends on the water supply and the equipment, so a fixed descaling schedule cannot be assigned from the dripper name alone.
Use the cleaning method stated by the manufacturer for the material. Avoid sudden temperature changes with glass and ceramic. Do not assume that a metal surface is immune to residue; stainless steel can still show deposits and coffee oils.
Water chemistry also affects flavor, but a dripper listing rarely gives enough information to calculate the result. If coffee changes after the brewer is cleaned, review water source, mineral content, temperature, grind, and dose rather than blaming geometry immediately.
Ongoing costs and replacement parts
Paper filters are a recurring operating cost because they are generally single-use. Filter availability matters as much as the initial brewer material. A less common shape can become inconvenient if the correct size is difficult to find locally or if only one manufacturer’s paper fits properly.
Replacement parts may include a server, lid, handle component, filter support, or proprietary screen, depending on the design. The manufacturer does not list a universal replacement schedule for every brewer, so inspect the product page for separately sold parts before committing to a system.
There are also maintenance costs in time and effort. A brewer that rinses clean in one piece may be cheaper to live with than a more complicated design that needs repeated brushing. That factor deserves real weight because coffee equipment spends more time near the sink than in a product photograph.
Preventive measures for reliable brewing
Use a repeatable setup
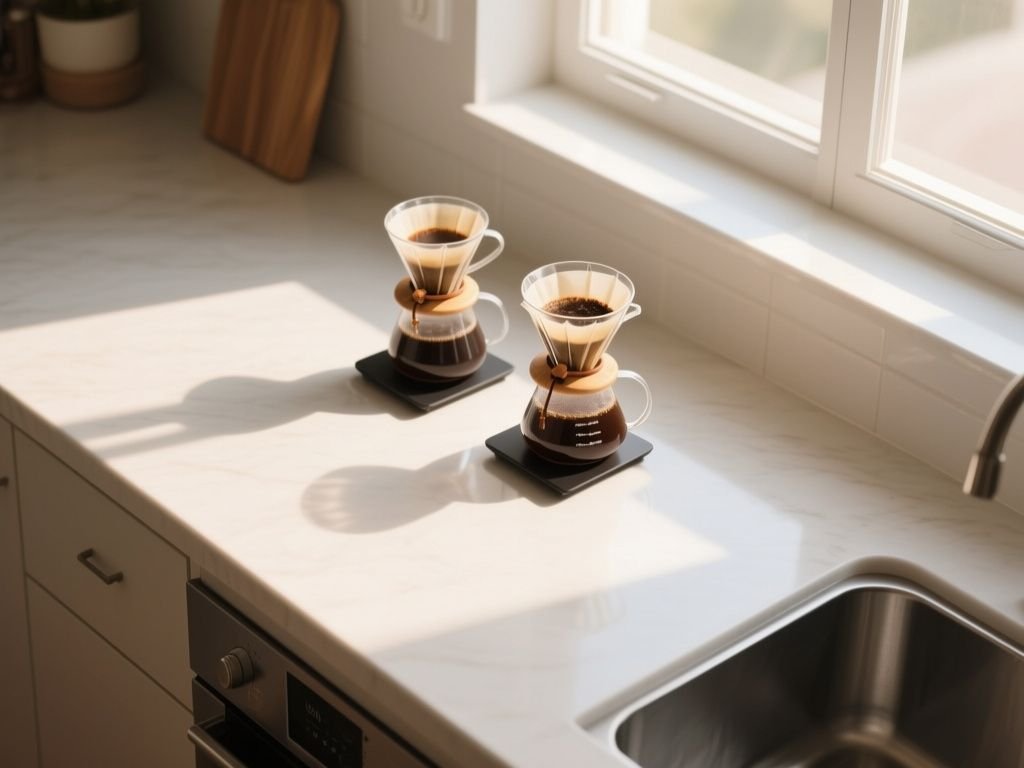
Start with a stable cup or server, the correct filter, a scale, and water that can be poured with control. Set the dripper so its base cannot slide or tip. Place the scale where the display remains visible after the brewer is added.
A practical starting recipe is 20 grams of coffee and 320 grams of water. Use a bloom, then add the remaining water in calm pulses while watching the bed and scale. The exact number of pours is less important than repeating the same pattern before making an adjustment.
Rinse the filter to reduce paper taste and preheat the brewing surface. Discard that water before adding coffee. If the brewer is glass or ceramic, avoid a sudden change between hot and cold conditions because thermal shock can cause damage.
A repeatable pour-over recipe requires a stable setup, a correctly fitted filter, measured coffee, measured water, and controlled pouring. Those basics matter more than adding accessories that do not solve a specific inconsistency.
Diagnose the common failures
- Sour or thin: Check for a coarse grind, insufficient contact, cool water, or too little coffee for the water volume.
- Bitter or astringent: Check for a fine grind, slow drawdown, excessive agitation, or water that is too hot.
- Muddy: Inspect the filter type, filter fit, grind fines, and whether the paper or mesh is clogged.
- Slow drainage: Check the grind, outlet, paper position, and whether pouring has compacted fine particles against the filter.
- Weak body: Check bypass around the filter, water delivery at the edge, and the coffee-to-water ratio.
Make one adjustment at a time. Changing grind, water temperature, pouring speed, and ratio together may produce a different cup, but it will not tell you which change caused it.
Choose the method that matches your priorities
A cone brewer suits someone who wants direct control over flow and is prepared to pay attention to the pour. A flat-bottom brewer offers a different bed geometry and may feel more forgiving of small changes in pouring position, but it still depends on filter fit and grind.
Glass and ceramic can suit a visible, countertop-focused setup, while plastic or stainless steel may make more sense where breakage and heat loss are larger concerns. None of these materials removes the need to rinse, wash, and inspect the outlet.
For readers comparing several Hario shapes and filter systems, the Hario coffee maker buying guide provides a useful companion to the general principles here. The decision should remain grounded in geometry, filter supply, capacity, heat behavior, and cleaning access.
The most suitable pour-over brewer is the one whose geometry, filter supply, capacity, heat behavior, and cleanup fit the user’s routine. Flavor potential matters, but daily maintenance decides whether the method remains practical.
Frequently Asked Questions
What grind size should I use for pour-over coffee?
Start with a grind that allows water to pass through the bed without racing or stalling, then adjust according to taste and drawdown. A coarse setting can produce sour or thin coffee if contact is too brief. A fine setting can slow drainage and produce bitterness or astringency. Change the grind before changing several other variables at once.
Do I really need a gooseneck kettle for manual brewing?
No. A gooseneck kettle makes targeted pouring easier, but consistency comes from controlling the stream and keeping water from bypassing the coffee bed. A regular kettle can work if its flow is manageable. A scale is usually more valuable for repeatability because it measures both coffee and water. A thermometer helps when water temperature is uncertain.
Can one pour-over brewer handle a single cup and a larger batch?
A brewer may handle more than one serving if the filter, coffee bed, server, and dripper remain stable, but practical capacity is limited by geometry. Filling the filter too high can make pouring awkward and increase the chance of overflow or uneven saturation. Check the manufacturer’s stated filter size and capacity rather than assuming that a larger server makes the dripper a batch brewer.
How should I clean coffee oils and mineral scale?
Remove the paper and grounds immediately, then rinse the dripper, outlet, underside, and filter support. Wash any reusable mesh or cloth according to its instructions. Mineral deposits may require the manufacturer’s recommended descaling method, especially around narrow openings. Glass and ceramic should not move abruptly between hot and cold conditions because thermal shock can cause cracking. Safety information for consumer products is maintained by the U.S. Consumer Product Safety Commission.
Are cone filters and flat-bottom filters interchangeable?
No. Cone filters and flat-bottom filters are designed for different brewer geometries. A poor fit can allow bypass or restrict drainage, leading to uneven extraction or clogging. Match the paper shape and size to the exact dripper.
What water temperature should a pour-over use?
Brewing quality coffee generally requires water at 195 to 205 degrees Fahrenheit. Some coffee makers release water at approximately 185 degrees Fahrenheit, which can be below that range. The SCA certifies brewers that maintain temperature stability between 195 and 205 degrees Fahrenheit. The NSF also provides information about product standards and certification, but certification does not replace correct grind, dose, filter fit, or pouring technique.


