
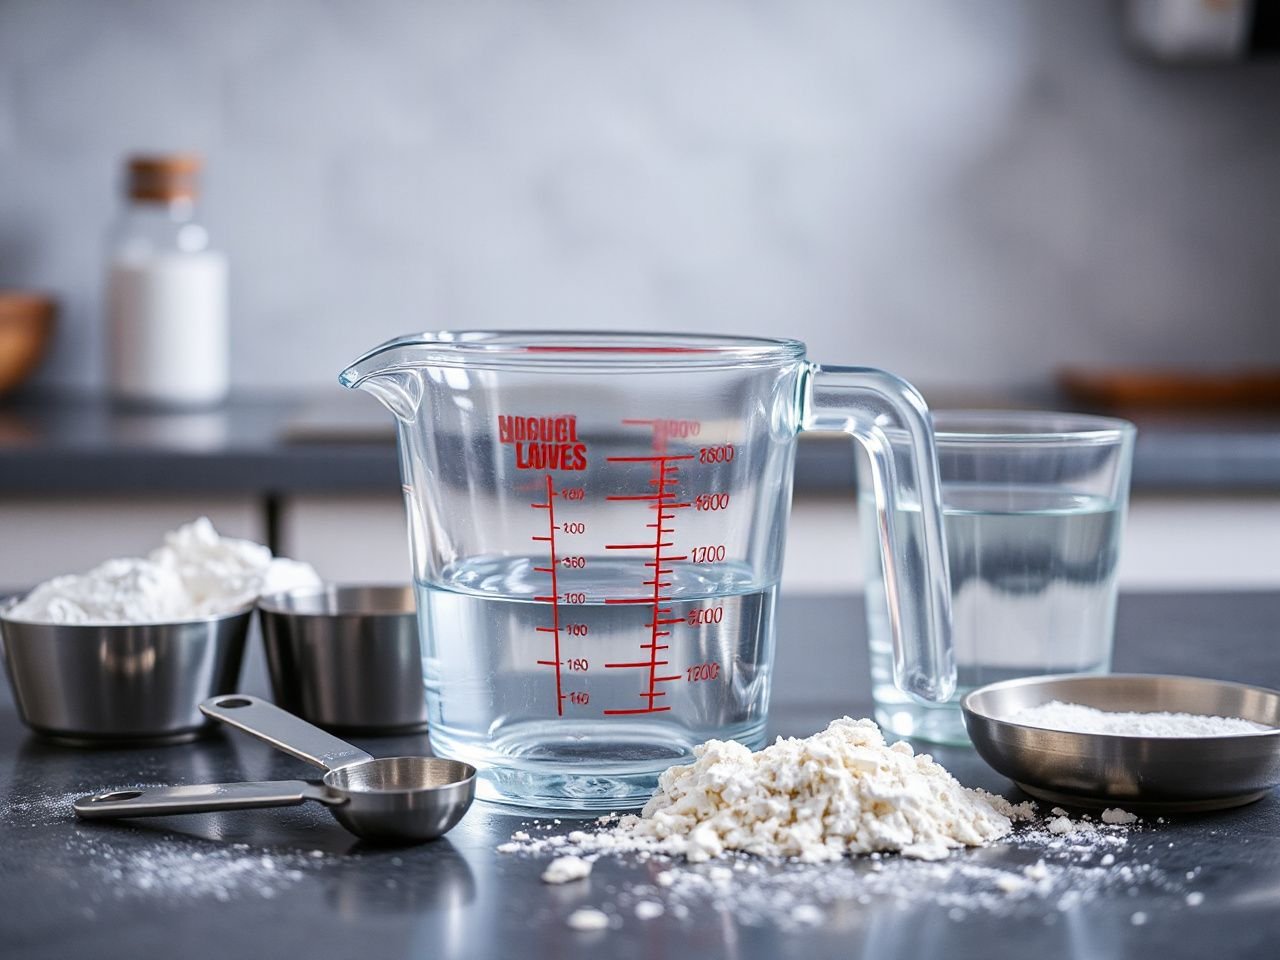
Flour keeps coming out heavy, oil spills over the counter, and a recipe that should be simple turns into a small argument with the measuring tools. Dry and liquid measuring cups explained plainly: the key distinction is not that dry cups and liquid cups hold fundamentally different units of volume; it is that their shapes support different measurement actions. Dry ingredients are normally filled and leveled or deliberately packed, while liquids are brought to a line and read by the meniscus, so ingredient texture, cup geometry, and the recipe’s cup standard all affect the result.
Key Takeaways
- Dry cups are filled to the rim, then leveled or packed according to the ingredient.
- Liquid cups leave headspace and should be read at eye level at the bottom of the meniscus.
- A US customary cup, US legal cup, and metric cup are not identical volumes.
- Weight is more repeatable than volume when a recipe supplies a mass measurement.
Dry and liquid measuring cups explained: the actual difference
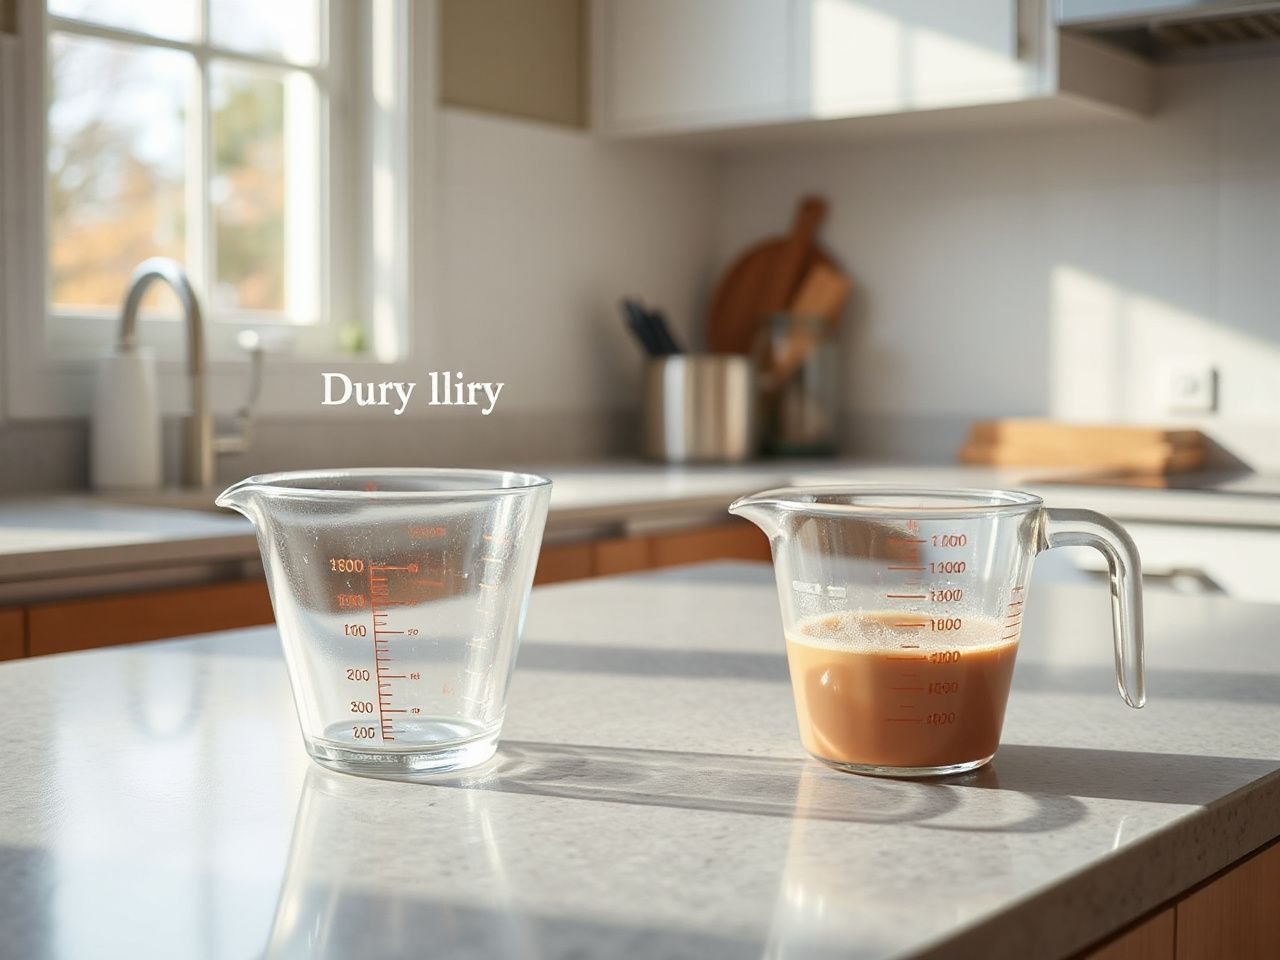
A dry measuring cup is designed to hold a quantity that can be brought level with its rim. A liquid measuring cup is designed to hold a quantity below the rim, with graduated lines that can be read while the cup remains upright. The distinction concerns control and reading, not two separate kinds of volume.
Dry measuring cups are commonly used for flour, granulated sugar, oats, rice, chocolate chips, and similar ingredients. The cup is filled, the ingredient is settled or packed when the recipe calls for it, and excess is removed with a straight edge. Liquid measuring cups suit water, milk, oil, melted butter, syrups, and other pourable ingredients because the visible markings allow space for movement without immediate overflow.
A dry measuring cup is intended to be filled to the rim and leveled, while a liquid measuring cup is intended to be read at a marked line with headspace above the liquid. That sentence explains why the tools look different even when both display cups or millilitres.
Why the shapes support different actions
Dry cups usually present a clear rim. That rim gives a scraper or knife a reference point, making the spoon-and-level method practical. A liquid cup generally has a deeper body, a pouring edge, and space above the highest marking. The extra space allows a liquid to settle and be carried without sloshing over the side.
The headspace is functional. A full liquid cup filled to its physical rim would leave little room for movement, and the liquid could spill before you transferred it to the bowl. A liquid measuring cup therefore asks you to stop at the line rather than fill the vessel completely.
Measurements marked on a cup can describe volume in a United States customary system or in the International System of Units (SI), usually shown through millilitres or mL. The physical shape does not make a cup of flour equivalent to a cup of sugar by weight. Volume tells you how much space an ingredient occupies; weight tells you how much mass it has.
Do ounces mean the same thing?
Fluid ounces measure liquid volume, while ounces on a scale measure mass. The word is shared, but the measurement is not automatically interchangeable. Eight fluid ounces equal one cup of liquid, yet a cup of flour does not weigh eight ounces. One cup of all-purpose flour is listed as 4.5 ounces by weight, and slightly more than 6 ounces is the weight of one cup of chocolate chips.
Fluid ounces describe volume, whereas ounces on a kitchen scale describe mass. Confusing those two readings can change the amount of flour, sugar, oil, or chocolate in a recipe even when the displayed number looks familiar.
Causes of inaccurate cup measurements
Most measuring errors begin before the ingredient reaches the bowl. A cook may use the right number but the wrong action: scooping flour directly from a packed container, reading oil from above the line, or treating brown sugar like loose white sugar.
Flour settles and packs
Flour contains many small particles with air spaces between them. A direct scoop can compress those spaces and collect more flour than a spoon-and-level measurement. The result may be a denser dough or batter because the cup contains more flour by mass than the recipe writer intended.
Use a spoon to place flour into a dry cup without pressing it down. Let the flour rise above the rim, then sweep across the top with a straight edge. Do not tap the cup repeatedly against the counter unless the recipe specifically instructs you to settle the ingredient.
The spoon-and-level method reduces the packing caused by scooping flour directly from a container. It also gives the rim a clear job: the excess is removed rather than compressed into the cup.
Brown sugar is meant to be packed
Brown sugar is the important exception to the loose flour technique. If a recipe says packed brown sugar, press the sugar firmly into the dry cup so that it holds the cup’s shape when turned out. Fill the cup as directed, compressing the ingredient as you go, and level the top at the rim.
The instruction matters because brown sugar can occupy different amounts of space depending on how loosely it is placed. A loose cup and a packed cup are different measurements by mass even though both use the same cup volume.
Liquids are read at the wrong angle
A liquid surface curves where it meets the sides of a measuring cup. That curve is the meniscus. For ordinary water-based liquids, place the cup on a level counter, bend or lower your head until the marking is at eye level, and read the bottom of the curve against the line.
Looking down into the cup makes the liquid appear higher than it is. Looking up makes it appear lower. Holding the cup in the air also makes the line harder to judge because the vessel may tilt without being obvious.
A liquid meniscus should generally be read at eye level with the cup resting on a level surface. This simple position prevents a viewing angle from becoming an extra, unmeasured variable.
Oil, milk, and sticky ingredients behave differently
Oil can cling to the sides of a cup and leave a film behind, so pour slowly and wait for the surface to settle before reading. Milk is opaque, which can make the surface line less visually sharp; eye-level reading becomes especially important. Syrup, honey, and similar viscous ingredients may move slowly, so allow the liquid to settle and use a flexible scraper when the recipe requires the full amount to leave the cup.
For sticky ingredients, a cup with a pouring shape is not automatically the easiest tool. If the recipe gives a weight, a kitchen scale removes the need to judge how much remains coating the cup. If the recipe gives volume, scrape the cup deliberately rather than assuming the last film is insignificant.
Solutions: how to measure each ingredient correctly
Step 1: Check the recipe’s measurement system
Before choosing a cup, check whether the recipe uses US customary cups, metric cups, millilitres, or weight. Recipes do not always use those labels consistently, so a recipe’s origin and stated units can matter.
Small differences may matter more in baking than in a loose mixture, particularly when several cup measurements appear in the same recipe. If the directions provide grams or another mass unit, use that measurement with a scale rather than converting it casually to cups.
These standards are close, but they are not the same amount.
Step 2: Select the appropriate cup
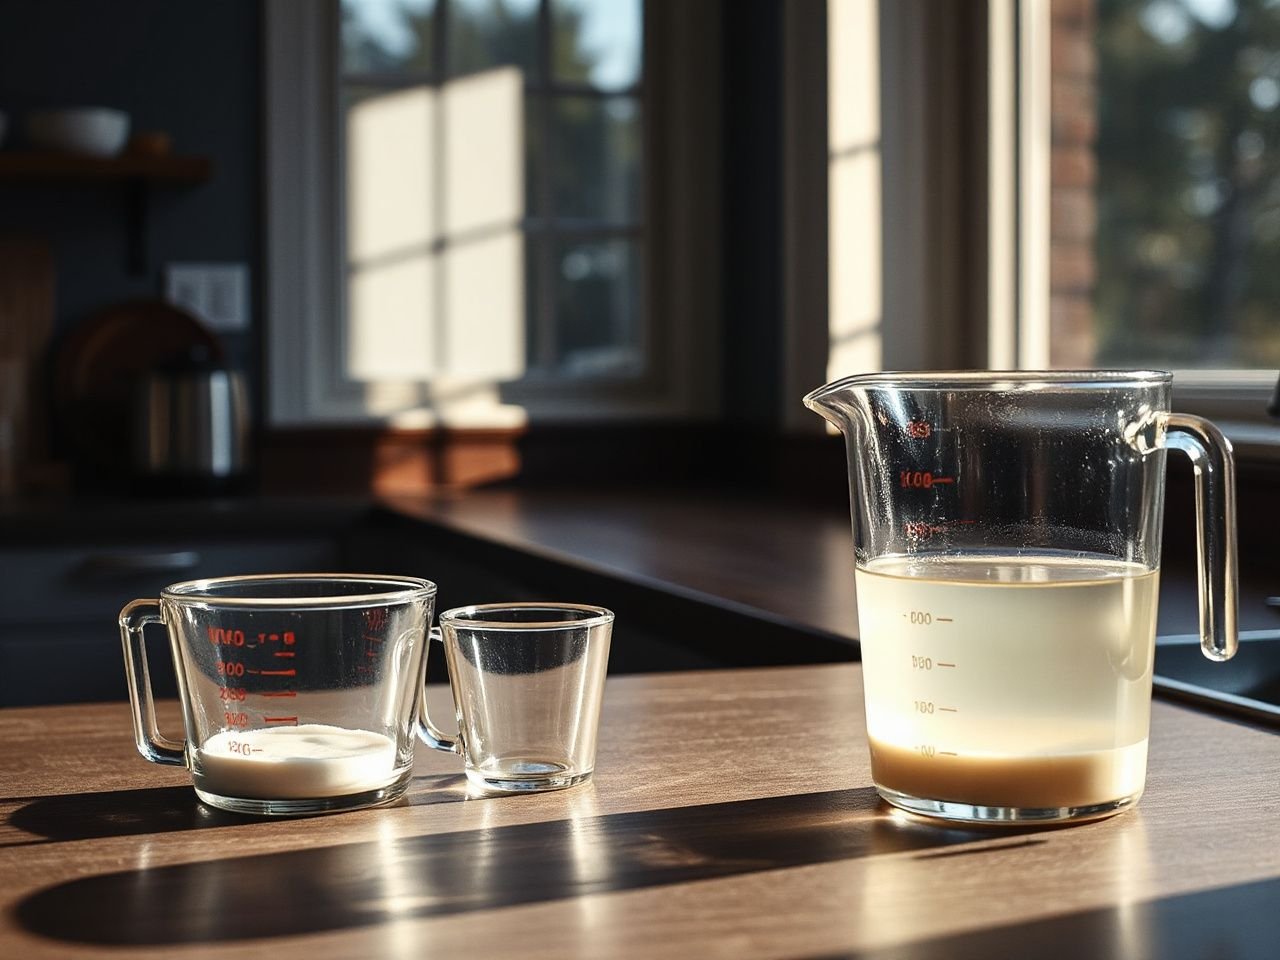
Use a dry cup for ingredients that need filling to a rim and leveling or packing. Use a liquid cup for ingredients that need to be brought to a line and read without filling the vessel to its top.
A liquid cup can serve as an emergency substitute for some dry ingredients, especially when the quantity is not sensitive and no dry cup is available. The deeper shape and headspace make it harder to sweep off excess, however, and dry ingredients may be awkward to transfer without spilling. A dry cup can hold liquid, but filling it to the rim leaves no useful headspace and makes a level reading difficult.
A liquid measuring cup is a workable emergency container for some dry ingredients, but its headspace and shape make leveling less precise. For a recipe where flour quantity affects structure, use the intended dry-cup method or weigh the ingredient instead.
Step 3: Measure flour and loose dry ingredients
- Fluff the ingredient lightly with a spoon if it has settled in storage.
- Spoon the ingredient into the dry cup until it rises above the rim.
- Keep the cup still and sweep across the top with a straight edge.
- Transfer the ingredient without shaking the cup down unless the recipe asks for that action.
A sifter may be useful when the recipe specifically calls for sifting, but sifting and measuring are separate actions unless the directions combine them. Do not assume that a sifted cup and an unsifted cup contain the same mass.
Step 4: Measure sugar and brown sugar
Granulated sugar usually behaves more predictably than flour because its crystals settle differently, but it still needs a level top when measured in a dry cup. Sweep away the excess rather than guessing from the side of the cup.
For brown sugar, follow the packing instruction precisely. Press it into the cup so there are no large air gaps, then level the surface. If the recipe does not say packed, do not add that step automatically; the wording determines the intended density.
Step 5: Measure water, milk, and oil
Place the liquid cup on a flat surface. Pour slowly until the liquid reaches the requested line, then lower your eyes to the marking. Read the bottom of the meniscus rather than the upper edge of the curved surface.
Pouring to a line while holding the cup in one hand is convenient but less controlled. The cup can tilt, and the apparent level can shift. For a small quantity, a measuring spoon may be more practical, provided the spoon is filled to its intended level and transferred carefully.
For oil, allow the surface to stop moving before reading. For milk or another opaque liquid, use the line and the lower part of the meniscus as consistently as the liquid allows. For honey or syrup, scrape the cup into the bowl when the recipe expects the entire measured amount.
Step 6: Transfer and check the result
After measuring, move the ingredient without adding an unplanned settling step. A few taps can compact flour, while a vigorous pour can leave a coating of syrup or oil behind. The more sensitive the recipe, the more important the stated measuring action becomes.
If a recipe mixes volume and weight, do not replace one with the other by matching the printed number. A cup is space; an ounce on a scale is mass. Ingredient density determines how much material occupies that space, which is why flour, sugar, brown sugar, oil, and water produce different masses for a cup.
If you are preparing ingredients for a larger bake, a half sheet pan explained for home cooks can provide useful context for pan terminology, but it does not change how ingredients should be measured.
Preventive measures for reliable measuring
Keep markings visible
Markings are part of the tool’s function. Wash residue from the outside of a liquid cup so measurement lines remain readable, especially after using oil, syrup, or colored ingredients. Avoid storing a cup where other utensils scrape directly across printed graduations.
The listing or packaging for a particular cup may state whether markings are printed, molded, or otherwise applied, but no generic care assumption should replace the actual instructions. If the lines fade, become difficult to read, or no longer align with the cup’s shape, measurement confidence falls with them.
Prevent warping, cracks, and poor fit
Do not rely on a cracked, warped, or unreadable measuring cup. A crack can catch residue and make cleaning incomplete, while a warped rim makes leveling inconsistent. A distorted liquid cup can also make the marked line harder to interpret because the vessel may not sit or pour as intended.
Replacing damaged measuring equipment is usually an ongoing kitchen-maintenance cost rather than a one-time purchase issue. The practical concern is accuracy first: a tool that cannot provide a clear rim or readable line should not be treated as dependable.
Food-contact equipment is subject to requirements overseen by the U.S. Food and Drug Administration, but the presence of a cup in a kitchen does not prove that its markings are accurate or that it is suitable for every care method. Follow the manufacturer’s care information and retire tools that are cracked, warped, or unreadable.
Clean without destroying the reference points
Wash measuring cups according to their material and the maker’s instructions. Remove sticky residue before it dries, because a coating can alter the visible edge of a liquid and make a dry cup harder to level. Dry the cups fully before nesting them so trapped moisture does not turn loose ingredients into paste inside the storage stack.
Store dry cups together if their handles or rims remain accessible. Keep liquid cups upright or in a position that protects their spout and markings. A crowded drawer can bend thin rims or rub away printed graduations over time.
Readable markings and a straight rim are essential functions of a measuring cup, not cosmetic details. Cleaning and storage protect the two reference points used for nearly every volume measurement.
Know when volume should give way to weight
Volume measuring is useful when a recipe is written that way and the ingredient is easy to level or read. Weight is the stronger choice when the recipe supplies mass, when the ingredient is sticky, or when repeatability matters. A scale also avoids the problem of converting a cup of one ingredient into the weight of another.
Ingredient density explains the difference. One cup of flour has a different mass from one cup of sugar, and a cup of brown sugar can change in mass depending on whether it is packed. A volume substitution may therefore change texture, rise, sweetness, or moisture even though the cup count seems correct.
A kitchen scale does not make measuring cups useless. It replaces more of the guesswork when the recipe is written by mass, while dry cups and liquid cups remain convenient for recipes written by volume.
For readers organizing a preparation area, the same rule applies to other kitchen tools: keep equipment that performs a distinct job and retire damaged items that create uncertainty. A tool earns drawer space by making the intended action clearer, not merely by adding another shape to the collection. The guide to choosing and using a half sheet pan follows a similar principle for pan terminology and preparation planning.
Does the wrong cup matter enough to change a recipe?
Sometimes the difference is small; sometimes it is exactly what causes a recipe to fail. Using a dry cup for a liquid can be acceptable in an emergency if the cup can be filled carefully and the quantity is forgiving. Filling that cup to its rim, carrying it across the kitchen, and assuming the surface is level is a poor substitute for reading a liquid line.
Using a liquid cup for flour is less precise because the cup’s headspace prevents the clean sweep used by the spoon-and-level method. The cook may shake the cup to settle the flour, creating a denser measure, or stop below the line because the flour is difficult to level. Neither action necessarily matches the recipe.
The wrong measuring cup can change a recipe when its shape alters how an ingredient is filled, leveled, packed, or read. The risk rises with flour-heavy baking and other formulas where ingredient ratios control the final structure.
Do not treat a dry cup as a liquid-to-dry conversion device. A one-cup dry measure and a one-cup liquid measure refer to volume, but their useful operating methods differ. The cup type helps you perform the measurement correctly; it does not repair an unclear recipe standard.
Frequently Asked Questions
Can I use a dry measuring cup for liquid?
Yes, as an emergency substitute, but fill it carefully and accept less control. A dry cup is intended to be filled to the rim and leveled, while a liquid cup leaves headspace and uses a marked line. A dry cup filled with liquid can spill during transfer, and its rim gives you no convenient way to read a meniscus below the top. For sensitive recipes, use a liquid cup or weigh the ingredient when the recipe supplies a mass.
Can I use a liquid measuring cup for flour and sugar?
You can, but the result is harder to control. A liquid cup’s deeper body and headspace make it awkward to fill and sweep level, so flour may settle or compress unevenly. Granulated sugar is generally easier to handle than flour, yet a dry cup remains the clearer tool because its rim provides the reference for leveling. Brown sugar still requires packing when the recipe specifies it.
How should I read the meniscus without measuring too much?
Set the liquid cup on a level counter and bring your eyes to the height of the marking. Read the bottom of the curved meniscus rather than the upper edges. Pour slowly, let the surface settle, and check again before transferring the liquid. Oil may cling to the sides, while opaque or viscous ingredients can require extra settling or scraping. Holding the cup above the counter encourages a tilted reading.
Are a US cup and a metric cup the same amount?
No. Recipes do not always identify the cup standard clearly, so check the units and context before converting. When a recipe supplies a weight, use the weight instead of treating these nearby but different cup volumes as interchangeable.
Why can measuring by volume give different results from weighing?
Volume measures space, while weight measures mass. Ingredient density and packing change how much material occupies that space. Flour, sugar, brown sugar, oil, and water therefore do not share the same mass per cup. Directly scooping flour can add more mass than spooning and leveling it, while packed brown sugar intentionally places more material into the same cup. A scale is preferable when the recipe gives a weight.
Dry and liquid measuring cups explained in practical terms: choose the tool that matches the measuring action, follow the ingredient instruction, and check the recipe’s cup standard before assuming two cups mean exactly the same thing. That approach keeps a simple utensil from becoming a hidden source of error.
