More home cooks are shifting from volume measures toward weighing ingredients, especially for baking by weight, coffee brewing ratios, and portion control. A useful kitchen scale buying guide should begin with the distinction between capacity, readability, repeatability, and accuracy: a scale may handle a heavy bowl yet still be unsuitable for detecting small ingredient changes, or display fine increments without producing dependable results.
The guide should also separate features that affect measurement from conveniences such as tare control, unit switching, power options, and platform design. Calibration and surface conditions belong in the performance discussion, not in a footnote. A scale that reads well only on a perfectly chosen surface is less useful than its specification sheet suggests.
Key Takeaways
- Choose capacity and readability according to the ingredients and containers you actually weigh.
- Use tare control between ingredients, and place the scale on a hard, level, stable surface.
- Check calibration, cleaning limits, battery access, charging connections, and overload guidance before relying on a scale.
Beginner: Start with the Measurement Job
Capacity is the upper limit, not a promise of fine measurement
Capacity describes the greatest total load a scale is designed to handle. The total includes the container and everything inside it. A large bowl can use much of that available capacity before any ingredient is added.
Readability describes the smallest displayed increment. A scale that displays grams in fine steps may help with small additions, while a scale with a broader increment may be adequate for larger quantities. Capacity and readability answer different questions.
Weighing capacity tells you how much total load a scale can support, while readability tells you how small a displayed change the scale can show.
For context, the Escali Primo Digital Scale is listed with a maximum load of 5 kilograms or 11 pounds and readings in 1-gram or 0.05-ounce increments. Those figures describe a particular scale; they should not be treated as a universal kitchen standard.
- Choose capacity by adding the expected ingredient load to the container load.
- Choose readability according to the smallest change that matters in your recipe or preparation routine.
- Check both figures in the manual or product documentation rather than assuming that a larger platform has finer readings.
Digital or mechanical kitchen scale?
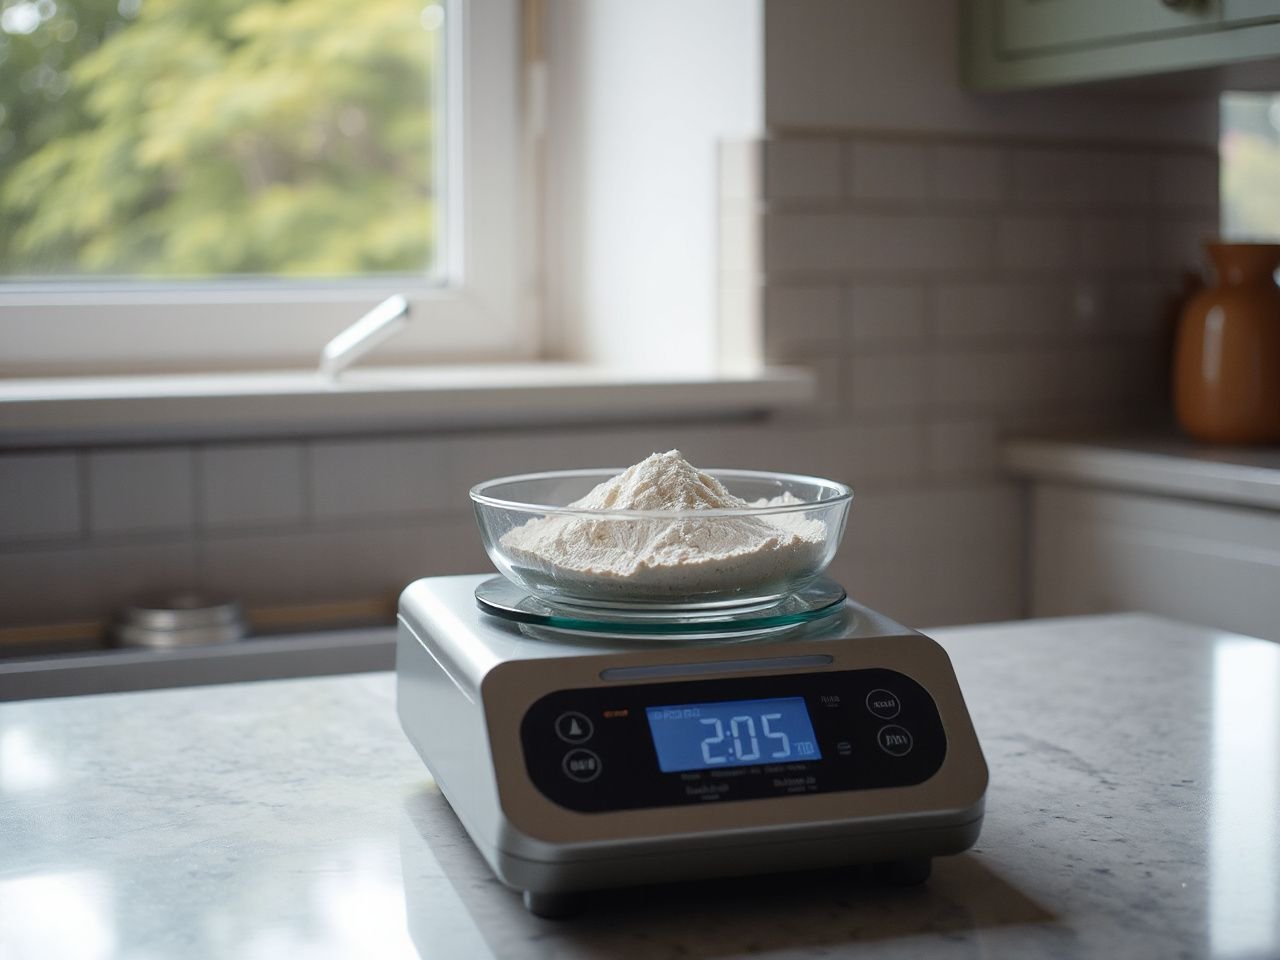
A digital kitchen scale uses an electronic load cell. A strain gauge connected to that load cell changes its electrical response as the load presses on the weighing mechanism, and the display converts that response into a weight reading. The reader sees the result on an LCD display or another electronic readout.
A mechanical kitchen scale uses a physical spring or balance mechanism and presents the result on a dial or similar indicator. Its operation does not depend on batteries or a USB charging port, but the dial can be harder to read precisely when the pointer sits between marked divisions.
A digital kitchen scale converts load-cell movement into an electronic reading, while a mechanical kitchen scale shows the load through a physical mechanism.
I would choose digital operation for recipes that depend on small changes, repeated tare measurements, or switching between units. A mechanical scale can suit someone who prefers a visible physical dial and does not need electronic controls. Neither design becomes accurate simply because it looks simple.
Consider the maintenance tradeoff. A digital model may require batteries or charging and may have a display that becomes difficult to read if a bowl blocks it. A mechanical model avoids those power questions but still needs a stable setup and a readable, properly aligned dial.
How a scale measures food
The weighing platform transfers the force of the container and its contents to the load cell. The load cell responds to that force, while the strain gauge detects the associated change and the electronics calculate the displayed value.
That explanation matters because the platform is part of the measurement path. A container that rocks, a scale resting on a soft surface, or pressure applied away from the platform can produce a reading that moves or fails to settle.
The displayed number is not a direct count of ingredients. It is the scale’s interpretation of the load applied through its weighing platform.

Intermediate: Match Features to the Way You Work
Tare control and ingredient-by-ingredient weighing
The tare function subtracts the weight already sitting on the platform. Place the empty bowl on the scale, activate tare, and add the first ingredient. After recording or confirming that amount, reset tare before adding the next ingredient.
The tare function subtracts a container’s weight, but the scale must be reset before each additional ingredient.
For a multi-ingredient recipe, the practical sequence is simple:
- Place the empty container on the platform.
- Press tare and confirm that the display returns to the reset indication described by the manual.
- Add one ingredient and check the displayed amount.
- Press tare again before adding the next ingredient.
- Repeat until the recipe is complete.
Forgetting the second reset is a common source of error. The next ingredient may appear to weigh correctly only if the previous ingredient’s mass has been removed from the calculation. The scale cannot know that a new ingredient has started unless the user resets the reference point.
Unit switching and readability
Unit switching helps when a recipe uses grams, ounces, or another setting supported by the scale. The control is convenient, but it does not improve the underlying measurement. A scale that changes units still needs a suitable capacity, readable display, and stable placement.
Readability becomes especially relevant for small quantities. A displayed change may be visible without being dependable if the surface vibrates, the container moves, or the scale has not settled. For a typical cup of flour, the listed weight range is approximately 120 to 150 grams, so the recipe’s method and flour quantity still matter alongside the scale’s displayed increment.
A standard serving of pasta is listed at approximately 56 grams. Portion control therefore benefits from a scale that can show small changes clearly, but the user should still follow the recipe or serving guidance rather than treating one displayed number as a universal portion rule.
Platform shape and display placement
A weighing platform needs enough usable area for the bowls and food-preparation containers you plan to use. A large container can hide an LCD display, so a pull-out, raised, or separated display may affect convenience even though it does not change the measurement principle.
Platform design also affects cleaning. Crevices around controls, seams, and the display can collect flour or liquid. The manufacturer’s cleaning instructions take priority because construction varies between scales.
The Escali Primo Digital Kitchen Scale is listed with dimensions of 8.5 x 6 x 1.5 inches. That figure can help a reader compare available counter space, but dimensions alone do not show how much of the top is usable for a particular bowl.
Power choices and ongoing costs
Digital scales may use replaceable batteries, rechargeable batteries, a USB charging port, or a combination described by the manufacturer. A replaceable-battery design makes the battery compartment important. A rechargeable design makes the charging connection and cable compatibility important.
The listed Escali Primo Digital Kitchen Scale uses AA batteries. Its documentation also lists automatic power-off behavior after about four minutes, while another listing gives an auto shut-off time of four minutes and thirty seconds. The difference shows why the manual for the exact version matters.
Battery access and charging connections are part of a scale’s ownership requirements, not minor details.
- Confirm which batteries the manual specifies before buying replacements.
- Check whether the charging port must remain dry and how the manufacturer says to clean around it.
- Consider auto-off behavior if a recipe requires pauses between additions.
- Keep the manual available for battery replacement and charging instructions.
Do not assume that a USB charging port makes a scale suitable for wet work. Charging hardware and liquid exposure have to be treated according to the manufacturer’s instructions.
Intermediate: Prevent Inconsistent Readings
Use a hard, level, stable surface
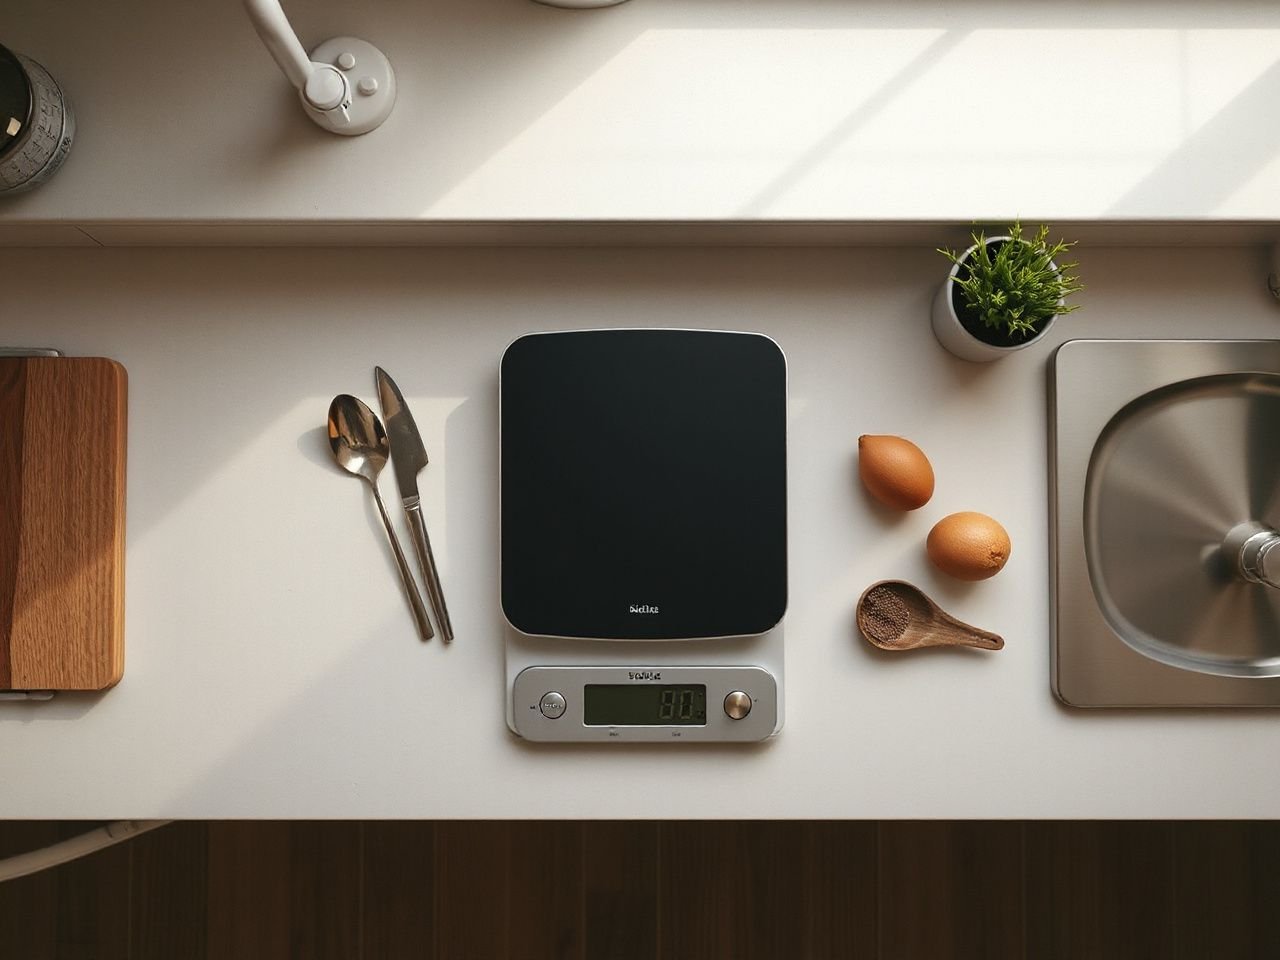
A scale should sit on a hard, level, stable surface. Soft or uneven surfaces can distort the way force reaches the load cell and may cause a reading that changes when the scale or container shifts.
A hard, level, stable surface gives the weighing platform a consistent base for measurement.
A counter covered by a soft mat, a surface with crumbs underneath one foot, or a board that rocks can create problems before any ingredient is added. Clear the area, set the scale down, and check that it does not wobble when the platform is touched lightly.
Control drafts, vibration, and movement
Drafts can disturb a light container or ingredient. Vibration from nearby equipment can keep the display from settling. A moving bowl can make the number rise and fall even when the total food has not changed.
Place the scale away from active equipment that shakes the counter. Keep the container centered and still. Add ingredients gradually, then wait for the display to settle before judging the amount.
Respect the maximum load
Overloading the weighing platform can damage the load cell. A container that seems empty may already use part of the available capacity, so the ingredient allowance is always lower than the headline maximum once the container is included.
Never use a scale as a general platform for heavy cookware unless the manufacturer says that the load is supported. Hot cookware also raises a separate question about heat exposure and surface damage.
Calibration when readings seem wrong
Calibration requires a suitable known weight and the manufacturer’s procedure. An arbitrary household object is not a dependable calibration reference simply because its label gives an approximate mass.
A kitchen scale should be calibrated only with a suitable known weight and according to the manufacturer’s procedure.
- Read the manual for the exact calibration sequence.
- Place the scale on a hard, level, stable surface.
- Use the known calibration weight specified or accepted by the manufacturer.
- Follow the displayed prompts without leaning on the platform.
- Repeat a normal weighing check after calibration.
Calibration cannot correct every problem. A damaged load cell, an overloaded platform, liquid inside the housing, a weak power source, or an unstable surface may still produce poor readings. If the scale is inconsistent after the correct procedure, stop relying on it for precise work and consult the manufacturer.
Advanced: Cleaning, Heat, Liquids, and Safe Use
Cleaning without exposing the electronics
Cleaning instructions depend on the scale’s construction. Wipe food residue according to the manual, keep liquid away from openings, and do not immerse the scale unless the manufacturer expressly permits it.
Flour can enter seams and buttons, while liquid can reach the display, battery compartment, or USB charging port. A removable platform, if provided by the manufacturer, may have different cleaning instructions from the main housing.
A kitchen scale should be cleaned according to its construction and manual because liquid exposure can affect electronic parts and power connections.
Use a food-safe cleaning approach only where the manufacturer’s instructions support it. Do not spray directly into controls. Dry the surface before storing the scale or connecting a charger.
For general consumer-product safety information, the U.S. Consumer Product Safety Commission provides guidance within its consumer-safety remit. The scale’s own manual remains the controlling source for cleaning, liquid exposure, battery handling, and charging instructions.
Hot cookware and liquids
A kitchen scale may be useful for liquids and large bowls, but the safe method depends on the platform, container, temperature limits, and manufacturer instructions. Do not place hot cookware on the scale unless the manual says that the scale can accept it.
For liquids, use a stable container and keep spills away from the housing. Tare the empty container before pouring. A food thermometer may be the correct tool for checking temperature; a kitchen scale measures load, not heat.
A kitchen scale should not be used with hot cookware or spilled liquids unless the manufacturer permits that use.
For broader food-safety information, consult the U.S. Food and Drug Administration. That general information does not replace the scale manual’s instructions for heat, moisture, or cleaning.
Scales compared with cups and spoons
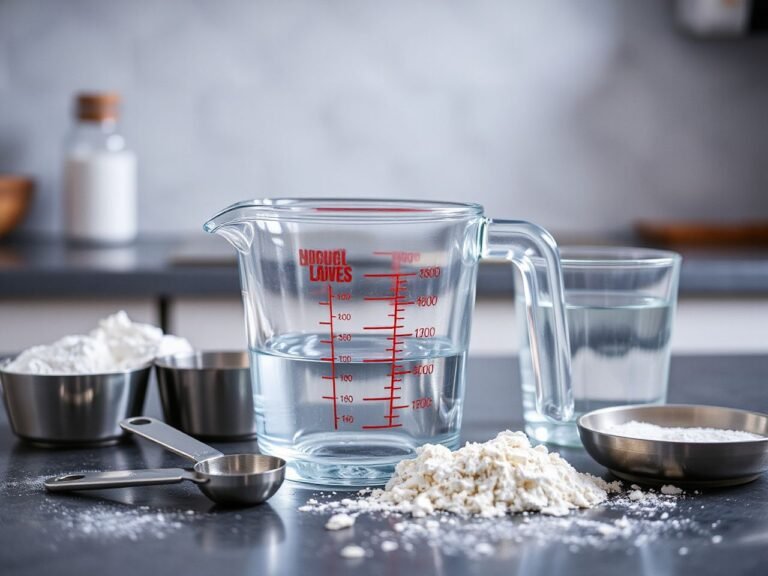
Measuring cups and measuring spoons measure volume. A scale measures mass. Ingredients with different packing, settling, or density can occupy the same volume while weighing different amounts, which is why baking by weight can make the intended ingredient quantity easier to reproduce.
Cups and spoons remain useful for small liquid amounts and recipes written specifically around volume. A scale becomes more helpful when a recipe gives weights, when several dry ingredients go into one bowl, or when portion control requires a repeatable mass.
Measuring cups measure volume, while kitchen scales measure mass; the two methods are not interchangeable without a reliable conversion.
Use the method the recipe specifies unless you have a trusted conversion. A cup of flour can sit anywhere in the listed range of approximately 120 to 150 grams, depending on how it is filled and settled. That spread is enough to make technique relevant even before the scale’s readability is considered.
Read the specification as a system
A specification sheet is useful only when its parts agree with your routine. Capacity, readability, tare behavior, display placement, power source, platform size, cleaning limits, and calibration instructions should be considered together.
The useful distinction is between measurement performance and convenience. A tare button improves workflow, unit switching reduces mental conversion, automatic shut-off affects pauses, and a well-placed display makes the result easier to read. None of those features proves that the scale will repeat a reading on an unstable surface.
For the same reason, a knife-prep station benefits from tools chosen for their working behavior rather than appearance. Our Kitchen Knife Set Buying Guide: What Matters in 2026 applies a similar distinction between headline features and the details that affect repeated prep.
Advanced: A Practical Selection Checklist
Step 1: Define the smallest meaningful change
List the tasks that matter: bread dough, flour, pasta portions, coffee brewing ratios, liquids, or food-preparation containers. Identify the smallest ingredient change you need to see. That answer guides readability more effectively than choosing a scale because it has a large maximum capacity.
Step 2: Define the largest complete load
Choose the container you use most often and add the largest ingredient load you expect to place inside it. Compare that combined load with the stated capacity. Leave room for the real container, not only the food.
Step 3: Check the working surface
Measure the counter area visually and consider whether your usual bowl will hide the display. Confirm that the scale can sit flat without a mat, ridge, or rocking board underneath it.
Step 4: Inspect power and care requirements
Read the battery or charging instructions. Look for the location of the battery compartment and USB charging port. Check how the manufacturer addresses splashes, cleaning, hot cookware, and storage.
Step 5: Confirm calibration support
A useful scale should have a clear calibration procedure and a stated method for using a suitable known weight. If the documentation does not explain how to address questionable readings, treat that gap seriously.
Step 6: Practise a repeatable weighing routine
Set the scale on a stable surface, place the container centrally, tare, add the ingredient, wait for the display to settle, and tare again before the next ingredient. This routine reduces user-caused variation and makes a scale’s real behavior easier to judge.
Readers comparing prep equipment may also benefit from our discussion of blender buying considerations, where working capacity and daily handling receive more attention than a long feature list.
Frequently Asked Questions
How do I choose between a digital kitchen scale and a mechanical one?
Choose digital operation if you need a clear electronic display, tare control, unit switching, or fine displayed increments. Choose mechanical operation if you prefer a physical dial and want to avoid batteries or charging. In either case, check capacity, readability, surface requirements, cleaning instructions, and calibration guidance before deciding.
Why does my kitchen scale give inconsistent readings?
Common causes include a soft or uneven surface, drafts, vibration, a moving container, an overloaded platform, liquid exposure, or an incorrect calibration procedure. Move the scale to a hard, level, stable surface, keep the container still, confirm the load is within capacity, and follow the manufacturer’s calibration instructions with a suitable known weight.
Can I weigh hot cookware or large bowls on a kitchen scale?
A large bowl can be weighed only if the combined container and ingredient load stays within the stated capacity and the bowl sits securely on the platform. Hot cookware and liquids require separate caution because heat and spills may damage the scale. Follow the exact manufacturer instructions before placing hot or wet items on it.