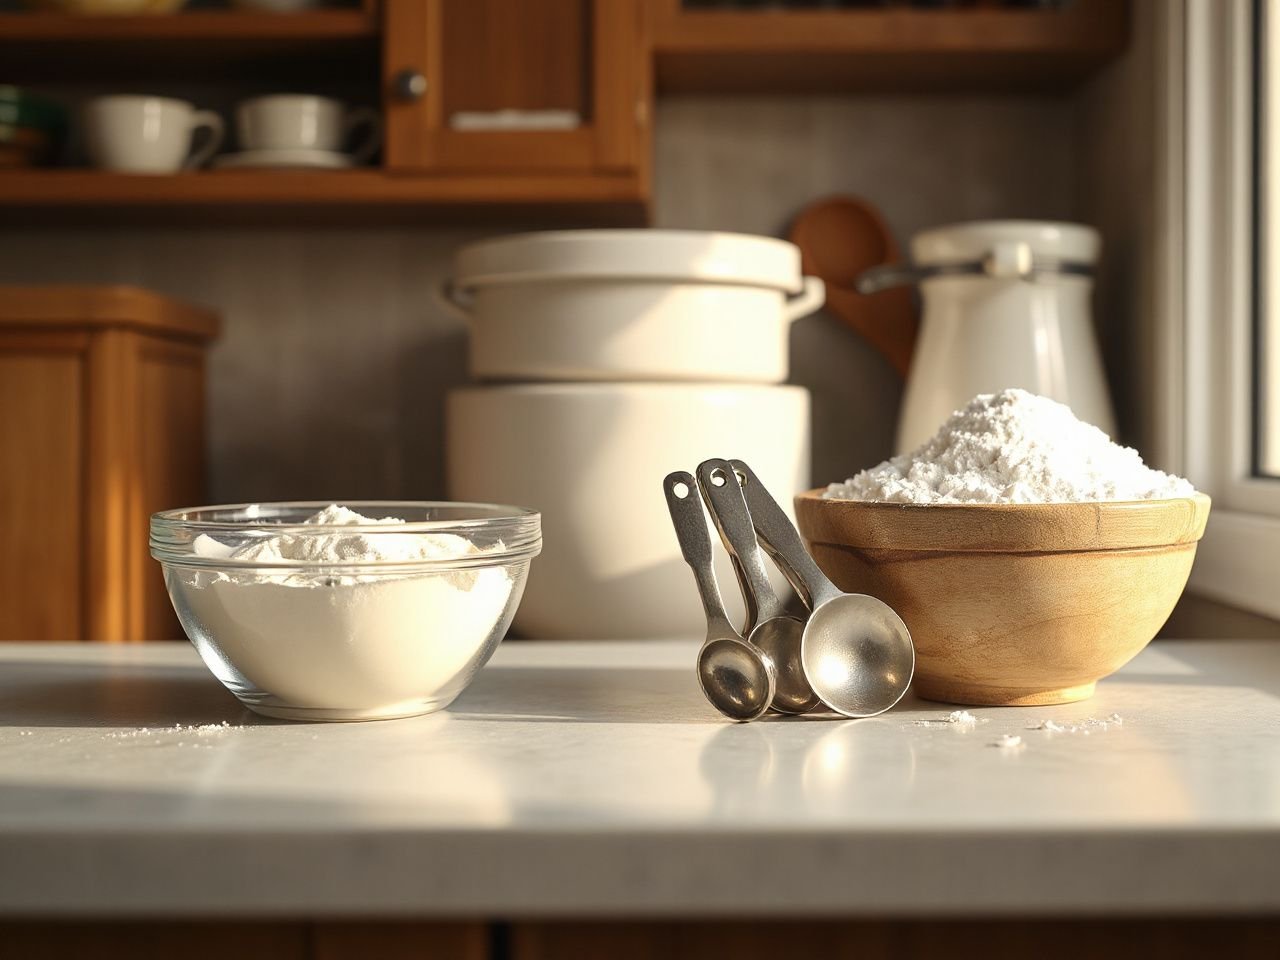
A level spoonful of flour can become a packed spoonful, while a liquid measure can lose part of its contents over the rim before it reaches the bowl. Those small handling errors are why two spoons carrying the same label can produce different results. This measuring spoons buying guide focuses on the details that matter before a unitasker earns drawer space.
The important distinction is between a spoon’s nominal capacity and how consistently its bowl shape, edge, handle, and markings let someone fill and level that capacity. Material matters for cleaning, heat exposure, odor retention, and marking longevity, but accurate results still depend on using the spoon correctly and recognizing whether the recipe expects a level, rounded, or heaped measure.
Key Takeaways
- Choose clear capacities and markings before chasing materials or extra features.
- Dry ingredients usually need filling and leveling; liquids need careful filling to capacity.
- Stainless steel, polypropylene, and silicone each change cleaning, handling, and storage.
- A set earns drawer space only if its missing sizes, ring, markings, and cleaning routine suit your cooking.
Measuring Spoons Buying Guide: Start With the Measure, Not the Handle
A spoon measures volume, not weight
A measuring spoon measures volume rather than weight, so the same spoonful can contain different masses of different ingredients. Flour, sugar, baking powder, salt, and oil do not pack or flow in the same way, and the spoon cannot compensate for ingredient density.
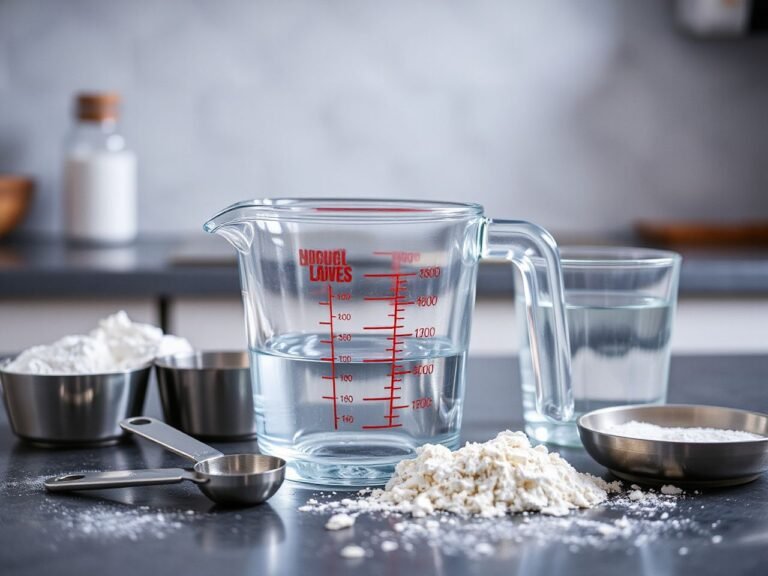
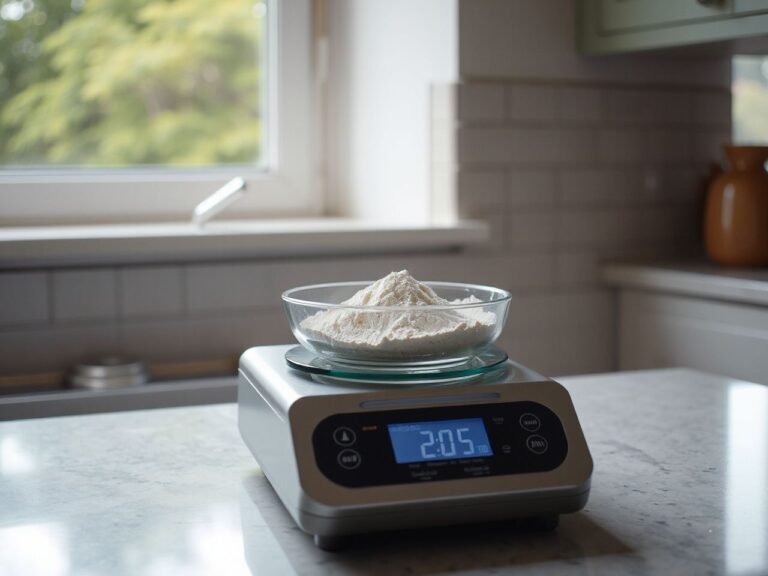
That distinction explains why a kitchen scale remains the more dependable tool for recipes written by mass. A spoon is convenient for small amounts, especially for baking powder, spices, extracts, and liquids, while a scale can make repeated dry-ingredient measurements more consistent. Dry measuring cups cover larger portions, and liquid measuring cups are easier to read when a recipe uses more liquid than a spoon can comfortably hold.
Verified conversions can still help. 15 grams is equivalent to 1 tablespoon, while 2.5 grams is the weight of 1/2 teaspoon and 1.25 grams corresponds to 1/4 teaspoon. Those figures describe particular ingredient or recipe conventions; they do not turn every tablespoon or teaspoon into a fixed weight for every food.
Read the recipe’s convention
Spoon capacities and labeling conventions can vary by region or manufacturer, so the recipe’s intended convention matters. A recipe may call for a tablespoon, teaspoon, half-teaspoon, or quarter-teaspoon, but the printed label alone does not tell you how the author expects the spoon to be filled.
Most dry ingredients are intended to be filled and leveled unless a recipe specifically calls for a heaped spoonful. A rounded or heaped measure contains more than the nominal capacity, so substituting one without permission can change the balance of a recipe. Silverware is a poor replacement because tableware spoons differ in bowl shape and volume; use a marked measuring spoon instead.
Check the useful sizes
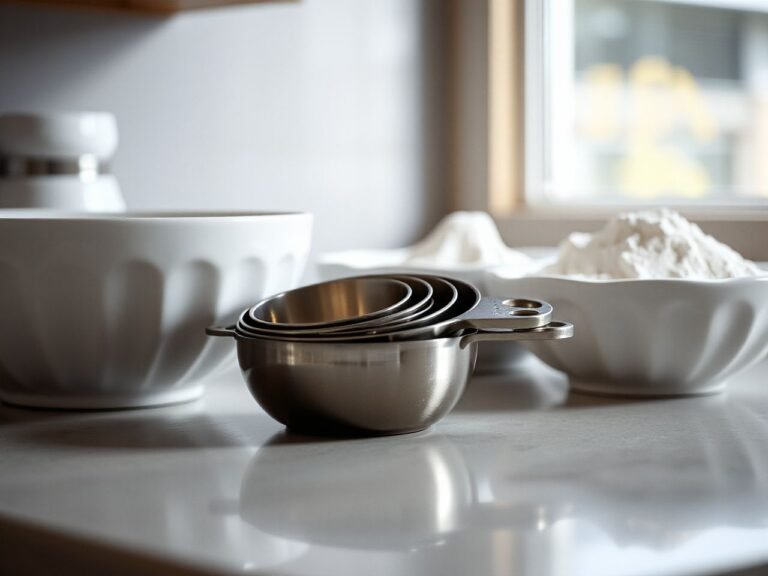
A practical set should cover the spoon sizes your recipes use and make each size easy to identify. The Cuisipro Stainless Steel 5-Piece Measuring Spoons set, for example, includes 1 tbs, 1 tsp, ½ tsp, ¼ tsp, and ⅛ tsp. That arrangement illustrates why a half-teaspoon and quarter-teaspoon can matter more than decorative extras.
If a recipe uses a size you do not have, use a clean combination of smaller spoons where the capacities make the relationship clear. A missing tablespoon can be built from three teaspoons if the set follows the same convention, while a missing half-teaspoon can be approached with two quarter-teaspoons. Do not assume that a spoon marked with an unfamiliar regional convention matches the recipe without checking the stated units.
Inspect the bowl and edge
The bowl should allow the ingredient to sit evenly, and the rim should give a leveling knife or straight edge a clear path across the top. A narrow, deep bowl can make sticky ingredients harder to remove; a broad, shallow bowl may be easier to level but can encourage spills when used for liquid.
Handle shape matters because a spoon is often held over a mixing bowl while the other hand scrapes or levels it. A handle that flexes, twists, or joins the bowl with an awkward seam adds another place for residue to collect. The basic question is simple: does the shape help you fill, level, empty, and clean the nominal capacity?

Beginner Choices: Material, Markings, and Storage
Stainless steel for visible wear and easy inspection
Stainless steel is easy to inspect because residue, scratches, and faded markings are visible rather than hidden by an opaque body. It does not absorb food odors in the way some porous or damaged surfaces can, but the joint between bowl and handle still deserves attention during cleaning.
Steel also adds a rigid feel that can help during leveling. That does not prove accuracy by itself. A stiff spoon with a poorly shaped bowl can still be difficult to fill consistently, and a flexible spoon with clear graduations may be more useful for a reader who measures sticky ingredients.
Stainless steel measuring spoons can go in a dishwasher only if the manufacturer’s care instructions allow it. Dishwasher heat, abrasive cleaning, and repeated contact with sticky or strongly colored ingredients can warp some materials, damage markings, or leave odors. The care label matters more than a general assumption based on the word steel.
Polypropylene for light handling
Polypropylene can make a spoon light and comfortable to handle, particularly for someone who wants a set that is easy to lift from a drawer. Its surface and markings should be checked for the kind of cleaning the maker permits, because heat and abrasion can affect some plastics.
Plastic also makes color coding possible, but color should not replace a readable capacity mark. A familiar color can disappear in a crowded drawer or become hard to distinguish under warm kitchen lighting. The number or unit on the spoon should remain legible on its own.
Silicone for flexibility and sticky foods
Silicone measuring spoons can flex around a bowl, which may help release pastes, syrups, or other ingredients that cling to a rigid surface. Flexibility has a trade-off: a spoon that bends while being filled may be harder to level consistently, especially if the bowl changes shape under pressure.
Silicone can also retain strong smells if residue is left on the surface or around the handle connection. A careful wash is more important than the material label. The reader should look for a surface that rinses clean and markings that remain readable after the intended cleaning routine.
Permanent joins and detachable rings
A permanently joined set keeps the spoons together, which reduces the chance of losing a small size in a drawer. The ring can also make storage simple, but a connected bundle is less convenient when several spoons are needed at once or when one spoon must be washed separately.
A detachable ring makes individual use easier and lets the spoons spread out during washing. It also creates a small part that can be misplaced, and a loose set needs a deliberate storage place. A ring is useful only if it replaces a storage problem rather than creating another one.
Check the ring’s opening and the handle holes before purchase. A smooth, easy-to-release connection is preferable to a clasp that requires force or leaves a sharp edge. The reader can make this judgment from the physical design without trusting a marketing claim.
Markings are working parts
Markings should be readable from above, not only from the side or on the handle. Stamped or molded information may remain visible differently from printed ink, but the method alone does not guarantee permanence.
Dishwasher heat, abrasive powders, and repeated scraping can wear markings. Strongly colored ingredients can also leave stains that make a shallow or low-contrast mark difficult to read. If the spoon’s capacity cannot be identified after cleaning, the set has lost part of its purpose.

Intermediate Use: Fill, Level, and Pour Correctly
Level flour without packing it
For flour, place the spoon into the ingredient or transfer the ingredient into the spoon until the bowl is full. Then pass a leveling knife or another straight edge across the rim so excess flour falls away without pressing the flour down.
A heaped spoonful is not the same as a level spoonful. Packing flour into the bowl changes the amount even though the spoon label remains unchanged, and a rounded top does the same. The recipe should tell you if a heaped measure is intended; otherwise, level the spoon.
Powdered ingredients deserve the same care. Baking powder can settle into corners or cling to a damp spoon, so fill the bowl cleanly and sweep across the top rather than tapping the handle against the container. A dry spoon is easier to level than one carrying residue from oil, syrup, or washing water.
Measure sugar and granulated ingredients
Granulated sugar usually flows more freely than flour, but crystals can still form a mound above the rim. Fill the spoon, allow loose excess to fall, and finish with a straight edge when the recipe calls for a level measure.
Brown sugar and other ingredients that hold together need special attention because pressing them into a spoon turns a volume measure into a packed measure. Follow the wording of the recipe. If it says packed, press according to that instruction; if it says level, remove the excess without compressing the ingredient.
Fill liquid ingredients carefully
Liquid ingredients should be filled carefully to the spoon’s capacity because surface tension, spills, and overflow can change the amount. Hold the spoon level over the mixing bowl, pour slowly, and stop before the liquid runs over the rim.
Liquids spill or cling because the bowl, the ingredient, and the pouring motion interact at the rim. Syrup, honey, oil, and extracts may leave a film behind, while water-like liquids can form a curved surface or spill from a tilted spoon. A clean, dry spoon with a defined rim is easier to fill consistently.
For a sticky ingredient, warm water and dish soap can loosen residue after the ingredient has been scraped into the recipe. A flexible silicone spoon may release some sticky foods more readily, but its flexibility can make leveling less precise. Choose the handling quality that fits the ingredient rather than treating one material as universally superior.
Empty the spoon fully
A spoonful is only useful if the measured ingredient leaves the spoon and enters the bowl. Tap the handle lightly or scrape the bowl with a spatula suited to the ingredient, taking care not to fling powder or leave paste around the handle joint.
Deep corners, stamped recesses, and seams can hold traces of spices or leaveners. Those traces may matter when the next ingredient has a strong color or flavor. A spoon that looks attractive but cannot be emptied and cleaned properly is a poor unitasker.
Use a scale for dry ingredients when precision matters
Use a kitchen scale when the recipe gives dry ingredients by weight or when repeatability matters more than speed. A spoon remains practical for small additions, but volume depends on how the ingredient is filled, settled, and leveled.
A dry measuring cup may suit flour or sugar in larger quantities, while a spoon is easier for small portions. A liquid measuring cup gives more room for liquids and reduces the chance of overflow. These tools serve different jobs; replacing all of them with one spoon set usually creates more handling errors than it removes.
For broader baking-tool decisions, the Best Budget Baking Pans: Top Picks and Buying Guide can help separate useful equipment from items that simply occupy a cabinet.
Advanced Checks: Accuracy, Cleaning, and Replacement Cost
Why two spoons with the same label can differ
Two spoons with the same label can produce different results if their bowl shapes, rim profiles, or markings encourage different filling methods. One may accept a level sweep cleanly, while another may leave a mound around a curved edge or trap ingredient near the handle.
Capacity also depends on the convention used by the maker and the recipe. A label is a starting point, not a substitute for reading the recipe and using the intended technique. If a spoon seems unusually shallow, narrow, or difficult to level, compare its physical shape with the rest of the set before trusting it for delicate baking.
Clean sticky ingredients from the bowl and handle
Scrape thick residue from the bowl before washing so the sink and handle joint receive less buildup. Soak the spoon in warm, soapy water when residue has dried, then work around the seam, ring, and underside of the handle with a soft brush or cloth.
Strongly colored spices may leave a temporary stain or a persistent smell, especially on materials that are scratched or textured. Wash the spoon promptly, rinse away soap, and dry it fully before nesting it with the others. A damp nested set can hide residue where the spoon surfaces meet.
Do not use abrasive cleaning simply because a mark looks faint. Abrasives can further wear printed capacity information and create scratches that hold residue. Follow the manufacturer’s cleaning directions, especially for polypropylene and silicone.
Dishwasher decisions
Dishwasher use depends on the material, finish, markings, and maker’s instructions. Heat can affect some plastics and flexible materials, while abrasive detergents or contact with other utensils can wear surfaces and printed labels.
Stainless steel may be easier to inspect after a dishwasher cycle, but a steel spoon can still have a handle seam or marking that needs care. If a set has a detachable ring, remove it only if the care instructions permit and make sure every piece returns to the same storage place.
For general food-contact and kitchen safety information, consult the U.S. Food and Drug Administration. A manufacturer’s care instructions remain the relevant source for the specific spoon’s materials and finish.
What makes a set costly to replace
A set becomes costly to replace over time when one missing or unreadable spoon makes the remaining pieces less useful. A lost quarter-teaspoon may matter more than a decorative storage feature if recipes depend on small quantities.
Replacement becomes harder when the set uses unusual capacities, permanently attached parts, fragile markings, or a ring that cannot be purchased separately. Before buying, check whether the smallest spoons are easy to remove, whether the units are printed clearly, and whether the set can be stored without burying one size under another.
Durability also includes cleaning effort. A spoon that needs immediate soaking after every sticky ingredient may be less useful than a plain spoon that rinses clean. The best design is the one that replaces repeated searching, guessing, and scrubbing rather than adding another maintenance task.
Safety and independent marks
Food-contact claims should be treated as claims to verify, not as decoration on packaging. The NSF explains its role in public-health standards and certification, so its information can help readers understand what an independent certification mark means.
Do not infer a certification from a material name alone. Stainless steel, polypropylene, and silicone describe materials, while certification and care instructions concern the finished product and its intended use.
Use the simplest replacement when a spoon is missing
If a spoon is missing, combine smaller marked spoons only when their labeled capacities add up under the same convention. Three teaspoons can stand in for a tablespoon when the recipe and set use matching units; two quarter-teaspoons can stand in for a half-teaspoon.
Do not substitute tableware based on appearance. A dinner spoon can be longer or wider than a measuring tablespoon, and a small coffee spoon may not match a teaspoon. If the recipe is weight-based, use a kitchen scale instead of trying to rebuild the quantity by eye.
Storage decisions should serve access. A nesting ring is useful when keeping the set together prevents lost pieces; separate storage is better if the ring forces you to handle every spoon to reach the one you need. For readers comparing broader prep equipment, the guide to choosing cooling racks for baking tasks follows the same principle: examine what a tool replaces before adding it to the kitchen.
Frequently Asked Questions
How do spoon sizes relate when a recipe uses a size I do not have?
Use smaller marked spoons only when their capacities match the recipe’s convention. Three teaspoons can replace a tablespoon, and two quarter-teaspoons can replace a half-teaspoon. Fill each smaller spoon correctly and combine the amounts in the bowl. Do not use silverware as a visual substitute because tableware bowls vary. A kitchen scale is the safer choice when the recipe gives a weight.
Should I use measuring spoons or a kitchen scale for dry ingredients?
A kitchen scale is preferable when the recipe gives dry ingredients by weight or precision matters. Measuring spoons measure volume, and the mass changes with ingredient density and packing. Spoons remain convenient for small quantities such as baking powder, spices, and extracts. Level flour, sugar, or other dry ingredients unless the recipe specifically asks for a rounded, heaped, or packed measure.
Why do liquid ingredients spill or cling to the spoon?
Surface tension, viscosity, the bowl shape, and the pouring motion affect how liquid sits in a spoon. Fill slowly while holding the spoon level, stop at the rim, and scrape sticky ingredients into the mixing bowl. A clean, dry spoon reduces residue and makes the surface easier to judge. A flexible spoon may release syrup well, but it can bend during filling.
Are stainless steel, plastic, and silicone spoons different in everyday use?
Yes. Stainless steel is rigid and easy to inspect, polypropylene can be light and may support color coding, and silicone can flex around bowls or sticky foods. None of those materials guarantees accuracy. Bowl shape, rim design, handle stability, markings, and cleaning instructions matter just as much. Check the care guidance because dishwasher heat and abrasion can affect finishes and markings.
Is a detachable ring easier to use than a permanently joined set?
A detachable ring makes individual spoons easier to separate during use and washing, but it introduces a loose part that can be lost. A permanent ring keeps the set together and can simplify storage, yet it may make one spoon harder to remove quickly. Choose the arrangement that replaces your main storage problem. Neither ring style changes the spoon’s nominal capacity.
What should I do when measuring spoon markings begin to fade?
Stop relying on a mark that cannot be read confidently. Check the manufacturer’s care instructions and avoid abrasive cleaning that can worsen the damage. If the set uses different shapes or colors, confirm the capacity before using a replacement. A readable, correctly labeled spoon is more useful than a complete set whose smallest measures require guessing.