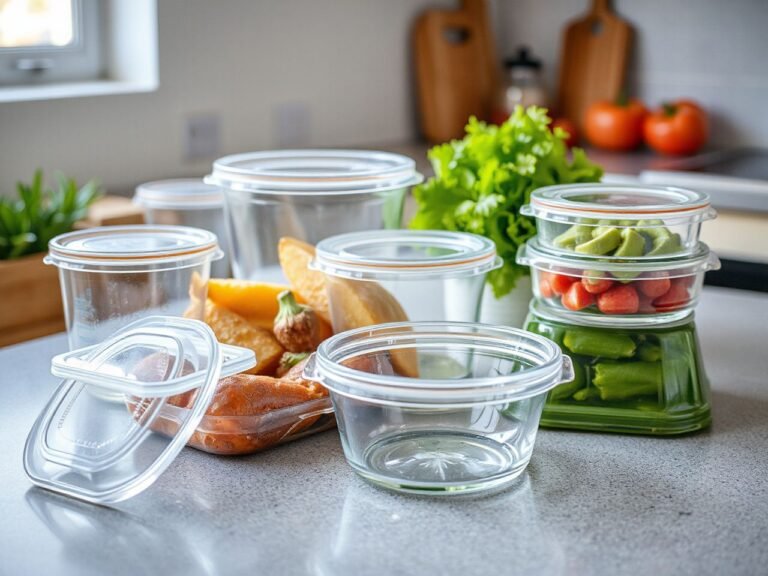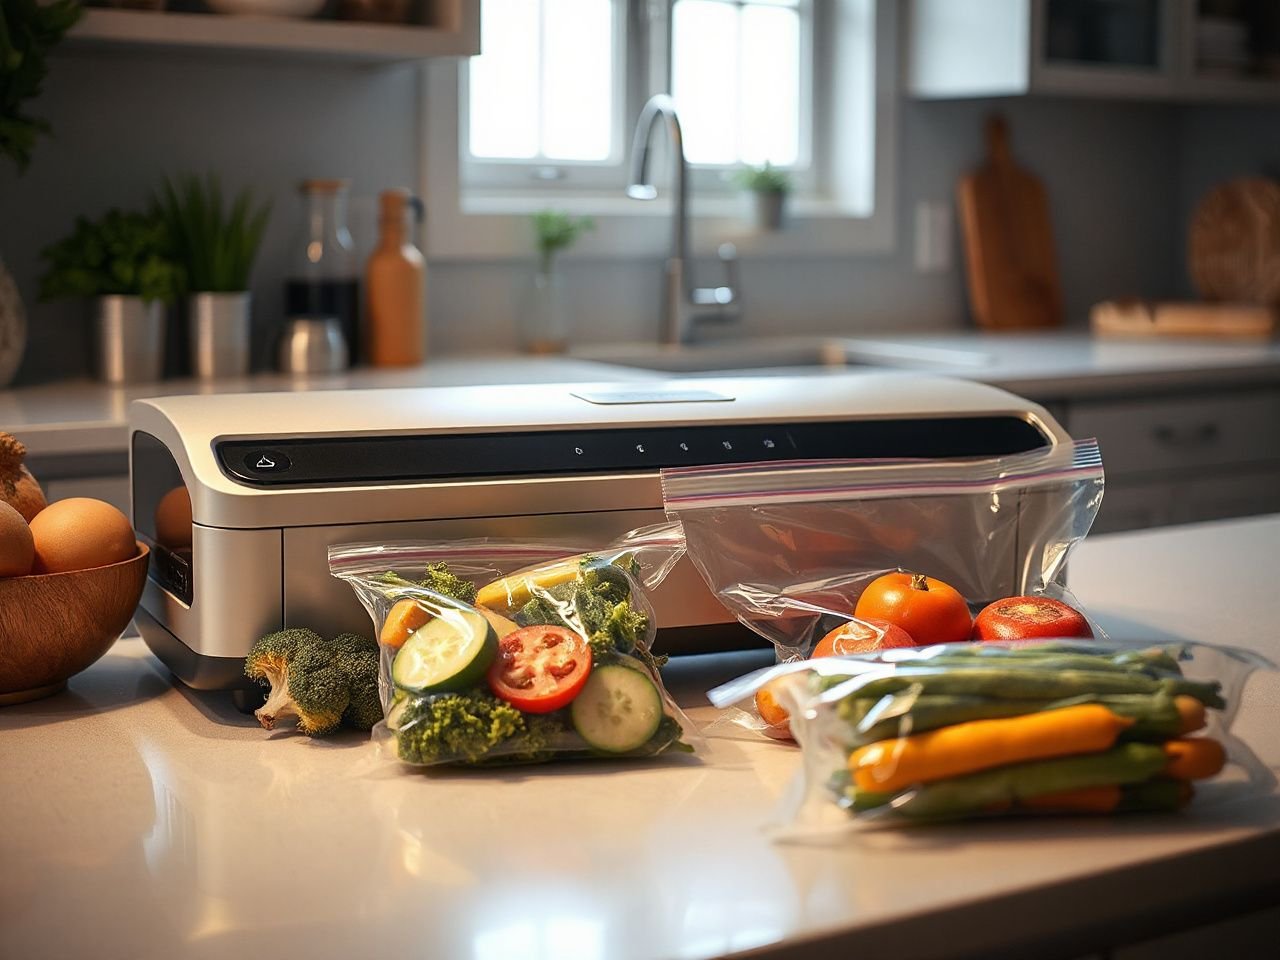
More kitchens are treating vacuum sealing as part of ordinary freezer storage rather than a specialist task. The central buying distinction is between external suction sealers, which depend on textured bags and struggle more with liquids, and chamber sealers, which evacuate air from the whole chamber and handle pouches and moist foods differently. A useful guide also separates vacuum strength from practical sealing performance: bag compatibility, seal consistency, cleanup, accessory support, and the ongoing supply of bags often matter more than the headline vacuum claim. This vacuum sealers buying guide starts there, because a storage system that requires constant decanting, special handling, or hard-to-find supplies quickly becomes another chore.
Key Takeaways
- External suction sealers suit dry foods and use embossed bags or rolls.
- Chamber sealers work with smooth pouches and handle moist foods differently.
- A clean sealing area, dry bag edge, and enough empty space support a dependable seal.
- Vacuum sealing does not sterilize food or replace safe refrigeration and freezing.
Beginner: Choose the system before judging the machine
Step 1: Match the sealer to the food you usually store
Start with the food, not the pump claim. Dry portions such as grains, hard cheese, or items intended for freezer storage may fit an external suction sealer. Soups, sauces, marinades, and other moist foods create a different problem because loose liquid can travel toward the vacuum opening before the seal forms.
An external suction vacuum sealer pulls air from a bag through the open end. The bag sits outside the machine, and the sealing process depends on a textured channel in the bag that allows air to move toward the vacuum port. Embossed vacuum bags are designed for this type of airflow. Smooth vacuum pouches generally require a chamber vacuum sealer because a chamber removes air from the space around the pouch rather than relying on a textured bag surface.
A chamber vacuum sealer places the filled pouch inside the machine. The vacuum pump removes air from the entire chamber, then the heat-sealing strip closes the pouch. Because the pressure changes around the pouch, a smooth pouch can work without the embossed channels required by many external systems.
An external suction sealer depends on bag texture, while a chamber sealer evacuates air from the whole chamber. That difference affects the packaging you must keep on hand and the foods you can seal with less preparation.
Step 2: Decide whether bag rolls help or hinder your routine
Vacuum sealer rolls allow the user to cut a bag to a chosen length and create a seal at one end before filling it. That flexibility can reduce awkward empty space around irregular portions, but it adds a cutting and sealing step. Pre-made embossed vacuum bags remove that step and may suit a household that values quick portioning over custom sizing.
I would judge rolls by storage behavior rather than by the promise of flexibility. If a roll must be measured, cut, sealed, filled, and sealed again for every portion, the system may encourage delayed packing. A fixed-size pouch can be easier to label and rotate, especially for foods that are packed repeatedly.
Packaging material also deserves attention. A standard vacuum bag uses a PA/PE structure: PA provides resistance to punctures, while PE serves the sealing function. More specialized barrier materials can slow oxygen movement further. Across 1 square meter of standard PA/PE bag, about 100 cubic centimeters of oxygen will typically permeate during a 24-hour period; PVDC allows an average of more than 10 cubic centimeters, while EVOH permits 1 cubic centimeter across the same area and period.
Those figures do not turn a bag into a permanent barrier. They show why packaging construction belongs in the buying decision. Freezer storage, food labeling, and rotation still matter after the air has been removed.
Step 3: Look beyond the vacuum claim
A vacuum pump creates the pressure change that draws air from the package. The machine then uses heat from the sealing strip to close the bag opening. The pump and the sealer perform different jobs, so a strong-sounding vacuum claim does not automatically mean a more dependable finished package.
Check the controls for the jobs you actually perform. A machine may offer dry and moist settings, manual stopping, pulse control for delicate foods, an accessory hose, or a liquid-catching tray. These features matter only if they reduce handling in your routine. A tray that can be removed and wiped is more useful than a complicated setting that is rarely understood.
Accessory support can extend the system to a vacuum canister, jar attachment, or marinating and infusion container. Confirm that the accessory hose connects to the machine and that replacement parts or compatible containers remain available. The manufacturer does not list a capacity in the information available here, so container size should be judged from the actual product documentation rather than assumed from the machine body.
Intermediate: Understand bags, liquids, and failed seals
Why embossed bags and smooth pouches are not interchangeable
Embossed bags have raised channels that help air move toward the external sealer’s vacuum port. Smooth pouches lack that textured pathway, so they are generally intended for chamber machines that remove air from the surrounding chamber. A roll is packaging stock, not a separate vacuum method; the machine still determines which surface structure the finished bag needs.
Do not assume that a pouch will work simply because its opening fits the heat-sealing strip. A bag can appear to seal while leaving air trapped inside if its material and surface do not match the machine’s air-removal method. Read the packaging instructions before cutting a roll or transferring food into a different pouch type.
Sharp bones, shells, and frozen edges can puncture a bag during packing or storage. Protective wrapping or an additional bag can create a barrier around those edges. A puncture that appears later may look like a failed heat seal, so inspect the package for a small tear before adjusting the machine.
Why liquid enters an external sealer
Liquid is pulled toward the machine because the pump is removing air from the bag and the liquid occupies the low area near the open edge. External suction systems provide less separation between the food and the vacuum opening than chamber systems do. Once liquid reaches the sealing area, it can interfere with a clean bond and contaminate the machine.
Chill moist food before sealing, pre-freeze loose liquid until it is firm, or use a chamber sealer for foods that regularly contain free liquid. Keep the open edge above the food during setup and avoid filling the bag so high that liquid can reach the opening as the package settles.
Moist foods can send liquid into an external sealer before the heat seal forms. Chilling, pre-freezing, or changing to a chamber system addresses the cause rather than relying on repeated wiping.
Why a bag loses its vacuum after sealing
A lost vacuum usually points to one of three visible problems: a puncture, a contaminated sealing area, or insufficient empty space beyond the food. Check the bag surface around bones, shells, frozen corners, and rough food edges. Then inspect the seal for grease, crumbs, moisture, wrinkles, or an interrupted line.
The bag opening must lie flat across the heat-sealing strip. Food should not touch the section that needs to bond. If the bag is cut too close to the food, the machine has less clean material available for the seal and the contents can press against the closure.
A bag can also lose its vacuum because the food shifts after sealing. Rigid pieces and frozen edges may press through the film, while a folded corner can create a small air path. Add protective wrapping or a second bag for sharp contents, and leave enough clear material beyond the food for a flat, uninterrupted seal.
Delicate foods and containers
Delicate foods can collapse or break as air leaves the package. Pulse control or manual stopping can help the user watch the food and stop the suction before the contents are crushed, provided the machine offers those controls. Rigid foods may need a container rather than a flexible bag.
A vacuum canister or jar attachment can suit foods that should not be compressed, but the container still needs a compatible accessory hose and a lid designed for vacuum use. Vacuum sealing a container does not make its contents shelf-stable. Use the same refrigeration and freezing practices required for the food.
Vacuum sealing may also support sous vide preparation because a sealed pouch can keep food contained during cooking. The pouch must be suitable for the intended use, and the sealing process does not remove the need to follow safe food-handling directions.
Advanced: Build a low-maintenance storage routine
Step 1: Prepare the sealing area
Keep the bag edge clean and dry before placing it on the heat-sealing strip. Fold the top of the bag outward while filling so food does not smear the section that must close, then return the edge before inserting it into the machine.
A reliable seal depends on a clean, dry sealing area and sufficient bag space beyond the food. This is a simple preparation rule, but it prevents many failures without requiring a stronger pump or a new machine.
Step 2: Control moisture before the pump starts
Dry the surface of wet food where practical. Chilling slows the movement of loose liquid, and pre-freezing can turn free liquid into a firm portion that is less likely to travel toward an external sealer. A chamber machine may be the more practical choice if moist foods make up a regular part of the storage routine.
Do not use vacuum sealing as a substitute for refrigeration or freezing. Vacuum sealing removes air, but it does not sterilize food. In an oxygen-limited environment, anaerobic bacteria, including Clostridium botulinum, Yersinia enterocolitica, and Listeria monocytogenes, can proliferate. The U.S. Food and Drug Administration provides food-safety guidance that should take priority over assumptions about sealed packaging.
Vacuum-sealed food still requires safe refrigeration or freezing. A tight package can reduce air exposure and freezer burn without making food safe to keep outside the refrigerator or freezer.
Step 3: Clean the parts that contact food or liquid
Wipe the sealing area after packing foods that leave grease, crumbs, or moisture. Empty and clean the liquid-catching tray when liquid reaches it, following the machine’s manual for removable parts. Inspect the gasket and surrounding surface for food residue that could prevent the lid or sealing area from sitting correctly.
Do not treat the outside of the machine as the only maintenance concern. The accessory hose, vacuum port, gasket, tray, and heat-sealing strip all influence the package. A system that requires repeated disassembly for ordinary portions may be a poor fit for a storage area where simplicity matters.
The exact cleaning frequency depends on the food and the manufacturer’s instructions. Clean immediately after a spill, and check the sealing path before the next use. That approach is more useful than assigning an arbitrary schedule to every type of food.
Step 4: Label, rotate, and store
Write the food name and packing information on the package before placing it in storage. Flat packages stack efficiently, but do not press sharp frozen edges against neighboring bags. Rotate older portions forward so the vacuum sealer supports the storage system instead of creating a hidden collection of forgotten packages.
Ordinary freezer bags and reusable containers remain useful for foods that do not benefit from air removal, foods needed quickly, or portions that would be damaged by compression. Vacuum sealing is a storage method, not a requirement for every ingredient.
For readers organizing several countertop tools, the same principle applies to other equipment: storage should fit the routine. A kitchen shears buying guide can help with cutting packaging and protective wrapping, while a slow cooker buying guide covers a separate appliance category without adding more packaging decisions here.
What ownership costs beyond the machine
The ongoing cost is shaped by packaging consumption, not only by the sealer’s purchase price. Rolls and bags must be replaced, and the required surface type may limit where you can buy compatible supplies. Embossed bags for external systems and smooth pouches for chamber systems are not automatically interchangeable.
Also account for accessory hoses, vacuum canisters, replacement gaskets, cleaning materials, and the storage space required for packaging rolls. A cheaper machine that encourages frequent failed seals can consume more bags and more time. A more complex system may reduce liquid handling but introduce larger pouches and additional equipment.
Before buying, write down the package sizes you use most often and the foods that create the greatest mess. Then check the manual for compatible bags, cleaning instructions, accessory support, and replacement parts. This paper check is more revealing than a headline vacuum figure.
How to compare options without relying on ratings
Compare the workflow
Ask how many distinct actions are required for a normal portion. External suction systems may require textured bags, careful positioning, moisture control, and a clean edge. Chamber systems may accept smooth pouches and handle moist foods differently, but their chamber must accommodate the pouch and the machine must have a place in the kitchen.
A machine with dry and moist settings can be useful, but the setting does not remove the need to control liquid. A manual or pulse option can help with delicate food, but the user still has to watch the bag and stop at the right point. Controls are valuable when they reduce failed packages rather than adding choices that are rarely understood.
Compare the seal, not only the suction
Look for a clear, continuous bond across the opening. A double-seal line may provide another barrier against a small failure, but extra lines cannot repair a puncture, dirty film, or a folded bag. Seal width matters only alongside clean contact between the bag and the heat-sealing strip.
Do not treat a stated vacuum level as a complete measure of performance. The useful result is a package that remains closed, fits the intended storage space, and can be produced without constant decanting or cleanup.
Check safety information before use
Look for clear instructions about food-contact packaging, cleaning, electrical use, and accessories. The U.S. Consumer Product Safety Commission publishes consumer product safety information and recall notices, so its site is an appropriate place to check for safety alerts affecting kitchen equipment.
Food-contact claims should come from the packaging manufacturer and the machine manual. Avoid transferring food into an unmarked material simply because it fits the opening. Packaging compatibility is part of safe use and part of keeping the storage routine predictable.
Frequently Asked Questions
What kind of vacuum sealer makes sense for moist food?
A chamber vacuum sealer generally makes more sense for soups, sauces, marinades, and other foods with loose liquid because it removes air from the surrounding chamber. An external suction sealer can pull liquid toward its vacuum port. Chilling or pre-freezing the food may make external sealing more manageable, but neither method replaces refrigeration or freezing.
Can smooth vacuum pouches work in an external suction sealer?
Smooth pouches generally require a chamber vacuum sealer because they do not provide the textured air channel used by many external systems. External suction sealers are designed for embossed bags, including compatible rolls. Check the machine manual and packaging instructions before use rather than assuming that a pouch with the right width will work.
Why does my vacuum bag lose air after sealing?
Inspect the bag for punctures from bones, shells, frozen edges, or rough food. Then check the seal for moisture, grease, crumbs, wrinkles, and insufficient clear space beyond the food. A clean, dry, flat opening supports the heat-sealing strip. Protective wrapping or a second bag may be needed for sharp contents.
Does vacuum sealing make food safe outside the refrigerator or freezer?
No. Vacuum sealing removes air but does not sterilize food or make it shelf-stable. Anaerobic bacteria can grow in oxygen-limited conditions, so sealed food still needs safe refrigeration or freezing. Follow the food-safety directions from the U.S. Food and Drug Administration and the instructions for the specific food and packaging.
Is a vacuum sealer better than freezer bags or reusable containers?
Vacuum sealing can reduce air exposure and help create compact portions, but ordinary freezer bags and reusable containers remain useful for foods that do not need air removal or that may be damaged by compression. The right method is the one that stores the food safely without demanding constant transfers, difficult cleaning, or supplies that do not match the machine.