Kitchen tools are increasingly expected to do more than one job, but extra functions can distract from the cut itself. A useful kitchen shears buying guide separates cutting performance from extra features: blade geometry, pivot alignment, grip, and cleanability determine whether shears work well, while built-in openers and similar attachments are secondary functions. Maintenance also belongs in the suitability test, because an edge that cuts neatly but cannot be cleaned, dried, adjusted, or sharpened appropriately is a poor fit for repeated food preparation.
Key Takeaways
- Choose blade geometry for the foods you actually prepare, not for the number of attachments on the handle.
- A correctly adjusted pivot should let the blades meet cleanly without binding or sliding apart.
- Removable blades improve cleaning access, but the joining mechanism must be reassembled correctly before use.
- Raw meat, poultry, and seafood require thorough washing and drying before the shears return to other foods.
Beginner: Start with the job, not the gadget
Decide what kitchen shears must replace
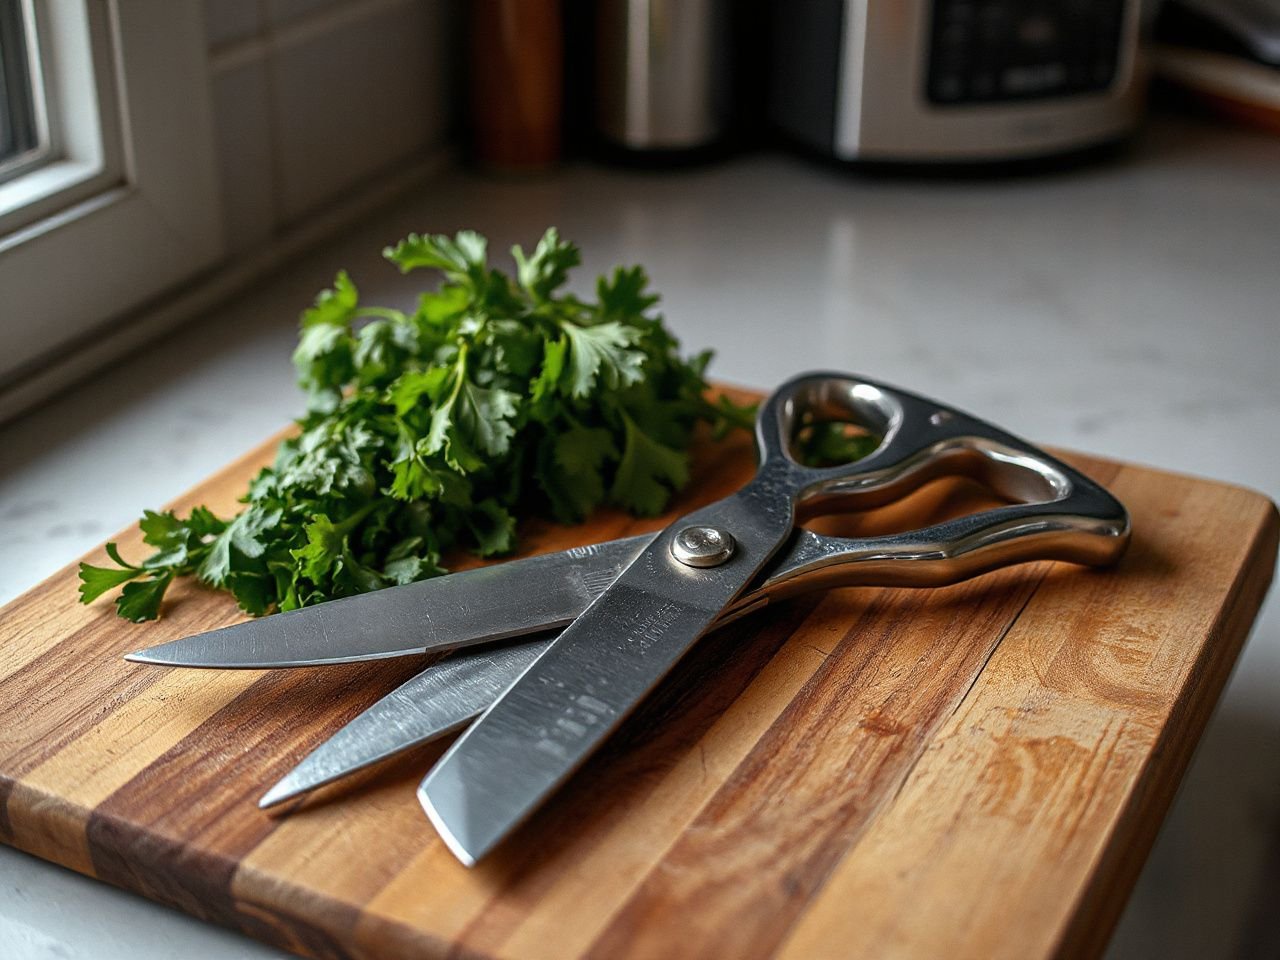
A unitasker earns drawer space by replacing a tool, a messy workaround, or a repeated knife task. Kitchen shears can trim meat, tendon, and bones, snip herbs, cut kitchen twine, open food packaging, and divide some foods directly over a bowl. That range is useful only if the shears remain easy to clean and comfortable to control.
Kitchen shears should not be treated as a substitute for every cutting tool. A chef’s knife remains the more suitable choice for many board-based cuts, while poultry shears are intended for forceful poultry work. Kitchen shears are not a substitute for tools designed to split large bones or make forceful cuts through hard joints.
- Choose kitchen shears for controlled snipping, trimming, herbs, twine, packaging, and manageable food materials.
- Choose a chef’s knife when a stable cutting board and a clean slicing or chopping motion offer better control.
- Choose poultry shears when the task involves substantial poultry structure and force rather than light trimming.
Kitchen shears are designed to trim and cut tough food materials such as meat, tendon, and bones, but that does not make every pair suitable for hard-joint work. The reader should inspect the maker’s stated use and stop when the blades require force that the tool was not designed to provide.
Separate food use from general household scissors
Ordinary household scissors may open packages or cut paper, yet food preparation adds different demands. Kitchen shears need a grip that remains controllable around food, blades that meet properly, and surfaces that can be washed without trapping residue. The tool also needs a clear cleaning plan if it will touch raw poultry, meat, or seafood.
A kitchen shear is a food-preparation tool when its construction, handling, and care instructions support contact with food. A pair that has been used for paper, craft materials, or dirty packaging should not move back into food preparation without suitable cleaning, and some materials or finishes may make that impractical.
Raw poultry, meat, and seafood can leave residue around the blade pivot and handle joins. Kitchen shears used on those foods need thorough cleaning and drying before they touch other foods.
Match the blade edge to the food
A straight-edged blade gives a continuous cutting edge that can be maintained with an appropriate sharpening method. That makes it a sensible choice for someone who wants a clear maintenance path and expects to cut herbs, twine, packaging, or trim on a board.
A micro-serrated blade has small teeth that can grip slippery foods rather than allowing the material to slide as readily between the blades. Micro-serrated edges can grip slippery foods, but they are harder to sharpen than straight-edged blades.
- Herbs: A clean, sharp edge gives control over small snips. A blunt edge can bruise or crush delicate leaves instead of separating them neatly.
- Packaging: A straight edge is easy to inspect and maintain, provided the shears are reserved for food-related packaging rather than abrasive materials.
- Poultry: A stronger cutting design may help with trimming, but kitchen shears are not a replacement for poultry shears or tools intended for large bones.
- Kitchen twine: A straight-edged blade makes the cut easy to see and gives the user a simple edge to maintain.
Blade shape should follow the material that needs cutting. Buying extra teeth or attachments without a matching task creates drawer space for features rather than solving a preparation problem.
Check the handle before admiring the blade
Finger loops should give the hand enough room to open and close the shears without forcing the fingers against hard edges. A grip that feels secure while empty may still be awkward if the loops pinch, if the handles twist, or if the hand cannot maintain a straight cutting path.
Silicone rubber-coated handles are characterized by strong heat resistance, but heat resistance does not answer every handling question. Feel the loop shape, check whether the surface stays secure with clean hands, and consider whether the material can be washed without retaining food residue.
Wood handles require hand-washing because wood cannot withstand water without warping or cracking. Composite handles made from plastic resin-impregnated laminated wood are waterproof and need no oiling. Handle material therefore affects care as much as appearance.
Stainless steel handles provide a high level of sanitation and durability for knives, and the same material choice deserves attention on shears. Stainless steel does not remove the need to wash, dry, and inspect the pivot. Carbon steel may offer a different edge-maintenance path, but it needs protection from moisture because dampness can lead to rust.

Intermediate: Inspect the mechanics before choosing
Understand what the pivot controls
The blade pivot joins the two cutting members and controls how they meet. A pivot that is too loose can make the blades slide past each other, while a pivot that is too tight can cause binding and uneven cuts.
Open and close the shears slowly while looking at the blade relationship. The edges should meet in a controlled path rather than wobbling apart, scraping heavily, or leaving a visible gap that changes as the handles move. A stiff opening can indicate excessive pivot tension, residue, poor alignment, or an edge problem; the visible cause should be checked before any adjustment.
A loose pivot can also make the handles feel unstable when the food resists the cut. Tightening blindly may make the shears harder to open and can shift the problem from looseness to binding. If the pivot has an adjustment feature, use the maker’s instructions rather than forcing it.
Decide whether removable blades help
Removable blades can improve access for cleaning, especially around the pivot where food residue may collect. They also make inspection easier because the user can see more of the joining surfaces instead of trying to wash a narrow gap.
The trade-off is reassembly. Removable kitchen shears are safer to use only when the joining mechanism is correctly reassembled before cutting. A blade that looks attached but is not seated properly can shift during use.
- Confirm how the blades separate before buying; a mechanism that is difficult to understand will be difficult to trust.
- Check that the reassembled blades sit in their intended relationship and open smoothly.
- Do not rely on removable construction as a substitute for washing and drying.
- Keep separated blades controlled during cleaning so the cutting edges do not contact other utensils.
Removable blades improve cleaning access, but correct reassembly remains part of safe operation. If a tool cannot be reassembled confidently, its cleaning advantage is reduced.
Keep attachments in their proper place
A bottle opener, nutcracker, or similar attachment may be useful if it replaces another tool that would otherwise occupy the drawer. Those functions are secondary, however, and should not excuse poor blade alignment, uncomfortable finger loops, or a pivot that cannot be cleaned.
The unitasker test is simple: identify the task before assigning value to the feature. If the opener will rarely be used, it adds complexity without improving the main cutting job. If the attachment creates a recess that collects food residue, the cleaning burden may outweigh the convenience.
Built-in attachments are secondary functions on kitchen shears. Blade geometry, pivot alignment, grip, and cleanability determine whether the shears deserve regular use.
Use material as a care decision
Stainless steel is a practical material to consider when sanitation and moisture resistance matter, but the phrase stainless steel does not remove every care obligation. Food residue can remain at the pivot, and water left on any metal surface can make opening and closing less pleasant over time.
Carbon steel requires more deliberate drying and protection. A carbon-steel blade left damp can rust, so it should be dried straight after washing. A food-safe lubricant may be appropriate on a clean, dry pivot if the maker permits it; the lubricant should not be allowed to contact food-preparation surfaces in a way that transfers to food.
Handle material changes the maintenance routine. Wood requires hand-washing, silicone rubber offers strong heat resistance, and waterproof composite handles need no oiling. Read the care instructions attached to the actual tool because a handle and blade may have different needs.

Advanced: Build a cleaning and maintenance routine
Choose hand-washing or dishwasher care deliberately
Dishwasher care depends on the complete construction, not merely on whether the blade is stainless steel. A wood-handled pair should be hand-washed because water can warp or crack the wood. Removable blades may be easier to clean by hand because the pivot area becomes accessible.
Hand-washing allows the user to inspect the blade edges, pivot, finger loops, and handle joins as residue is removed. It also makes immediate drying straightforward. Dishwasher care may be suitable only when the maker expressly allows it for that model and its handle materials.
Wash kitchen shears after food contact, rinse away visible residue, and dry the blades and pivot thoroughly. Raw poultry, meat, and seafood demand extra attention because residue left in the pivot can spread to later food preparation.
The U.S. Food and Drug Administration provides food-safety information for preventing cross-contamination, so its guidance is a suitable reference when creating a routine for tools that contact raw foods. General dishwasher care for kitchen tools should still follow the manufacturer’s instructions.
Find the cause of stiffness, looseness, or uneven cutting
Kitchen shears become stiff for several observable reasons: food residue may surround the pivot, the pivot may be tightened too far, or the blades may no longer move in proper alignment. Cleaning and inspection should come before sharpening.
Loose shears allow the blades to slide past each other. That movement can produce an uneven cut and may make the handles feel unstable. If the pivot has an adjustment screw, make only the adjustment described by the maker and check the closing path after each change.
Uneven cutting can also result from a damaged edge or from using the shears on material outside their intended range. A straight-edged blade can be sharpened with a method suited to shears, while micro-serrated edges need a different approach and are harder to restore.
Sharpen without destroying the edge
Sharpening kitchen shears starts with identifying the edge. A straight-edged blade can be maintained with an appropriate sharpening method, but the bevel and meeting surfaces should not be altered casually. Removing metal from the wrong face can change how the blades pass each other.
Micro-serrated blades require more care because the teeth are part of their grip. A general sharpening tool may flatten or damage those teeth. If the maker does not provide a clear sharpening method, professional sharpening or replacement may be more sensible than experimenting.
- Clean and dry the shears before assessing sharpness.
- Check whether the problem is actually a loose pivot or blade misalignment.
- Use a sharpening method designed for the specific edge type.
- Keep the original blade meeting surfaces intact.
- Stop if the tool develops scraping, wobble, or a new gap after sharpening.
Kitchen knife sharpening advice does not automatically transfer to kitchen shears because the blades meet differently. The goal is a clean cut with controlled blade contact, not simply a visibly bright edge.
Know when replacement is the honest answer
A tool should leave the drawer when its pivot cannot hold alignment, its blades are damaged, or its handle no longer permits controlled use. Replacing a worn pair may be more sensible than adding lubricant or repeated sharpening to a mechanism that no longer works properly.
Do not keep using kitchen shears that require force through hard joints, slide unpredictably, or cannot be cleaned around the pivot. A tool that creates more risk and cleanup than the task it replaces has failed the unitasker test.
Preventive measures: Use the shears within their limits
Keep raw and ready-to-eat work separate
Use a clean cutting board and a defined cleaning routine when shears touch raw poultry, meat, or seafood. The shears should be washed and dried before they contact herbs, cooked food, garnish, or packaging intended for later use.
Cross-contamination can happen through residue on the blades, pivot, handles, or the surface beneath the food. Washing only the visible blade faces is not enough when the pivot or handle joins can hold material.
The U.S. Consumer Product Safety Commission publishes consumer-safety information, including guidance relevant to safe use of household products. Its main site is useful for general safety awareness, while the tool’s own instructions govern the specific construction and care method.
Store the tool so the edge stays protected
Dry shears before closing them for storage. A damp closed pivot has less opportunity to dry, and residue can remain hidden between the blades. Store the tool where the cutting edges will not strike other metal utensils.
Do not use kitchen shears to cut wire, thick plastic, paper stacks, or other materials unless the maker specifically allows that use. Abrasive or unsuitable materials can damage the edge and leave residue that does not belong near food.
A clean, dry storage habit protects both the edge and the pivot. The drawer should make the correct action easy rather than burying the shears under unrelated tools.
Use a practical decision sequence
- Name the repeated task. Decide whether the shears will mainly trim meat, snip herbs, cut twine, open packaging, or handle several of these jobs.
- Inspect the edge. Choose a straight-edged blade for a simple maintenance path or a micro-serrated blade when gripping slippery food matters more.
- Check the pivot. Look for controlled blade contact, smooth movement, and an adjustment method you can understand.
- Test the finger loops. Confirm that the grip feels secure without pinching or twisting the hand.
- Read the care instructions. Check hand-washing, dishwasher care, removable-blade assembly, sharpening, and lubricant guidance.
- Reject unused complexity. Treat a bottle opener or nutcracker as a bonus only after the cutting mechanism satisfies the main task.
That sequence keeps the decision focused on replacement value. Readers comparing the wider knife setup may also find the Kitchen Knife Set Buying Guide: What Matters in 2026 useful for deciding which jobs belong to shears and which belong to knives.
Frequently Asked Questions
How are kitchen shears different from ordinary household scissors?
Kitchen shears are selected for food-preparation tasks such as trimming meat, tendon, and manageable bones, snipping herbs, cutting twine, and opening food packaging. The useful distinction is not a label alone. Check the pivot, blade meeting path, grip, cleanability, and care instructions. Scissors used for non-food materials should not return to food preparation without suitable cleaning.
Are removable kitchen shears easier to clean and safer for raw meat?
Removable blades can improve access around the pivot, where food residue may collect. They are not automatically safer, because the blades must be washed, dried, and correctly reassembled before use. Raw poultry, meat, and seafood require thorough cleaning and drying before the shears touch other foods. If reassembly is unclear, the cleaning benefit is reduced.
Should I choose stainless steel or carbon steel kitchen shears?
Stainless steel is a sensible choice when sanitation, durability, and resistance to moisture are priorities. Carbon steel can be suitable when the user accepts a more deliberate drying and maintenance routine. Carbon steel left damp can rust. The better material is the one whose care requirements match the way the shears will actually be washed, dried, stored, and maintained.
What makes kitchen shears feel stiff, loose, or uneven?
A stiff pair may have residue at the pivot, excessive tension, or a blade-alignment problem. A loose pivot can let the blades slide past one another, producing uneven cuts. Clean and dry the joint first, then inspect the closing path and follow the maker’s adjustment instructions. Sharpening should come later if the edge itself is the problem.
Can kitchen shears cut poultry joints or small bones safely?
Kitchen shears are designed to trim and cut tough food materials, including meat, tendon, and bones, but their limits still matter. They are not a substitute for tools designed to split large bones or make forceful cuts through hard joints. If the cut requires excessive force or makes the blades twist, stop and use a tool intended for that work.
How should kitchen shears be sharpened?
Start by confirming that dullness, rather than pivot looseness or misalignment, causes the poor cut. Straight-edged blades can be sharpened with a method suited to shears. Micro-serrated edges are harder to sharpen because their teeth provide the gripping surface. Avoid a method that flattens those teeth or changes the surfaces where the blades meet.
A kitchen shears buying guide should end with a maintenance decision, not an attachment count. Choose the edge, pivot, grip, material, and cleaning routine that match the work your kitchen actually repeats; everything else must justify its place afterward.