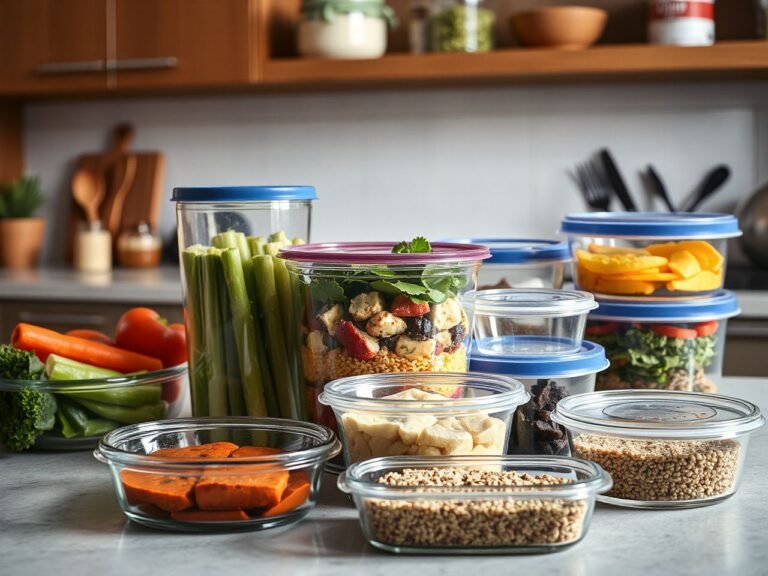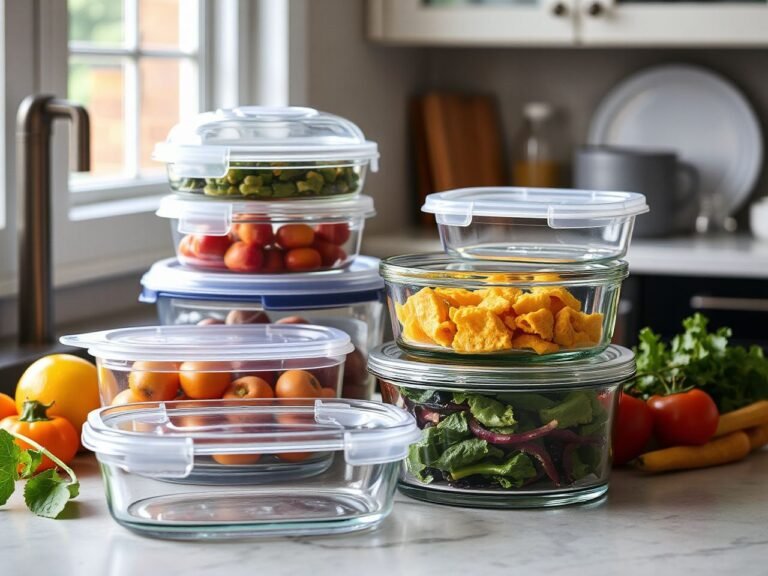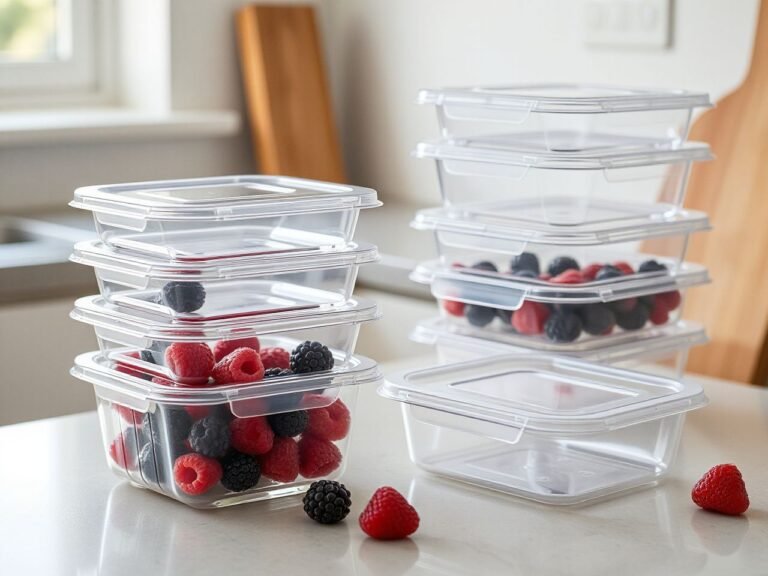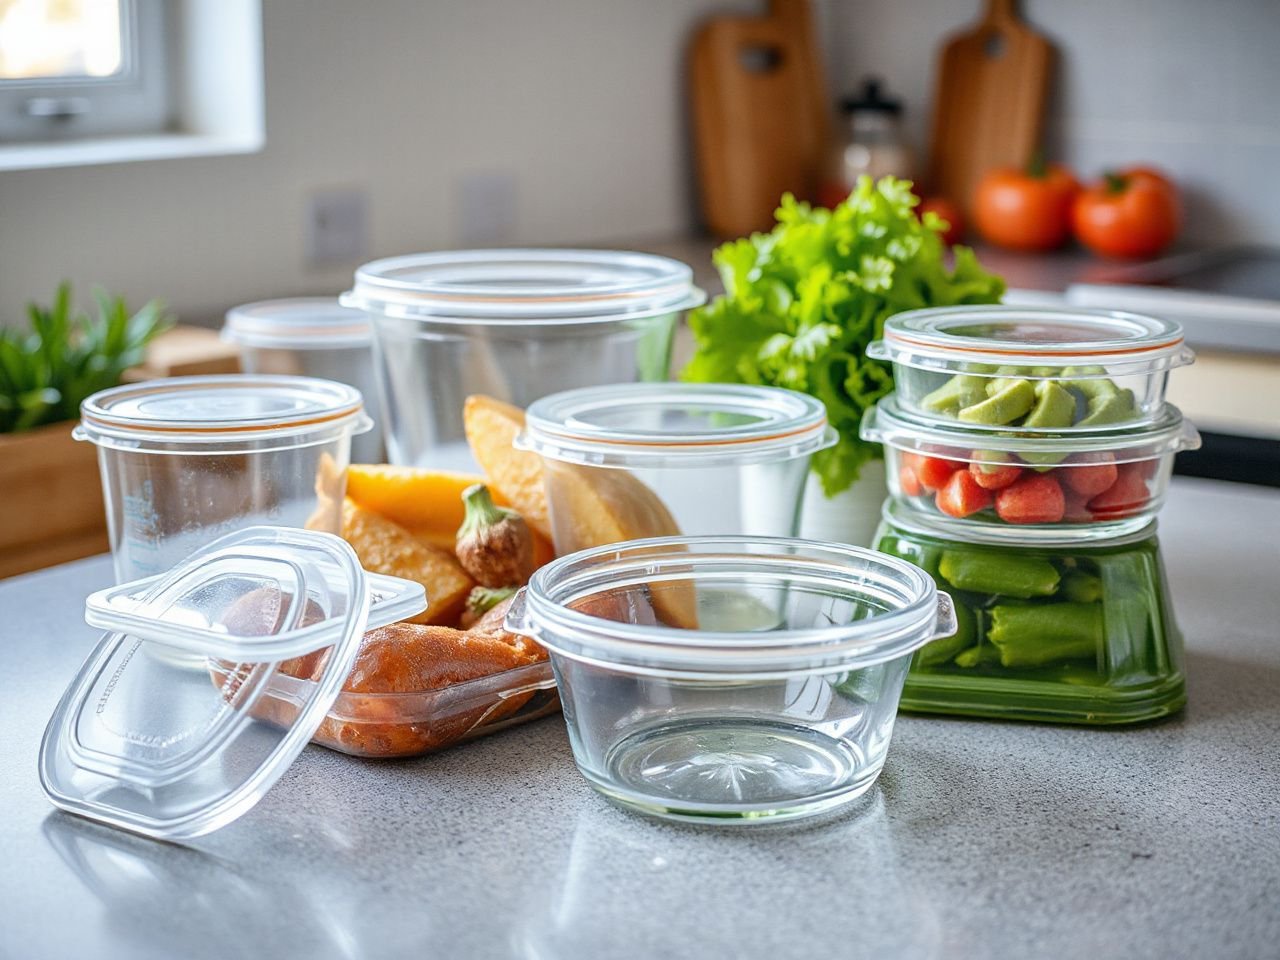
A container that looks secure can still leak across a shelf or fail after a sudden temperature change. The important distinction is between the glass vessel and the complete storage system: the glass may tolerate heat while the lid, gasket, latch, or seal has different limits. A useful guide to buying glass food containers therefore separates thermal compatibility, sealing performance, cleaning behavior, and damage inspection instead of treating all glass containers as interchangeable. If you are also comparing plastic food storage containers for lightweight pantry use, begin with this broader guide to choosing food storage containers.
Key Takeaways
- Judge the glass, lid, gasket, and latch as one storage system.
- Match every use to the maker’s instructions; oven-safe glass does not make its lid oven-safe.
- Thermal shock, chips, cracks, deep scratches, and damaged seals are reasons to stop using a component.
- Test a closed container over a sink before trusting it on its side overnight.
Beginner: Start with the complete storage system
Compare the vessel before comparing the set
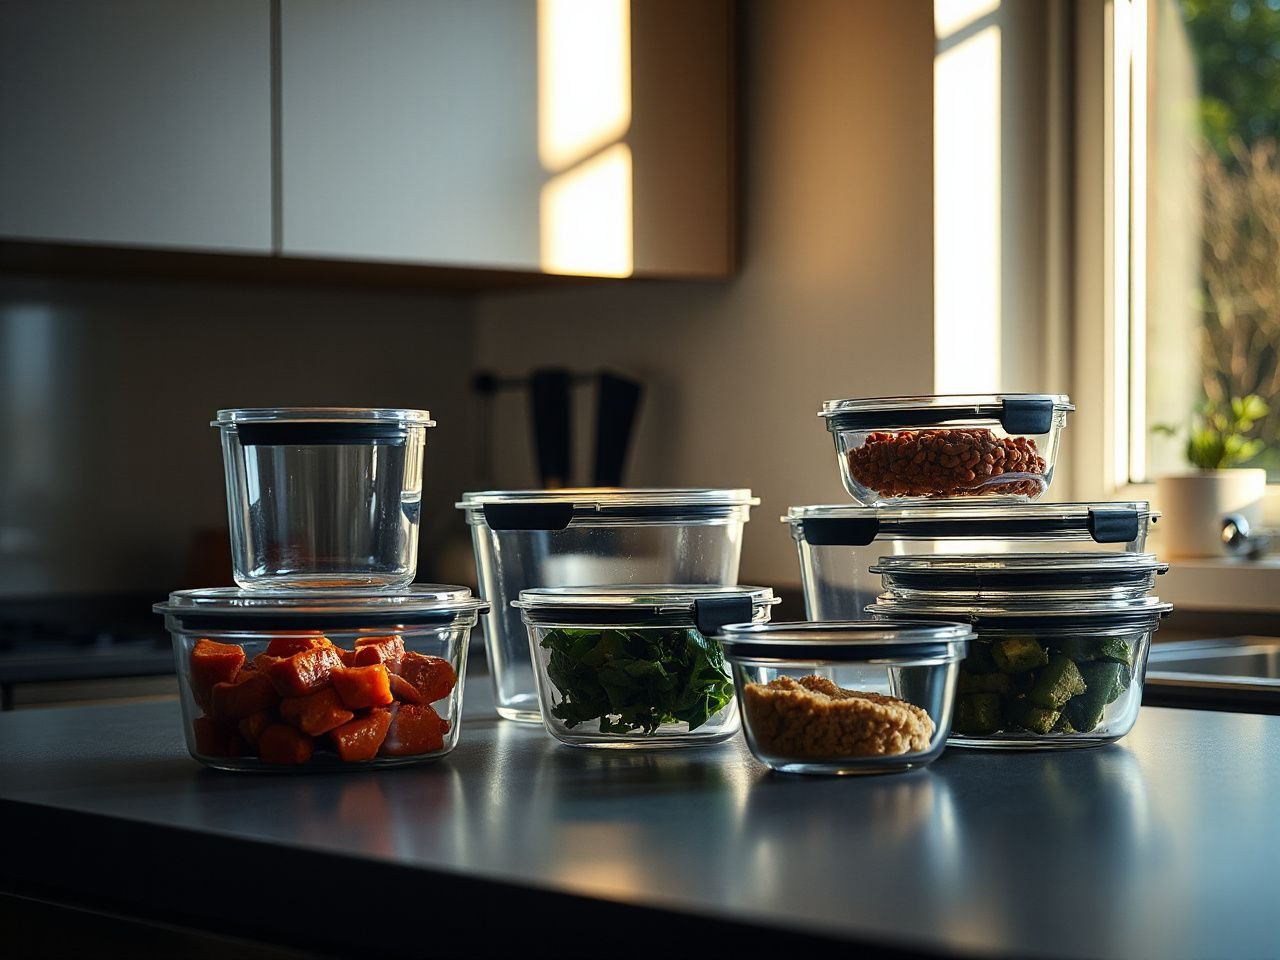
The first question is not how many pieces a package contains. Ask what each piece is made to do, how the pieces stack in the available space, and whether the lids can be identified after washing. A useful glass food containers buying guide begins with the vessel, then checks every part that touches the food or controls the seal.
Glass is useful for meal preparation and portion storage because the vessel does not absorb food odors in the same way some porous or heavily scratched surfaces can. That does not make every glass container suitable for every appliance. The label, base marking, lid instructions, and care information remain the controlling evidence.
- Glass body: Check whether the maker identifies borosilicate glass, soda-lime glass, or tempered glass, and read the stated use limits.
- Lid: Identify whether it is polypropylene, glass, or another material named by the maker.
- Gasket: Look for a silicone gasket that sits evenly rather than curling, stretching, or lifting from its channel.
- Latch: Open and close each snap-lock latch gently and check that it reaches its closed position without forced pressure.
- Shape: Prefer a shape that leaves room for the food and allows the lid to sit flat without the contents touching the seal.
A food container is only leak-resistant when its glass, lid, gasket, and closure work together. That sentence should guide the comparison more than a piece count.
Borosilicate, soda-lime, and tempered glass
Borosilicate glass is formulated for strong resistance to sudden temperature changes, and the verified product information describes borosilicate glass remaining stable at temperatures reaching 450°F. That description still does not grant permission to use every lid or every container in an oven. The complete product instructions matter.
Soda-lime glass is common in food storage, and tempering gives tempered soda-lime glass increased durability and improved resistance to impacts. The same verified information says tempered soda-lime glass must not face thermal shocks exceeding 200°F. A buyer should read that as a warning against abrupt changes, not as a target operating temperature.
Glass type alone does not answer the safety question. A container’s body may be oven-compatible while its polypropylene lid, silicone gasket, or snap-lock latches must be removed first. The Food and Drug Administration provides food-contact and food-safety information at FDA.gov, while the Consumer Product Safety Commission provides consumer product safety information at CPSC.gov.
Choose useful shapes for storage and organization
Square and rectangular containers generally use shelf and refrigerator space differently from round containers, but the right choice depends on the shelf depth, drawer height, and portions you actually store. A wide opening makes scraping and washing easier. A narrow, tall vessel may take less surface area but can make leftovers harder to reach.
Look for matching lids that can be nested or stored upright without hiding one another. A lid that belongs to only one oddly shaped vessel creates friction in a busy kitchen, especially if the marking fades in the dishwasher. Kitchen organization improves when the storage system has clear homes for both glass bodies and lids.
- Measure the shelf or drawer before choosing a shape, but do not assume a listed outside size describes usable food space.
- Check whether empty containers nest without wedging together.
- Check whether closed containers stack without pressing on the latch or gasket below.
- Choose openings that let a sponge, brush, or dishwasher spray reach the corners.
- Separate containers intended for meal preparation from those used mainly for leftovers if their care instructions differ.
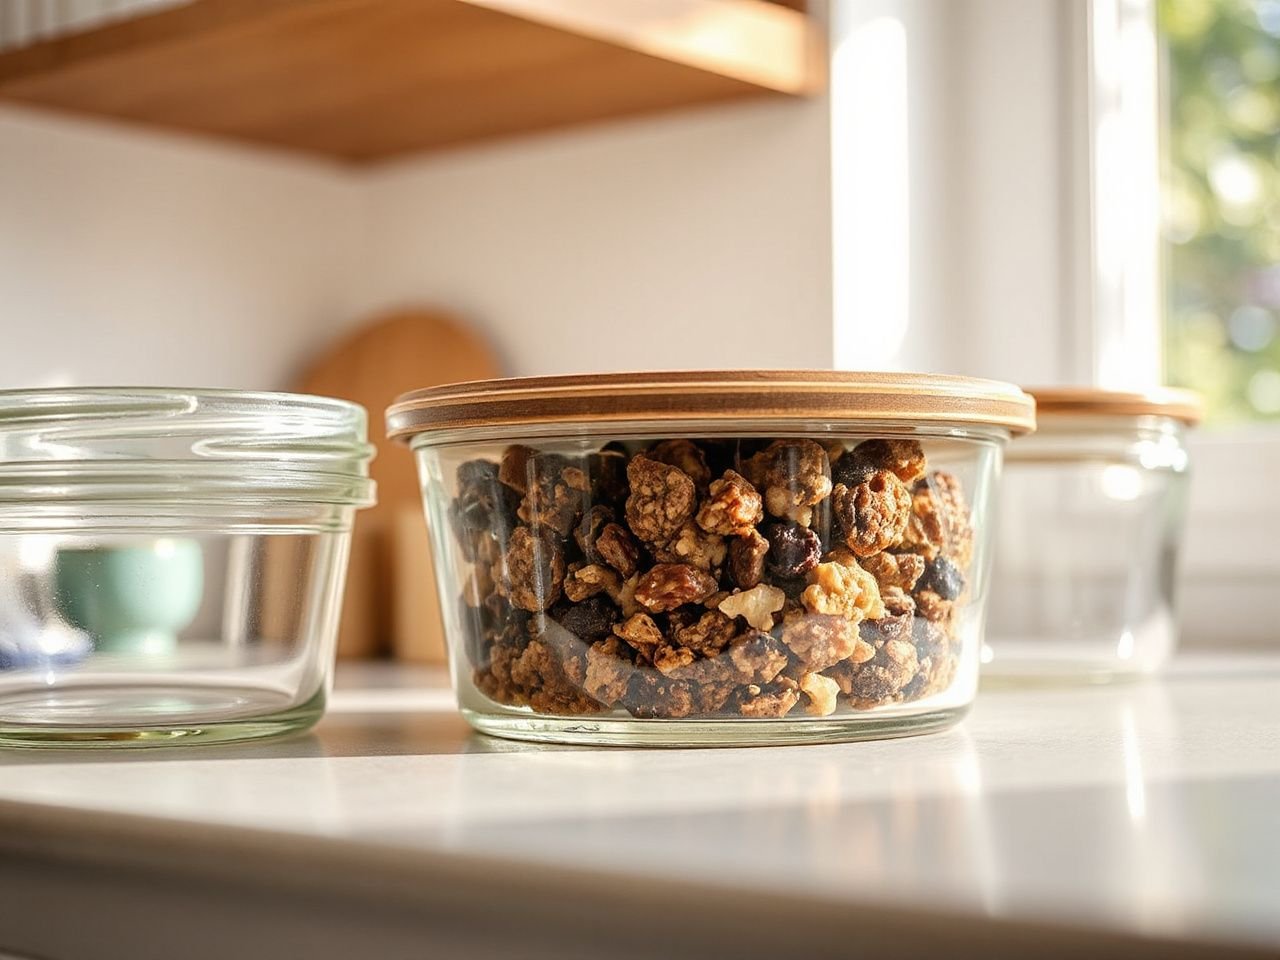
Intermediate: Match glass containers to heat and cold
Understand thermal shock
Thermal shock occurs when one part of glass changes temperature faster than another part. That uneven expansion or contraction can create stress, and rapid movement between hot and cold conditions can cause cracking or shattering. The practical rule is simple: never treat a freezer, oven, microwave oven, or cold worktop as interchangeable stops.
Thermal shock can crack glass even when the container appears clean and undamaged. A sound-looking vessel still needs a gradual change in conditions.
- Read the use marking first. Confirm that the glass body is approved for the appliance or storage condition.
- Separate the lid. Remove a polypropylene lid, silicone gasket, or snap-lock component unless its instructions specifically permit the intended heat.
- Avoid abrupt movement. Do not move a very cold container directly into a hot oven, and do not place a hot container on a cold or wet surface.
- Leave room for expansion. Food and liquid need space during freezing, and trapped steam needs a safe way to escape during microwave use.
- Inspect after the change. Stop using the vessel if you hear a sharp crack, see a new line, or find a chip.
Oven use is not lid use
An oven-safe glass body does not make the lid, gasket, or latch oven-safe. This distinction is one of the most important points in any guide to buying glass food containers because a sealed plastic lid can soften, deform, or trap pressure when exposed to heat.
For oven cooking or reheating, use only the glass component if the instructions permit that use. Place the food in the vessel according to the maker’s directions, and keep every excluded component away from the heat. If the care information does not clearly name oven use, do not infer permission from the glass material alone.
Microwave ovens need venting and inspection
Microwave use requires attention to trapped steam, venting, metal components, and uneven heating. A sealed lid can allow pressure to build, while a lid with metal parts may not be suitable for microwave use. Remove or open the closure only as the manufacturer’s instructions direct, and avoid assuming that a vent automatically makes every microwave setting safe.
Uneven heating also matters because one area of the food or glass may become hotter than another. Use the appliance instructions, stir food where appropriate, and allow the container to rest before handling. A microwave-safe marking on the glass does not automatically cover the lid.
Freezer storage and thawing
Freezer storage needs both a suitable glass body and enough empty space for the food to expand. A lid should protect the food without being forced down against a rising frozen mass. For a more focused look at selecting vessels for frozen food, see this freezer container guide for storage and thawing.
Thawing should follow a gradual path allowed by the maker’s instructions. Avoid moving a frozen container directly to intense heat. A freezer-safe label does not override a warning about thermal shock, and it does not confirm that the lid can be heated with the vessel.
Advanced: Read the seal before trusting the container
How gaskets and latches affect leak resistance
A silicone gasket forms the flexible contact between the lid and the rim. It must sit evenly in its channel, remain attached when the lid is lifted, and avoid folds that create a path for liquid. A snap-lock latch supplies closing force, but the latch cannot correct a warped lid or a displaced gasket.
Leak resistance is a condition, not a permanent label. Food residue, grease, stretching, heat damage, and a lid that no longer lies flat can all change how the seal behaves. A container that passes a dry visual check still deserves a water test before it carries soup, sauce, or oily food in a bag.
- Fit the clean gasket into its channel and check the entire perimeter.
- Place the lid on the empty vessel without locking it and look for gaps.
- Close each latch in the order shown by the instructions, using gentle pressure.
- Add water, close the container, and tilt it over a sink.
- Check the rim, corners, latch areas, and underside for moisture.
Do not confuse a tight latch with a good seal. A latch that closes while the gasket is twisted may hold the lid down but still allow liquid to escape.
Glass lids and plastic lids
Glass lids keep the storage system visually consistent and may tolerate conditions that a plastic lid does not, but they add another glass component that needs careful handling. Plastic lids, including polypropylene lids, are often lighter and less vulnerable to a direct drop, yet their heat limits, warping risk, printed markings, and latch attachments require separate attention.
The material name does not settle the use question. Check whether the lid is intended for microwave ovens, ovens, freezers, and dishwashers separately. A glass lid may still have a gasket or latch that controls sealing, while a plastic lid may need to be left ajar for a specified use.
A lid should be retired when it stays warped, develops a split, loses a latch, or no longer holds the gasket securely. A damaged lid can spoil food through leakage or poor protection even when the glass body remains flawless.
Inspect chips, cracks, and deep scratches
Chips and cracks compromise the glass, especially around rims and corners that receive contact during stacking. Deep scratches also deserve caution because they change the surface and can make future damage harder to identify. Do not keep using a vessel merely because it still holds food.
Inspect the glass under clear light before filling it. Run a clean fingertip carefully along the outside rim, without pressing on a suspected crack, and look for a sharp chip, cloudy line, star-shaped mark, or irregular edge. Inspect the lid separately for splits, distortion, loose hinges, broken latches, and gasket damage.
A cracked, chipped, or deeply scratched glass container should no longer be used for food storage. A lid with a damaged sealing component should no longer be trusted for leak-resistant storage.
Advanced: Clean, maintain, and judge long-term value
Dishwasher care is not identical for every component
Dishwasher cleaning can affect printed markings, plastic lids, silicone gaskets, and latch mechanisms differently from the glass body. The glass may come out clean while a lid marking fades, a gasket retains an odor, or a latch becomes difficult to close after repeated heat and detergent exposure.
Follow the maker’s loading instructions and keep small gaskets from falling into the spray arms or filter area. Place lids so water can reach their channels, but do not wedge them where they can bend. If the instructions allow only the glass body in the dishwasher, wash the lid by hand.
Remove stains, grease, and odors
Stained glass often needs a thorough wash with dish soap and a non-abrasive sponge. Letting the cleaning solution reach the corners is more useful than scrubbing the surface aggressively. Deep scratches from abrasive tools are a reason to choose gentler equipment.
Greasy lids need attention around the gasket channel and latch hinges. Remove the gasket only if the manufacturer permits removal, then wash the separate parts and dry them fully before reassembly. Food-smelling silicone should be cleaned according to the care instructions; if the odor remains with visible deterioration, replace the gasket rather than masking the smell.
- Use a soft brush for narrow gasket channels.
- Rinse soap from the underside of the lid and around the latch.
- Dry parts separately so moisture does not remain trapped in the seal.
- Do not use a damaged gasket as a temporary fix for a leaking container.
- Keep lids slightly separated during storage if they are clean but still damp.
Does reusable glass cost less over its useful life?
A reusable glass system can replace repeated purchases of disposable food packaging, but the financial result depends on how often the containers are used, how many are broken or lost, and whether replacement lids are available. The glass itself may remain useful while a lid or gasket needs replacement, so the cost of the complete system deserves attention.
Compare the useful life rather than the starting package price. A sensible calculation includes the container, lids, replacement sealing parts if offered, cleaning effort, breakage, and how often the set actually fits your meal preparation routine. Reducing disposable food packaging can be a practical benefit, but durability and regular use determine whether the system earns its storage space.
Do not buy a large collection simply because the package contains many pieces. A smaller group of shapes that stack, seal, and match your portions can be more useful than unused vessels occupying a cabinet.
Build a repeatable inspection routine
Inspect the body, lid, gasket, and latch whenever a container has been dropped, exposed to an unexpected temperature change, or returned from a dishwasher cycle with an unusual fit. The goal is not to worry over every mark; the goal is to catch damage before the container carries food or liquid.
- Body: Look for chips, cracks, deep scratches, and new cloudy or sharp lines.
- Rim: Check that the edge is smooth and that the lid has a complete contact surface.
- Lid: Look for warping, splits, loose sections, and a flat fit.
- Gasket: Check for stretching, cuts, hard areas, odor that will not wash away, or a poor fit in the channel.
- Latch: Confirm that each mechanism closes without strain and stays closed during a water test.
Replace only the damaged component when the maker provides a compatible part, and confirm that the replacement matches the container. A lid from a similar-looking vessel may not seal correctly.
Common causes of spoiled food and broken glass
Food can spoil when a container is closed with a dirty rim, stored with a failed gasket, or treated as leakproof without a proper closure check. Glass can break when it receives an impact, contains an unnoticed crack, or moves rapidly between hot and cold conditions.
- Putting a hot vessel on a cold or wet surface.
- Moving frozen glass directly into a hot appliance.
- Heating food beneath a closed lid that traps steam.
- Using a cracked, chipped, or deeply scratched vessel.
- Closing a lid over a folded or greasy gasket.
- Assuming dishwasher-safe glass means dishwasher-safe lids and seals.
- Stacking containers so a latch or lid bears pressure from above.
Safe food storage also depends on the food itself, not only the container. Use a food thermometer and the storage instructions from a food-safety authority for decisions about handling, cooling, and holding food; the glass vessel cannot make unsafe food safe.
Frequently Asked Questions
What should I compare first in a glass food containers buying guide?
Start with the complete system: glass type, lid material, gasket fit, latch design, appliance permissions, cleaning instructions, and replacement-part support. Check whether the shapes suit your shelves and portions. Then inspect the rim and seal. A large set with mismatched lids or unclear heat instructions creates more risk and clutter than a smaller system that is easy to identify and maintain.
Can glass containers go in the microwave, oven, freezer, and dishwasher?
Some can, but each use must be confirmed separately for the glass body and the lid. Oven-safe glass does not make a polypropylene lid, silicone gasket, or latch oven-safe. Microwave use requires attention to steam, metal, venting, and uneven heating. Freezer use requires room for expansion and protection from thermal shock. Dishwasher instructions may differ for glass and lids.
How can I tell whether a lid, gasket, or latch still works?
Inspect the parts when clean and dry, then reseat the gasket and close the lid without forcing it. The gasket should lie evenly, the lid should sit flat, and each latch should close normally. Test the empty container with water over a sink and tilt it in several directions. Retire a lid or gasket that leaks, warps, splits, or no longer stays in position.
For readers comparing cookware alongside storage, the material and heat-use principles in this practical cookware guide provide useful context. Storage decisions become clearer when the vessel, closure, appliance, and cleaning routine are considered as one system.