Does a container still deserve your trust if its lid seals only while it sits upright? The useful distinction is between a container that merely tolerates freezing and one that remains practical afterward: usable headspace, stackability, release of frozen food, and a dependable lid seal matter as much as the container material. Material compatibility must also be assessed separately for freezing, thawing, reheating, dishwasher cleaning, and oven use, because a container suitable for one stage may be unsuitable for another. That is the focus of this freezer containers buying guide: choosing storage that behaves predictably from preparation through serving.
Key Takeaways
- Judge the lid seal, headspace, shape, and frozen-food release before choosing a material.
- Freezer-safe does not automatically mean microwave-safe, oven-safe, or dishwasher-safe.
- Clean rims, sound gaskets, clear labels, and sensible portions make frozen storage easier to manage.
Beginner: Start With the Job, Not the Material
Decide what the container must hold
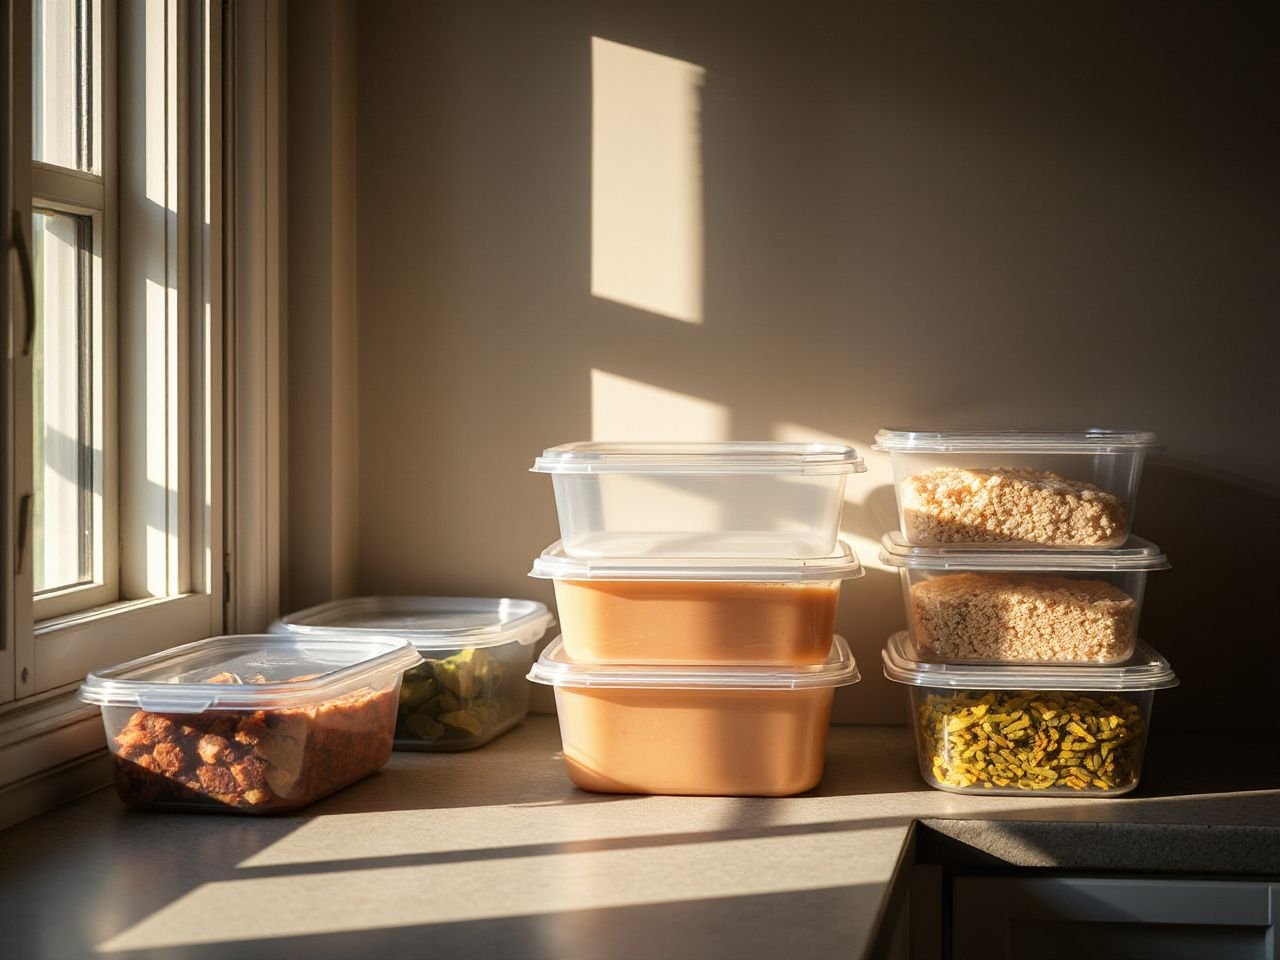
A container for soup has different practical demands from one for cooked meat, chopped vegetables, sauce, or a portioned meal. Liquids expand as they freeze, so a container filled right to the lid can strain its walls, push against the closure, or spill before the food becomes solid. Leave usable headspace above liquid food, following the container maker’s instructions when they are supplied.
Frozen food needs room to change state without turning the lid into a pressure point. Straight-sided containers are useful for foods that need to come out later because frozen contents are less likely to catch beneath a narrowing shoulder. A freezer tray can help portion sauces, stock, or prepared ingredients before transferring them to a larger container or freezer bag.
A freezer container needs enough empty space for expanding liquid and enough structure to protect food during stacking. That principle applies to plastic, glass, and silicone alike.
Choose a portion that will thaw sensibly
Large containers can hold a batch of food, but a smaller portion may thaw more conveniently and leave less unused food in the refrigerator. Portioning also helps meal preparation because each container has a clear purpose. Match the container to the amount you expect to use rather than filling every vessel to its maximum usable capacity.
Freezer bags can save space because they can be laid flat while their contents freeze. Rigid containers are easier to stack and protect soft food from being crushed. A practical system may use both: bags for flat portions and rigid containers for foods that need support or a firm shape.
Check the freezer before choosing a shape
Measure the shelves, drawers, and gaps between them with the tools available to you, then compare those spaces with the outside dimensions printed by the manufacturer. Do not rely on a capacity label alone. A container can hold the desired quantity and still waste shelf space if its corners, lid, or taper prevent close stacking.
Square and rectangular forms usually make the available shelf area easier to organize, while straight sides help frozen food release. Rounded containers can suit liquids and may be easier to wash, but their footprint may leave unused spaces beside them. The useful shape is the one that fits your freezer and allows the food to come out without force.
Beginner: Compare Materials by Every Stage of Use
Plastic for light storage and volume
Polypropylene is commonly considered for freezer storage because a rigid plastic container can be light and easy to handle. High-density polyethylene is another material a reader may encounter in freezer storage. The label alone does not answer every use question, so read the manufacturer’s instructions for freezing, thawing, reheating, dishwasher cleaning, and oven use separately.
Plastic can be convenient for batch cooking because it is easy to move from the freezer and less vulnerable to breakage than glass. Its drawbacks appear when a lid warps, a surface keeps strong odors, or the walls become stained. A container that no longer sits squarely on its lid should not be trusted for overnight side storage.
Plastic food storage containers are not interchangeable simply because they look alike. Inspect the base, lid, care markings, and instructions for the particular container before using it in a microwave or dishwasher.
Glass for visibility and serving
Borosilicate glass can make frozen food easy to identify and may be useful when a container needs to move from storage to serving. Glass also makes stains and residue visible, which can help with cleaning. Those advantages do not remove the need for care.
Glass can break from thermal shock when moved rapidly between hot and cold conditions, even when the container is marketed as freezer suitable. A freezer-safe glass container is not automatically safe for the microwave or oven. The container, lid, and manufacturer’s instructions each matter, and the lid may have different limits from the glass base.
Glass containers require headspace for frozen liquids. Avoid moving a cold glass container directly into a hot environment unless the instructions specifically permit that use. For guidance about food safety and handling, consult the U.S. Food and Drug Administration, which provides authoritative consumer information rather than relying on a storage label alone.
Silicone and flexible storage
Silicone can be useful for freezer trays and flexible containers because frozen portions may release more readily when the sides can flex. Flexibility can also make a container easier to fit into an irregular freezer space. The same quality can make a filled container harder to carry, especially if the food is liquid before freezing.
A flexible container needs a stable place to freeze and a lid that remains attached during handling. Check whether the maker permits freezer, microwave, dishwasher, or oven use for the exact item. A silicone freezer tray may be suitable for portioning while its cover, if supplied, has separate care instructions.
Silicone gaskets, bamboo lids, and mixed materials
An airtight lid is only as dependable as the rim, gasket, and closure that create it. A silicone gasket can improve the contact between lid and container, but food residue, stretching, cuts, or an imperfect fit can reduce sealing reliability.
Bamboo lids are not dishwasher safe. If a lid combines bamboo with another material, follow the care directions for the complete lid rather than assuming that the container base’s dishwasher marking applies to every part.
Mixed-material containers deserve a stage-by-stage check. A glass base may tolerate freezing while its lid is unsuitable for heat, and a plastic container may tolerate dishwasher cleaning while its gasket needs separate handling.
Intermediate: Judge the Lid Before You Fill the Freezer
Look at the sealing path
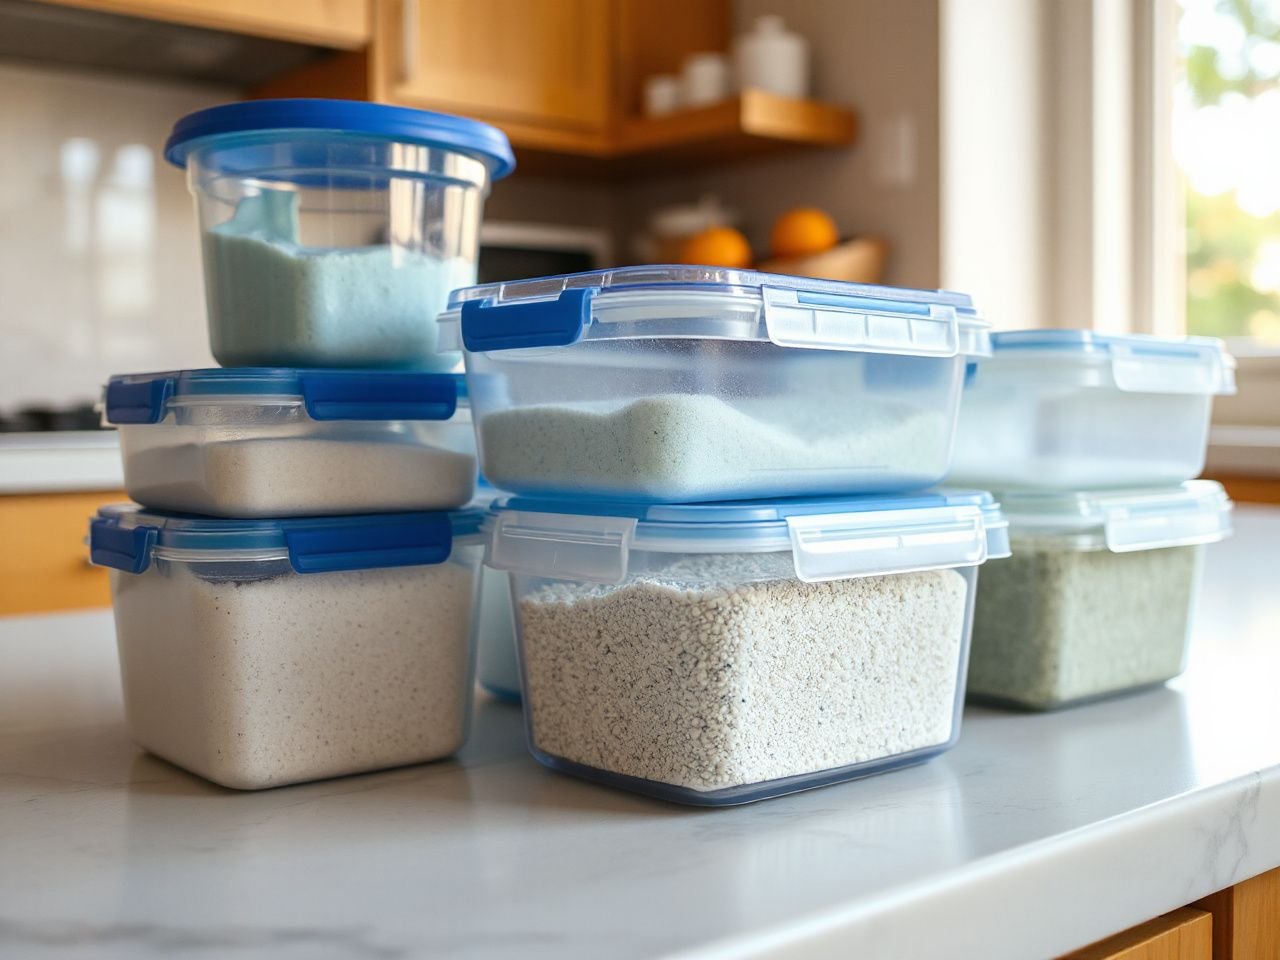
Start with the rim of the container. It should be clean, free of dried food, and undamaged. Examine the underside of the lid for a gasket, channel, vent, or locking feature, then confirm that each part sits in its intended position.
Some lids press onto a rim, some use side clips, and others rely on a gasket fitted into a groove. The mechanism is less important than the result: the lid should sit evenly, the gasket should not be twisted, and closure points should engage without excessive force. A lid that closes only after being bent or pushed hard may be showing damage rather than strength.
A container lid that rocks on a clean, empty container is unlikely to become more reliable after food is added. Test the fit while the container is empty, then repeat the inspection after filling without overloading the walls or lid.
Understand what airtight means in the freezer
Removing air and maintaining a reliable seal helps limit freezer burn, but those steps do not replace safe handling and thawing practices. Freezer burn appears as dry, discolored areas caused by moisture leaving exposed food, so reducing air contact can help protect texture and flavor.
Air can enter through a loose lid, a damaged gasket, a poorly closed freezer bag, or excess empty space inside the package. Press air out of a freezer bag before closing it, while leaving enough room for the food to lie flat without stressing the closure. Rigid containers need a properly fitted lid and appropriate headspace rather than a lid forced down onto an overfilled portion.
Freezer burn does not automatically mean that a container failed to freeze food safely, but it can make food dry or unpleasant. Discarding food, handling it safely, and following reliable thawing guidance remain separate decisions.
Check for leaks without creating a false test
A lid can look tight and still leak from one corner. For a practical inspection, use a clean, empty container first. Fit the lid, hold the container upright, and look for lifting edges, gaps, or movement at the gasket. If the maker provides a specific leak-test instruction, follow that instruction instead of improvising with food.
Never use a filled container as a casual stress test if a leak could create a safety or cleaning problem. Side storage is especially demanding because liquid presses toward the closure. The safest choice is a container whose lid is designed for that use and whose seal remains even after the rim has been cleaned.
Prevent the first failed seal
Food residue is a common enemy of reusable storage. A small smear across the rim can hold the lid slightly away from the container, while grease or sauce in a gasket channel can make the closure feel secure without creating an even seal.
Wash the container and lid according to the care instructions. Remove the gasket if the manufacturer says it is removable, clean the groove, and let parts dry before assembly. Do not use a harsh method merely to remove an odor if the maker warns against it.
Intermediate: Make Stacking, Thawing, and Release Work Together
Stack without trapping the food
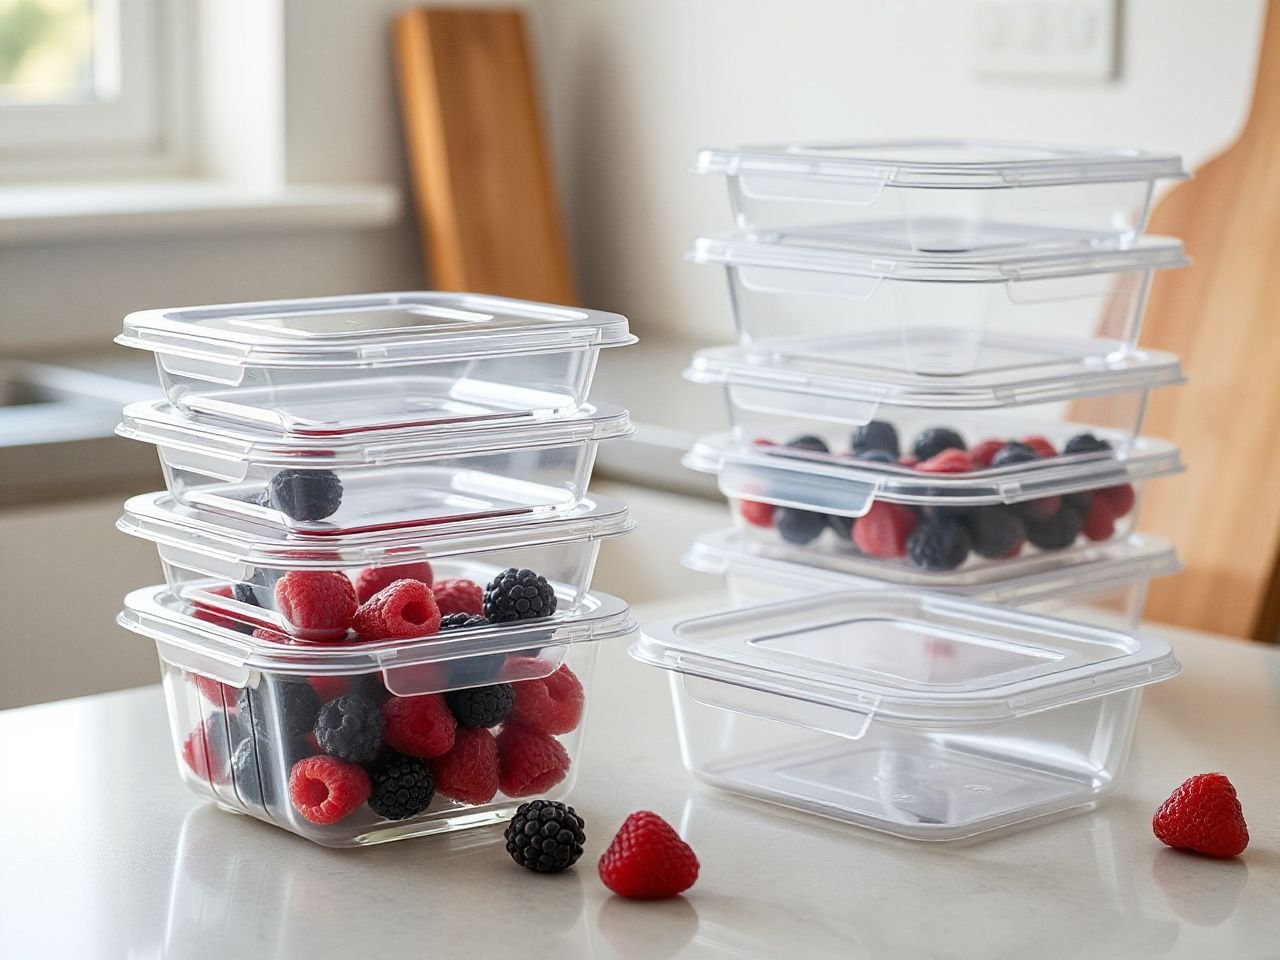
Stackability depends on the base, lid, and shape together. A lid that is wider than the base may stabilize a stack but can consume valuable shelf space. A tapered container may nest efficiently while empty yet make frozen food difficult to release.
Choose a stable footprint and use similar shapes for portions that will share a shelf. Keep labels visible from the front or top, depending on how the freezer opens. A stack is useful only if the lower container can be removed without disturbing the entire arrangement.
Stackable freezer containers should remain stable when the shelf is opened and closed. Clear organization reduces the time the freezer stays open and makes date marking easier to read.
Release frozen food without damaging the container
Food can freeze tightly against a wall, particularly when liquid reaches the rim or a container narrows toward its base. Straight-sided containers reduce that problem because the frozen block has fewer shoulders to catch beneath. Flexible silicone can also help a portion release, provided the container has enough support during handling.
Do not pry frozen food out with a knife or other sharp object. A damaged wall, scratched surface, or nicked gasket can create a future cleaning or sealing problem. Use the thawing method allowed by the food and container instructions, and let the food loosen gradually rather than applying sudden heat to cold glass.
Match the container to thawing and reheating
Freezing, thawing, reheating, dishwasher cleaning, and oven use are separate compatibility questions. A freezer-safe container is not automatically safe for a microwave, oven, or dishwasher. The material, lid, gasket, vent, and manufacturer directions all influence the allowed use.
Remove or reposition a lid only as the instructions direct during microwave reheating. A sealed container can behave differently under heat from a container designed to vent. Glass needs particular caution because rapid movement between hot and cold conditions can cause thermal shock.
If a container is intended for oven use, verify that the lid is permitted in the oven or remove it as instructed. Do not transfer a frozen glass container directly into a hot oven unless the maker expressly allows that transition.
For broader guidance on how cookware materials affect heat use, the Types of Cookware Explained: A Practical Buying Guide can help you separate material choice from the care rules for a particular vessel.
Use meal-prep divisions carefully
Divided containers can keep components separate before freezing or reheating, but each compartment still needs room for expansion and a lid that closes across the full rim. A divider does not prevent liquid foods from moving if the container is tilted and the closure is weak.
For batch cooking, place foods with similar thawing needs together when practical. Keep sauces in a portion suited to the meal rather than allowing a large block to dictate the entire schedule. A freezer tray can separate small portions before they are grouped in a bag or rigid container.
Advanced: Build a Freezer System That Stays Reliable
Label for the future version of the meal
Reusable containers need labels that survive cold storage and remain readable. Mark the food name and date of preparation or freezing, and add a short note if the container holds a sauce, component, or complete meal. If the container will be reused, place the label where it can be removed without leaving residue on the sealing path.
Do not write only a vague category such as dinner. A clear label reduces guesswork when several meals have similar appearances. Date marking also supports orderly rotation and makes it easier to decide what should be used first.
Labels should not cross the gasket, latch, vent, or rim. A label that interferes with closure can cause the very leak the storage system is meant to prevent.
Clean for the next seal
Wash food residue from the lid, rim, corners, and gasket channel. Dry parts fully before storage because trapped moisture and odors can make a container unpleasant to reuse. Follow the maker’s instructions for removable seals, dishwasher use, and hand washing.
Dishwasher cleaning can be appropriate for some containers, but the approval applies only where the manufacturer gives it. Rubbermaid Brilliance containers are identified as suitable for freezer and dishwasher use in the available product information; that does not extend the same claim to another container with a similar appearance.
Keep lids and bases together when possible. A mismatched lid may fit loosely, and a gasket from another container may not sit correctly in its channel.
Retire damaged parts instead of negotiating with them
Cracks, warped walls, split gaskets, damaged latches, and lids that no longer sit flat are clear reasons to stop relying on a container for leak-prone food. Stains and odors may be cosmetic, but persistent residue or smell can signal that cleaning is no longer satisfactory for the way you use the container.
A container with a small crack can spread the damage during freezing or handling. A warped lid may appear closed while leaving an uneven gap. Replace the affected part only if the manufacturer supplies a compatible replacement; otherwise, move the food to a container with a sound base and lid.
Freezer containers with trapped odors are not necessarily unusable, but odor retention should influence where they are used. Reserve a strongly scented container for foods with compatible aromas only if it can still be cleaned properly and the lid seals evenly.
Choose rigid containers or bags by the whole storage cycle
Rigid containers can be reused and stacked, while freezer bags can be flattened and may use less shelf volume. The cheaper choice over time depends on how often the item can be reused, how well it survives cleaning, whether it needs replacement, and how much freezer space it saves. A price comparison without those factors gives an incomplete answer.
Freezer bags are useful for meat, chopped produce, and flat portions when the food will not be crushed. Rigid containers offer better support for soft meals, sauces, and foods that need to remain in a defined shape. Neither format eliminates the need for air removal, clear labeling, safe thawing, and appropriate headspace.
A storage system works best when every format has a defined role. Use the rigid container for protection and stacking, the freezer bag for flexible portions, and the freezer tray for small amounts that would otherwise freeze into one large block.
Keep safety separate from convenience
Storage labels do not replace safe food handling instructions. The Centers for Disease Control and Prevention provides food-safety information for handling and preparation, while the FDA offers consumer guidance on food storage and safe practices. Use those authorities for handling decisions rather than treating a container’s freezer marking as a complete food-safety instruction.
Thaw food using a method appropriate for that food and follow the relevant guidance. A container can protect the package from air and spills without making unsafe handling safe. Good storage begins with a clean container, a sound seal, and a label, but it does not end there.
Use adjacent cookware only for the job it can perform
A freezer container is not a substitute for a cooking vessel. If a meal needs to be cooked in a Dutch oven before portioning, the guide to Dutch ovens for soup addresses cookware selection separately from freezer storage. Keeping preparation equipment and storage equipment distinct makes material and heat instructions easier to follow.
Freezer Containers Buying Guide: A Final Selection Process
Step 1: Read the complete care marking
Confirm freezer use first, then check the separate instructions for microwave reheating, dishwasher cleaning, oven use, and thawing. Look at the base, lid, packaging, and manual because the base and lid may have different limits.
Step 2: Inspect the seal
Check the rim, gasket, latches, vent, and lid fit while the container is empty. A dependable lid closes evenly without a twisted gasket, raised corner, or visible gap.
Step 3: Confirm the shape
Choose a footprint that fits your freezer shelves and a wall shape that will let frozen food release. Straight-sided containers are often easier to empty than containers with pronounced shoulders, but the exact design still needs inspection.
Step 4: Plan the headspace
Leave room above liquids because liquids expand as they freeze. Never fill a container to the lid simply to maximize the portion.
Step 5: Assign the container a role
Decide whether the item will hold soup, a complete meal, cooked meat, ingredients, sauce, or a small frozen portion. The role determines whether rigid plastic, borosilicate glass, silicone, a freezer bag, or a freezer tray makes practical sense.
Step 6: Plan the label and cleaning routine
Choose a visible labeling area away from the gasket and closure. Clean food residue from every sealing surface, dry the parts, and inspect the container before its next use.
The best freezer container is the one whose material, shape, closure, and care instructions match the food and the storage routine. A strong seal matters most to a container placed on its side, but seal quality depends on clean contact surfaces, adequate headspace, and an undamaged lid. That is why a careful selection process beats choosing by material name alone.
Frequently Asked Questions
What material should I choose for food I plan to freeze?
Choose by the food and the complete use cycle. Polypropylene or high-density polyethylene may suit light rigid storage, borosilicate glass may suit visible serving containers, and silicone may suit flexible portions or freezer trays. Check each item for freezing, thawing, microwave, dishwasher, and oven instructions separately. No material label alone establishes every permitted use.
How do I know whether a freezer container will stay sealed?
Inspect the clean rim, gasket, lid channel, latches, and any vent before filling. The lid should sit evenly without rocking, twisting, or lifting at a corner. Leave appropriate headspace and avoid forcing the closure over food. If the container will lie on its side, use a design intended for a secure seal and do not rely on a loose press-fit lid.
Why does food get freezer burn inside a container?
Freezer burn can occur when moisture leaves exposed food and air reaches the food surface. A loose lid, damaged gasket, poorly closed freezer bag, or excessive empty space can increase exposure. Removing air and maintaining a reliable seal helps limit the problem, but labeling, safe handling, and suitable thawing remain separate responsibilities.
Can glass containers go directly from the freezer to the oven?
Not automatically. Glass can break from thermal shock when moved rapidly between hot and cold conditions, even when the container is marketed as freezer suitable. Check the manufacturer’s instructions for the base and lid, and do not assume that freezer approval includes oven or microwave approval. Follow any required thawing or temperature-transition directions.
Is a freezer-safe container automatically dishwasher safe?
No. Freezer, dishwasher, microwave, and oven use are separate compatibility questions. The material, lid, gasket, bamboo components, and care instructions all matter. Bamboo lids are not dishwasher safe, and a dishwasher-approved base does not necessarily make its lid or seal dishwasher safe. Clean parts according to the instructions for that exact container.
How much empty space should I leave for frozen liquids?
Liquids expand as they freeze, so do not fill the container to the lid. Use the headspace direction supplied by the manufacturer when available, and select a larger or wider container if the intended portion cannot fit without pressure. The correct amount varies with the container design and food, so a universal measurement would be misleading.
Should I use rigid containers or freezer bags?
Rigid containers provide support, stackability, and protection from crushing. Freezer bags can hold flexible portions and lie flat, which may help organize a crowded shelf. Consider reuse, cleaning, replacement, available freezer space, and the food’s shape rather than comparing purchase cost alone. Many kitchens benefit from assigning each format a different role.
What should I do if a container cracks, warps, or keeps odors?
Stop using a cracked base, warped lid, damaged gasket, or unreliable latch for food that could leak. Clean persistent residue and odors according to the care instructions, then inspect the sealing surfaces. If the part no longer fits or cleans properly, replace it with a compatible component or retire the container. A familiar container is not useful if its seal cannot be trusted.