

Dutch oven cooking for beginners has become a regular feature of modern home-cooking advice because one pot can move from stovetop searing to oven braising and bread baking. The useful starting point, however, is heat management rather than recipe complexity. A Dutch oven retains heat strongly, so lowering or removing the burner does not stop cooking immediately. Bare cast iron needs seasoning and moisture control, while enameled cast iron reduces rust concerns but makes thermal shock, empty overheating, and enamel damage the main risks.
Key Takeaways
- Preheat gradually and reduce the burner earlier than you would with a thin pot.
- Choose bare cast iron for seasoning practice and outdoor flexibility, or enameled cast iron for easier acidic cooking and indoor cleanup.
- Learn one technique at a time: sear, braise, simmer, then bake.
What beginners should understand first
A Dutch oven is a thick cooking vessel with a close-fitting lid, and its heavy material changes the timing of every heat adjustment. A thin stockpot responds quickly to a burner change; cast iron warms more slowly, stores more heat, and continues transferring that heat after the setting is reduced. That stored heat helps maintain a steady simmer and supports browning, but it can also scorch food if the burner stays high too long.
The practical distinction is simple. Bare cast iron depends on polymerized seasoning, careful drying, and a thin film of oil to limit rust. Enameled cast iron has a coated cooking surface, so rust is less of a concern, but sudden temperature changes, empty overheating, abrasive cleaning, and careless handling can damage the enamel.
Bare cast iron and enameled cast iron
Bare cast iron suits cooks who want a vessel for stovetop meals, oven cooking, and campfire use. Its seasoning is not a permanent plastic-like coating; polymerized seasoning is built and maintained through repeated heating of very thin oil layers. Moisture left on the surface encourages rust, so washing must be followed by thorough drying and a light coat of oil.
Enameled cast iron is more forgiving around acidic ingredients during long cooks because the food contacts enamel rather than bare seasoned iron. That does not make the vessel indestructible. Enamel can chip or crack if the pot is overheated while empty, exposed to a sudden temperature change, or scrubbed with an abrasive material.
Bare cast iron needs drying and a thin layer of oil after cleaning because moisture can produce rust. Enameled cast iron needs gentler temperature changes and nonabrasive cleaning because damaged enamel cannot be restored by seasoning.
What size is easiest to learn with?
The easiest size depends on the food you plan to make and the baking dish your recipes already use. An 8- or 10-inch Dutch oven provides the same capacity as an 8-by-8 baking pan, while a 10-inch Dutch oven corresponds to an 11-by-7 baking pan. A 12-inch Dutch oven corresponds to a 9-by-13 baking pan.
Those comparisons are more useful than a vague capacity label. A cook who already makes square-pan brownies or cobblers can choose a Dutch oven with a matching footprint and transfer familiar recipes more easily. A 12-inch camp vessel makes more sense for recipes written around a 9-by-13 pan, especially when baking rolls, pies, or a larger cobbler.
For more detail on how diameter changes depth, surface area, and recipe fit, read this guide to Dutch oven sizes and cooking results. The manufacturer does not list a universal capacity for every Dutch oven, so the stated baking-pan equivalents are safer than guessing from the diameter alone.
How a Dutch oven differs from a regular pot
Cast iron heats more slowly than aluminum, retains heat longer, and distributes heat through a thick body rather than reacting instantly to every burner change. That behavior is useful for braising and simmering, where stable heat matters, but it requires earlier adjustments during cooking.
The lid also matters. A close-fitting lid limits evaporation, keeps a braising environment moist, and reduces the need to replace liquid during a long cook. The same lid can trap too much heat if the burner remains high, so a gentle simmer is usually the target for stews, chili, and pot-roasting rather than vigorous boiling.
Beginner method: control the heat before adding complexity
Step 1: Check the complete heat rating
The pot, lid, and oven-safe lid knob must each be rated for the intended oven temperature. A pot body that can enter the oven does not automatically mean that every knob or lid component can tolerate the same heat. Read the maker’s instructions before using the lid in the oven.
Cooktop compatibility also matters. A Dutch oven may work on a gas stove, electric stove, induction cooktop, and in the oven, but the specific vessel must be identified as compatible with the surface. Induction cooktops require a magnetic base, and a pot made for one heat source should not be assumed suitable for another.
Induction cooktops can heat compatible cast iron directly, but cast iron should be lifted rather than dragged across a glass surface because the cookware is heavy and the surface can be scratched. A gas flame should remain under the base rather than climbing the sidewalls, and an electric element should be allowed to cycle without constant high heat.
Step 2: Preheat gradually
Place the empty Dutch oven on a low or moderate setting rather than starting at maximum heat. Gradual preheating reduces the chance of scorching oil or stressing an enamel coating before food has entered the pot.
Use a small amount of cooking oil only after the vessel has begun to warm, then add the food when the recipe calls for searing. A thick pot does not need the same aggressive burner setting as a thin pan. The stored heat continues working after the food is added.
Step 3: Sear in batches when the surface is crowded
Searing develops browned flavor through the Maillard reaction, but food releases moisture when the cooking surface is crowded. Excess moisture lowers surface browning and can leave meat or vegetables pale while the pot bottom grows hotter.
Dry the food surface as the recipe permits, add it to the warmed pot, and allow the first side to brown before turning. If the pieces cover the base tightly, work in batches. Remove browned food to a plate while the next batch cooks, then return everything to the pot before adding liquid.
The brown residue left on the bottom is useful fond, provided it is not black and burnt. Liquid added after searing loosens that residue, giving a braise or stew more flavor. Scorching, by contrast, produces bitter material that should not be scraped into the dish.
Step 4: Lower heat earlier than expected
After liquid reaches the desired simmer, reduce the burner earlier than you would with a regular pot. A Dutch oven’s retained heat can keep the liquid moving after the burner is turned down, and a high setting may produce violent bubbling that breaks apart tender food or evaporates liquid too quickly.
Move the pot to a cooler burner when the recipe allows, or remove it briefly from the heat if the simmer remains too active. A trivet is useful when the hot vessel needs to rest away from the burner or when the table surface needs protection.
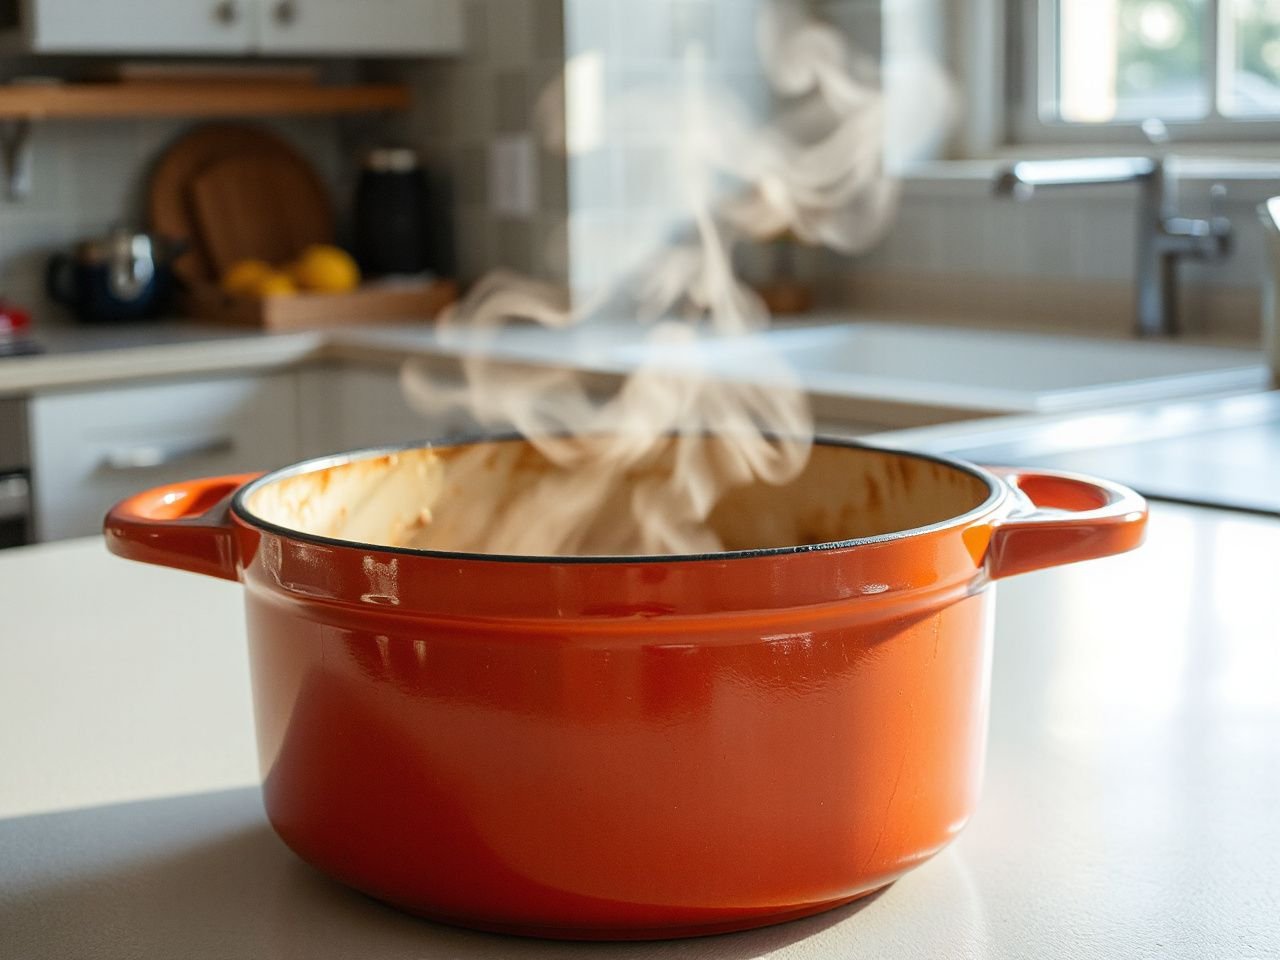
A Dutch oven continues cooking after the burner is reduced because its thick walls and base store heat. That single fact explains many beginner problems, including scorched bottoms, over-reduced sauces, and meat that becomes dry during a supposedly gentle braise.
Step 5: Match heat placement to the recipe
For soups, whole chicken, chili, pot roasts, and simmering stews, use a balanced amount of heat on the bottom and top when cooking outdoors with a camp Dutch oven. Baking pies, brownies, cobblers, and rolls calls for roughly one-third of the heat on the bottom and two-thirds on top.
A camp Dutch oven is designed for outdoor heat. Aluminum or cast iron may serve as its primary material, and a camp model commonly has three legs that raise the vessel above the heat plus a rimmed, flat lid that holds charcoal. Those features distinguish it from a smooth-bottom indoor Dutch oven.
When charcoal briquettes are grey, they are ready to use. For a cooking duration longer than **45 minutes**, the old coals need replacing with fresh coals so the heat pattern does not fade during the recipe.
Beginner recipes that teach useful skills
Start with a stovetop vegetable beef soup
Vegetable beef soup teaches the basic sequence without demanding delicate timing. Brown the beef in batches, soften the vegetables in the same pot, loosen the fond with liquid, then simmer until the ingredients reach the texture specified by the recipe.
Keep the simmer gentle. A Dutch oven holds enough heat to maintain cooking after the burner is reduced, so bubbling should be controlled rather than aggressive. Stir along the base periodically, especially if the soup contains starches that settle and thicken.
Move to braised short ribs or pot roast
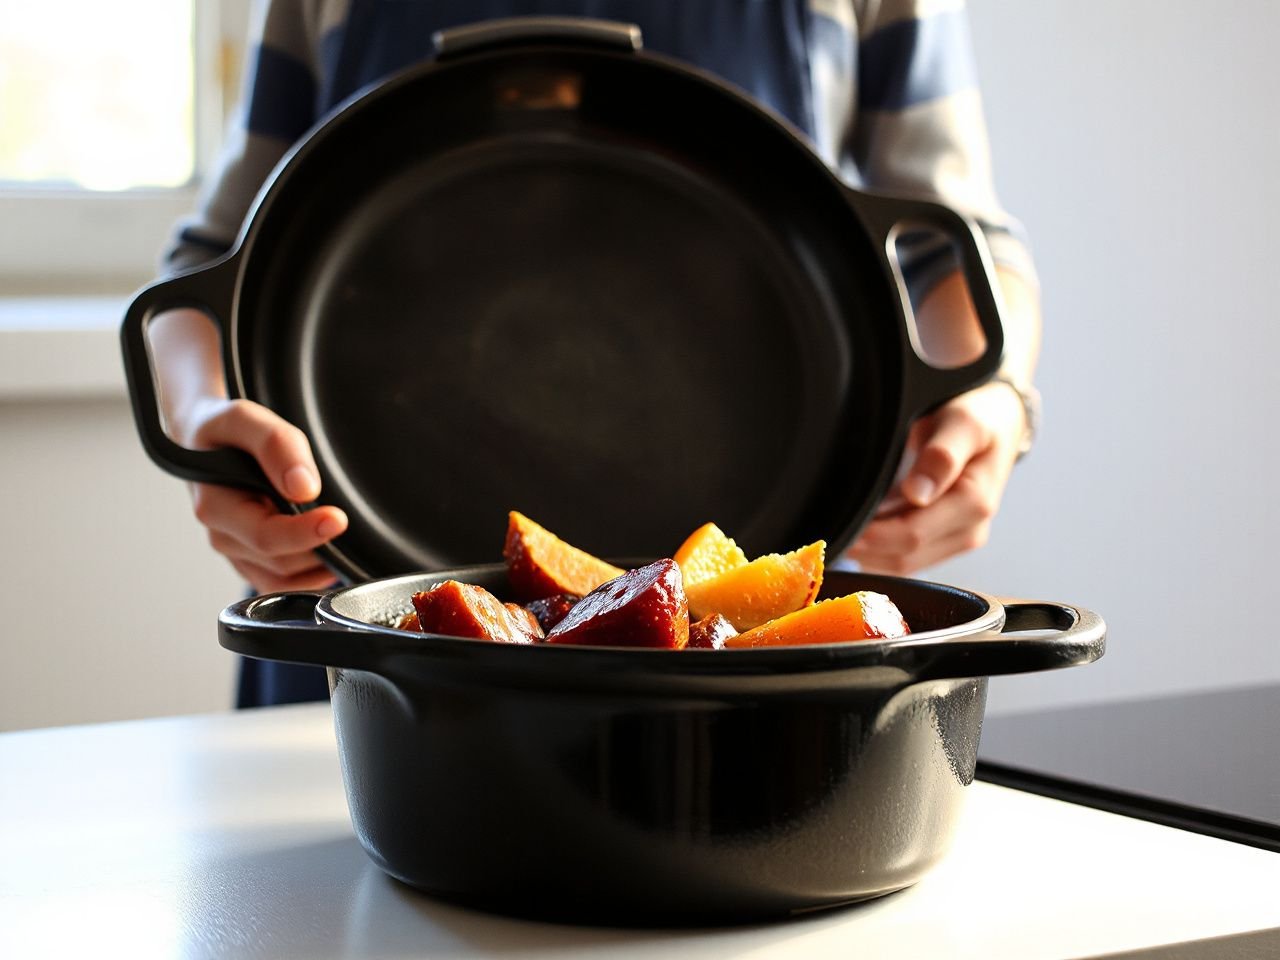
Braised short ribs and pot roast teach the relationship between browning, liquid, a covered pot, and steady heat. Sear the meat first, remove it, cook the aromatic vegetables, and return the meat with the recipe’s braising liquid before covering the vessel.
The liquid should support moist cooking without turning the meat into a boiled dish. Keep the lid closed as directed by the recipe because repeated lifting releases heat and moisture, then check the bottom when the dish is stirred or finished.
Try chicken andouille gumbo after learning the basics
Chicken andouille gumbo introduces a darker base and rewards careful heat control. A thick Dutch oven can hold enough heat to continue cooking a roux after the burner is lowered, so the base needs close attention during browning.
Add ingredients in the order specified by the recipe rather than treating the pot as a dumping vessel. The goal is to learn how the pot responds as the mixture changes from dry browning to liquid simmering.
Use no-knead bread to learn oven behavior
No-knead bread baked in a Dutch oven teaches preheating, lid handling, and oven-safe component checking. The heavy covered vessel supports a moist baking environment, while the lid helps contain steam released by the dough.
Before baking, confirm that the pot, lid, and lid knob all carry the required oven rating. If bread baking is your main interest, this overview of bread ovens for beginners compared with cloches explains why covered baking vessels behave differently from open trays.
Finish with a cobbler or blueberry grunt
A stovetop blueberry grunt or a Dutch oven cobbler builds confidence with gentle simmering and retained heat. Fruit releases liquid as it cooks, while a topping needs enough heat to set without burning against the base.
For outdoor baking, use the stated one-third bottom and two-thirds top heat arrangement. That pattern protects the fruit from excessive bottom heat while giving the topping enough heat to cook through.
Fix sticking, scorching, and uneven cooking
Why food sticks
Food can stick when the cooking surface is not adequately heated, when the food is moved before it has browned, or when the pot contains too little cooking fat for the recipe. Bare cast iron also needs a maintained seasoning layer, but seasoning cannot compensate for crowding or constant poking.
Place food on the warmed surface, give it time to form a browned crust, and turn it only when it releases more easily. If the fond is brown rather than burnt, deglazing with the recipe’s liquid can recover it for the sauce.
Why the bottom scorches
Scorching usually comes from excessive burner power, a thick sauce left unstirred, or heat that is not reduced early enough. Dutch ovens are especially prone to continuing the cooking process after the control is lowered because the base retains heat.
Use a lower setting once the food reaches a simmer, stir dense mixtures from the bottom, and move the pot away from the active burner if the contents continue boiling too hard. A trivet provides a safe resting place for the hot pot away from direct heat.
Why cooking seems uneven
Uneven cooking can come from crowded food, pieces cut to different sizes, or heat concentrated beneath one part of the base. Arrange food in a single layer during searing when the recipe calls for browning, then stir or rotate ingredients during a simmer if the recipe permits.
Cast iron distributes and retains heat differently from a thin pot, but it does not erase poor contact or crowded surfaces. The lid also changes the environment by trapping heat and moisture, so covered and uncovered stages should not be treated as interchangeable.
Cleaning, seasoning, and storage
Care for bare cast iron
Wash bare cast iron according to the manufacturer’s care directions, remove food residue without stripping the seasoning unnecessarily, and dry the vessel completely. Apply a very thin layer of oil before storage; a heavy coating can become sticky rather than protective.
Acidic ingredients can affect seasoning, especially during long cooks. Tomatoes and other acidic foods do not automatically make a meal impossible in bare cast iron, but a long acidic simmer is a reason to choose enameled cast iron or to pay close attention to the seasoning afterward.
Bare cast iron should be stored dry with its lid positioned so air can circulate rather than trapping moisture inside. Rust indicates a moisture-control problem, not a reason to discard the vessel immediately, but the affected area will require corrective cleaning and renewed seasoning according to the manufacturer’s instructions.
Clean burned food from enamel
Allow an enameled Dutch oven to cool before cleaning. Sudden contact between a very hot vessel and cold water can create thermal stress, while abrasive pads and harsh scraping can mark or damage the enamel.
Soak the cooled pot with warm water and a suitable mild cleaner, then use a nonabrasive sponge or soft brush. Persistent burned food may need repeated soaking rather than force. Do not heat an empty enameled pot to burn residue away.
Enamel is a glass-like coating bonded to the cast iron, so chips and cracks are not repaired by adding oil. Handle the lid and pot carefully, avoid dropping them, and do not use metal tools in a way that can strike the coating.
Store cooked food safely
A Dutch oven is excellent for cooking, but it is not a reason to leave prepared food at room temperature for an extended period. Follow the USDA Food Safety and Inspection Service guidance for cooling, storing, and reheating cooked food, and transfer leftovers to suitable storage containers when the recipe and safety guidance call for it.
Large, deep batches retain heat for a long time, which can slow cooling. Divide food as appropriate under the applicable food-safety guidance rather than assuming that a covered Dutch oven will cool quickly on its own.
Is a Dutch oven practical for everyday meals?
A Dutch oven can replace several cooking steps because it sears, simmers, braises, and bakes in one vessel. That versatility is useful for soups, chili, pot roast, braised chicken, cobblers, and no-knead bread, but the pot is heavy and slow to change temperature.
A stockpot may be more convenient for a large quantity of thin soup, a slow cooker may be easier for unattended long cooking, and a pressure cooker changes cooking speed through pressure rather than retained heat. A Dutch oven remains the more direct tool for recipes that begin with browning and finish with a covered simmer or oven braise.
Fuel use depends on the cooktop, recipe, burner setting, and how long the food cooks, so a universal cost claim would be misleading. The practical financial question is maintenance: bare cast iron needs drying and oil, enamel needs careful handling, and either type can remain useful across many techniques if its surface is protected.
For cooks comparing finishes before starting, this enameled Dutch oven buying guide focuses on the care differences that matter more than appearance.
Frequently Asked Questions
What is the easiest Dutch oven type for a beginner?
Enameled cast iron is often the simpler indoor starting point because rust prevention is less demanding and acidic long-cooked foods do not contact bare seasoning. Bare cast iron is a strong choice for cooks who want campfire flexibility and are willing to dry the pot thoroughly and maintain polymerized seasoning. The right choice depends on care habits as much as recipes.
Can I use a Dutch oven on gas, electric, induction, and in the oven?
Many Dutch ovens are designed for gas, electric, induction, and oven use, but compatibility belongs to the specific vessel. Check the manufacturer’s instructions for the cooktop surface and confirm the oven rating of the pot, lid, and lid knob separately. On induction or glass, lift the heavy pot instead of dragging it across the surface.
Why does my Dutch oven scorch after I lower the burner?
Cast iron stores heat, so the base continues transferring heat after the control is lowered. Reduce the burner before the food reaches a vigorous boil, move the pot to a cooler burner or trivet when appropriate, and stir dense food from the bottom. A covered pot can also trap more heat and moisture than an open pot.
How do I clean a bare cast-iron Dutch oven without removing seasoning?
Remove food residue with the manufacturer’s recommended method, avoid unnecessarily abrasive scrubbing, and dry the pot completely. Finish with a very thin film of oil before storage. Acidic ingredients can affect seasoning during long cooks, and any moisture left in the vessel can encourage rust, so drying is part of cleaning rather than an optional final step.
What beginner recipe teaches the most Dutch oven skills?
A vegetable beef soup or simple braise teaches browning, deglazing, simmer control, and lid management in one sequence. No-knead bread adds oven and lid checks, while a cobbler teaches outdoor heat placement. Start with one method, reduce the burner early, and record what happened before moving to a more complex gumbo or campfire meal.


