Spend $30 on the wrong cast iron grill pan and you’ll spend years scraping burnt bits out of ridges while your food steams instead of sears. I learned that the hard way. This guide to buying a cast iron grill pan isn’t about which brand to pick—it’s about the details that separate a tool from a torture device.
A grill pan is not a ridged skillet. Its deep wells and tall ridges change preheating, oiling, and food contact, so a beginner who treats it like a flat skillet ends up with burnt seasoning or steamed food. The choice between bare and enameled cast iron is not about aesthetics but about high-heat performance versus easy cleaning—bare can get hotter and build a true seasoning, while enameled is lower-maintenance but weaker at searing.
Key Takeaways
- A grill pan’s tall ridges trap food above the surface, so it needs longer preheating and different oiling than a flat skillet.
- Bare cast iron builds a polymerized oil seasoning that gets better over time; enameled cast iron cannot season and maxes out at lower heat for searing.
- Most grill pan problems—sticking, smoking, steaming—come from using too much heat, too little preheating, or overcrowding the surface.
- Weight matters: a 6- to 8-pound pan holds heat evenly, but anything over 9 pounds becomes a wrist hazard on the stove.
Why Most Cast Iron Grill Pans Get Abused
I blame the pan before the recipe, and usually I’m right. A cast iron grill pan demands a specific set of habits, and skipping even one of them leads to disaster. The first habit is understanding that this pan is a specialist, not a generalist.
The Grill Pan Is Not a Skillet
The flat bottom of a cast iron skillet transfers heat directly to a burger or a chicken thigh. A grill pan lifts the food about a quarter inch above the bottom, resting it on narrow ridges. Only the raised lines touch the meat. That means the pan’s center can be screaming hot while the food cooks slower, and the valleys between ridges hold air that insulates rather than conducts. On a flat skillet you can slide a spatula under anything; on a grill pan you’re wedging food off raised strips, which tears delicate fish or caramelized edges.
If you want a true flat surface, our cast iron griddle buying guide covers the mistakes to avoid when no ridges are involved.
The self-contained fact: a cast iron grill pan’s deep wells and tall ridges alter how oil pools and how food makes contact, so treating it like a skillet guarantees burnt seasoning or steamed food.
Bare vs. Enameled: The Trade-Off No One States
Bare cast iron is raw iron that you season with polymerized oil. That layer is not a coating; it’s a chemical crosslink that fills microscopic pores. It can withstand temperatures up to about 500°F before breaking down, which is plenty for searing. Enameled cast iron has a porcelain-glass surface that never needs seasoning and resists acid, but its maximum recommended stovetop heat is usually 400°F to 450°F according to Le Creuset’s cast iron care guidelines. For high-heat searing, bare cast iron will outperform. Cleaning is also different: bare cast iron requires a quick oil wipe after every use, while enameled cast iron wipes clean but can stain permanently if you burn sugar or fat onto the ridges.
Seasoning and Daily Care for the Ridges
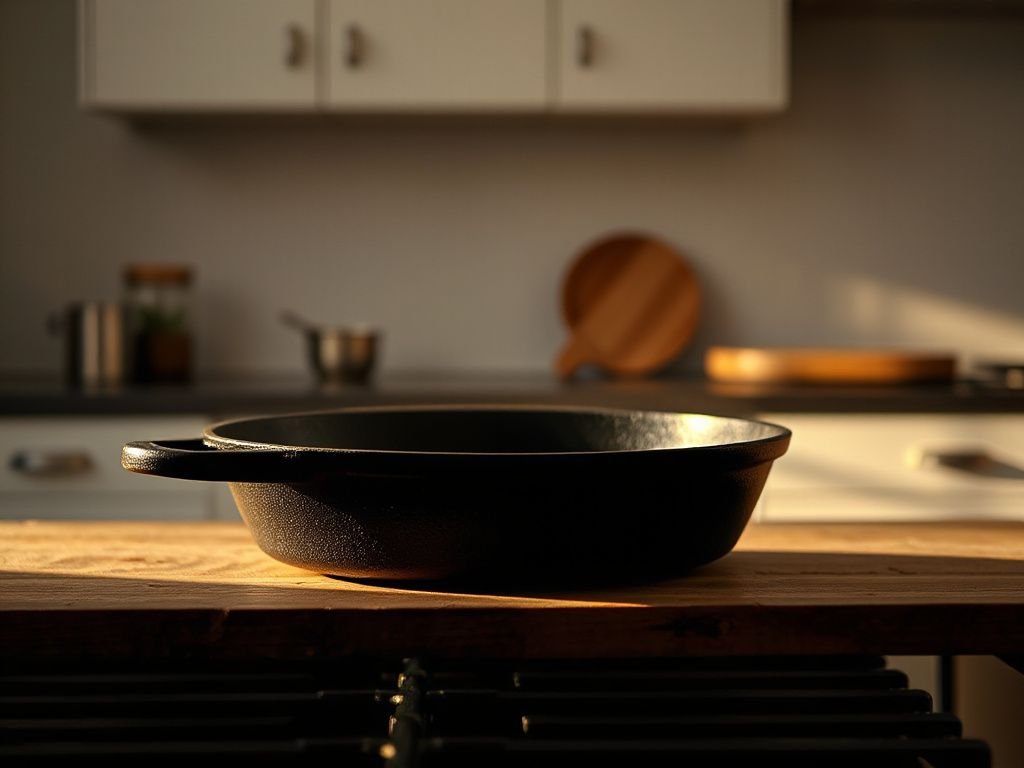
Most people ruin their grill pan seasoning on day one because they oil it like a flat pan. The valleys between ridges collect oil, and if you leave excess, it turns gummy and smokes. Seasoning a grill pan is not harder; it’s different.
How to Season Without Messing Up
Start with a pre-seasoned pan from Lodge Manufacturing—their process adds a base layer at the factory, but it still needs a few maintenance rounds at home. Heat the pan in a 350°F oven for 10 minutes to open the iron’s pores. Remove it, wipe a thin film of grapeseed oil over every surface, then wipe it off again as if you made a mistake. The pan should look dry, not shiny. Place it upside down in a 450°F oven for one hour. Let it cool inside the oven. Repeat three times and the ridges will hold a dark, non-porous layer. Lodge’s all-about-seasoning guide confirms that ultra-thin layers produce the most durable finish. After the initial seasoning, you only need to reapply a maintenance coat once every two to four weeks if you use the pan regularly.
Cleaning Without Destroying the Polymerized Oil
Never let a bare cast iron grill pan soak in water; the valleys will rust overnight. After cooking, scrape the ridges with a stiff nylon brush or a chainmail scrubber made for cast iron. Hot water only—no soap unless you’ve burned something badly, and even then use a drop of mild dish soap and re-oil immediately. Dry the pan on a warm burner for two minutes, then wipe a half teaspoon of oil over the ridges and valleys. That protective film is what prevents tomorrow’s chicken from sticking. If you’re wondering whether a dishwasher is ever safe for cast iron, our guide to cast iron in the dishwasher gives the blunt answer: no.
The Smoke Problem and How to Manage It
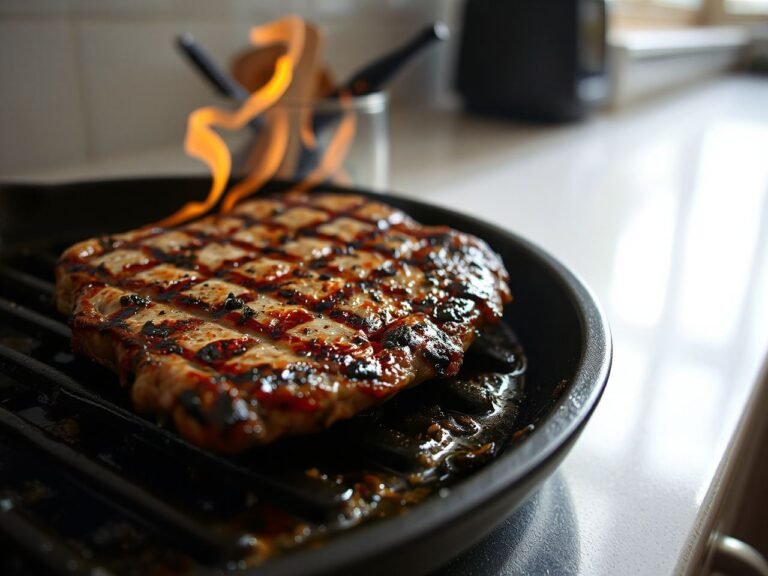
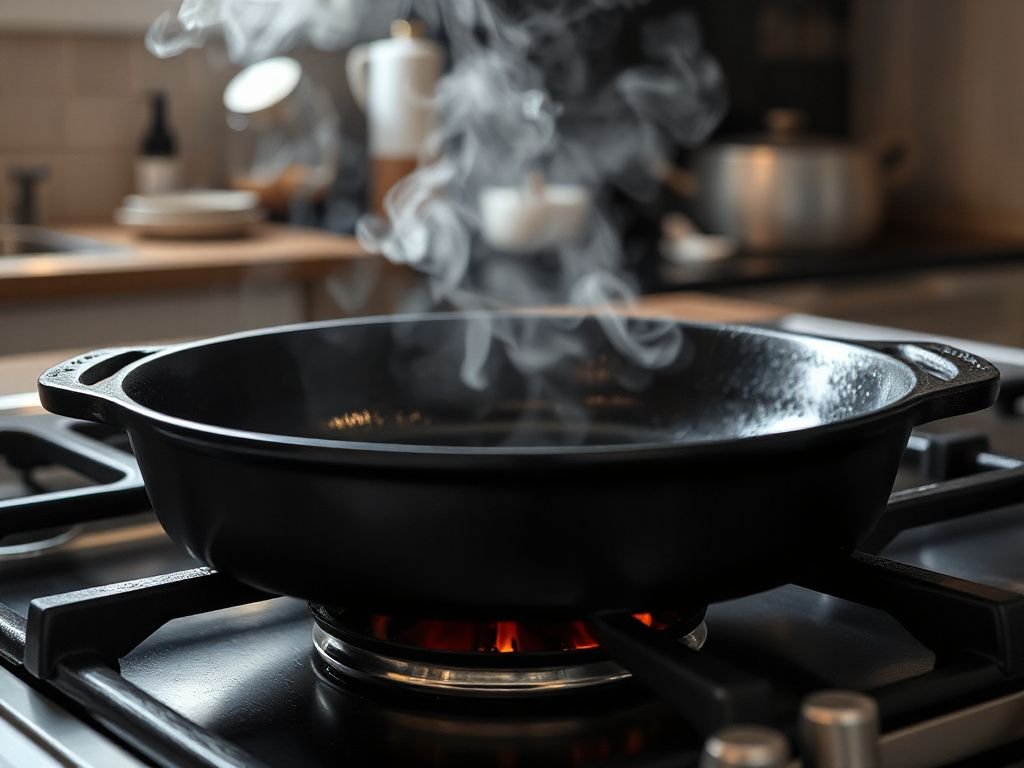
A cast iron grill pan smokes because polymerized oil has a smoke point around 450°F, and your burner can easily exceed that. The fix is not lower heat; it’s choosing an oil with a higher smoke point for cooking—avocado oil at 520°F or refined peanut oil—and never preheating above medium on most stoves. If the pan smokes white before you add food, it’s too hot and your seasoning is breaking down. Turn the burner down and wait 60 seconds. Good kitchen ventilation matters too because cast iron searing produces more aerosolized fat than a nonstick pan. A range hood on medium or a cracked window will keep your kitchen from smelling like a smokehouse for days.
Cooking Technique That Honors the Ridges
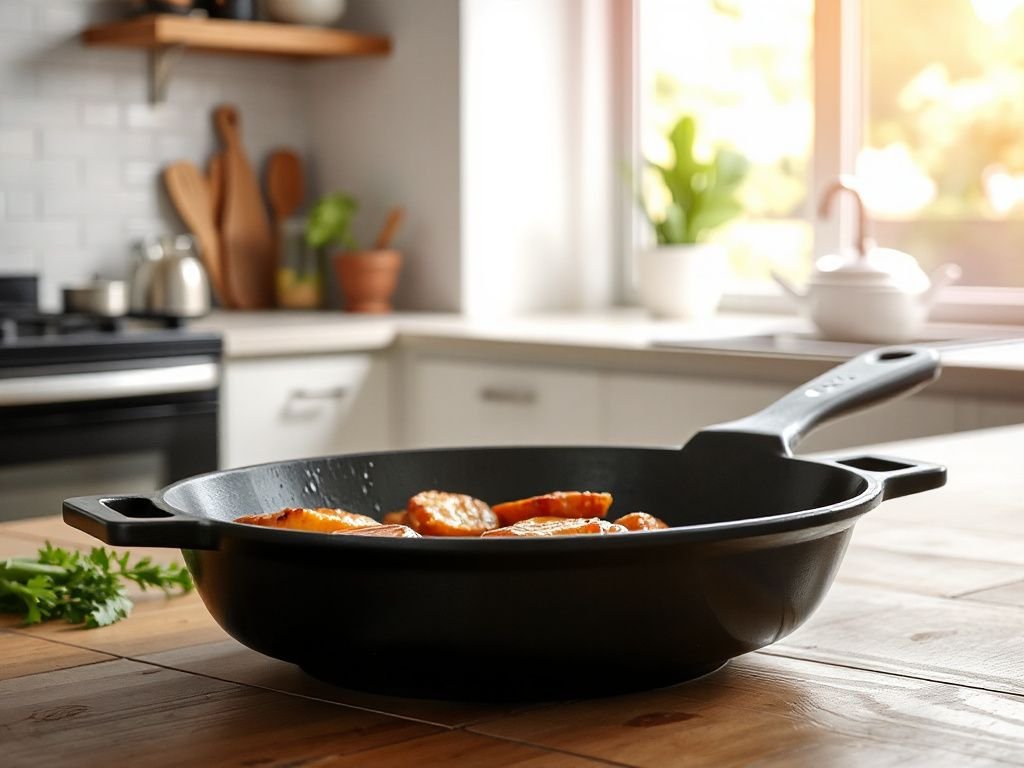
You bought a grill pan for marks and char. That means you must control moisture, temperature, and spacing. These three tasks are where most cooks fail and then blame the pan.
Preheating: The Temperature Sweet Spot
A cast iron grill pan needs at least 5 to 7 minutes on medium heat before food touches it. The ridges must reach 400°F to 450°F for a proper sear; below that, meat sticks and releases water, and you end up steaming. A simple test: flick a drop of water onto the ridges. It should skitter like a bead and evaporate in 2 seconds. If it sizzles and spits, the pan is not hot enough. Preheat until the handle feels warm but not scorching.
Oil the Food, Not the Ridges
Because valleys trap oil, coating the entire pan creates a puddle that smokes and degrades the seasoning. Instead, brush avocado oil directly onto a chicken breast, a steak, or zucchini slices. The food’s surface becomes the cooking medium, and any excess drips harmlessly into the valleys where it can be scraped later. This method also gives you better contact on the ridge tops, which is where the Maillard reaction happens.
Avoid Steaming by Spacing Food Out
Overcrowding is the single biggest mistake people make with a grill pan. Four chicken thighs on a 10-inch pan might fit, but each releases steam, and that steam gets trapped in the valleys, keeping the meat at 212°F instead of searing at 400°F. Leave at least an inch between pieces. Cook in batches if necessary. A pan that looks half-empty is working correctly because the open space lets moisture escape upward instead of condensing back.
If you need a fast meal to test your technique, sear chicken thighs and then simmer them in a broth for a chicken tortilla soup ready in 25 minutes.
Oven Finishing and Weight Considerations
All bare cast iron grill pans are oven-safe to at least 500°F, which means you can sear on the stovetop and finish a thick pork chop in a 375°F oven. The pan’s weight—usually between 5 and 8 pounds for a 10-inch model—holds heat so the oven cycle won’t cause temperature swings. But that weight is also a daily decision: if you can’t lift the pan with one hand and a spatula in the other, it’s too heavy for you. Look for a helper handle opposite the main handle; many modern pans include one, and it reduces wrist strain when moving from stove to oven.
Foods That Actually Cook Well in a Cast Iron Grill Pan
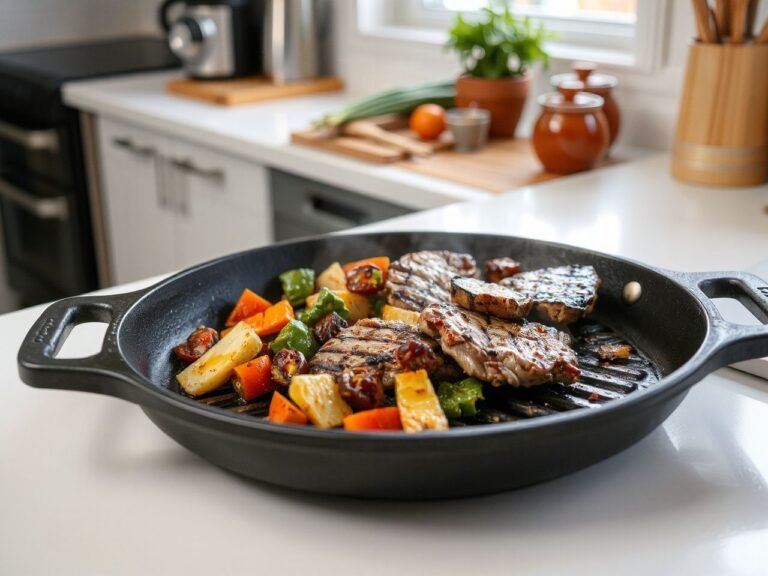
- Red meat: steaks, burgers, lamb chops—the char lines are dramatic and the fat drains away.
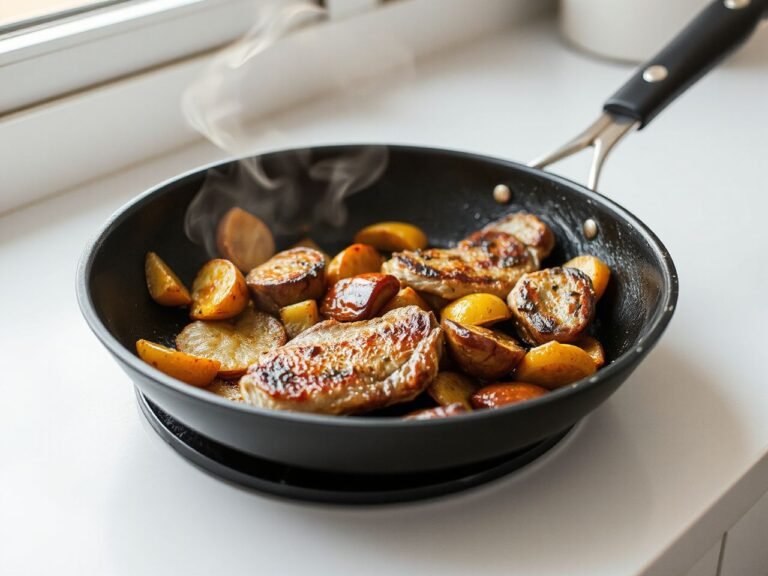
- Poultry: boneless chicken thighs and breasts, but pound them to even thickness first.
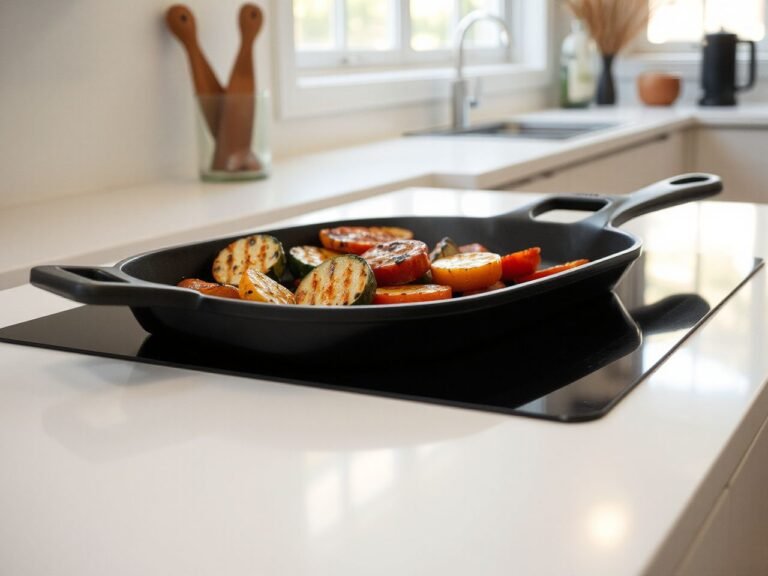
- Vegetables: zucchini, bell peppers, asparagus, and eggplant get excellent char without falling through the gaps.
- Paninis and sandwiches: the ridges press bread without flattening it completely.
- What to avoid: delicate fish fillets (they stick and tear), thin sliced bacon (the valleys fill with grease), and anything that releases a lot of liquid like mushrooms or tomatoes.
Advanced Judgement Calls for Serious Cooks
Once you’ve mastered the basics, the remaining choices depend on your stove, your strength, and what you cook most. These are the calls that separate a thoughtful purchase from a random one.
Induction Compatibility and What to Check
All bare and enameled cast iron works on induction cooktops because iron is ferromagnetic. But there’s a catch: the pan’s bottom must be completely flat to make full contact with the induction coil. Some grill pans have a slight concave bottom to allow for thermal expansion, and on induction that reduces efficiency. Before buying, set a straightedge across the bottom; if you see daylight in the center, choose a different pan. No induction? Gas and electric coil stoves work fine, but glass-top electric users should avoid sliding the heavy pan because it can scratch the surface.
Weight vs. Heat Retention: Finding Your Balance
A heavier pan holds heat more evenly, but every extra pound increases the chance of dropping it. A 10-inch bare cast iron grill pan typically weighs 6 to 7 pounds. Enameled versions from Le Creuset add a glass layer and often run closer to 8 pounds for the same size. The self-contained fact: a 7-pound cast iron grill pan retains enough thermal mass to sear four steaks before the temperature drops below the browning point. If your plan is quick solo meals, a 5-pound pan offers nearly the same performance with less forearm fatigue.
Bare or Enameled: The Final Decision Matrix
- Choose bare cast iron if you want maximum searing temperature, are willing to maintain seasoning, and cook acidic foods only occasionally (tomatoes, vinegar, wine).
- Choose enameled cast iron if you hate maintenance, cook a lot of tomato-based dishes or pan sauces, and accept a lower max heat for searing.
- Never choose enameled if your cooking style includes high-heat blackening or frequent empty-pan preheating; the glass will crack or discolor.
Enameled cast iron also cannot be re-seasoned, so once the surface wears, you’re stuck. Bare cast iron can always be stripped and reseasoned, which makes it the better long-term investment for a grill pan whose ridges inevitably get abused.
Frequently Asked Questions
What’s the real difference between a cast iron grill pan and a cast iron skillet?
A skillet has a flat cooking surface; a grill pan has raised ridges with valleys between them. The ridges lift food off the bottom, allowing fats to drain away and creating char lines where the food touches hot iron. This design changes preheating time, oil application, and how much food you can cook at once without steaming. A skillet sears more surface area; a grill pan sears less but adds visual marks and reduces oil contact.
How heavy should a good cast iron grill pan be?
For a 10-inch pan, look for a weight between 5 and 8 pounds. Below 5 pounds the pan is too thin and will warp or develop hot spots. Above 8 pounds it becomes unwieldy, especially when moving from stove to oven. The weight is a function of iron thickness, which is typically 3 to 4 millimeters. A helper handle adds control and is worth seeking on pans over 6.5 pounds.
Can I use a cast iron grill pan on an induction cooktop?
Yes, cast iron is ferromagnetic and works on induction. However, the pan’s bottom must make flat contact with the cooking zone. Check for warping with a straightedge; a convex or concave bottom will only partially heat. Also be aware that induction heats quickly, so reduce your usual preheating time by about 30% to avoid overshooting the seasoning’s temperature limit.
Why does my cast iron grill pan smoke so much?
Two reasons: the pan is hotter than 450°F, which is the smoke point of most polymerized oils used in seasoning, or you’re using a low-smoke-point cooking oil like extra-virgin olive oil. Fix the first by preheating on medium, not high, and using a water drop test to confirm temperature. Fix the second by switching to avocado oil (520°F smoke point) or refined peanut oil.
How do I clean a cast iron grill pan without ruining the seasoning?
After cooking, let the pan cool until warm but not cold. Scrape the ridges with a chainmail scrubber or stiff nylon brush under hot running water. Avoid soaking and avoid dish soap unless absolutely necessary. Dry on a burner for two minutes, then wipe a thin layer of grapeseed or canola oil over every ridge and valley. Store it in a dry place, not stacked under other pans.