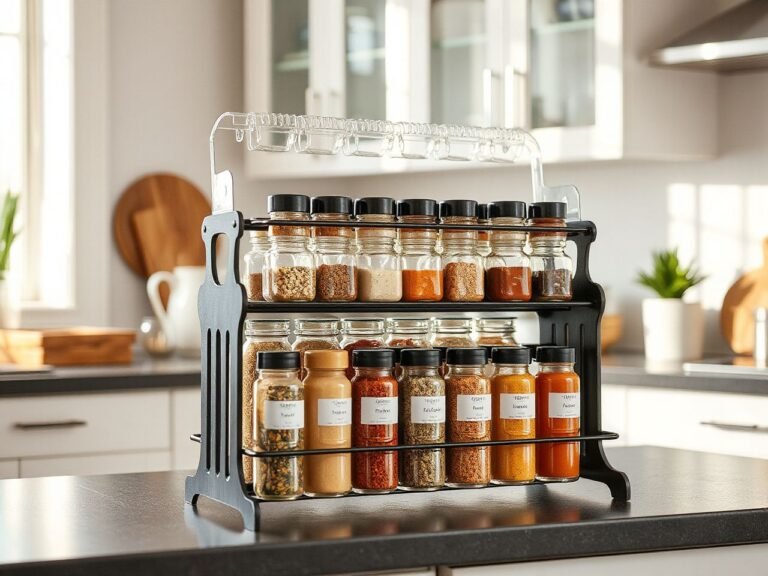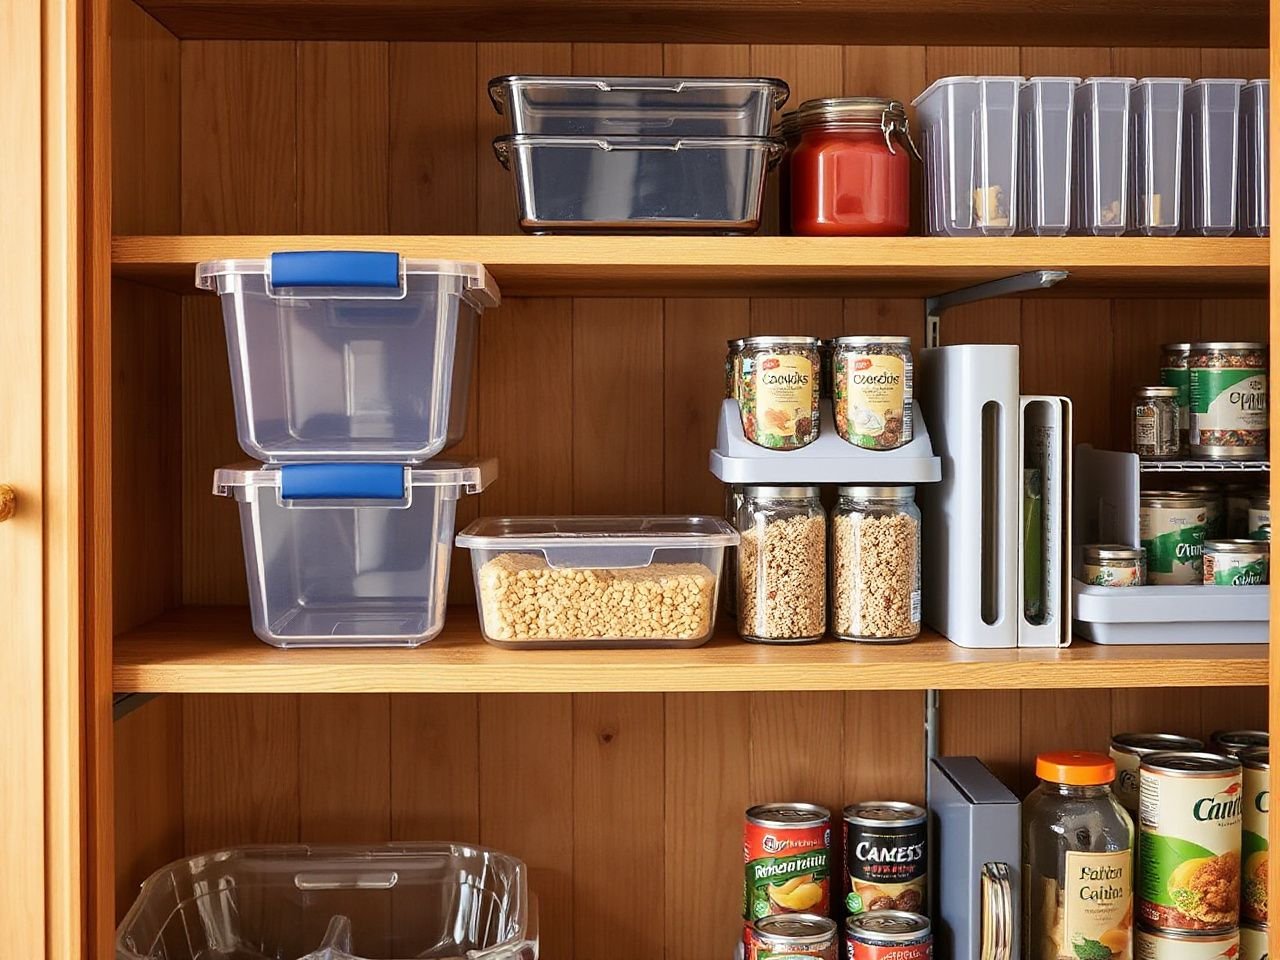
The prettiest pantry setup is often the least useful one. An organizer should earn its space by improving visibility, reach, and stock rotation, not merely by adding another container. The useful distinction is between an organizer that merely adds storage and one that improves visibility, reach, and stock rotation without consuming more usable space than it creates. Evaluation should therefore connect each organizer type to the pantry’s layout, item weight, cleaning routine, and access needs, rather than treating appearance or a matching set as proof of suitability. This guide to pantry organizers starts with the seal, stability, and usable space that determine whether storage remains practical after the first refill.
Key Takeaways
- Measure usable depth, width, height, shelf support, and door clearance before choosing an organizer.
- Match open bins, turntables, risers, pull-out baskets, and airtight containers to the way each category is used.
- Check stability, load compatibility, cleaning needs, labels, and replacement parts before committing to a system.
Beginner: Start with the Pantry, Not the Organizer
Step 1: Sort before measuring
Remove enough items to see the shelf, drawer, or cabinet floor clearly. Group foods by how they are used: breakfast items, baking supplies, snacks, canned goods, unopened backstock, and foods that need a different storage condition. The categories do not need to match a picture online. They need to match the habits of the people using the pantry.
Sorting first prevents a common error: measuring an empty-looking section and then discovering that the real category includes tall bottles, wide jars, flexible packets, or heavy cans. A pantry organizer should serve a defined group of items, so write down the category before choosing its shape. If a category is used several times a day, reach and visibility should take priority over maximum density.
Pantry categories should be assigned by use and stock rotation before containers are selected. A clear category makes it easier to see what is available, notice food that is nearing its use-by date, and avoid buying duplicates that are hidden behind a front row.
Step 2: Measure usable space
Nominal dimensions can mislead because a shelf’s usable space is smaller than the full cabinet opening whenever hinges, door frames, shelf lips, drawer slides, or nearby walls interfere. Measure the clear width, clear depth, and clear height where the organizer will actually sit. Check the door clearance with the door fully open and closed, then check the path a basket or drawer follows as it moves outward.
- Width: Measure between the points that cannot be moved, including shelf supports and side walls.
- Depth: Measure from the usable front edge to the rear obstruction, not from the cabinet face to the back wall.
- Height: Check the lowest overhead obstruction and allow for the height of the items placed inside.
- Clearance: Confirm that doors, drawers, pull-out baskets, and handles can operate without striking another organizer.
- Support: Inspect what carries the load, such as a shelf board, drawer hardware, brackets, or an adhesive mount.
Use cardboard or folded paper to mark the organizer’s footprint before buying. Place the outline on the shelf and open the door. This simple check reveals inaccessible corners and blocked handles more reliably than comparing a listed width with a listed cabinet width.
For a floating shelf, the concealed internal brackets are part of the storage system, not a hidden detail to ignore. The shelf should not exceed 1.4 x the bracket’s width in total breadth, and the shelf should be no wider than 1.2 x the bracket’s height. When a long shelf is mounted, the distance between brackets should be no more than 4 x the shelf-breadth. A concrete wall should be penetrated with a screw to a depth of at least one-tenth the shelf width. These figures apply to the shelf and bracket relationship described here, so follow the mounting instructions for the actual hardware as well.
The U.S. Consumer Product Safety Commission publishes consumer safety information, including guidance relevant to household products and furniture stability. A pantry shelf or tall storage unit should be secured according to its instructions rather than treated as safe simply because the organizer itself feels light.
Step 3: Read the load path
Heavy cans, jars, bulk food, and full airtight containers place force on every part beneath them. The shelf carries the organizer, the organizer carries the food, and any drawer slides, handles, adhesive mounts, or brackets carry the movement involved in access. Check the manufacturer’s stated load information where available. If no capacity is listed, do not infer one from the organizer’s appearance.
Keep heavy food low and close to a well-supported surface. A high shelf filled with jars is difficult to reach and more demanding to handle than a lower shelf with the same category. Children, older adults, and people with limited reach benefit from clear front access, readable labels, and containers that can be moved without lifting a dense stack.
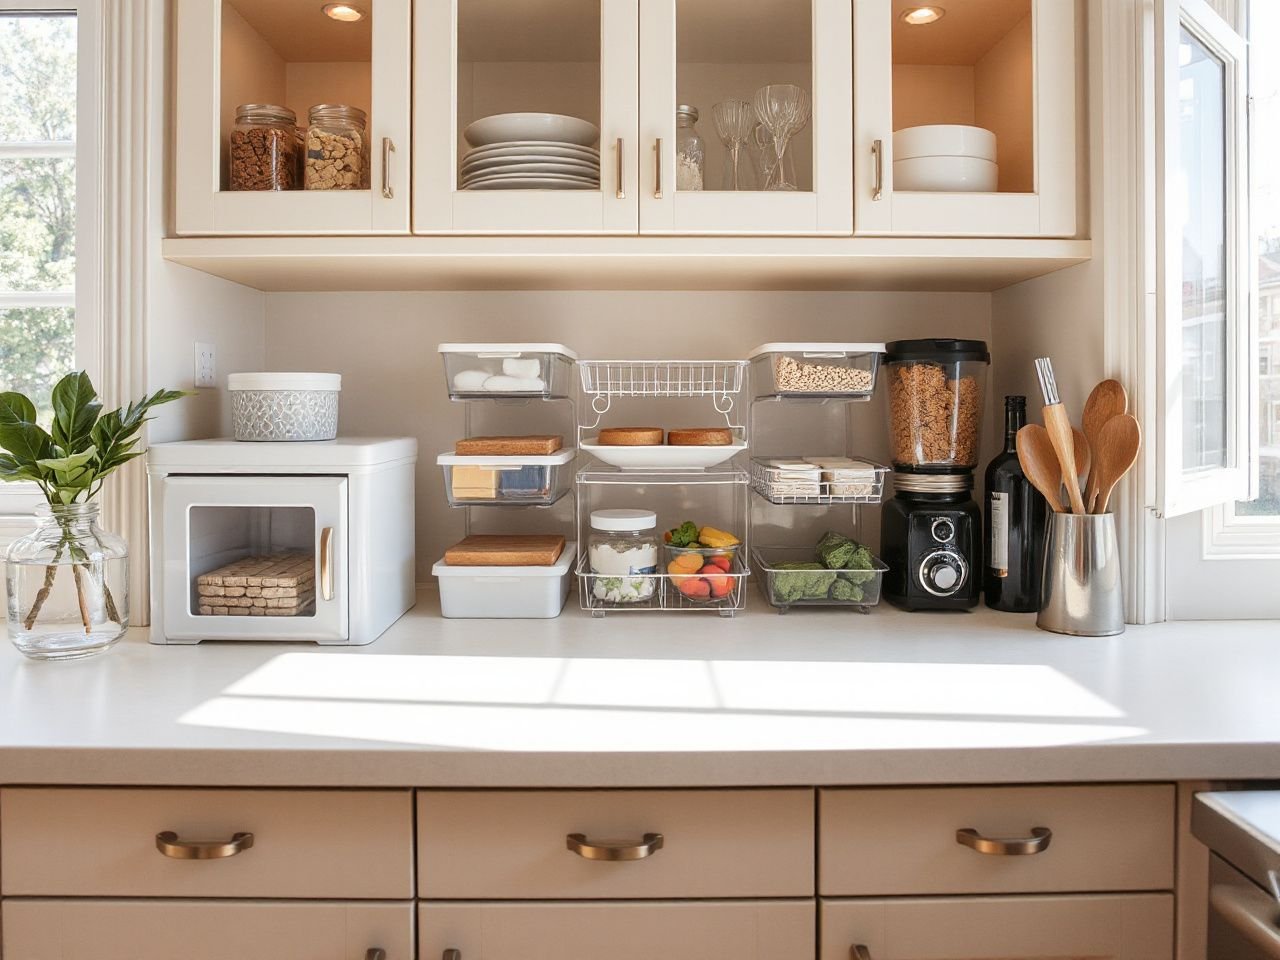
Intermediate: Match the Organizer to the Job
Open bins for grouped items
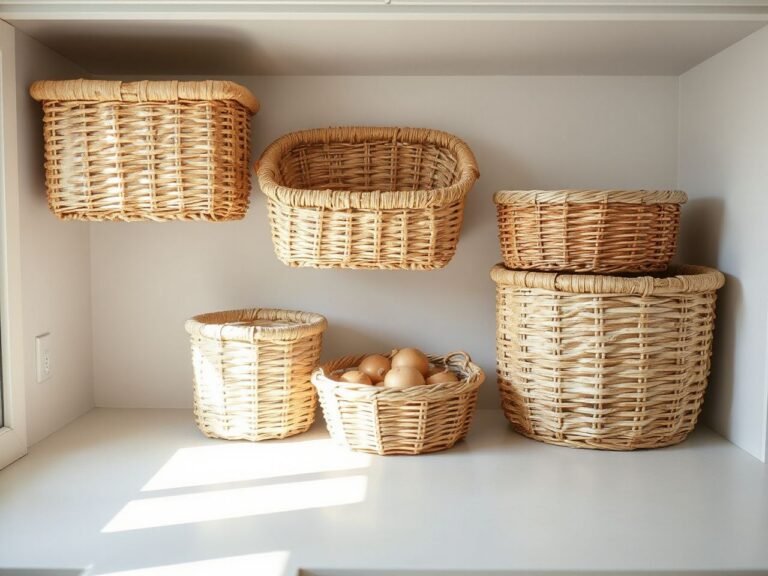
Open bins work well for packets, snack bags, small boxes, and categories that need quick visual access. A front opening or low rim lets a person see and retrieve items without removing a lid. Handles can help with back-of-shelf access, but a handle also adds to the organizer’s depth, so include it in the clearance check.
Open bins are more useful than airtight food containers when the category contains mixed packaging, changes often, or is used frequently. They are also easier to inspect at a glance. The trade-off is that open bins do not create a sealed environment, so they should not be treated as a substitute for appropriate food packaging.
Open bins support visibility, while airtight containers support enclosed storage for suitable dry goods. A deep or opaque bin can hide expired food even if the pantry looks tidy, so choose a visible front and keep labels facing outward.
Airtight containers for suitable dry goods
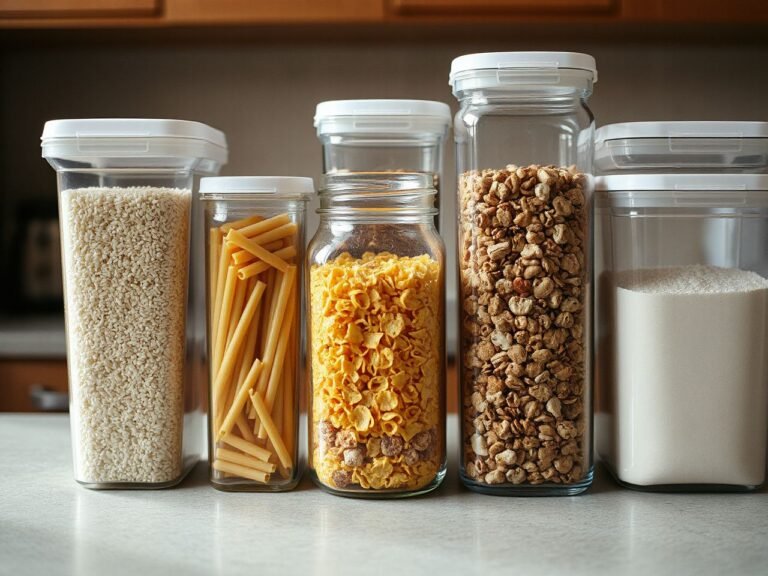
Airtight food containers can protect suitable dry goods and make contents easier to identify, especially for sugar, flour, snacks, pasta, and cereal. BPA-free options exist for storage vessels intended for those foods. Check the label and the manufacturer’s instructions rather than assuming every clear container is suitable for every food.
Containers must be clean and completely dry before filling. Moisture trapped under a lid can affect the food and make cleaning more difficult. Airtight containers should not be used for foods that require refrigeration. Keep the original food information available when transferring contents, and label the container with the food name and any information needed for stock rotation.
The lid is the critical part of a sealed container. Examine the gasket, clasp, threaded closure, or press-fit edge that the design actually uses. A lid that looks substantial may still be difficult to close evenly, while a simple lid may work well if its closure is clear and repeatable. Do not stack a container so high that the lid cannot be removed without moving several other containers.
Shelf risers for vertical visibility
Shelf risers create a second viewing level for shorter cans, jars, tins, or small boxes. They help when the shelf has unused vertical space but can make the arrangement awkward if the upper level blocks the labels below. Place the items used most often where the hand can reach them without leaning over the front row.
Check that the riser sits flat and that its feet do not rest on a spill, shelf lip, or uneven surface. Smooth shelves and uneven loads can allow a riser to slide or tip. Washable surfaces and stable placement matter in a food area because spills are easier to remove before they harden under a raised platform.
A shelf riser improves access only when the lower row remains visible and reachable. If the riser creates a dark or blocked recess, it has added height without improving the shelf’s usable capacity.
Turntables for corners
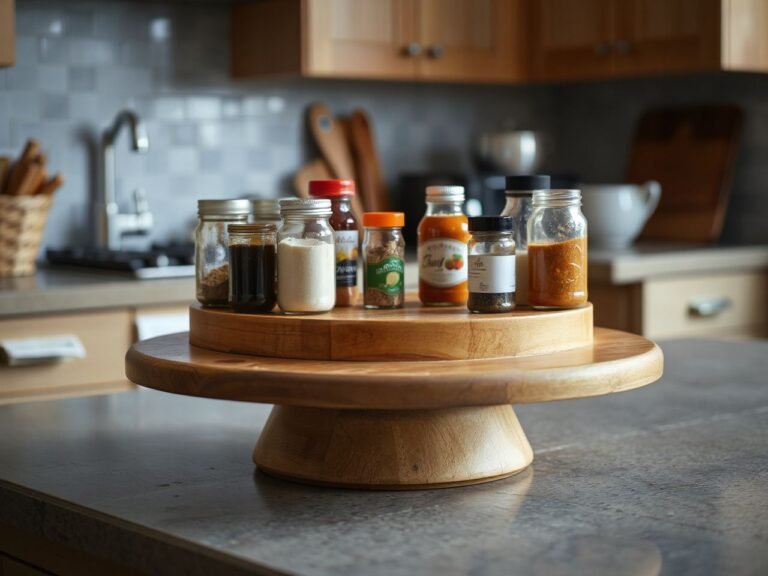
A turntable can make a deep corner usable by bringing the rear items forward through rotation. It suits sauces, jars, spreads, and other small groups that would otherwise disappear behind a front row. The usable footprint includes the full turning circle, not only the base, so test the perimeter against side walls and door hardware.
Keep the load balanced. Tall or heavy jars placed at the edge can make rotation less comfortable and may encourage the turntable to shift on a smooth shelf. A turntable is not a reason to overfill a corner. Its purpose is to reduce reaching behind other items.
Pull-out baskets and drawer organizers
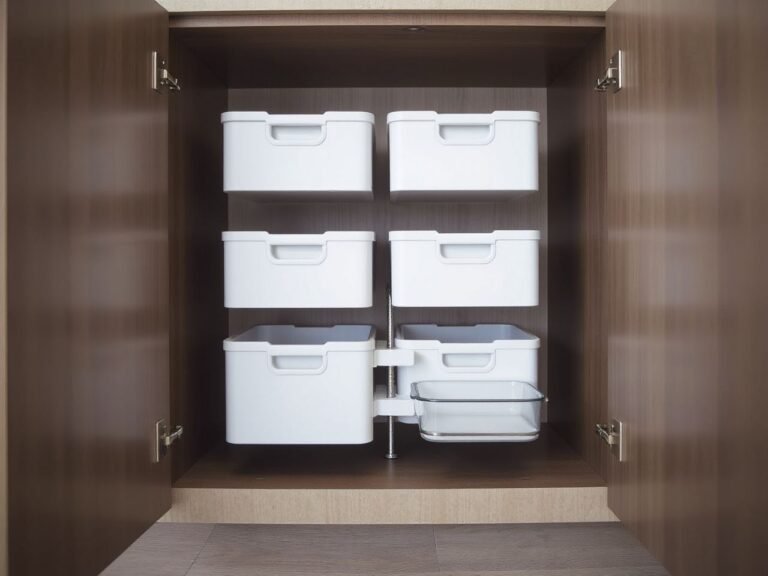
Pull-out baskets improve access to deep shelves by bringing the rear contents forward. They are useful for packets, backstock, and categories that need a full view rather than a single reachable front row. Drawer organizers divide loose items, but their dividers consume some interior space and may not suit bulky packages.
Check the movement before loading. The basket or drawer must clear the shelf above, the cabinet frame, and the door. Hardware also needs to match the weight of the loaded basket. A pull-out mechanism that is hard to move when empty will be even less convenient after food is added.
Can dispensers and stacking systems
Can dispensers and sloped can racks can support first-in, first-out rotation by presenting older cans at the front. Their value depends on matching the track or shelf width to the cans being stored. Mixed can sizes may interrupt the movement and create the very sorting problem the dispenser was meant to solve.
Stackable bins can save shelf area when the upper bin remains reachable and the lower bin remains visible. Stacking becomes a burden when the lower container must be removed to reach the upper one, especially for a category used daily. Before stacking, check the base, the connection between units, the loaded weight, and whether the top opening can be reached without awkward lifting.
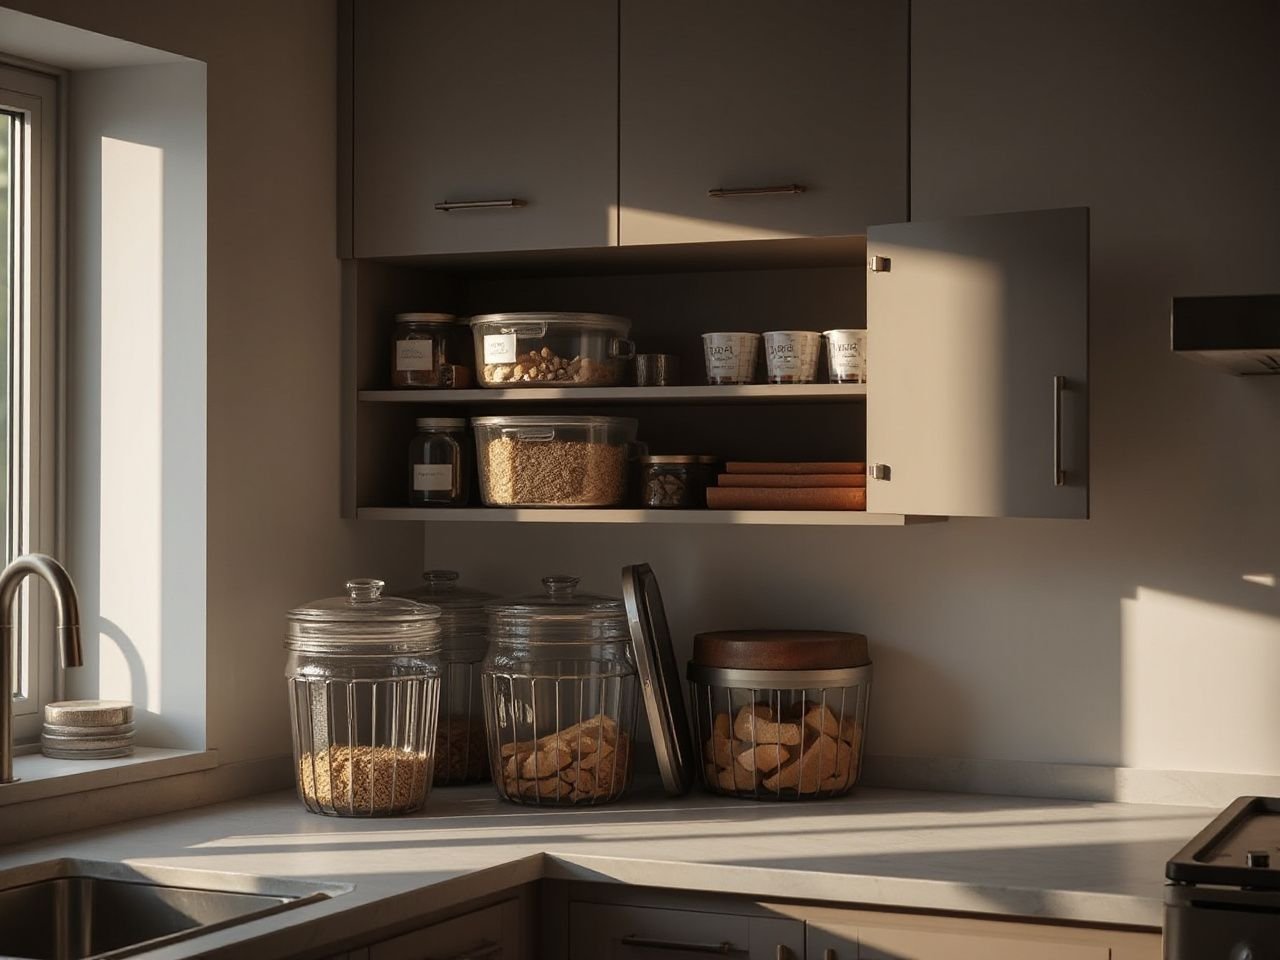
Intermediate: Choose Materials and Maintenance Around Food
Surface, spill, and humidity checks
The right material depends on where the organizer will sit and how it will be cleaned. A pantry with frequent spills needs surfaces that can be wiped or washed according to the manufacturer’s care instructions. A humid area needs particular attention to seams, joints, coatings, and places where moisture can remain trapped.
Do not select a material from appearance alone. Read the care instructions and inspect the underside, corners, handles, and connection points. Rough joints can catch crumbs, while narrow seams can hold sticky spills. If a bin cannot be removed from the shelf, cleaning around it becomes harder and pests may find concealed food residue.
Washable pantry organizers are easier to maintain when food spills occur. Cleaning is part of the storage plan, so an organizer that blocks the shelf surface or cannot be lifted may create more work than it saves.
The U.S. Food and Drug Administration provides information about food-contact substances and food safety. Use the FDA’s guidance together with the container manufacturer’s instructions when deciding whether a vessel is intended for direct food contact, and never assume that an organizer designed only for packaged goods is suitable for loose food.
Labels and stock rotation
Clear containers show contents, but visibility alone does not establish ownership of a category. A label should identify what belongs there and, where useful, whether the container holds everyday stock or backstock. Use the same category name on the shelf and the shopping list so replenishment does not create duplicate groups.
Opaque bins require more deliberate checking because they conceal both the contents and their age. Place older items toward the front and add new items behind them when the packaging allows. For transferred food, retain the relevant date or product information rather than treating a blank container as a finished system.
Cleaning routine
Empty one organizer at a time. Remove crumbs and residue, clean the surface as directed, and let it dry fully before returning food. Do not fill an airtight container while the interior, lid, or seal is damp.
- Inspect corners, seams, hinges, gaskets, and handles for trapped residue.
- Check that lids close evenly after cleaning.
- Look for cracks, sharp edges, bent hardware, or a loose base.
- Clean spills on the shelf beneath the organizer before replacing it.
- Review labels when a category changes or food is moved to another container.
A pest-prevention routine begins with visible, clean storage rather than a crowded shelf. The easier an organizer is to remove and inspect, the easier it is to notice a spill or damaged package early.
Advanced: Plan for Access, Replacement, and Long-Term Use
Design for the person reaching in
Accessibility is a layout decision. A child may need a stable, low open bin for approved snacks. An older adult may benefit from a clear label and a pull-out basket that avoids deep bending. Someone with limited reach may need daily items placed between shoulder and waist height, with heavy goods kept lower and easy to slide rather than lift.
Handles should be large enough to grasp comfortably and positioned where the fingers can reach without striking the shelf above. A lid that requires two hands may be a poor match for a category accessed frequently. Test the movement with the pantry door open and closed, and consider who will be carrying the item after it is full.
Accessible pantry storage reduces the number of steps needed to identify and retrieve a food item. Clear fronts, readable labels, stable bases, and sensible shelf height usually matter more than a uniform appearance.
Avoid inaccessible corners
Deep storage can create a false sense of capacity. A container may fit physically while the rear contents remain unreachable. Turntables and pull-out baskets address that problem only if their full movement is clear. Otherwise, the organizer simply formalizes the hidden corner.
Leave a deliberate retrieval path. Put rarely used backstock behind everyday items only when the front group can be moved easily. Avoid placing a tall container in front of a smaller one unless the smaller item is still visible. A gap that allows a hand to enter can be more valuable than another tightly packed container.
Consider parts and replacement
Long-term ownership includes lids, gaskets, clips, wheels, drawer hardware, labels, and any connector used for stacking. Before choosing a system, check whether the manufacturer identifies replacement parts or sells the units separately. A broken lid can make a container unusable even when the body remains sound.
Modular systems can adapt as categories change, but extra connectors and unusual sizes may create more pieces to track. A simple open bin may remain useful after a category changes, while a shaped dispenser may become wasted space if the food type changes. The lower initial price of a large set also does not make unused units free; they still occupy shelves and can encourage unnecessary sorting.
Use over-the-door racks carefully
Over-the-door racks can add accessible storage without taking shelf area, but the door must close with the loaded rack in place. Measure the gap between the door and the nearest shelf or wall, then inspect the mounting method and the stated load information. Heavy jars and cans can stress the door hardware and make the rack uncomfortable to use.
Keep over-the-door storage for items that suit the rack’s depth and access pattern. A deep container can project into the pantry and block shelves, while a narrow pocket may hold packets but not wide boxes. The organizer should not turn the doorway into a second obstruction.
Check shelf and wall mounting
Floating shelves can be useful for light, visible categories, but their concealed brackets still determine the safe relationship between shelf breadth and support. Apply the stated bracket limits before adding bins or food. If a shelf is mounted to concrete, follow the specified screw penetration guidance and the hardware instructions rather than relying on the shelf’s visual strength.
For any mounted organizer, inspect the wall, fasteners, bracket position, and load path. Adhesive mounts deserve the same caution: a smooth surface, a spill, humidity, and an uneven load can affect stability. If the instructions do not state a suitable load or surface, treat the missing information as a reason to choose a different storage method.
A Practical Pantry Organizers Buying Guide Checklist
Use this sequence before placing an order or installing anything. It keeps appearance from taking priority over access and maintenance.
- Define the category. Decide what the organizer will hold and whether the food is everyday stock, backstock, or a mixed group.
- Measure the usable opening. Record clear width, depth, height, door clearance, and any shelf lip or hardware that reduces the space.
- Check the load. Compare cans, jars, bulk food, and filled containers with the shelf, bin, drawer, bracket, or mount’s stated capacity.
- Choose access first. Use open bins for quick grouping, risers for short items, turntables for corners, and pull-out baskets for deep shelves when their movement is clear.
- Inspect the seal. For airtight containers, check the complete lid closure, gasket or clasp, and the manufacturer’s intended use.
- Plan labels. Make contents, category ownership, and stock rotation clear from the front.
- Confirm cleaning. Look at seams, corners, removable parts, and drying requirements before food is transferred.
- Review replacement parts. Check whether lids, seals, clips, wheels, or hardware can be replaced separately.
- Test the layout. Use paper or cardboard to confirm that doors open, baskets pull out, and nearby items remain reachable.
For adjacent cabinet problems, the Cabinet Organizers Buying Guide: What Changes the Result addresses the different clearances and access patterns found in enclosed cabinet storage. If the main challenge is choosing a basket rather than planning the whole pantry, the discussion of pantry baskets and how their value changes by use offers a useful next step.
Organization succeeds when every item has a visible home and that home remains easy to clean. A shelf full of matching containers can still fail if the lids are difficult to seal, the rear items cannot be reached, or heavy food overloads the support below. Start with the pantry’s physical limits, then choose the organizer that removes a specific obstacle.
Frequently Asked Questions About a Pantry Organizers Buying Guide
How do I choose between open bins and airtight food containers?
Choose open bins for mixed packages, frequently used snacks, and categories that benefit from quick visual access. Choose airtight containers for suitable dry goods when the container is clean, fully dry, and designed for that use. A sealed container should not replace refrigeration for food that requires it. Check the lid closure before relying on the container’s seal, especially if you may move or stack it.
How can I tell whether an organizer will fit without blocking the door?
Measure the clear width, depth, and height where the organizer will sit, then include handles, lips, rails, and the full movement of baskets or drawers. Open and close the pantry door with a cardboard outline in place. Check the space above a pull-out basket and beside a turntable. A listed exterior dimension is useful only when it matches the actual clearance inside the pantry.
Why do pantry organizers tip, slide, or become difficult to use?
Smooth shelves, spills, uneven loads, excessive depth, and unsupported weight can all make an organizer unstable or awkward. Keep the base clean and level, distribute heavy items low and centrally, and check the stated load information for shelves, bins, drawer hardware, and mounts. If the organizer requires force to pull or rotate while empty, it is a poor match for a heavier category.
What should I check before trusting a sealed container?
Inspect the lid, gasket, clasp, or press-fit edge for a complete and even closure. The container should be clean and completely dry before filling, and the food should be suitable for dry storage rather than refrigeration. Keep the container upright unless the manufacturer indicates another position. If the lid lifts at a corner or closes unevenly, do not treat the vessel as airtight.
Are stackable bins useful in a small pantry?
Stacking can help when the upper bin remains reachable, the lower bin remains visible, and the base and connection support the loaded arrangement. It complicates storage when the lower bin must be removed to reach the upper one or when the stack hides expired food. Use labels on the front and reserve stacking for categories that are stable, similar, and not accessed constantly.
How should pantry organizers be cleaned around food?
Empty one organizer, remove crumbs and residue, clean it according to the manufacturer’s instructions, and let every part dry before returning food. Pay attention to seams, corners, handles, hinges, and seals. Wipe the shelf beneath it as well. Airtight containers require special care because moisture under the lid can undermine clean storage and make the seal harder to inspect.