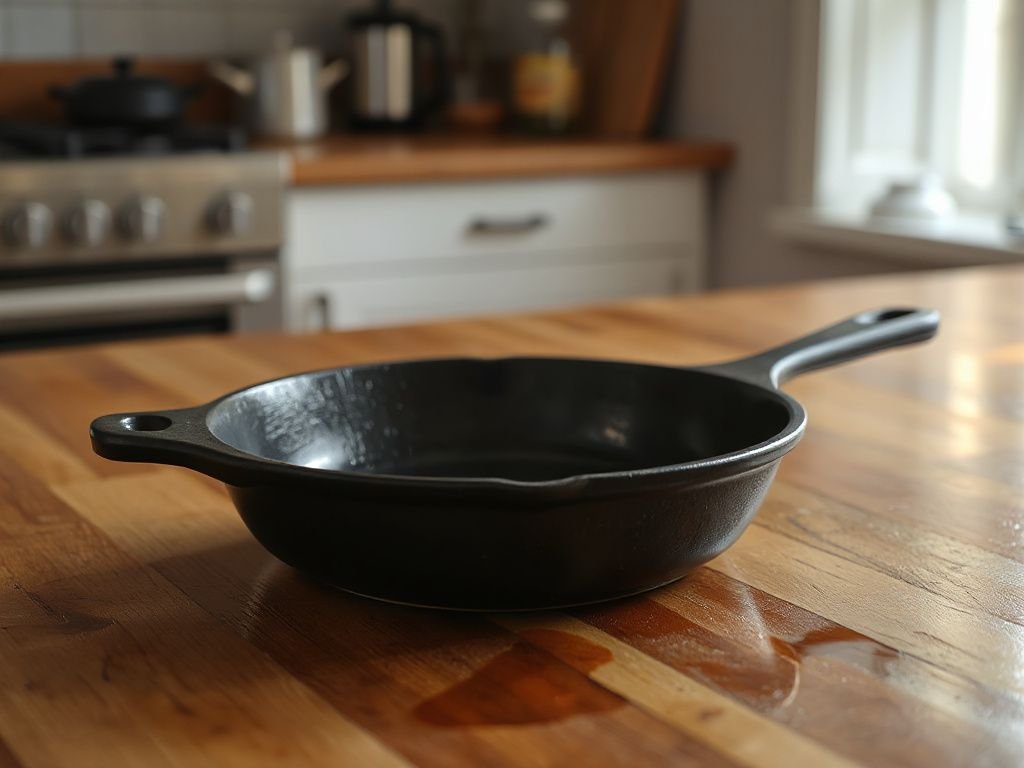
Walk through any kitchenware aisle in 2026 and you will notice the same trend: cast iron skillets stacked high, many of them pre-seasoned and ready to use. Yet the older pans—the Wagner Ware and unmarked Lodge pieces at estate sales and thrift stores—still hold the most appeal for serious cooks. A well-restored skillet offers a cooking surface that modern nonstick cannot match, but getting there requires understanding the two distinct processes involved in stripping and reseasoning a skillet. Stripping removes every trace of old, failed polymer without damaging the raw iron beneath. Reseasoning is not merely oiling the pan; it is a controlled polymerization step where the oil’s smoke point determines how durable and slick the finished surface becomes. The most common beginner error is applying too much oil, which leaves a sticky coating that mimics food residue and gets mistaken for a failed strip.
Key Takeaways
- Stripping and reseasoning are two separate steps: strip only when seasoning flakes, stays sticky, or rust appears beneath the surface.
- Chemical stripping with lye-based oven cleaner is the safest method for home use; electrolysis is for enthusiasts with the right gear.
- After stripping, flash rust forms within minutes—dry immediately, wipe with oil, or heat the pan to stop it.
- Reseason with flaxseed, grapeseed, or canola oil applied in ultra-thin layers, baked at the oil’s smoke point for one hour each.
When Does a Skillet Actually Need Stripping?
The core distinction an experienced restorer knows is that stripping and reseasoning are two separate processes with different failure points. Stripping is about removing every trace of old polymer without scratching or pitting the iron, and the method you choose—chemical, electrolytic, or manual—depends on the pan’s condition and your available gear. Reseasoning is not oil application but a controlled polymerization step; the oil type and its smoke point determine the durability and slickness of the finished surface, and the most common beginner error is using too much oil, which yields a sticky mess that mimics food residue and gets mistaken for a failed strip.
Signs Your Seasoning Has Failed
A well-seasoned skillet looks glossy and dark, with a surface that repels water and releases eggs without scraping. The moment you notice flaking black specks in your food, a dull gray patch that rusts after washing, or a sticky amber film that never fully dries, the seasoning layer has broken down. Sticky buildup often comes from cooking acidic foods like tomatoes or deglazing with wine, which partially dissolves the polymer. Flaking happens when seasoning was applied too thickly at the start. Neither condition is corrected by adding more oil on top—the failed layer must come off first.
When Reseasoning Alone Is Not Enough
If only a small area looks dry or dull, you can often repair it with a few targeted seasoning coats without stripping the entire pan. True stripping is necessary when rust forms under the seasoning, when the surface feels rough and pebbled from burnt carbon, or when the pan came from an unknown source and you want a clean slate. For a pan with light surface rust, a scrub with steel wool and vinegar may be enough. But if rust has pitted the iron or the old seasoning is flaking into your food, chemical stripping is the only reliable fix. Every attempt to reseason over a failing layer just buries the problem deeper.
The Three Proven Methods for Stripping a Skillet
Every stripping method works by breaking down polymerized oil without attacking the iron itself. Iron is remarkably tough, but it is not indestructible—harsh abrasives and extreme heat cause damage that no amount of seasoning will hide. Choose the method that matches your patience, gear, and the pan’s condition. In every case, work in a well-ventilated area and wear gloves.
Chemical Stripping with Lye (Oven Cleaner)
Lye, or sodium hydroxide, dissolves organic material including polymerized oil, while leaving iron untouched. Easy-Off oven cleaner contains lye and is the most accessible commercial product for this job. The process is simple: coat the entire skillet, including the bottom and handle, with a thick layer of spray oven cleaner. Place the pan inside a heavy-duty garbage bag, seal it, and let it sit for 24 to 48 hours depending on how much buildup is present. Afterward, the old seasoning will have turned into a soft, dark goo that rinses away with water and a plastic scraper.
This method can be done indoors if your kitchen has an exhaust fan, but the fumes are strong enough that an outdoor or garage workspace is preferable. Never use lye on aluminum, which it will pit and destroy. For cast iron, lye is safe even on vintage pieces because it works only on organic compounds. The FDA notes that sodium hydroxide is corrosive and requires careful handling—gloves, eye protection, and a rinse with plenty of water if it touches skin.
Electrolysis for the Serious Restorer
Electrolysis removes rust and old seasoning simultaneously using a battery charger, a plastic tub, washing soda, and a sacrificial piece of steel. The skillet connects to the negative terminal and acts as the cathode; a piece of scrap iron or steel connects to the positive terminal as the anode. When the charger runs, rust and polymer flake off the skillet and migrate toward the anode. This method is the most thorough for heavily rusted or crusted pans, especially vintage pieces with decades of buildup.
It requires more setup than chemical stripping—you need a manual battery charger, not an automatic one, and a non-conductive container. The process takes several hours to a full day depending on amperage and pan size. After electrolysis, the bare iron is extremely reactive and will flash rust within minutes if exposed to air and moisture. You must immediately dry the pan, wipe it with oil, or heat it in the oven right away. Electrolysis is overkill for a single modern Lodge skillet, but for restoring a family heirloom Wagner Ware, it removes every trace of rust without scrubbing away any iron.
Manual Stripping with Abrasives and Vinegar
For light rust or failed seasoning on otherwise smooth iron, manual methods work well. Start with a vinegar soak: mix equal parts white vinegar and water in a container large enough to submerge the skillet. Soak for 30 minutes to one hour, then scrub with steel wool or a chainmail scrubber. Vinegar is acetic acid, and it dissolves rust (iron oxide) but will also eat into bare iron if left too long—never soak overnight. Rinse thoroughly, then move quickly to the drying and oiling step because bare iron rusts within minutes.
Do not use a power drill with a wire wheel. The high-speed steel bristles remove iron quickly, leaving swirl marks that show through even a good seasoning job. Stick to hand scrubbers: medium-grit steel wool, nylon scrub pads, or chainmail. Chainmail scrubbers are excellent because they flex around curved surfaces and do not leave deep scratches. Once the surface is uniformly gray and free of black flakes or rust, you are ready to neutralize and dry.
Reseasoning: The Polymerization Process Done Right
Seasoning is not a coating of oil sitting on the surface. It is a chemical transformation: when oil reaches its smoke point, the fatty acid chains break and re-link into a hard, plastic-like polymer that bonds to the iron. That polymer is what provides the nonstick surface and protects against rust. The oil you choose determines the final hardness and slickness, and the application technique determines whether that polymer forms evenly or turns into a gummy mess.
Choosing the Right Oil (Smoke Point Matters)
Flaxseed oil produces the hardest seasoning layer of any common cooking oil because its high concentration of alpha-linolenic acid polymerizes rapidly at a relatively low smoke point (around 225°F or 107°C). That low smoke point is also flaxseed’s weakness—the seasoning can be brittle and prone to flaking if applied too thickly or heated unevenly. Grapeseed oil has a higher smoke point (around 420°F or 216°C) and forms a durable, flexible coating that resists flaking better over daily use. Canola oil sits in the middle at roughly 400°F (204°C) and is the most forgiving for beginners because it is cheap, widely available, and forms a decent seasoning without the brittleness of flaxseed. Vegetable shortening like Crisco also works, but it contains additives that can leave a slightly gummy residue. For a first-time restoration, grapeseed or canola oil are the safest choices. Avoid olive oil—its low smoke point and high monounsaturated fat content create a soft, sticky seasoning that never fully hardens.
Step-by-Step Reseasoning (Multiple Thin Layers)
Preheat your oven to 450°F (232°C) if using grapeseed or canola, or 375°F (190°C) for flaxseed—just above each oil’s smoke point. Place a sheet of aluminum foil on the bottom rack to catch drips. Wash the stripped skillet with warm water and mild dish soap, dry it completely with paper towels, then place it in the warm oven for 10 minutes to drive off every trace of moisture. Remove the skillet with oven mitts and set it on a heat-safe surface.
Pour about one teaspoon of oil onto a folded paper towel and wipe the entire skillet—bottom, sides, handle, and the underside. The goal is the thinnest possible layer; the metal should look slightly damp but not wet. Use a clean paper towel to buff away any excess until the surface looks almost dry. Too much oil is the single biggest reason seasoning turns sticky instead of slick. Put the skillet upside down on the top oven rack and bake for one hour. Turn off the oven and let the skillet cool inside for at least two hours, or overnight. Repeat this process three to four times for a workable surface. Six to eight layers gives you a near-indestructible finish that will handle acidic foods without immediate breakdown.
After the final layer, the skillet will look brown or bronze rather than pitch black. That is normal—the dark, glossy patina builds with use over months of cooking. To accelerate it, cook something fatty like bacon or a Dutch baby pancake as your first meal. If you notice a sticky amber film after cooling, you applied too much oil in one layer. Fix it by wiping the pan with a dry cloth and heating it in the oven at 500°F (260°C) for 30 minutes; the excess oil will polymerize or drip off.
Once seasoned, the skillet is ready for anything from searing steaks to baking cornbread. For a simple first test, use the skillet to brown chicken thighs, then turn them into a rich broth—the leftover fond adds depth to this easy chicken tortilla soup recipe ready in 25 minutes. If you prefer a one-pot meal, this easy chicken dumpling soup recipe comes together in one pot in 40 minutes. And for a creamy variation, this rotisserie chicken mushroom soup uses a 25-minute shortcut method that works beautifully with the fond from a freshly seasoned pan.
How Many Layers and When Is It Ready?
Four layers of seasoning is the minimum for a pan you plan to cook eggs or delicate fish in. Each layer should be baked for a full hour and cooled inside the oven. Three layers will protect against rust and handle most tasks, but the surface will still be slightly rough and prone to sticking. If you are restoring an heirloom pan for display or heavy daily use, do six layers before the first meal. The number of layers matters less than the thinness of each coat—one thick layer of oil baked at smoke point will flake and peel within weeks because the polymer forms unevenly and traps unreacted oil underneath.
Preventing Future Stripping: Daily Care and Maintenance
The entire point of stripping and reseasoning is to build a foundation that lasts for decades. A properly cared for cast iron skillet should never need stripping again. The daily routine takes under five minutes and depends on two habits: clean while warm, and never let it air-dry with water pooling on the surface.
Cleaning After Each Use
Modern dish soap is safe on a well-seasoned skillet. The old warning against soap came from an era when soap contained lye and would eat the seasoning, but today’s mild detergents remove surface oil without damaging the polymer. After cooking, let the pan cool until it is warm but not hot, then scrub with a stiff-bristle brush or chainmail under warm running water. Use a drop of dish soap if needed. Avoid steel wool or heavy scouring pads for routine cleaning—those are for stripping, not daily use. Dry the pan immediately with a dish towel, then set it over low heat on the stove for two minutes to evaporate any remaining moisture. Wipe a few drops of oil onto the cooking surface while the pan is still warm, then buff off the excess with a clean cloth. The pan should look shiny, not greasy.
Storing and Oiling
Never store a cast iron skillet with the lid on, especially in a humid environment. Trapped moisture is how rust starts under an otherwise flawless seasoning. If you must stack skillets, place a paper towel between them. Oil the pan lightly after each cleaning, but do not leave a thick film—rancid oil is a bigger problem than rust. For long-term storage, a coat of food-grade mineral oil works better than cooking oil because it will not go rancid. The seasoning layer itself is hydrophobic, so as long as it remains intact, the iron underneath stays protected.
Frequently Asked Questions
How do I know if my skillet needs to be stripped or just reseasoned?
Strip when the seasoning flakes into food, stays sticky after heating, or shows rust beneath the surface. If the pan looks dull but no bare iron is exposed, you can often reseason over the existing layer after a light scrub. The difference is whether the old polymer is still bonded to the iron. Failed seasoning must come off completely because new layers cannot adhere to a crumbling base.
Is it safe to strip a cast iron skillet with a self-cleaning oven cycle?
No. Self-cleaning ovens reach temperatures over 900°F (482°C), which can warp thin vintage skillets or crack cast iron due to thermal shock. The extreme heat may burn off seasoning, but it also stresses the metal and can damage the oven itself when grease fires flare. Use lye, electrolysis, or vinegar instead—all operate below 200°F and preserve the skillet’s structural integrity.
Why did my seasoning flake off right after I reseasoned?
Flaking almost always results from applying oil too thickly or using an oil with a low smoke point that did not fully polymerize. When oil pools in a thick layer, the top polymerizes while the bottom remains liquid, creating a weak bond that peels away. The fix is to strip again, then apply ultra-thin layers—wipe on, buff off until the pan looks dry, and bake each layer for a full hour. Four thin layers beat two thick ones every time.