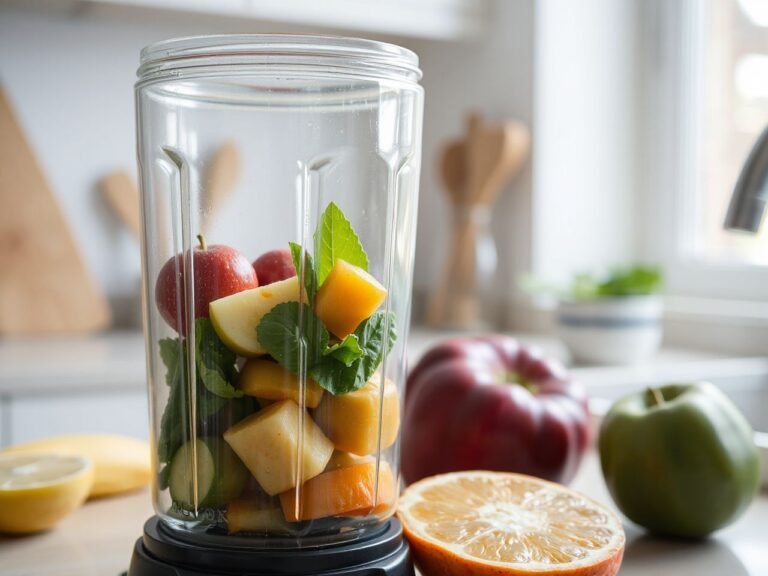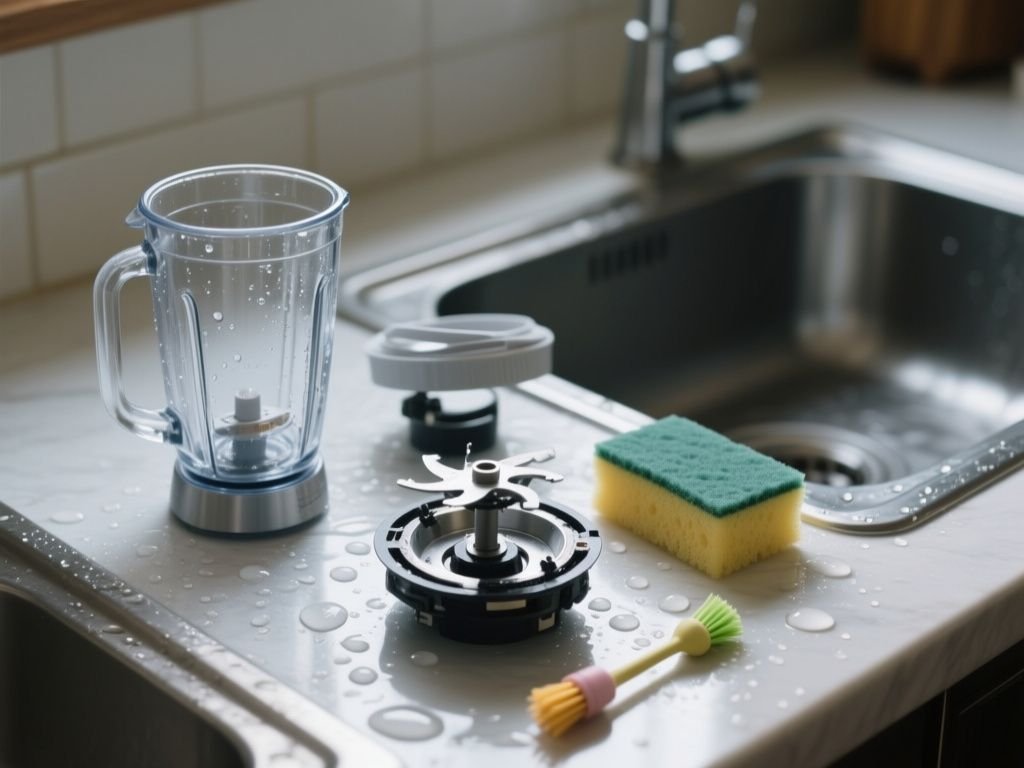
Why rinse the jar perfectly and still end up with a sour smell, a cloudy film, or residue around the blade assembly? The practical distinction is between cleaning the jar immediately, which prevents most residue from drying, and deep-cleaning the parts that a quick rinse misses—especially the gasket, blade housing, lid vent, and jar threads. Cleaning advice must also separate wet-washable components from the motor base and account for model-specific dishwasher instructions, because treating the whole blender as one washable object can cause electrical damage or degrade seals.
For most smoothies, the easiest method is simple: unplug the blender, rinse loose residue, fill the jar halfway with warm water, add a couple of drops of dishwashing detergent, secure the lid, and blend for about 30 seconds. That quick wash helps, but it does not replace hand-cleaning the areas where food collects. Extra caution makes sense with machines used for stiff dough or heavy batches, because dried paste hides in seams and puts more pressure on seals and removable parts.
Key Takeaways
- Clean the jar immediately with warm water, dishwashing detergent, and a 30-second blend.
- Wash the lid, gasket, jar threads, and blade area separately during a deep clean.
- Never submerge, rinse, or pour water over the motor base, controls, plug, or cord.
- Follow the manual before putting any blender component in a dishwasher.
How to Clean a Blender Immediately After Use
Fresh residue is easier to remove than dried smoothie, nut butter, or dough. A short rinse soon after blending also reduces the amount of scrubbing required around the stainless-steel blade assembly and the lower edge of the jar.
Step 1: Unplug and separate the safe-to-wash parts
Turn the blender off, unplug the power cord, and remove the jar from the motor base. Take off the lid and any removable lid insert. Do not assume that a removable blade assembly, silicone O-ring gasket, or jar collar can be taken apart simply because the parts appear separate. Detach those pieces only if the manufacturer’s design and instructions permit removal.
The motor base, controls, plug, and power cord must not be submerged or rinsed under running water. The motor base should be unplugged and wiped with a damp cloth, followed by a dry cloth if moisture remains.
The motor base is an electrical component, so cleaning it means wiping rather than washing. That rule applies to a Vitamix, a Ninja, and other blender designs, even though jar and blade arrangements differ.
Step 2: Rinse loose food before adding soap
Rinse the jar with warm water to loosen remaining liquid and soft particles. Keep your hands away from exposed blades. A narrow stream directed around the inner wall is safer than reaching under the cutting area, and a nylon bottle brush can clean the jar wall without placing fingers near the blade assembly.
Warm water is useful here because it softens many food residues without exposing plastic to unnecessary heat. Do not pour boiling water into a sealed blender jar, and do not use water hotter than the manufacturer permits. The listing or manual takes priority, particularly for a Tritan copolyester blender jar or a polycarbonate blender jar.
Step 3: Use the self-cleaning blend
Fill the jar halfway with warm water. Add a couple of drops of dishwashing detergent, fit the lid securely, and process on high for roughly 30 seconds. Keep the jar on the motor base only for the blending step, and keep the lid in place so warm, soapy water does not splash toward the controls.
Stop the blender, unplug it, and pour out the cleaning mixture. Rinse the jar and lid with clean water. Check the underside of the lid and the area around the blade housing before setting the parts aside to dry.
Step 4: Dry every part before storage
Leave the jar, lid, removable insert, gasket, and blade assembly separated while they dry if the design allows separation. Trapped moisture under a gasket or inside a lid vent can contribute to odors and residue buildup. Reassemble the blender only after the parts are clean and fully dry.
A blender jar should be stored with airflow rather than sealed immediately after washing. That small habit helps prevent mold and residue buildup in places that are difficult to inspect.
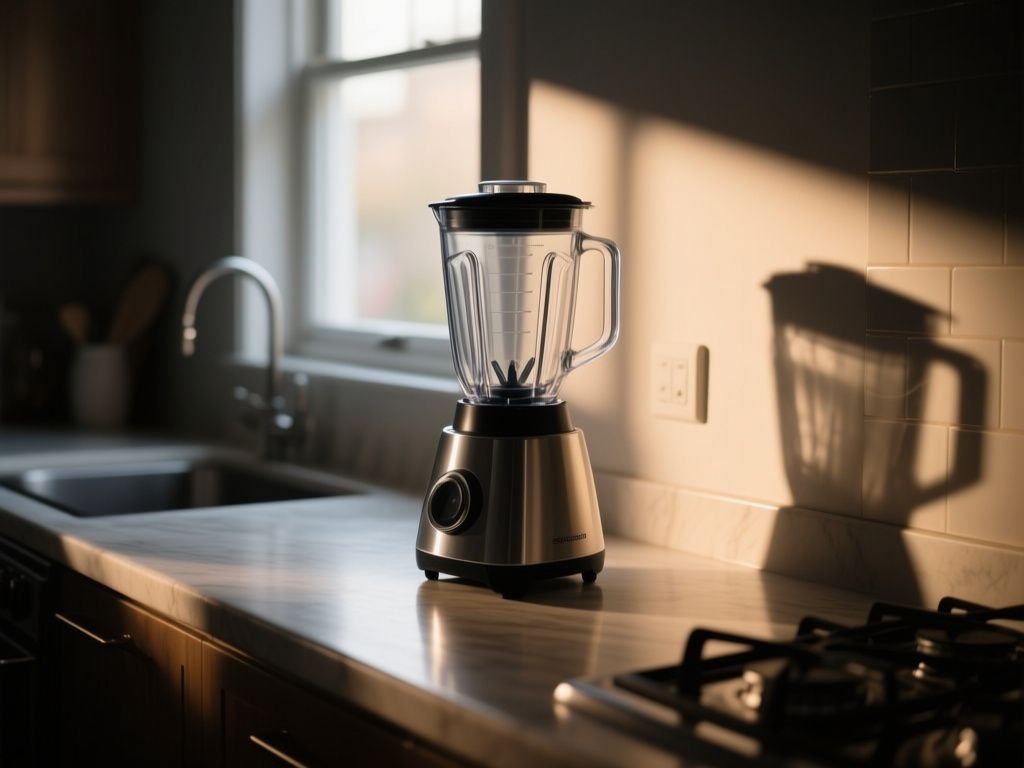
Know Your Pitcher Before You Start: Glass vs. Tritan
The first cleanup decision is material, not soap. Borosilicate glass can handle a dishwasher’s lower rack and a stiff bottle brush without clouding or micro-scratches. Tritan plastic, the most common shatterproof alternative, is lighter but more vulnerable. Hot water poured into a warm plastic jar right after blending can soften the walls enough to distort the threaded collar. Let the jar cool for a few minutes first.
The blade assembly design matters just as much. On a detachable base, you can unscrew the collar and pull the gasket free for direct washing. On a fixed collar, the gasket sits under the blades and can only be cleaned from above or by soaking. A removable blade assembly lets you reach the rubber gasket, which is the single most common mold site in a blender.
Glass vs. Tritan Plastic: The Cleaning Difference
Glass is the straightforward choice for anyone who wants dishwasher convenience. The main tradeoff is weight. Tritan plastic is shatter-resistant and fine for countertop storage, but it is not a free pass into the dishwasher. Many manufacturers mark the pitcher hand-wash only because the bottom rack’s heating element sits close enough to warp the base. If you do run a plastic jar through a cycle, place it on the top rack and skip the heated dry setting.
Here is the distinction that matters most. Borosilicate glass tolerates dishwasher heat and abrasive scrubbing without clouding, while Tritan plastic scratches more easily and can warp on the bottom rack. That single sentence answers most confusion about blender cleaning.
Detachable Blade Assemblies vs. Fixed Collars
Should you take the blade assembly apart to clean it? If the collar unscrews, yes, every time. That is the only way to remove the gasket and inspect the underside of the blades for dried residue. Handle the blade assembly by its plastic or metal base, never by the cutting edges. The blades remain sharp even after years of use, and a slip can require stitches.
If the collar is fixed, do not pry at it with a knife or pliers. Soak the jar upside down in warm soapy water for 15 minutes, then use a narrow bottle brush to scrub under the blades from above. After rinsing, invert the jar on a drying rack so moisture drains away from the gasket instead of pooling in it.
Deep Cleaning the Jar, Lid, Gasket, and Blade Assembly
A quick soap-and-water blend cannot replace periodic deep cleaning. The lid vent, gasket, blade area, jar threads, and underside of removable components need direct inspection because food can remain in those areas after the visible jar looks clean.
Step 1: Read the component instructions first
Dishwasher compatibility differs by model and by component. Some manuals permit a jar or lid on a particular dishwasher rack while excluding the blade assembly or gasket; other designs give different instructions. The manual for the specific blender takes priority over a general label such as dishwasher-safe blender components.
High heat, detergent exposure, and repeated washing can affect plastic parts, printed markings, gaskets, or blade assemblies when the manufacturer has not approved that method. A Vitamix manual may not apply to a Ninja design, and neither should be used as a substitute for the instructions supplied with a different blender.
Dishwasher safety is a model-specific instruction, not a universal property of blender parts. Check the manual before placing a Tritan copolyester jar, polycarbonate jar, lid, gasket, or stainless-steel blade assembly in a dishwasher.
Step 2: Clean the lid and vent
Remove any lid plug or insert only if the design permits it. Wash the lid in warm water with dishwashing detergent, then use a soft cloth or nylon bottle brush around the rim, underside, and vent openings. Rinse carefully so detergent does not remain in the lid channels.
Do not force a brush through a narrow vent or use a sharp object to scrape it. Scratches and damaged edges can make cleaning harder, while a distorted lid may no longer seat as intended. If the lid has a removable sealing piece, clean it separately and let it dry before fitting it back.
Step 3: Wash the silicone O-ring gasket
A silicone O-ring gasket can hold smoothie pulp, oil from nut butter, or flour paste against the jar collar. Remove the gasket only when the blender design permits it. Wash it with warm water and dishwashing detergent, rinse away all soap, and inspect the ring for trapped particles, deformation, or damage.
Do not stretch the gasket over tools or scrub it with an abrasive pad. A soft cloth or nylon bottle brush is sufficient for the accessible surfaces. The gasket must be fully dry before reassembly because moisture and residue trapped in the seal can produce odors and contribute to leaks.
Step 4: Clean beneath the blades without cutting yourself
Blade assemblies are sharp. Never reach into the blades with your fingers, even when the jar appears empty and the blender is unplugged. If the blade assembly is fixed, direct a brush around the accessible underside and collar without forcing the bristles into a position that could slip toward the cutting edge.
If the blade assembly is detachable, remove it only according to the manufacturer’s instructions. Hold the assembly by its designated non-cutting surfaces, keep the sharp edges pointed away from your hand, and place it on a stable surface while washing. Do not improvise with pliers, knives, or other tools that could damage the seal or cause the assembly to slip.
Use a nylon bottle brush for the jar and a smaller soft brush for accessible crevices around the blade housing. A brush should contact the residue, not the cutting edge with force. Rinse the assembly carefully, inspect the underside, and allow it to dry completely before reinstalling it.
Step 5: Scrub jar threads and the collar
Jar threads collect thick mixtures because food is pushed outward as the jar is emptied or rinsed. Apply dishwashing detergent to a damp nylon bottle brush and work around each accessible thread. Rinse until no slippery detergent remains, then dry the threads with a clean cloth or allow them to air-dry.
Do not use a metal pick to remove dried food from plastic threads. A pick can scratch the surface, leave a sharp burr, or damage a seal. If residue is hard, soak the removable, wet-washable part in warm soapy water before brushing rather than increasing force.
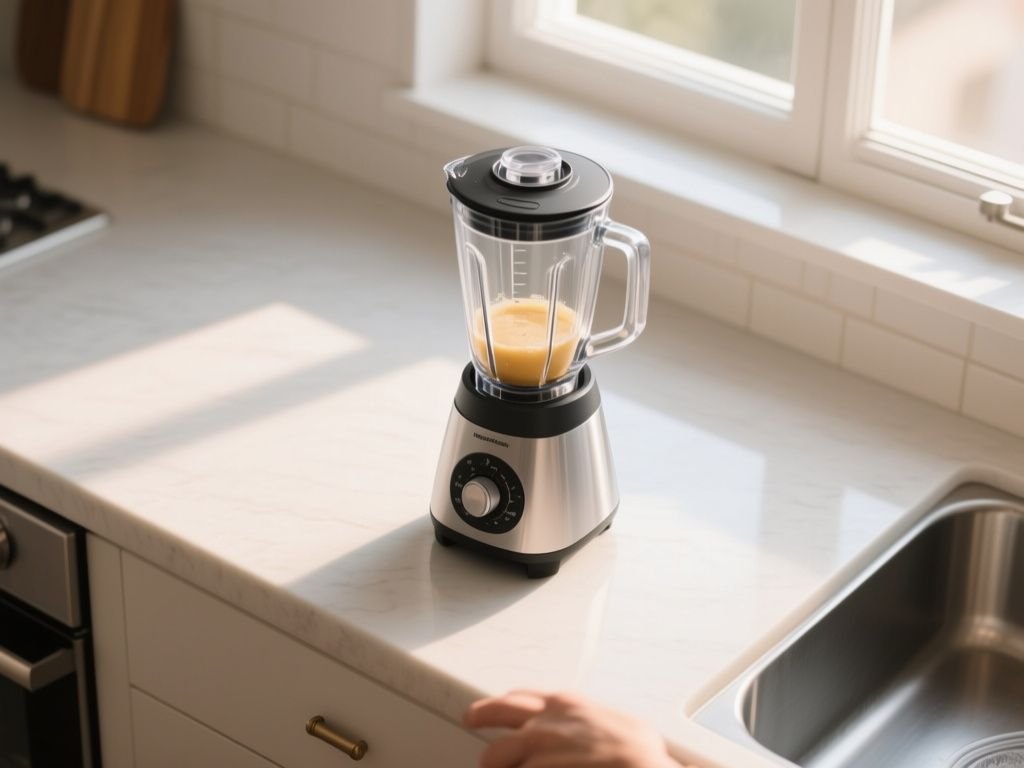
Removing Dried Smoothie, Nut Butter, Dough, Odors, and Cloudiness
Different residues need different amounts of contact time and agitation. The safest starting point is warm water and dishwashing detergent, followed by a brush suited to the shape of the jar. Escalate gently, and keep cleaning agents away from the motor base.
Dried smoothie or fruit residue
Fill the jar halfway with warm water and add a couple of drops of dishwashing detergent. Let the mixture sit long enough to soften the dried film, then use the self-cleaning blend for about 30 seconds if the blender instructions allow that operation. Unplug the base before brushing any remaining residue.
Use a nylon bottle brush along the wall, lower corners, jar threads, and accessible collar. Rinse thoroughly. Fruit pigments can leave a stain on plastic even after food residue has been removed, so a change in appearance does not automatically mean that particles remain.
Nut butter and stiff dough
Nut butter and stiff dough are more adhesive than a thin smoothie. Scrape excess material from the jar with a flexible spatula before adding warm water, keeping the tool away from the blade edge. Then soak the removable jar or other permitted wet-washable components in warm, soapy water and brush the softened residue.
Do not run a blender with an unusually thick mass merely to clean it. A cleaning cycle needs enough water to move freely, and heavy mixtures can remain packed around the blade area or collar. A strained motor sound during ordinary food processing is a reason not to force a thick cleaning load through the machine.
Stiff dough should be removed mechanically with a flexible spatula before washing because water alone may not reach the packed residue. That approach also limits the need to put extra load on the motor during cleanup.
Persistent smells
Persistent odors usually point to residue remaining in a lid channel, gasket, blade housing, jar thread, or collar. Separate the permitted parts, wash them with dishwashing detergent, rinse thoroughly, and dry them fully before reassembly. Inspect hidden surfaces rather than repeatedly blending more soap and water.
Vinegar or baking soda may appear in household cleaning advice, but the blender manual should control what is permitted for the jar, gasket, blade assembly, and lid. Do not combine cleaning chemicals. Never place vinegar, baking soda, detergent, or any other cleaning substance in the motor base.
Cloudy plastic or stains
Cloudiness on a plastic jar can result from a film, staining, surface wear, or residue left by washing. Start with warm water, dishwashing detergent, and a soft brush. Avoid abrasive powders, scouring pads, and sharp scrapers unless the manufacturer specifically permits them.
A Tritan copolyester blender jar and a polycarbonate blender jar may have different care instructions, so the material name alone does not establish dishwasher suitability or the right cleaning chemical. If cloudiness remains after careful washing and rinsing, consult the manual or manufacturer rather than applying a stronger household solvent.
Cleaning the Motor Base, Controls, Plug, and Power Cord
The motor base needs a different method from the jar. Unplug the blender before wiping the housing, control panel, and cord with a damp cloth. Use a second cloth to remove remaining moisture, and keep liquid away from openings, switches, seams, and the area where the jar sits.
Never rinse the motor base under a tap or submerge it in a sink. Do not spray cleaner directly onto the controls. Apply any permitted cleaner to the cloth instead, and follow the manufacturer’s instructions for the product and the appliance.
Water belongs on the removable, approved-to-wash components, not inside the motor base. If liquid gets into the base, unplug the appliance if it can be done safely, do not operate it, and contact the manufacturer or a qualified appliance service professional for guidance.
The power cord also needs inspection during cleaning. Wipe it rather than soaking it, and look for visible damage according to the manufacturer’s care instructions. A frayed cord, damaged plug, cracked housing, or liquid inside the base turns cleaning into a repair or replacement question, not a scrubbing problem.
Electrical appliance users can consult the U.S. Consumer Product Safety Commission for consumer guidance on electrical product safety, while the blender manual remains the primary source for the specific appliance.
Deep-Cleaning Schedule and Inspection Routine
The right schedule depends on what the blender processes and how quickly residue dries. A smoothie jar needs immediate cleaning after use, while a blender used for nut butter or stiff dough needs closer inspection of its gasket, blade housing, collar, and threads after those dense batches.
After every use
- Unplug the blender before handling parts.
- Rinse loose residue from the jar.
- Run the warm-water and dishwashing-detergent cleaning cycle for about 30 seconds if the manual permits it.
- Wash and dry the lid.
- Check the jar wall and visible blade area before storage.
During a periodic deep clean
- Remove the gasket and blade assembly only if the design permits removal.
- Brush jar threads, the collar, the lid vent, and the underside of the lid.
- Wash the gasket separately and check that it remains correctly shaped.
- Inspect the blade assembly for trapped residue, damage, or unusual movement according to the manual.
- Wipe the motor base, controls, plug, and cord with a damp cloth.
- Dry every approved-to-wash part before reassembly.
Cleaning becomes a repair issue when the blade assembly, gasket, jar, cord, plug, or base shows damage that cleaning cannot correct. A persistent leak, damaged seal, cracked jar, exposed wiring, or liquid inside the base calls for manufacturer guidance rather than continued use.
Food-contact surfaces should be cleaned according to the appliance instructions and applicable food-equipment guidance. The U.S. Food and Drug Administration publishes the Food Code as a reference for hygienic handling and food-contact equipment practices; the specific blender manual still controls the approved cleaning method for that model.
Self-Cleaning Versus Washing Each Part by Hand
Self-cleaning with warm water and dishwashing detergent is the quickest answer for fresh, loose residue. It is useful after a smoothie, but it cannot reliably replace direct cleaning of the gasket, lid vent, jar threads, and underside of removable components.
Hand washing takes more attention, but it gives you a chance to inspect seals and hidden surfaces. Use the 30-second cleaning blend immediately, then perform a hand deep clean after dense or sticky batches and whenever odor, cloudiness, or residue persists.
Self-cleaning handles loose residue, while hand washing exposes hidden residue and damaged seals. That division is more dependable than treating either method as the only cleaning routine.
Dishwasher use can fit into the routine only when the manual approves it for each part. The jar may have one instruction, the lid another, and the gasket or blade assembly a third. Keep those instructions together rather than relying on a general assumption that a blender is dishwasher-safe.
Readers wanting a shorter checklist can also use How To Clean A Blender as a companion reference. For a fuller explanation of repeated cleaning steps, this guide to getting a blender clean every time can sit alongside the manual without replacing it.
Frequently Asked Questions
What is the easiest way to clean a blender after making a smoothie?
Unplug the blender after use and remove the jar from the motor base. Rinse loose residue, fill the jar halfway with warm water, add a couple of drops of dishwashing detergent, secure the lid, and blend for about 30 seconds if the manual permits it. Pour out the mixture, rinse the jar and lid, inspect the blade area, and dry the parts separately.
Can blender parts go in the dishwasher?
Sometimes, but the answer differs by model and component. The manual takes priority for the Tritan copolyester or polycarbonate jar, lid, silicone O-ring gasket, and stainless-steel blade assembly. If the instructions do not approve dishwasher washing for a part, wash that part by hand with warm water, dishwashing detergent, and a suitable nylon bottle brush.
How can I clean underneath blender blades safely?
Never reach under the blades with your fingers. Unplug the blender, and remove the blade assembly only if the design permits it and the manual explains how. Hold the assembly by its safe, non-cutting surfaces and use a nylon bottle brush or soft cloth around accessible areas. Do not use a knife or metal pick to scrape residue.
Why does my blender still smell after washing?
Inspect the gasket, lid vent, jar threads, blade housing, and underside of removable parts. Smoothie pulp, nut butter, and dough can remain in those areas after a quick soap-and-water blend. Wash permitted removable parts separately, rinse away detergent, and dry them fully before reassembly. If the odor remains or a seal is damaged, consult the manufacturer about repair or replacement.
Can I wash the blender motor base with water?
No. The motor base, controls, plug, and power cord must not be submerged or rinsed under running water. Unplug the appliance and wipe those surfaces with a damp cloth, then dry them. If liquid enters the base, do not operate the blender; contact the manufacturer or a qualified appliance service professional for instructions.
Is a self-cleaning blend better than taking the blender apart?
Neither method covers every need. A self-cleaning blend is convenient for fresh smoothie residue, while permitted disassembly allows direct cleaning of the gasket, blade housing, lid vent, and jar threads. Use the quick cycle after ordinary use, then deep-clean by hand after sticky or dense batches. Never take apart a component unless the manufacturer’s design and instructions allow it.
How often should I deep-clean a blender?
Perform the quick wash after every use and deep-clean the accessible parts whenever dense, oily, or sticky food has been processed, or whenever smell or residue remains. Include the gasket, lid, jar threads, blade area, and underside of removable components. Inspect seals, the jar, cord, plug, and base during that routine, and stop using damaged parts until the manufacturer advises you.
For a reminder of problems that commonly undermine an otherwise careful wash, read these blender-cleaning mistakes to avoid. The central rule remains straightforward: wash the parts designed to get wet, wipe the electrical base, protect your hands from sharp blades, and let every removable component dry before the blender goes back together.