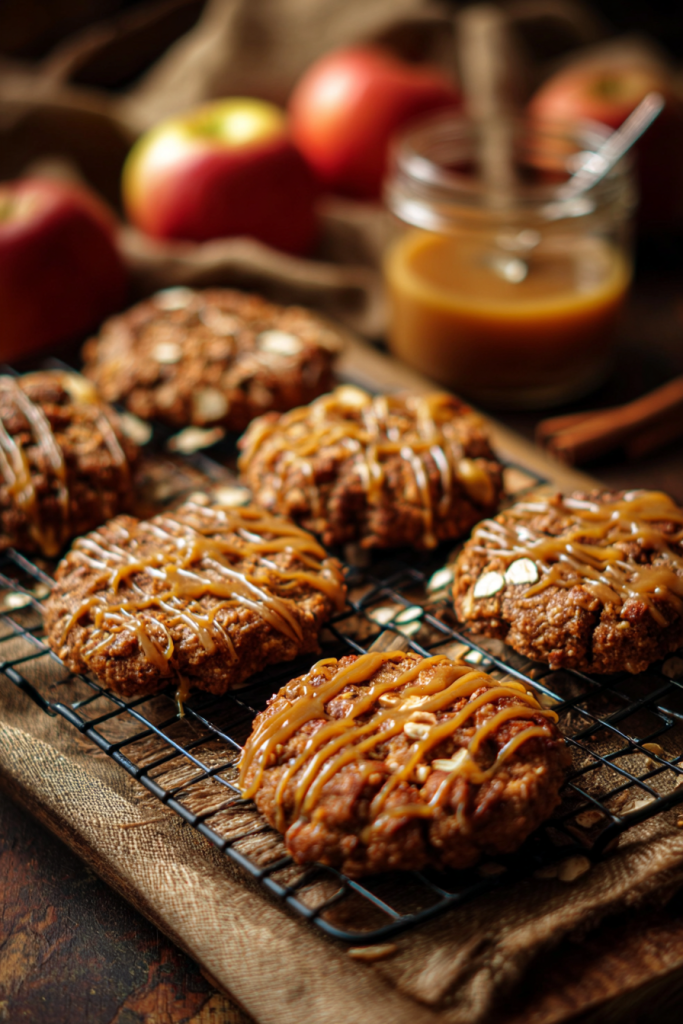
There’s something magical about the aroma of apple cinnamon cookies baking in my kitchen. The sweet warmth of cinnamon mingles with tender apple pieces, creating cookies that taste like autumn in every bite. I’ve perfected this recipe over countless batches, and today I’m sharing my secrets for creating these irresistible treats that disappear faster than I can make them.
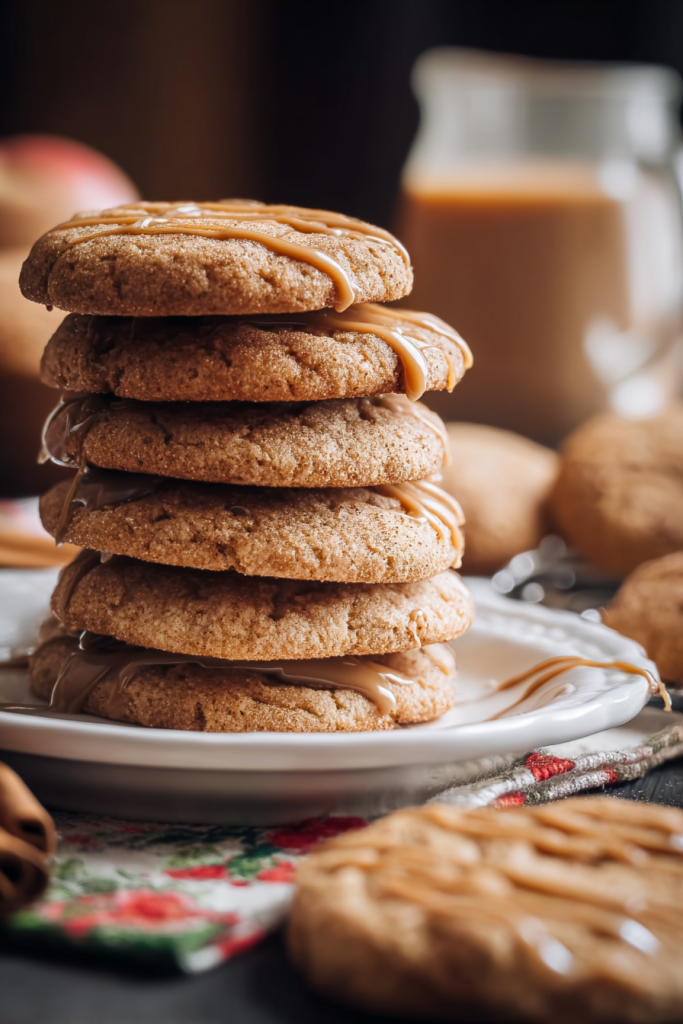
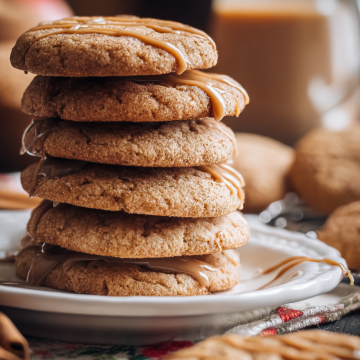
These aren’t just any cookies – they’re soft, chewy, and bursting with real apple flavor. The addition of rich salted caramel sauce transforms them into bakery-quality treats. Whether you’re hosting a fall gathering or simply craving comfort food, these cookies deliver every time.
Essential Ingredients Table
| Ingredient | Quantity | Notes |
|---|---|---|
| Unsalted Butter | ½ cup (113g) | Softened to room temperature |
| Dark Brown Sugar | ½ cup (110g) | Packed for rich molasses flavor |
| Granulated Sugar | ¼ cup (50g) | Creates perfect texture balance |
| Pure Vanilla Extract | 1 teaspoon (5ml) | Use real vanilla for best flavor |
| Large Egg | 1 | Room temperature works best |
| All-Purpose Flour | 1⅓ cups (190g) | Sifted for tender texture |
| Baking Soda | ½ teaspoon | Fresh for proper rise |
| Salt | ½ teaspoon | Enhances all flavors |
| Rich Salted Caramel Sauce | For drizzling | Store-bought or homemade |
Ingredient Quality Matters
I’ve learned that using high-quality ingredients makes a noticeable difference in these cookies. The dark brown sugar provides deep molasses notes that complement the apples perfectly. I always use real vanilla extract rather than imitation – the flavor difference is remarkable.
Room temperature ingredients blend more easily, creating a smoother dough texture. I take my butter and egg out of the refrigerator about an hour before baking. This simple step prevents lumpy dough and ensures even mixing.
Pro tip: If you forget to soften your butter, cut it into small cubes and let it sit for 15 minutes. Never microwave butter to soften it – this can create uneven temperatures that affect cookie texture.
The flour measurement is crucial for these cookies. I always sift my flour and measure it properly by spooning it into the cup rather than scooping directly. Too much flour creates dry, crumbly cookies, while too little results in flat, spreading cookies.
Preparing Your Kitchen
Before starting, I preheat my oven to 350°F (175°C) and line baking sheets with parchment paper. This prevents sticking and ensures even browning. I also clear counter space for mixing and cooling – these cookies need room to spread their delicious aroma.
Recipe Timing: Prep Time: 15 minutes | Cook Time: 12 minutes | Total Time: 27 minutes
Servings: 24 cookies | Difficulty: Easy
Step-by-Step Baking Process
Creating the Perfect Cookie Dough
I begin by creaming the softened butter with both sugars and vanilla extract. Using my stand mixer on medium speed, I beat this mixture for about 3-4 minutes until it becomes light and fluffy. The mixture should nearly double in volume and turn pale in color.
This creaming process incorporates air into the dough, creating the tender texture that makes these cookies irresistible. Don’t rush this step – proper creaming is the foundation of exceptional cookies.
Next, I add the room temperature egg and mix until fully incorporated. The dough should look smooth and cohesive at this point. If the egg is too cold, the mixture might look curdled, but don’t worry – it will come together as you continue mixing.
Combining Dry Ingredients
In a separate bowl, I whisk together the sifted flour, baking soda, and salt. This ensures even distribution of leavening agents throughout the dough. I then gradually add this mixture to the butter mixture, mixing on low speed just until combined.
Pro tip: Overmixing after adding flour develops gluten, resulting in tough cookies. I stop mixing as soon as the flour disappears – the dough should still look slightly rough.
Shaping and Baking
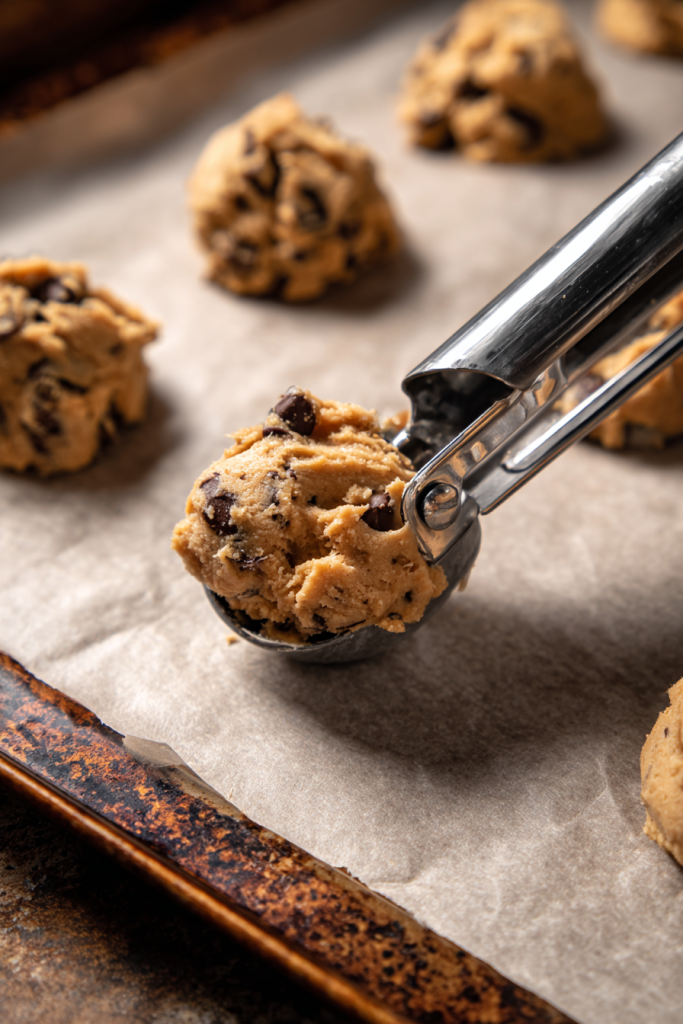
Using a cookie scoop or tablespoon, I portion the dough into 2-tablespoon-sized balls. I space them about 2 inches apart on the prepared baking sheets – these cookies spread moderately during baking.
I bake one sheet at a time for 10-12 minutes, until the edges are lightly golden brown. The centers might look slightly underdone, but they’ll continue cooking on the hot pan after removal. This technique ensures chewy centers with perfectly crisp edges.
The most challenging part is waiting for them to cool slightly before transferring to a wire rack. I let them rest on the baking sheet for 5 minutes, then carefully move them to finish cooling completely.
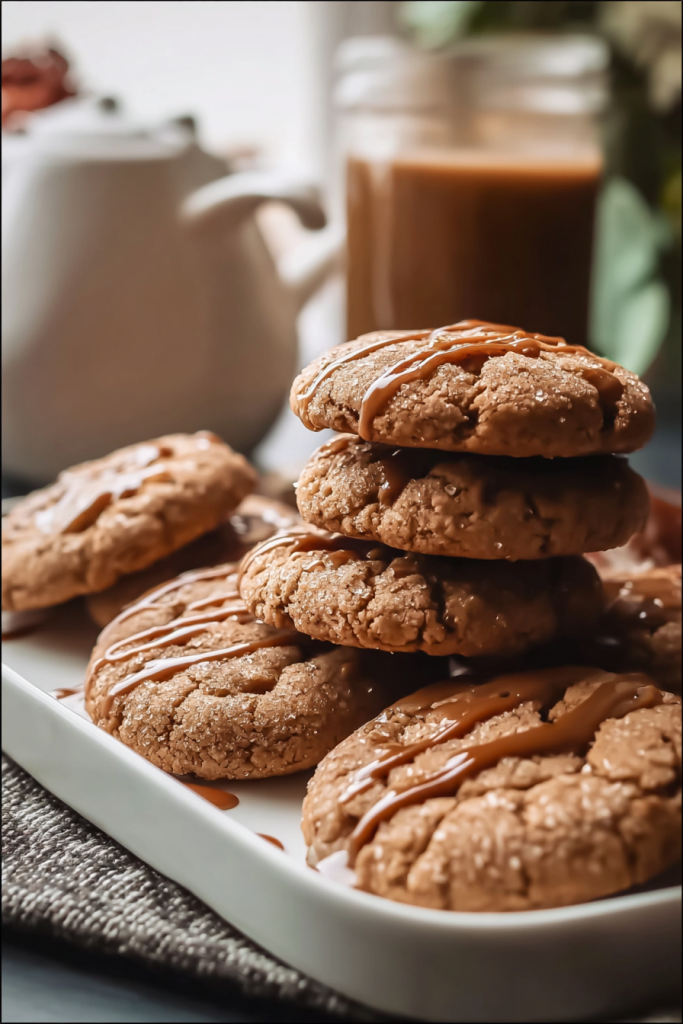
Finishing with Caramel Drizzle
Once completely cooled, I drizzle each cookie with rich salted caramel sauce. I use a fork or squeeze bottle for even distribution. The contrast between the sweet caramel and slightly salty cookie base creates an incredibly satisfying flavor combination.
Storage Tips and Recipe Variations
Proper Storage for Maximum Freshness
These cookies stay fresh for up to one week when stored properly. I place them in an airtight container with parchment paper between layers to prevent sticking. The caramel drizzle can make them slightly sticky, so proper separation is important.
For longer storage, I freeze the cookies without caramel drizzle for up to three months. I wrap them individually in plastic wrap, then place them in freezer bags. When ready to serve, I thaw them at room temperature and add fresh caramel drizzle.
Pro tip: If your cookies become soft, place a slice of bread in the container overnight. The cookies will absorb moisture from the bread and regain their perfect texture.
Recipe Variations I Love
Over the years, I’ve experimented with several delicious variations of this base recipe:
Maple Pecan Version: I replace the caramel drizzle with maple glaze and add ½ cup chopped pecans to the dough. The maple flavor pairs beautifully with the apple and cinnamon.
Cream Cheese Frosting Option: Instead of caramel, I top cooled cookies with cream cheese frosting mixed with a touch of cinnamon. This creates a more cake-like dessert experience.
Spice Blend Enhancement: I sometimes add ¼ teaspoon each of nutmeg and allspice along with the cinnamon for a more complex spice profile reminiscent of apple pie.
Serving Suggestions
These cookies shine alongside a warm cup of coffee or spiced chai tea. I often serve them at autumn gatherings, book club meetings, or as after-school treats. They’re substantial enough to satisfy sweet cravings without being overly heavy.
For special occasions, I arrange them on a rustic wooden board with small bowls of extra caramel sauce for dipping. This presentation always impresses guests and makes the cookies feel extra special.
Frequently Asked Questions
Q: Can I make these cookies without caramel drizzle? A: Absolutely! These cookies are delicious on their own. You can substitute with vanilla glaze, powdered sugar dusting, or enjoy them plain for a less sweet option.
Q: Why did my cookies spread too much during baking? A: Excessive spreading usually indicates butter that was too warm or dough that needed chilling. Make sure butter is softened but not melted, and chill dough for 30 minutes if it feels too soft.
Q: Can I substitute whole wheat flour for all-purpose flour? A: You can substitute up to half the all-purpose flour with whole wheat flour. Using 100% whole wheat flour will create denser, more crumbly cookies with a nuttier flavor.
Q: How do I know when the cookies are perfectly baked? A: Look for lightly golden edges while centers still appear slightly underdone. The cookies will continue cooking on the hot pan after removal, resulting in perfect texture.
Q: Can I freeze the cookie dough for later baking? A: Yes! Scoop dough into balls and freeze on a baking sheet. Once solid, transfer to freezer bags. Bake directly from frozen, adding 1-2 extra minutes to baking time.
These apple cinnamon cookies have become a staple in my baking repertoire, and I’m confident they’ll become a favorite in your kitchen too. The combination of tender texture, warm spices, and indulgent caramel creates cookies that feel like a warm hug in every bite.
Caramel-Drizzled Apple Cinnamon Cookies
Ingredients
- ½ cup 113g unsalted butter, softened
- ½ cup 110g dark brown sugar, packed
- ¼ cup 50g granulated sugar
- 1 teaspoon 5ml pure vanilla extract
- 1 large egg room temperature
- 1⅓ cups 190g all-purpose flour, sifted
- ½ teaspoon baking soda
- ½ teaspoon salt
- Rich salted caramel sauce for drizzling
Instructions
- Preheat oven to 350°F (175°C). Line baking sheets with parchment paper.
- In a stand mixer, cream softened butter, brown sugar, granulated sugar, and vanilla extract on medium speed for 3-4 minutes until light and fluffy.
- Add room temperature egg and mix until fully incorporated.
- In a separate bowl, whisk together sifted flour, baking soda, and salt.
- Gradually add dry ingredients to butter mixture, mixing on low speed just until combined. Don’t overmix.
- Using a cookie scoop, portion dough into 2-tablespoon-sized balls. Space 2 inches apart on prepared baking sheets.
- Bake for 10-12 minutes until edges are lightly golden brown. Centers may look slightly underdone.
- Let cookies rest on baking sheet for 5 minutes, then transfer to wire rack to cool completely.
- Once cooled, drizzle with salted caramel sauce using a fork or squeeze bottle.
Notes
Don’t overmix after adding flour to avoid tough cookies
Cookies can be stored in airtight container for up to 1 week
For longer storage, freeze without caramel drizzle for up to 3 months
If butter isn’t softened, cut into small cubes and let sit 15 minutes