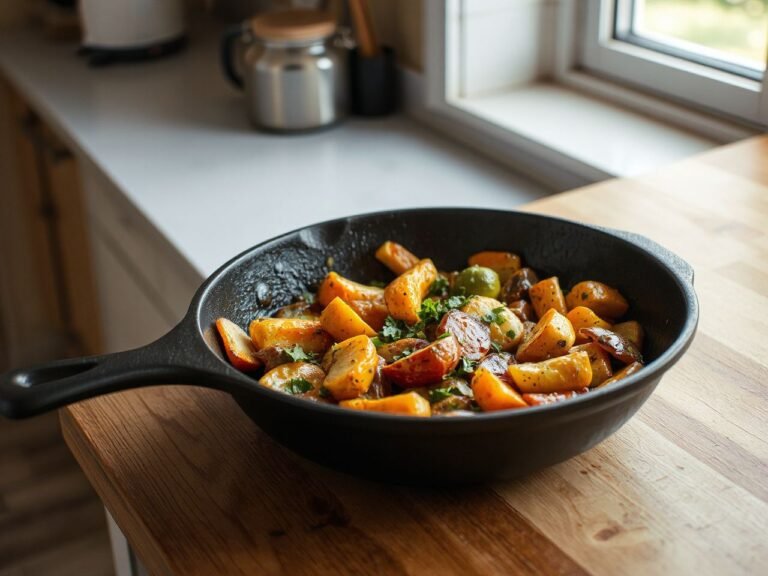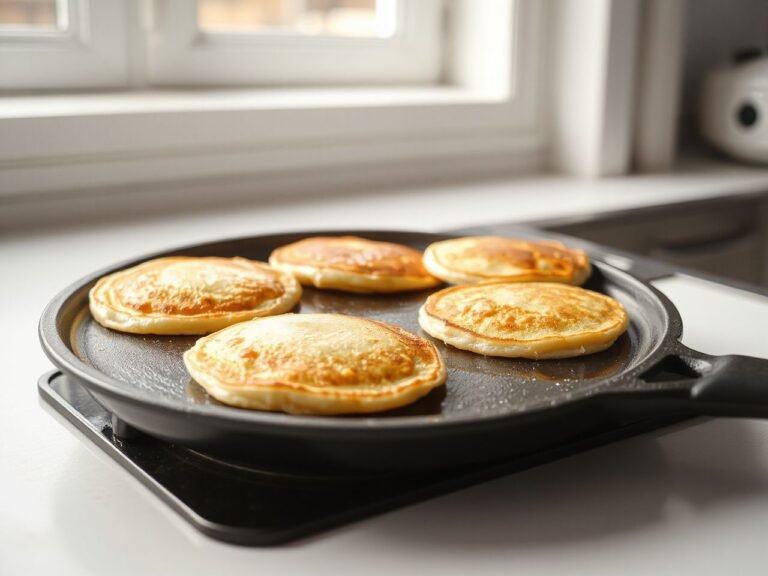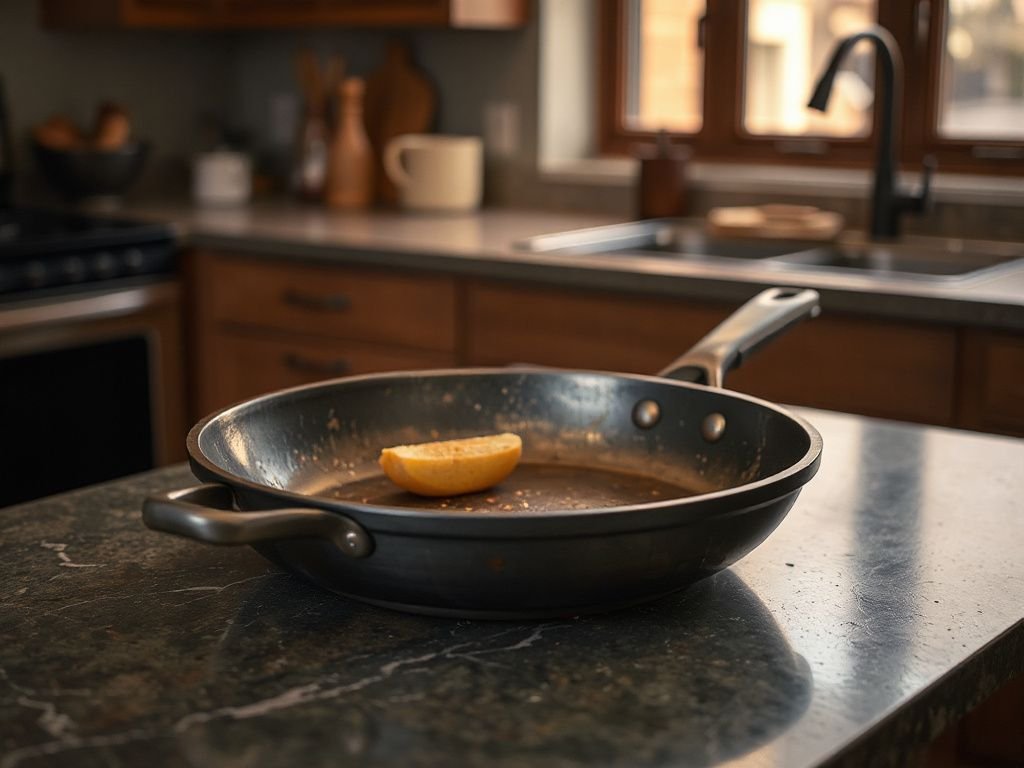
A first carbon steel pan usually teaches the same lesson in humility. Season it, use it once, wash it with soap and leave it damp, and rust can bloom within hours—not because the soap stripped the seasoning, but because a single thin layer of polymerized oil is porous enough to let water reach the bare steel underneath it. What separates a pan that lasts decades from one that ends up in a garage sale is almost never the brand. It is whether the seasoning was built up in enough thin layers to actually seal the metal, and whether the pan gets dried and oiled before it goes back in the cupboard. If you’re reading this carbon steel pan buying guide, you’re probably trying to avoid exactly that early mistake.
The crucial difference between carbon steel and cast iron isn’t just weight—it’s thermal responsiveness. Carbon steel reacts to heat changes in seconds, which makes it excellent for precise browning and temperature control, but that same thinness means warping is a real risk if you overheat it. When I evaluate a pan, I look at thickness (at least 2-3 mm for home use) and handle attachment (riveted or welded, not a cheap plastic-coated screw) before I care about the brand name on the bottom.
Key Takeaways
- Choose a pan that is 2.5 to 3 mm thick with a riveted or welded metal handle—thickness prevents warping and the handle determines oven safety.
- Seasoning is non-negotiable: heat oil past its smoke point to create a polymerized layer, or the pan will rust and food will stick.
- Never quench a hot pan in cold water and always preheat gradually on medium-low to avoid permanent warping.
The Critical Difference Between Carbon Steel and Cast Iron
Both carbon steel and cast iron are made from iron, but carbon steel contains less carbon and no graphite flakes. That difference changes everything about how the pan behaves on your stove. Cast iron is dense, thick, and slow to respond. Carbon steel is thinner, lighter, and reacts to heat changes in seconds.
Thermal Responsiveness and Why It Matters
Thermal responsiveness means the pan heats up fast when you turn the dial and cools down fast when you lower it. That is a huge advantage when you need to go from a screaming sear to a gentle simmer without moving the pan. Cast iron will hold that searing heat for a long time even after you reduce the flame. Carbon steel gives you control, not inertia.
The tradeoff is equally real. Because carbon steel is thinner, it also loses heat faster when you add cold food. A cold steak dropped into a carbon steel pan will drop the pan temperature more than it would in cast iron. That drop can ruin a sear if the pan is too thin. This is why thickness matters so much—a 3 mm carbon steel pan holds heat noticeably better than a 2 mm pan, while still responding faster than cast iron.
Weight and Maneuverability
A typical 10-inch carbon steel skillet weighs around 2 to 3 pounds. A comparable cast iron skillet might weigh 5 to 7 pounds. That weight difference matters when you’re flipping vegetables, tossing a stir-fry, or sliding a pan into the oven one-handed. Carbon steel feels like a tool you can move. Cast iron feels like a tool you set down and leave.
For cooks who cannot comfortably lift a heavy cast iron pan, carbon steel is the honest alternative. It sears almost as well and responds much faster. Lodge, De Buyer, and Matfer Bourgeat all make carbon steel skillets in this weight range, and none of them require a forearm workout to handle.
Choosing the Right Thickness and Handle Attachment
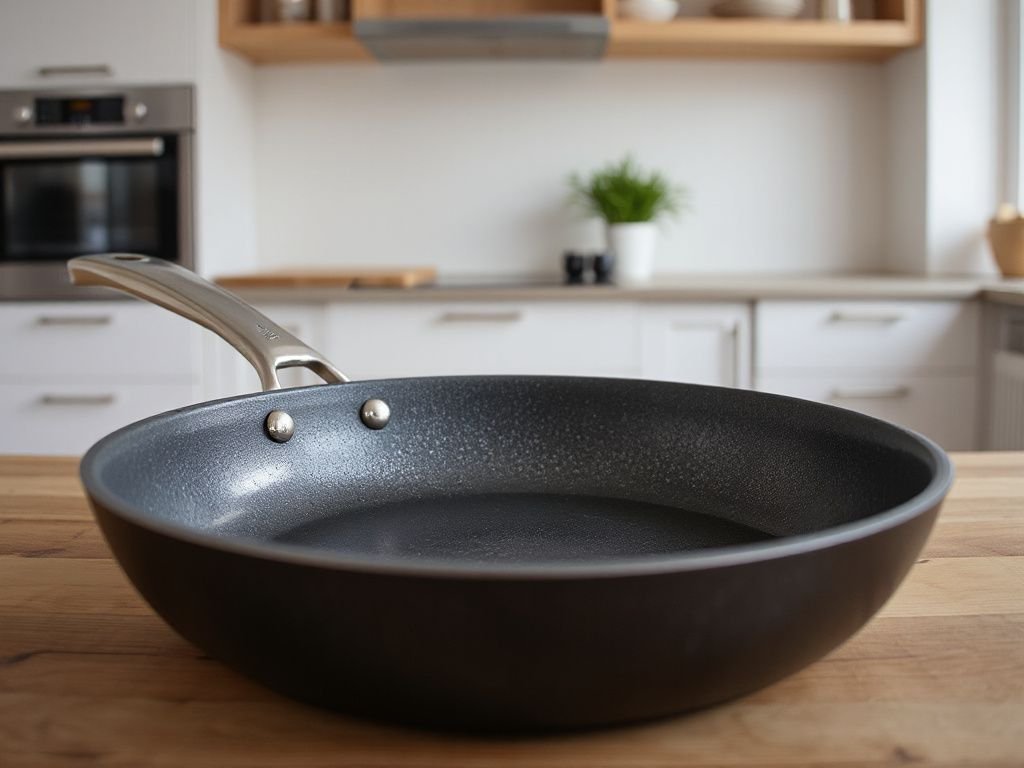
Before you look at any brand name on the bottom of a pan, look at the sidewall. Thickness is the single most important spec on the entire sheet. If the manufacturer does not list thickness, that is a red flag. Reputable carbon steel makers print it right on the product page.
Thickness: 2 mm vs 3 mm
At least 2 to 3 mm of steel is the minimum for home use. A 2 mm pan will warp on a high-output gas burner or an induction element that cycles heat aggressively. A 2.5 mm pan is the sweet spot for most home cooks. A 3 mm pan adds weight and heat retention but still feels nimble compared to cast iron.
Many French-made carbon steel pans, including the De Buyer Mineral B and Matfer Bourgeat lines, fall in the 2.5 to 3 mm range. Lodge carbon steel skillets are also around 2.5 mm. These thicknesses survive daily use without becoming boat anchors. If you cook on induction, lean toward 3 mm because induction delivers heat so fast that thinner pans can warp on the first cook.
Handle Attachment: Riveted, Welded, or Screwed
A riveted handle is the classic choice. Three steel rivets hold a carbon steel handle to the pan body, and that joint will outlast the seasoning. Rivets can loosen after years of thermal cycling, but a quick tap with a hammer tightens them again. A welded handle is smoother—no rivet heads to scrape around—and is common on higher-end pans. Both are excellent.
What you should avoid is a handle attached with a screw and a plastic or rubber coating. That coating melts in the oven, off-gases at high heat, and traps moisture at the joint where rust starts. A cheap plastic-coated screw handle tells you the manufacturer cut corners exactly where durability matters most. The handle is not an accessory; it is the part you touch every single time you cook.
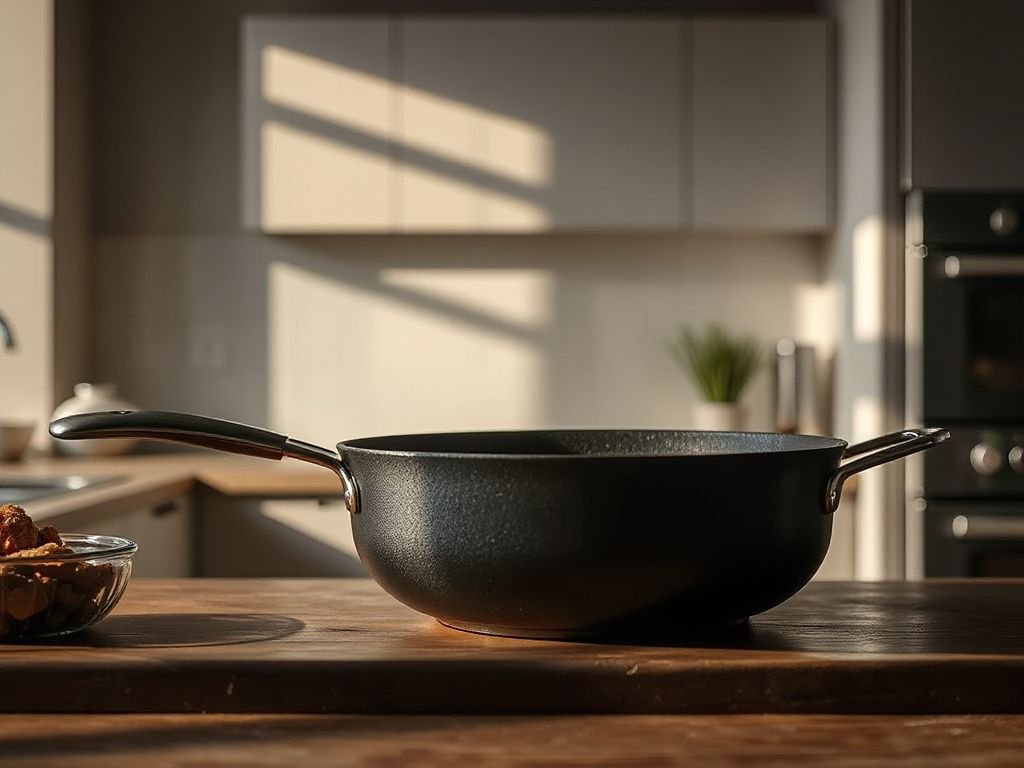
Seasoning Carbon Steel: The First Layer and Beyond
Seasoning is not optional. A bare carbon steel pan will rust within hours of washing if left unprotected. The seasoning layer is a thin polymerized oil film that bonds to the steel and creates a water-resistant, non-stick surface. Lodge’s carbon steel care guidance explains the same principle for their pans: heat oil past its smoke point to create that polymer layer. The first seasoning is the foundation everything else builds on.
The First Seasoning: Step by Step
Step 1: Wash the pan. New carbon steel sometimes ships with a protective coating—beeswax, mineral oil, or a factory lacquer. Hot water and a scrub pad remove it.
Step 2: Dry completely. Put the pan on the stove over low heat until no moisture remains. Water left on the surface will steam under the oil and create pinholes in the seasoning.
Step 3: Apply a very thin layer of oil. Use an oil with a high smoke point—grapeseed, canola, flaxseed, or sunflower. Rub it on with a paper towel, then wipe it off as if you made a mistake. The pan should look nearly dry.
Step 4: Heat past the smoke point. Place the pan upside down in a 400–450°F oven for one hour. The oil will polymerize, turning from liquid into a hard, amber plastic-like coating.
Step 5: Cool and repeat. Let the pan cool in the oven. Repeat the oiling and heating two or three more times. The seasoning will darken from silver to bronze to nearly black.
Why Oil Alone Isn’t Enough
If you rub a pan with oil and leave it on the shelf, that oil is just a wet film. It never bonds to the steel. Within a day or two it will turn sticky, go rancid, or wash away the next time the pan touches water. The heat is what transforms oil into seasoning. Without heat, you have not seasoned anything—you have just oiled a pan that will rust the moment the oil disappears. This is exactly why carbon steel pans rust even after you oil them. The oil never polymerized.
Preventing Warping and Managing Heat
Warping is the most common irreversible damage to a carbon steel pan. Once the bottom bows outward or inward, the pan will sit unevenly on your stove, oil will pool in the center, and heat transfer becomes patchy. The good news is that warping is almost entirely preventable if you understand what causes it.
The Number One Cause of Warping
Warping occurs when a hot pan is quenched in cold water or heated too fast on a high flame. The bottom of the pan expands faster than the sidewalls, creating internal stress that permanently bends the steel. Running a screaming-hot pan under the faucet is the fastest way to ruin a good pan. Never do it.
The second cause is heating a cold pan on maximum output. A cold 2.5 mm pan placed directly on a high flame will expand unevenly across its surface. The center heats first, the edges lag behind, and the pan domes upward in the middle. From that point on, oil runs to the edges and food cooks unevenly.
Gradual Heating and Cooling
Always preheat a carbon steel pan on medium-low for two to three minutes before turning up the heat. Let the heat move through the steel evenly. When you are done cooking, turn off the burner and leave the pan on the stove until it is cool enough to touch before washing. If you must speed the cooling, place the hot pan on a trivet or a folded towel—never on a cold stone countertop and never under running water.
Induction, Oven, and Cleaning: Practical Answers
Induction Compatibility: What to Check
Induction cooktops require a pan with a magnetic bottom. Carbon steel is iron, so nearly every carbon steel pan will work on induction. The exception is a pan with a stainless steel or aluminum cladding on the bottom that breaks the magnetic field. If you own an induction stove, bring a refrigerator magnet to the store. If the magnet sticks firmly to the base, the pan will work. Most uncoated carbon steel pans from De Buyer, Matfer Bourgeat, and Lodge pass this test without issue.
Induction also delivers heat extremely fast, which makes warping risk higher if you set the burner to maximum immediately. Use the same gradual preheating approach as on gas. Start at power level 3 or 4, let the pan warm for a minute, then increase to your cooking temperature.
Oven Limits and Handle Materials
A carbon steel pan with an all-metal handle and no coatings can go into the oven at temperatures far beyond what any home oven reaches—often 600°F or higher. That opens up techniques like starting a steak on the stovetop and finishing it in a 500°F oven, or baking a skillet cornbread directly in the pan. One pot marry me chicken pasta is exactly the kind of dish that benefits from a pan that can move from burner to oven without a second thought.
If the handle has wood, plastic, silicone, or any kind of coating, the oven limit drops to zero or near zero. Wooden handles char, plastic melts, silicone degrades. Read the manufacturer’s stated oven-safe temperature before you assume anything. A riveted steel handle is the only handle that gives you full oven freedom.
Washing with Soap: Yes or No?
Modern dish soap will not strip a well-polymerized seasoning layer. The old advice to never use soap came from a time when soaps contained lye, which does attack polymerized oil. Today’s mild detergents are safe on a seasoned pan. Wash with warm water and a soft sponge, use a drop of dish soap if needed, then dry the pan immediately and rub on the thinnest layer of oil before storing. Leaving the pan wet for even ten minutes invites rust.
What you should avoid is the dishwasher. The high heat, harsh detergent, and long wet cycle will strip seasoning and cause rust. Hand washing is non-negotiable for carbon steel.
Common Mistakes That Ruin Carbon Steel Pans
1. Not seasoning before first use. A bare carbon steel pan is raw iron. It will rust and food will stick. Season it immediately after unboxing.
2. Seasoning with too much oil. Excess oil pools in little droplets and polymerizes into sticky bumps. Wipe until the pan looks dry.
3. Heating too fast. High flame on a cold pan causes warping. Always preheat on medium-low first.
4. Quenching in cold water. Thermal shock bends the steel permanently. Let the pan cool before washing.
5. Storing without a final oil coat. Seasoning is porous at the microscopic level. A final thin oil wipe after each wash seals the surface against humidity.
6. Cooking acidic foods for long periods. Tomatoes, vinegar, and wine can erode seasoning if simmered for more than 20–30 minutes. A quick pan sauce is fine. A long braise is better in enameled cast iron or stainless steel.
7. Using metal utensils aggressively. A well-seasoned pan can handle metal spatulas, but scraping hard against the surface will chip the seasoning. Use wood, silicone, or a gentle metal fish spatula.
Frequently Asked Questions
Is carbon steel basically the same as cast iron?
They share the same base metal but differ in carbon content and thickness. Carbon steel has less carbon and no graphite, so it is thinner and more responsive. Cast iron is thicker and holds heat longer. Carbon steel heats and cools faster, making it better for temperature control, while cast iron excels at long, even heat retention.
Why does my carbon steel pan rust even after I oil it?
Oiling without heating does not create seasoning. Liquid oil sits on the surface and eventually washes away or goes rancid. To stop rust, you must heat the oil past its smoke point so it polymerizes into a hard, water-resistant layer. Then after each wash, dry the pan completely and apply a final thin coat of oil before storing.
Can I wash a carbon steel pan with soap?
Yes, modern dish soap is safe on a well-seasoned pan. Avoid lye-based soaps and never use a dishwasher. After washing with warm water and a small amount of soap, dry the pan immediately with a towel, then set it over low heat for 30 seconds to evaporate any remaining moisture before oiling.
Are carbon steel pans safe to use on an induction cooktop?
Almost always. Carbon steel is iron, which is magnetic, so it works on induction. The only exception is a pan with a non-magnetic cladding on the bottom. Test with a refrigerator magnet—if it sticks firmly to the base, the pan will work. Induction heats fast, so preheat gradually to avoid warping.
Can I put a carbon steel pan in the oven?
Only if the handle and any other parts are entirely metal with no coatings. A riveted or welded steel handle allows oven use up to 500°F or higher. Wood, plastic, or silicone handles cannot go in the oven. Check the manufacturer’s stated temperature limit and never exceed it.