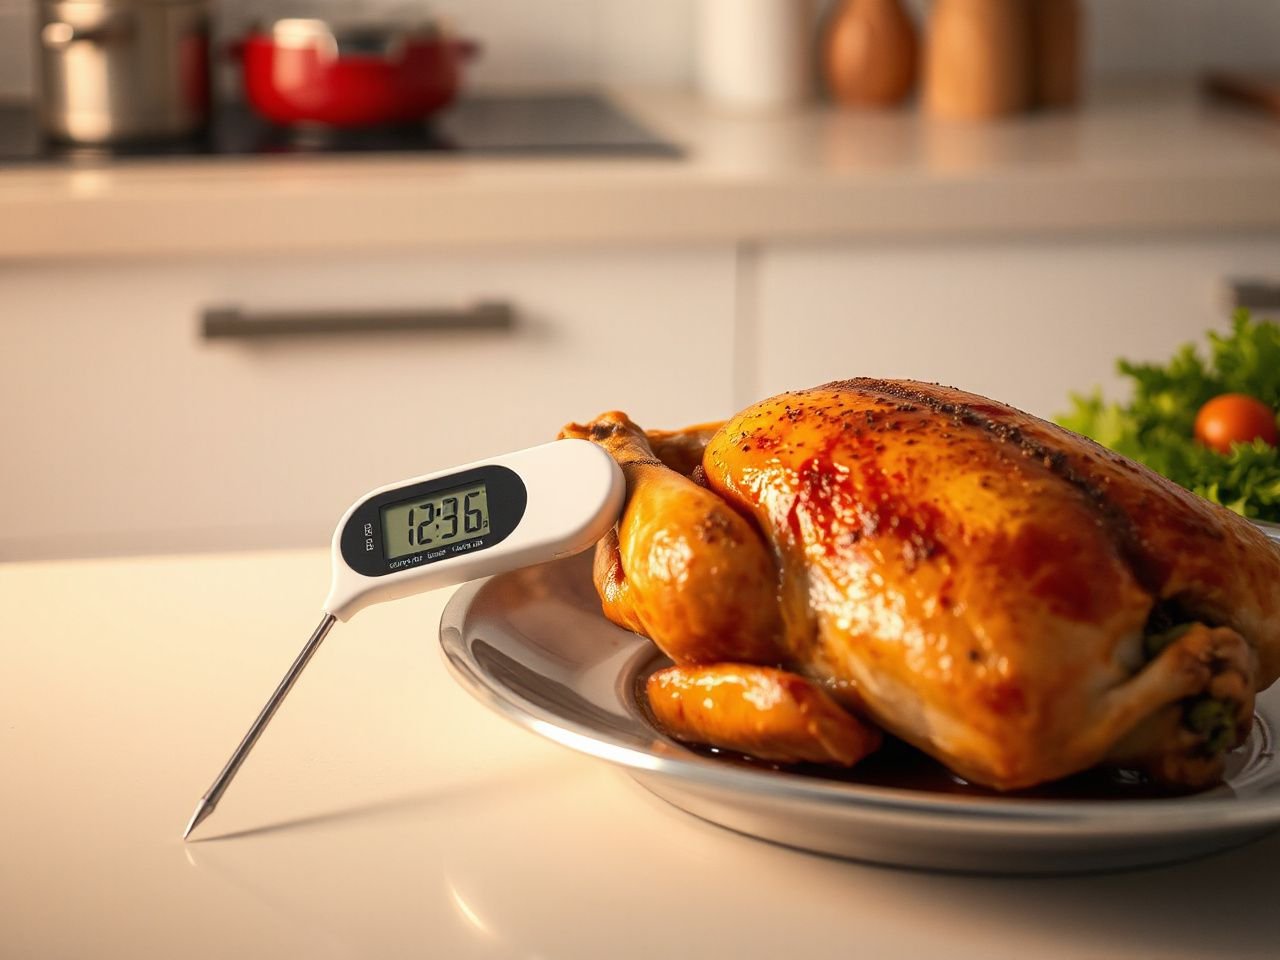
A 4.5-inch probe can reach the centre of many foods, but probe length alone does not tell you whether a thermometer suits your cooking. The important distinction is between response speed, sensing technology, and leave-in capability: a fast spot-checking thermometer serves a different task from a probe designed to remain in food during cooking. Accuracy also depends on probe placement, calibration, and heat exposure, so this meat thermometer buying guide explains the whole measurement system rather than treating the display reading as the only concern.
Start with the cooking job. An instant-read thermometer is made for quick checks, while a leave-in probe thermometer stays in the food and connects to a display during cooking. A thermocouple and a thermistor sense temperature in different ways, and an infrared thermometer reads the surface rather than the centre. Those distinctions matter more than a long feature list.
Key Takeaways
- Choose an instant-read thermometer for quick checks and a leave-in probe for monitoring food during cooking.
- Insert the probe into the thickest part without touching bone, the pan, or the cooking surface.
- Check calibration, cable condition, battery power, cleaning requirements, and storage before trusting a reading.
Beginner: Match the thermometer to the cooking task
Step 1: Decide whether you need a spot check or continuous monitoring
An instant-read thermometer is the straightforward choice for checking food briefly. Open the oven, grill, or smoker, insert the probe, wait for the display to settle, and remove it. The tool does not need to remain in the food during cooking.
A leave-in probe thermometer is designed for a different workflow. The probe remains in the food while a cable or wireless connection carries the reading to a display. That arrangement helps you monitor progress without repeatedly opening the cooking chamber, but only if the probe, cable, and electronics are rated for the conditions described by the manufacturer.
An instant-read thermometer is for checking food; a leave-in probe thermometer is for monitoring food during cooking. That distinction should guide the first decision.
Step 2: Choose a sensing technology you can use correctly
A thermocouple measures temperature through the electrical behaviour of a junction between different metals. A thermistor uses a temperature-sensitive electrical resistance. Both can be used in kitchen thermometers, but the device design, probe construction, and electronics still affect how useful the reading is in practice.
For a buyer, the important question is not which word sounds more technical. Check whether the thermometer gives the response style you need, whether the probe is suited to the food you cook, and whether the manufacturer explains calibration and care. A fast response is useful for several spot checks. A stable leave-in reading is useful for food that needs monitoring throughout cooking.
A stainless steel probe is common in kitchen thermometers because the probe must enter food and withstand routine cleaning. The probe should still be examined for bending, cracks, loose joints, or damage around the cable connection. A metal exterior does not make every part of the thermometer safe for every environment.
Step 3: Treat the display as one part of the system
A digital display makes the reading easy to see, but a clear display cannot correct poor placement or a damaged probe. Look for digits that remain readable at the angle and distance you normally use. Buttons should be distinguishable by touch or clear labelling, especially if the thermometer will be used beside a hot oven or grill.
Inspect the battery compartment before purchase or use. A compartment that is awkward to open can make routine battery changes frustrating, while a weak battery may cause a slow, blank, or inconsistent display. The exact warning behaviour depends on the design, so the manual matters more than a general assumption.
Food thermometers should be used alongside current food-safety guidance, not as a substitute for it. The U.S. Food and Drug Administration publishes food-safety information that can help you compare an internal reading with the guidance relevant to the food being prepared.
Intermediate: Place and use the probe accurately
Step 1: Find the thickest part of the food
The probe must measure the thickest part of the food without touching bone, the pan, or the cooking surface. A reading near an edge can reflect the hot air or pan more than the centre of the food, while contact with bone or metal can produce a misleading result.
For irregular cuts, approach the thickest section from the side when possible. That path places the sensing area nearer the centre rather than leaving it close to the top or bottom. For a thin piece, insert from the side so the probe reaches the middle without passing through the food.
A meat thermometer must sit in the thickest part of the food without touching bone or a cooking surface. Probe placement is part of accuracy, not a minor handling detail.
Step 2: Take more than one sensible reading
Food can cook unevenly. Check more than one suitable area when the shape, thickness, or arrangement makes uneven cooking likely. If the readings differ, first inspect the insertion points rather than assuming the display has failed.
Pull the probe back and insert it again in the thickest area. Keep the tip away from bone, the pan, and the cooking grate. A reading that becomes consistent after better placement points to a measurement error rather than a faulty thermometer.
Resting meat can change the internal reading because heat continues to move through the food after it leaves the cooking surface. Carryover cooking means the reading during cooking and the reading after resting may not match. Follow the food-safety temperature guidance appropriate to the food, and use the thermometer to check the internal result rather than judging doneness from colour alone.
Step 3: Know the limits of infrared measurement
An infrared thermometer reads the temperature of a surface. It can help assess a pan, griddle, or exposed cooking surface, but it generally cannot verify the internal temperature of meat because the centre is hidden beneath the surface.
Surface browning can look complete while the centre remains at a different temperature. A probe thermometer physically enters the food and measures at its sensing point, making it the appropriate tool for checking internal cooking temperature.
An infrared thermometer generally cannot verify the internal temperature of meat because infrared measurement reads the surface. Use the tool for the job it can actually measure.
Step 4: Decide if the probe can stay in the oven, grill, or smoker
A probe intended for quick checks is not automatically safe to leave in an oven, grill, or smoker. Heat exposure, the probe construction, the probe cable, and the connection to the display all matter. The product manual should explicitly describe leave-in use before the probe remains in a cooking chamber.
Keep the display and any wireless or wired connection away from heat unless the manufacturer permits that placement. A probe cable can be damaged by contact with heating elements, flames, sharp metal edges, or a hot door seal. If the cable sheath becomes cracked, melted, stiff, or loose at the connection, stop relying on that setup until the manufacturer provides a safe replacement or instruction.
The NSF explains the role of independent standards and certification in public health and safety; a mark from an independent testing organisation can be one useful part of checking a product’s stated suitability, but the thermometer’s own instructions still govern its use.
Advanced: Protect accuracy and long-term ownership
Step 1: Check calibration before blaming the display
Calibration can drift after an impact, battery problems, extreme heat, or repeated use. A questionable reading should be checked against a suitable reference method and current food-safety guidance. If the thermometer offers an adjustment procedure, follow the manufacturer’s steps rather than applying a generic correction.
Use a reference method that the manual identifies as suitable. The comparison must be made under controlled conditions, with the sensing area placed correctly and away from the container or surrounding surface. A poor reference setup can make a good thermometer appear inaccurate.
Calibration checks are most useful when the reference method, probe placement, and surrounding conditions are controlled. A single strange reading deserves investigation before the thermometer is discarded.
Step 2: Diagnose inconsistent readings in order
Inconsistent readings have several possible causes. Work through the simple causes first:
- Reinsert the probe into the thickest part and keep the tip away from bone, the pan, and the cooking surface.
- Check whether the probe is fully connected and whether the cable has damage.
- Inspect the battery compartment and replace the battery according to the manual if the display is weak or erratic.
- Allow the probe to settle before recording the reading, using the behaviour described by the manufacturer.
- Compare the thermometer with a suitable reference method if the reading still seems questionable.
A damaged probe may produce unstable readings even when the display appears normal. A weak battery can also affect operation, though the exact symptom depends on the thermometer. Do not treat a display that turns on as proof that every measurement function is working properly.
Step 3: Clean the probe between foods
Clean the probe between foods to reduce cross-contamination. Follow the manufacturer’s cleaning instructions, because the probe and electronics may have different care requirements. The probe can often be wiped or washed as directed, while the display housing and battery compartment need protection from water.
Do not submerge the electronics unless the manufacturer explicitly permits it. Water can enter through seams, buttons, charging points, or the battery compartment. Dry the probe before storage, and avoid wrapping a cable tightly around the display or probe if that creates a sharp bend.
The probe should be cleaned between foods, while the electronics should remain dry unless the manufacturer explicitly permits submersion. Clean handling protects both food safety and the thermometer.
Step 4: Store the thermometer for its next use
Storage affects the parts that determine future reliability. Keep the probe protected from knocks and avoid placing heavy tools on the display. A protective sleeve or case can help if the manufacturer supplies one, but the central requirement is simple: prevent impact, moisture, and cable strain.
Remove or inspect the battery according to the manual if the thermometer will sit unused. Check the probe tip, cable entry, buttons, display, and battery compartment before returning the tool to service. A short inspection catches visible damage before the next cooking task depends on the reading.
Step 5: Look beyond the first purchase
Long-term ownership depends on more than the initial reading. Consider whether the probe can be replaced, whether the cable connection is protected, whether the display remains readable, and whether the manufacturer explains calibration. A tool that cannot be cleaned or stored easily may lose practical value even if its first reading looks convincing.
Probe length also deserves a task-based check. The included probe on the ThermoWorks ThermoPop 2 is listed as 4.5 inches, and the Lavatools Javelin Pro Duo is described as having an integrated 4.5-inch probe. Those figures show why length should be compared with the foods and containers you use, not treated as a quality score. A longer probe is not automatically more accurate, and a shorter probe is not automatically unsuitable.
The Lavatools Javelin Pro Duo is also described as retaining a measurement for 12 seconds. A hold function can help you read a display after withdrawing the probe, but it does not remove the need for correct placement. A stored reading is only as useful as the measurement that produced it.
Advanced buying checks for a durable measuring tool
Check the probe and cable as a matched system
A leave-in thermometer depends on the relationship between its probe, cable, connector, and display. Ask whether the cable can pass through the oven or smoker without touching a hot element or sharp edge. Confirm that the manufacturer describes the probe as suitable for the intended environment.
Wireless operation may reduce the need for a cable across the counter, but it does not change the probe’s heat limits or the need for correct placement. A wireless display can still show a bad reading if the probe touches bone or metal. Convenience does not replace measurement technique.
Separate useful features from distracting features
A readable digital display, a clear battery warning, a sensible hold function, and an explained calibration process have direct practical value. Additional modes matter only if they match the way you cook. A feature that you cannot identify, clean, or verify through the manual adds complexity without improving the measurement.
Use the same standard applied to a knife or prep tool: inspect the working part first, then consider the extras. For a thermometer, the working parts are the probe, sensing tip, connection, display, power source, and care instructions. The initial reading is only the opening cut; long-term ownership is decided by what remains dependable after repeated handling.
If your cooking setup also includes heavy cookware, the same inspection habit applies to a cast iron skillet buying guide focused on common mistakes. Contact with a hot pan can distort a thermometer reading, so understanding the cooking surface helps you place the probe correctly.
Frequently Asked Questions
Which type of meat thermometer suits quick cooking checks?
An instant-read thermometer suits quick checks of meat, poultry, or other foods during cooking. It is inserted into the thickest part, kept away from bone and cooking surfaces, and removed after the reading is taken. Choose a leave-in probe instead if you need to monitor food continuously in an oven, grill, or smoker. The manual must confirm that the probe and cable are suitable for that use.
What is the difference between a thermocouple and a thermistor?
A thermocouple senses temperature through the electrical behaviour of a junction between different metals, while a thermistor senses temperature through a change in electrical resistance. Both technologies can serve kitchen thermometers. The useful buying questions are how the finished thermometer behaves, how the probe should be cleaned, how calibration is handled, and whether the design fits quick checks or leave-in monitoring.
Why does a meat thermometer give inconsistent readings?
First check probe placement, because touching bone, the pan, or the cooking surface can distort the result. Then inspect the cable and connection, check the battery compartment, and look for damage to the probe. Calibration can drift after impact, battery problems, extreme heat, or repeated use. Compare a questionable reading with a suitable reference method and follow current food-safety guidance.
Can an infrared thermometer check the inside of meat?
No. An infrared thermometer reads the surface, so it generally cannot verify the internal temperature of meat. Use a probe thermometer for the centre of the food, placing the sensing area in the thickest part without touching bone, the pan, or the cooking surface. An infrared tool can still be useful for checking an exposed cooking surface when that is the measurement you need.
How should a thermometer be cleaned and stored?
Clean the probe between foods and follow the manufacturer’s instructions for washing or sanitising it. Keep the electronics, display, buttons, charging points, and battery compartment dry unless the manufacturer explicitly permits submersion. Store the probe where it will not be bent or struck, and protect the cable from sharp folds. Inspect the whole tool before using it again.
Should a quick-check probe remain in an oven or grill?
No, not unless the manufacturer specifically says that the probe is designed for leave-in use in that environment. A probe that works for a quick check is not automatically safe for continuous heat. Cable insulation, connectors, the probe body, and nearby electronics may have separate limits. Use the manual as the deciding reference and replace damaged cables rather than improvising a repair.
For readers comparing tools across the wider kitchen, our compact stand mixer buying guide explains the ownership checks that matter beyond headline features. The same principle applies here: inspect the parts you will handle repeatedly, not only the specification that catches attention.