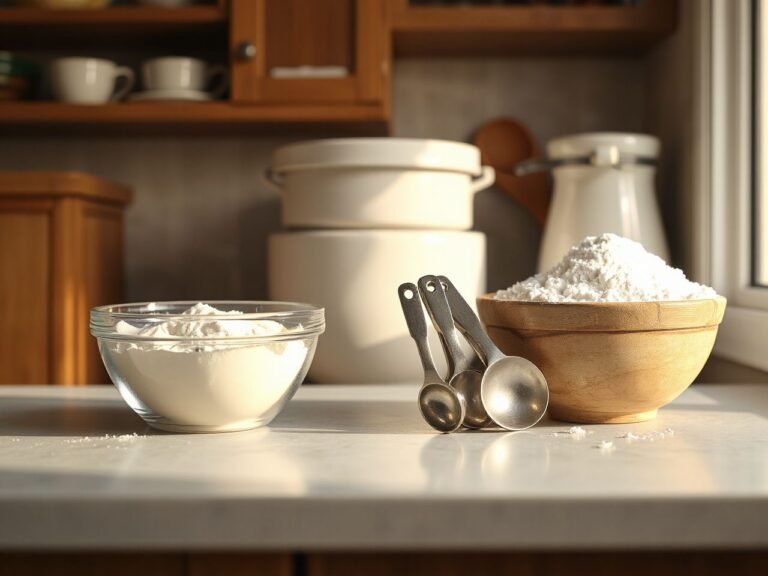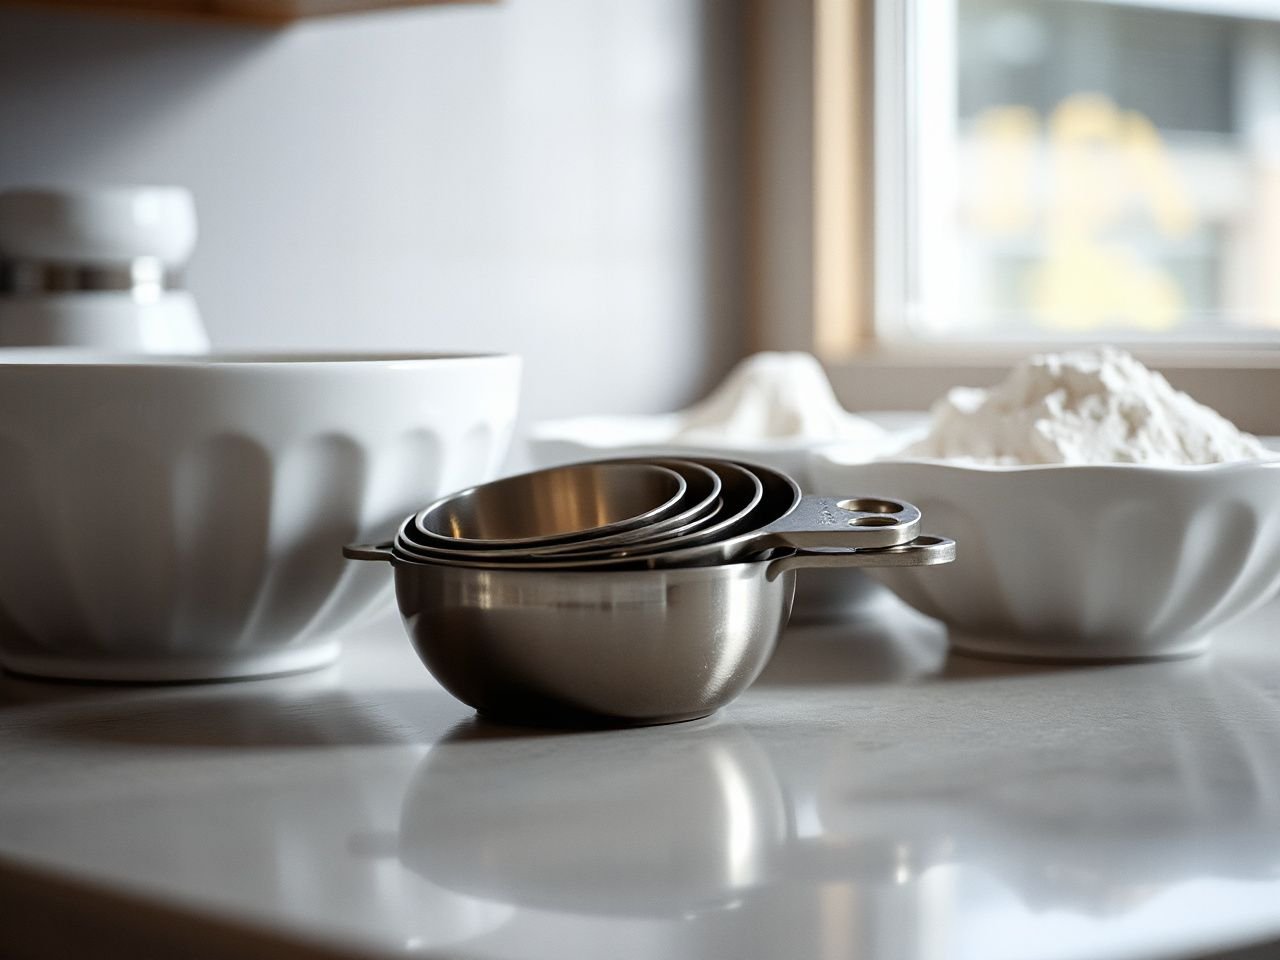
Kitchen measurement advice is putting more attention on repeatable technique, not simply owning a cup-shaped vessel. A useful measuring cups buying guide starts with the central distinction: dry measuring cups are designed to be filled and leveled for dry ingredients, while liquid measuring cups are designed to hold liquid below the rim so the reading can be taken through a visible scale.
Geometry, markings, stability, material behavior, cleaning compatibility, and storage all affect measurement. A handle that twists your wrist, a scale hidden behind the contents, or a rim that makes leveling awkward can turn a simple task into a source of error.
Key Takeaways
- Use dry measuring cups for ingredients that are filled and leveled, and liquid measuring cups for readings taken at the liquid line.
- Inspect markings, grip shape, stability, pouring control, and cleaning instructions before judging a measuring set.
- Ingredient packing, regional recipe conventions, and consistent meniscus reading can matter as much as the vessel itself.
Beginner: Start With the Measurement Job
Dry and liquid cups solve different problems
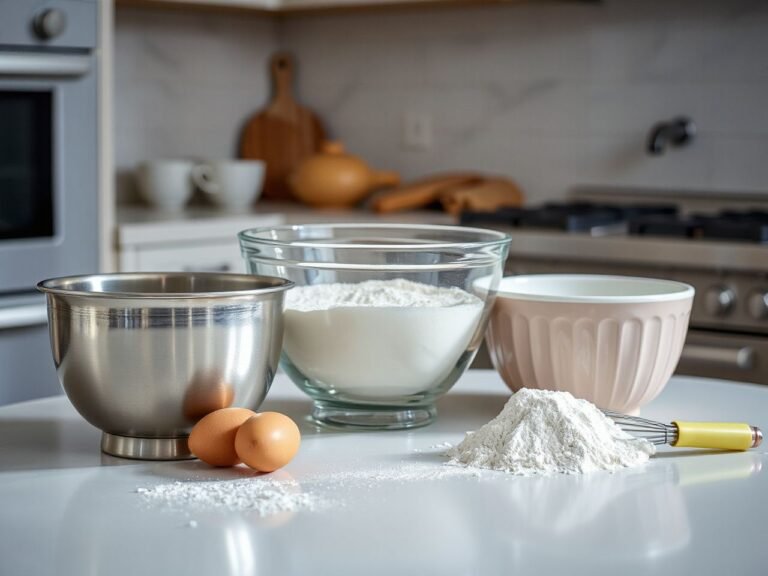
Dry measuring cups are intended to be filled to the top and leveled across the rim. Their shape supports scooping or spooning in flour, brown sugar, grated ingredients, and other dry foods before excess material is removed with a straight edge.
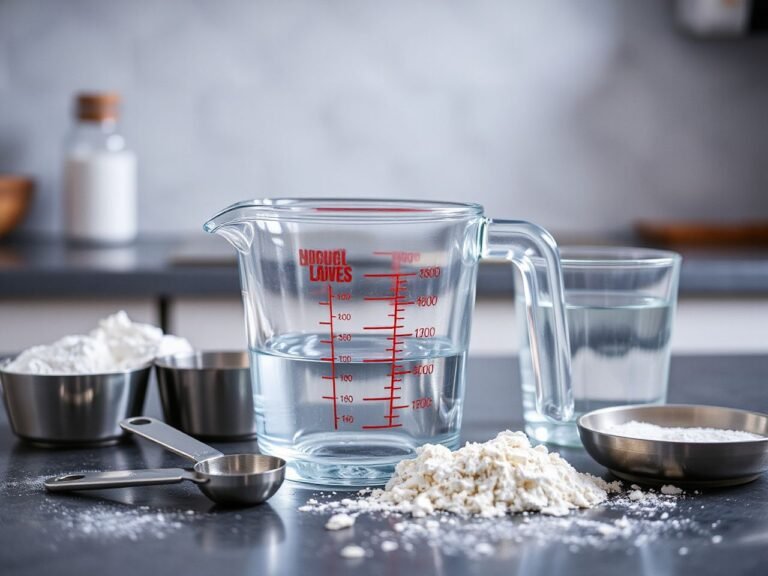
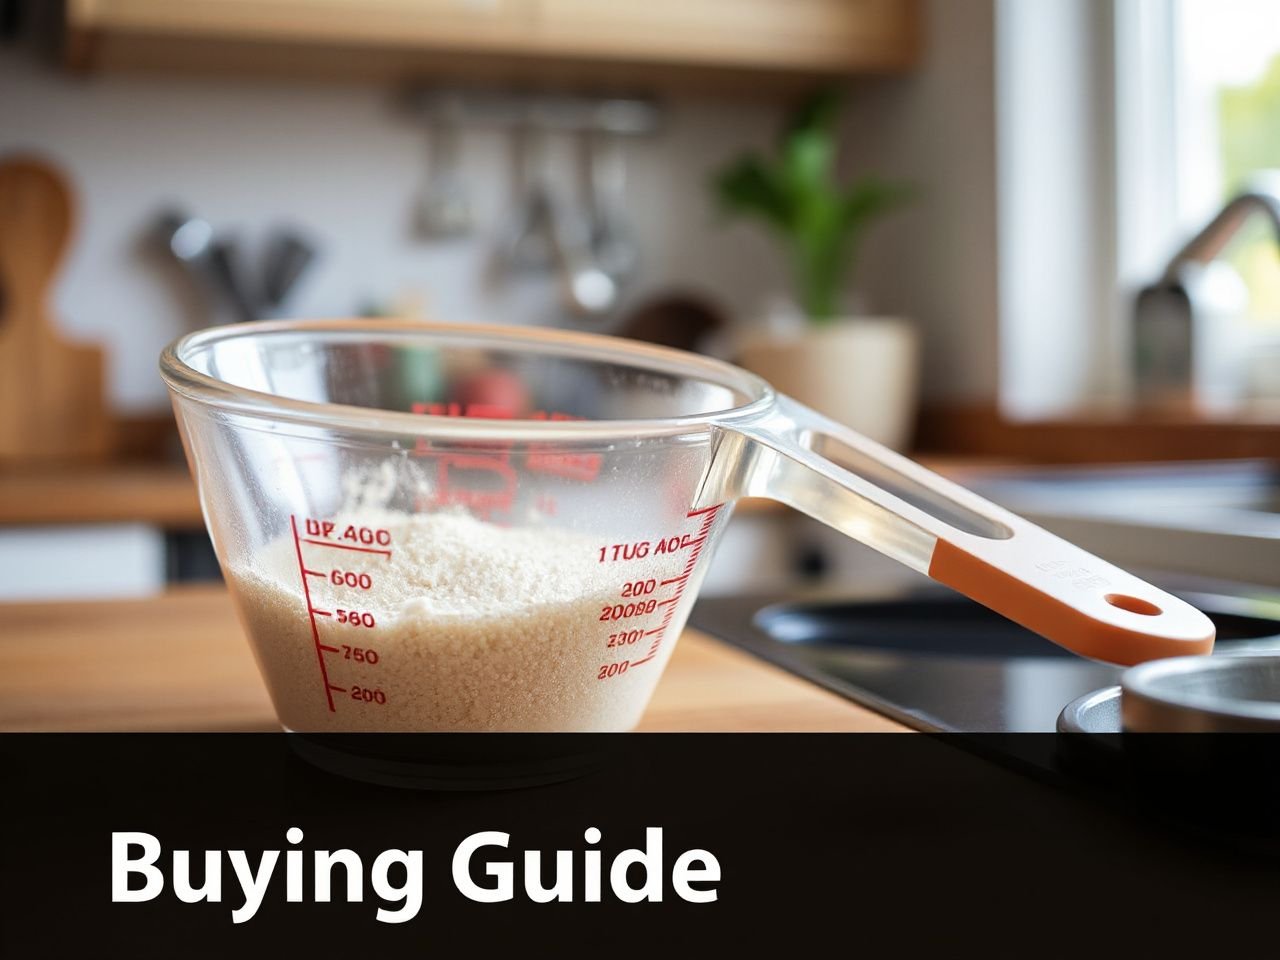
Liquid measuring cups are read at the liquid line while the vessel rests on a level surface. They generally leave space above the scale so a liquid can be carried and poured with less risk of spilling. A pouring spout helps direct the contents, while a handle keeps the hand away from the body of the vessel.
Dry measuring cups are filled and leveled, while liquid measuring cups are read at the liquid line on a level surface. Treating those actions as interchangeable can change the amount that reaches a recipe.
A liquid cup can hold flour, but the shape does not make it a reliable substitute for a dry cup. Flour may settle below the intended line, cling to the sides, or form an uneven mound that is difficult to judge. A liquid scale is also read from the side, whereas dry measurement depends on a level top surface.
For a deeper explanation of the distinction, see Dry vs Liquid Measuring Cups Explained: Getting It Right. The important point is simple: choose the vessel according to how the ingredient is meant to be measured.
Match the cup to the recipes you actually use
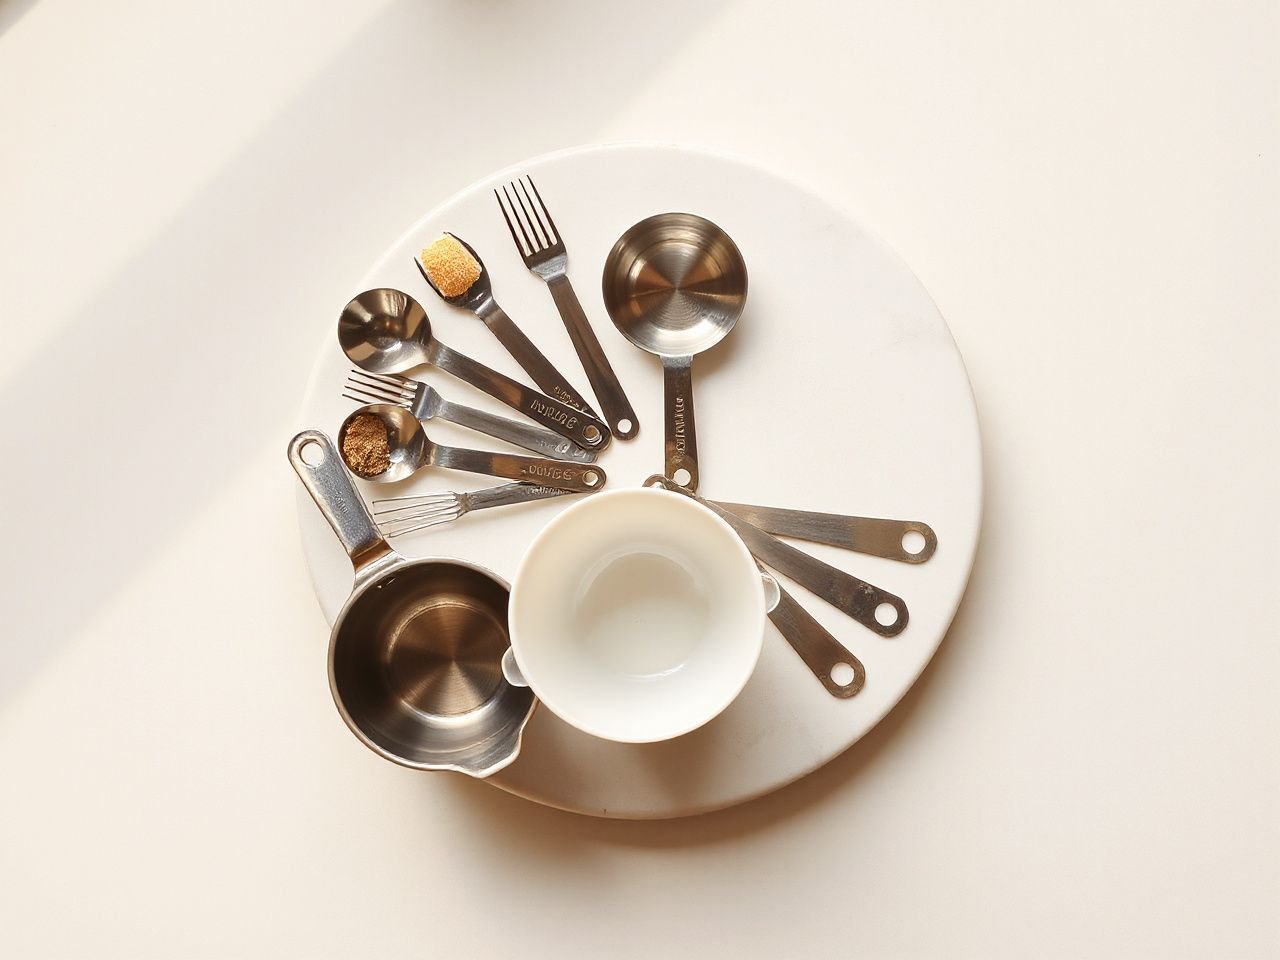
Dry sets are commonly provided with 1/8, 1/4, 1/3, 1/2, and 1 cup measures. That range can cover many recipe instructions without asking you to repeatedly fill and empty one vessel. Measuring spoons remain useful for smaller quantities, especially when a recipe calls for a fraction of a cup.
Liquid measuring cups are commonly offered in 1-cup, 2-cup, and 4-cup capacities. A smaller cup can give a convenient view of a modest amount, while a larger vessel can reduce the number of pours for a recipe with several liquid ingredients. The right capacity depends on the recipes in front of you, not on the number of pieces in a package.
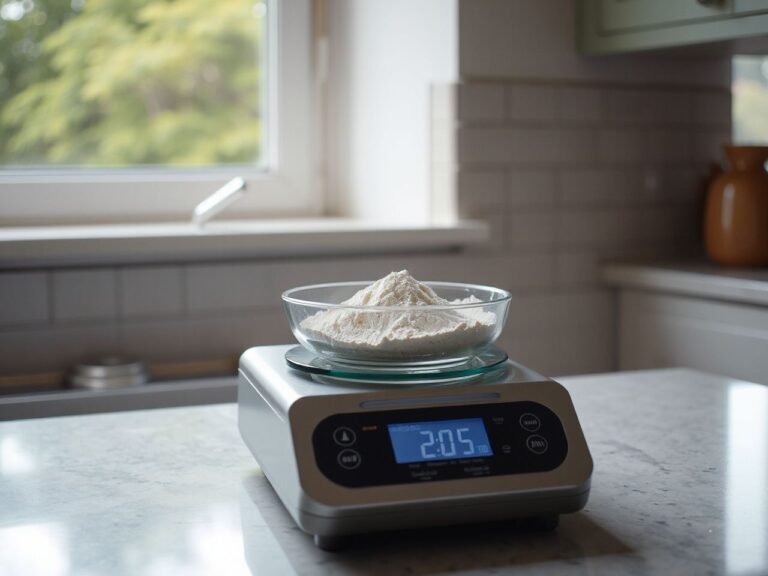
A kitchen scale can be the clearer choice for flour and other ingredients whose volume changes with packing. Volume-to-weight conversions depend on the ingredient and the recipe convention, so use a conversion supplied by the recipe rather than assuming that every cup weighs the same.
Recipe conventions also vary by region. Cup definitions and measurement systems are not automatically identical across every cookbook, website, or package, so identify the system used by the recipe before comparing capacities. A printed number alone does not explain the convention behind it.
Think about grip before appearance
Handle ergonomics deserve the same attention as the cup’s capacity. A narrow handle can press into the fingers when a vessel is full. A short handle may force the wrist to bend inward, while a handle positioned too far from the body can increase leverage against the hand.
My first check is the path from the fingers to the wrist. The grip should let the wrist stay close to neutral while the cup is lifted, held steady, and tipped. That matters during a long preparation session, when repeated filling and pouring can make a poorly shaped handle more tiring than its smooth surface suggests.
A handle should leave enough room for a relaxed grip without requiring the thumb to clamp hard against the cup. The junction between handle and vessel should also be easy to clean, because residue in a narrow join creates a maintenance problem even when the measuring marks remain clear.
Stability matters during reading. A broad base can make a liquid cup less likely to rock on the counter, while a handle that rests against the work surface may interfere with positioning. Set the empty vessel on a level surface and check whether the scale remains easy to view from a natural standing position.
Intermediate: Read the Design Before You Choose It
Markings should support an accurate reading
Markings need to be readable against the ingredient, not merely present on the vessel. Look for scales that remain visible when the cup contains a pale liquid, a dark syrup, or a powder that obscures the opposite wall.
Check whether the numbers are printed, molded, engraved, or otherwise integrated into the material. The specific method is less important than whether the marks can be located quickly and whether cleaning instructions protect them. Markings that sit on a surface exposed to abrasive scrubbing may fade or become difficult to distinguish.
Interior and exterior scales can serve different reading positions. An angled scale may let you read a liquid level from above rather than bending down to the side, but the lines still need to be clear and spaced well enough for the amount being measured.
Liquid measurements should be read at eye level. Place the cup on a level surface, wait for the liquid to settle, and align your view with the marked line instead of judging from above. The meniscus, or curved surface of a liquid, should be read consistently at eye level; the correct part of the curve depends on the liquid and the measurement convention.
Do not move your head to chase a line that is hidden by a handle or a thick rim. Rotate the vessel only if doing so keeps it level and leaves the scale clear. A readable marking system reduces the temptation to lift the cup and guess from an angle.
Ingredient texture changes dry volume
Flour, brown sugar, grated ingredients, and other dry foods can occupy different volumes depending on whether they are spooned, scooped, packed, or settled. That is why a dry cup alone cannot guarantee the same amount every time.
For flour, use the method stated by the recipe. If the instruction calls for spooning, add the flour gradually and level the top with a straight edge. If it calls for scooping, follow that direction consistently. Brown sugar is often treated differently because packing changes how much material occupies the cup.
A level edge should be straight enough to remove the excess without digging into the ingredient. A rounded utensil can leave a mound or pull material from the cup, changing the result. Keep the cup over the ingredient container while leveling if that makes cleanup easier, but avoid pressing the cup into the food unless the recipe specifically tells you to pack it.
A dry measuring cup measures volume, not the exact mass of an ingredient. A scale is generally better suited to recipes that provide weight-based instructions, especially when the ingredient’s texture can change its volume.
Choose materials with heat and cleaning in mind
Stainless steel measuring cups resist stains and scratches, and stainless steel does not absorb odors. Those properties can make the material appealing for dry ingredients, especially when strong colors or smells are part of the preparation.
Stainless steel cups generally require hand-washing. A buyer should confirm the care instructions before assuming that a metal set can go through a dishwasher. The handle connection and any printed or joined components deserve particular attention because cleaning compatibility involves the whole tool, not only the cup’s main surface.
Plastic measuring cups might become stained or pick up odors over time. Heat, dishwasher exposure, and abrasive cleaning can affect plastic, handles, and markings, so follow the maker’s care directions and inspect the scale if it becomes cloudy or difficult to read.
Glass measuring cups have non-porous properties, and glass cups are safe for microwave and oven use according to the verified product information for this category. Tempered glass is used to produce the Pyrex 3-Piece Measuring Cup Set, but the care instructions for the specific vessel still control how it should be used.
Borosilicate glass may appear in this category, yet the material name by itself does not answer every care question. Heat, thermal shock, and sudden changes in temperature can affect glass, so avoid making assumptions about moving a vessel directly between very different conditions. Inspect for chips, cracks, or damage before using a glass cup.
The FDA provides food-contact information through its official website, which is a suitable place to check general regulatory guidance rather than treating a vague material label as a complete safety statement. The maker’s instructions remain the source for the specific cup’s microwave, oven, dishwasher, and temperature directions.
Know what heat can change
Heat can affect glass, plastic, markings, handles, and joined parts in different ways. Thermal shock is especially relevant to glass because a sudden temperature change can create stress in the material. The safe use of one glass product should not be assumed for another.
Microwave and oven use are identified as safe for glass measuring cups in the verified information, but a reader should still check the specific vessel’s instructions. Remove any component that the manufacturer says is unsuitable for that appliance, and do not rely on a general material label when the instructions are available.
Hot ingredients also change the handling problem. A full cup has weight, heat, and liquid movement working together, so a secure handle and a stable base matter more than a decorative finish. If the grip demands a hard pinch, the hand has less reserve for controlling the pour.
Advanced: Plan for Cleaning, Storage, and Long-Term Cost
Clean according to the weakest part
Cleaning compatibility is a measurement factor because a damaged scale can make a well-shaped cup harder to use accurately. Glass measuring cups are safe to clean in a dishwasher according to the verified information, while stainless steel measuring cups are generally required to be hand-washed.
Plastic cups may retain odors or stains, particularly when ingredients leave strong colors or aromas behind. Wash them according to the maker’s directions, rinse away residue before it dries, and inspect the marks after cleaning. A cup that looks clean but has a fading scale may still be difficult to read.
Joined parts deserve a close look. Food can collect where a handle meets the vessel, around a seam, or beneath a raised marking. Use a soft cleaning tool where the care instructions permit it, and dry the cup so moisture does not remain in a hidden joint.
Do not use abrasive cleaning simply because a mark appears stubborn. Scrubbing can alter the surface carrying the scale, and repeated dishwasher exposure can affect materials that are not intended for that treatment. The correct cleaning method is the one compatible with the whole measuring cup.
NSF explains food-equipment standards and certification information through its official website. A mark from an independent body should be checked against the body’s own information, rather than treated as proof based only on packaging language.
Storage should protect access and accuracy
Nesting handles can make a dry cup set easier to store, but nesting should not make the pieces difficult to separate. If removing one cup pulls the whole stack from a shelf, the set may encourage rushed measuring and rough handling.
Keep cups where the markings and handles are not constantly struck by heavier tools. Store glass so it is not forced against another hard object, and keep small measuring spoons together if they are part of the same preparation routine.
A hanging loop can help retrieval, but only if the handle remains comfortable to hold and the cup hangs without swinging into nearby equipment. Storage hardware should support access rather than add strain to the grip.
Dry cups with nesting handles often need a storage arrangement that lets air reach the inner surfaces. If pieces are stacked while damp, hidden moisture can remain between them. Separate the pieces until dry when the shape makes that necessary.
Think about replacement cost, not just purchase cost
The long-term cost of measuring cups is shaped by how often a set needs replacement. A low initial price may become less useful if markings fade, plastic holds odors, handles loosen, or a cup is awkward enough that it gets mishandled.
Material behavior is part of that calculation. Stainless steel resists stains and scratches and does not absorb odors, but hand-washing is generally required. Glass is non-porous and dishwasher-safe according to the verified information, but heat, thermal shock, and impact still deserve attention. Plastic may be light and convenient, yet it can become stained or pick up odors over time.
A durable cup is not automatically a comfortable cup. If the handle makes the wrist work hard, the tool can remain in a drawer even when its body is intact. I would give equal weight to the grip, scale, and care instructions before considering how long the material may last.
For the wider preparation setup, a practical guide to choosing baking pans on a budget can help you consider how measurement tools fit with the rest of a baking station. The same principle applies: a useful tool should be easy to identify, handle, clean, and put away.
Practical Checks Before You Buy
Use a short inspection sequence
Run through these checks before choosing a set or replacing a single cup:
- Identify the job: Confirm whether you need dry cups, a liquid cup, measuring spoons, or a combination.
- Read the capacities: Check whether the dry range includes the measures your recipes use and whether a liquid vessel has a useful visible scale.
- Inspect the markings: Look for clear lines and numbers that remain visible against both pale and dark contents.
- Check the grip: Hold the handle and tilt the cup as if pouring. Watch for wrist bending, finger pressure, or a handle junction that feels sharp.
- Check the base: Set a liquid cup on a level surface and see whether it stays steady while the scale is read.
- Study the rim: A dry cup needs a clear leveling edge, while a liquid cup benefits from a controlled pouring spout.
- Read the care instructions: Confirm dishwasher, microwave, oven, and hand-washing directions for the actual material and construction.
- Plan storage: Make sure nesting handles, loops, or stacking shapes will remain easy to retrieve.
A measuring cup should make the intended measurement easier to repeat. If the scale is hard to see, the handle strains the wrist, or the care method is unclear, the stated capacity does not tell the whole story.
Use a repeatable measuring routine
For liquids, place the cup on a level surface before reading. Add the liquid, wait for the surface to settle, lower your eyes to the measurement line, and read the meniscus consistently according to the liquid and recipe convention.
For dry ingredients, use the method specified by the recipe. Spoon in flour when instructed to spoon, scoop when instructed to scoop, and pack brown sugar only when packing is part of the stated convention. Level the top with a straight edge rather than estimating from the side.
For either method, keep the vessel stable. A handle that feels comfortable while empty may feel different when the cup contains a full measure, so use a controlled grip and avoid lifting a liquid cup simply to read it.
If your recipes use weight, place the ingredient in a suitable container on a kitchen scale and follow the recipe’s stated unit. Volume and weight are related but not interchangeable without an ingredient-specific conversion.
Frequently Asked Questions
How are dry measuring cups different from liquid measuring cups?
Dry measuring cups are filled to the top and leveled with a straight edge. Liquid measuring cups are read at a marked line while resting on a level surface, usually with room above the liquid and a pouring spout. A liquid cup can contain flour, but it does not provide the same leveling method or volume control as a dry cup.
How should the meniscus be read?
Read the meniscus at eye level after placing the liquid cup on a level surface and allowing the liquid to settle. The correct part of the curve depends on the liquid and the measurement convention, so follow the recipe or equipment instructions consistently. Reading from above can make the level appear different from the marked line.
Which materials suit measuring cups used with hot ingredients?
Glass measuring cups are identified as safe for microwave and oven use in the verified information, and tempered glass is used for the Pyrex 3-Piece Measuring Cup Set. The specific care instructions still control. Heat and thermal shock can affect glass, while plastic, markings, handles, and joined parts may also respond differently to heat or dishwasher exposure.
Can a liquid measuring cup replace a dry measuring cup for flour?
A liquid measuring cup can hold flour, but it is not an equivalent substitute for a dry cup. Dry cups are made to be filled and leveled, while liquid cups are read at a side scale. Flour can be spooned, scooped, packed, or settled into different volumes, so follow the recipe’s method or use a kitchen scale when weight is provided.