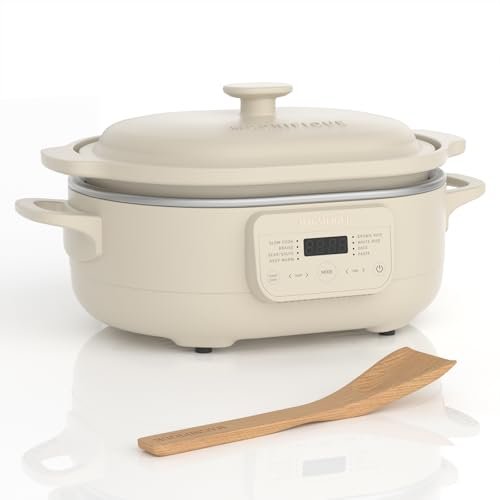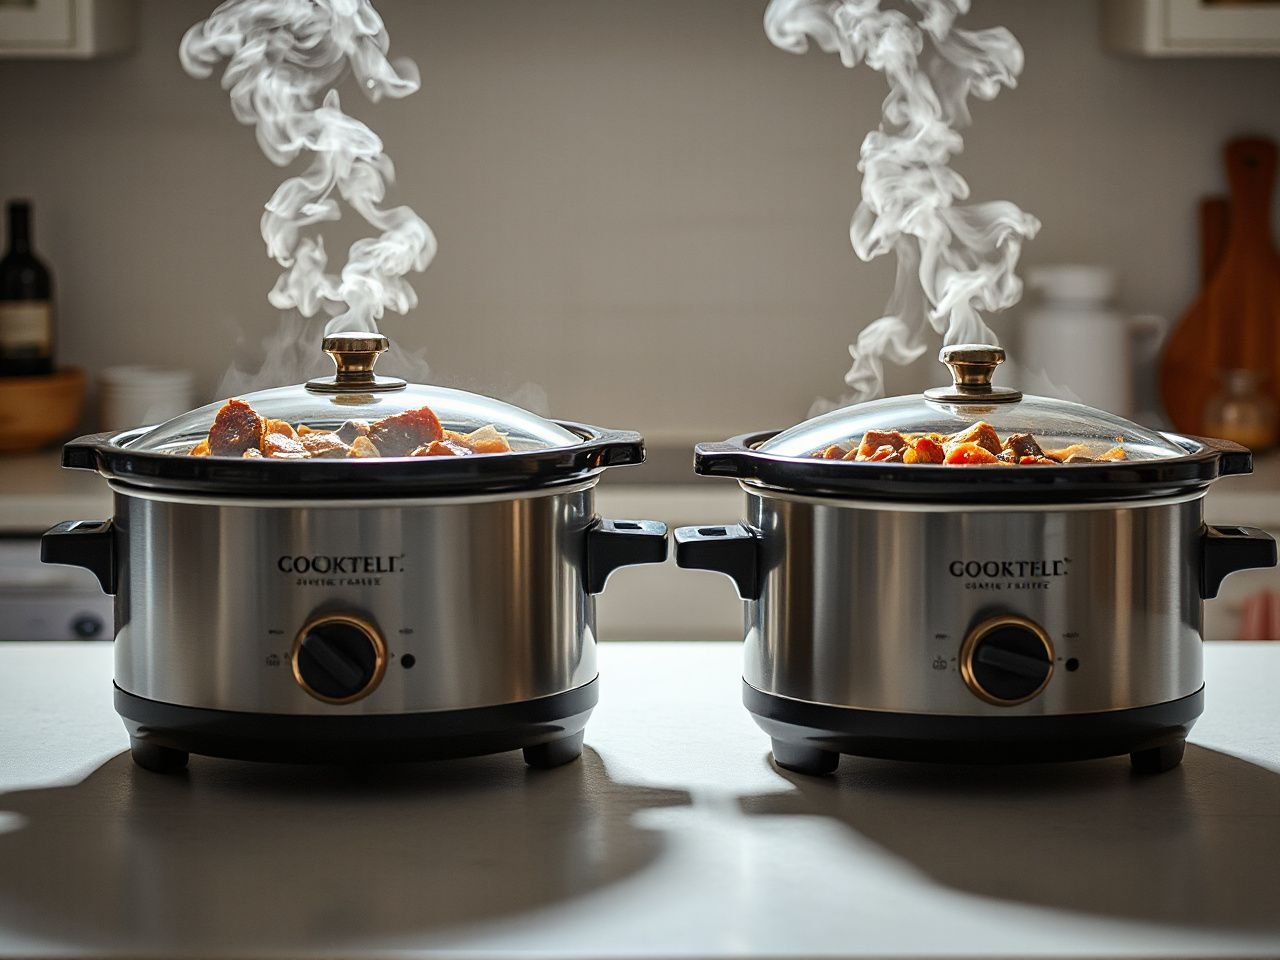
More slow-cooker recipes now spell out both settings, but the useful distinction is between reaching a simmer and tenderizing food: high may get a cooker there sooner, but switching settings does not make every recipe finish in a simple proportional fraction of the low-setting time. Timing must be adjusted for the food’s structure, starting temperature, crock fill level, and whether the goal is safe doneness, shreddable tenderness, or vegetables that still hold their shape. That is the practical meaning behind slow-cooker high-versus-low cooking times.
Key Takeaways
- High generally heats the contents sooner, but it is not simply twice as hot as low.
- A common starting conversion is 8 hours on low to about 4 hours on high, but tough cuts, beans, poultry, and dairy may need different timing.
- Half-full to two-thirds-full crocks usually give more predictable heating than very full or nearly empty ones.
- Use a food thermometer for doneness, and use warm only to hold already-cooked food.
Slow Cooker High vs Low Times: The Direct Answer
Low and high are cooking functions, not two universal temperatures shared by every appliance. The listing for a particular Crock-Pot, Hamilton Beach, or Instant Pot slow cooker may not disclose the exact heating pattern, and the ceramic stoneware crock or stainless-steel cooking insert can change how heat moves into the food.
As a broad starting point, a recipe calling for **8 hours on low** may take about **4 hours on high**. Treat that as a planning guide rather than a mathematical conversion. A beef chuck roast may need extended time on low for connective tissue to soften, while boneless chicken breast can become dry if left on high after it has reached doneness.
Low functions commonly operate around **175–200°F (79–93°C)**, while high functions commonly reach approximately **250–300°F (121–149°C)** within the cooker’s heating system. Those figures should not be read as fixed food temperatures or as proof that high cooks at twice the rate. Slow cookers cycle heat, and the food itself warms gradually.
High usually shortens the time needed to bring a cold load toward active cooking, but high does not automatically halve the time needed to make every food tender. That sentence is the rule I would put at the top of any cooking chart.
Why high is not simply twice as hot
The setting changes how the appliance applies heat. The rate at which the center of a roast warms depends on the shape and mass of the food, the temperature of the ingredients at the start, the amount of liquid, and how much food sits in the crock.
High can help a stew begin cooking sooner, yet a dense roast still needs time for its connective tissue to soften. Cutting the clock in half may produce meat that has reached a safe internal temperature but remains firm. That is a doneness problem, not necessarily a heating failure.
The reverse also matters. A mostly empty crock may heat differently from a full one, and a cold insert placed into a hot base may not behave like a room-temperature insert. Follow the appliance instructions for the specific cooker instead of assuming that every model follows the same high and low pattern.
What the clock can and cannot tell you
The clock helps establish a starting plan. It cannot confirm the center temperature of a chicken breast, the tenderness of a roast, or the safe condition of reheated food.
Use a food thermometer in the thickest part of large meat pieces and poultry, avoiding contact with bone. For lamb, pork, or beef, the verified minimum internal temperature cited for safety is **145°F (63°C)**, followed by the appropriate rest described in current guidance from the USDA. Chicken requires a doneness check suited to poultry, not the beef or pork target.
A thermometer gives you information that a recipe’s stated number of hours cannot provide.
Beginner Guide: Choosing Low or High
Choose low for tough cuts and longer texture changes
Low is the better first choice for beef chuck roast, pork shoulder, and other firm cuts intended to become spoon-tender or shreddable. The longer schedule gives the food more time to soften while reducing the temptation to rush a roast that is safe but still tough.
Beef chuck roast is a clear example of why a simple high-to-low conversion can mislead. If the roast has reached a safe temperature but resists a fork, the answer may be more cooking time rather than a higher setting. Keep the lid closed and continue until the texture matches the recipe’s stated goal.
Low is usually the more forgiving setting for a dense beef chuck roast intended for shredding. The setting supports gradual cooking, but it cannot rescue a crock that is badly overfilled or a roast that started partially frozen.
Choose high for a shorter schedule with foods that do not need prolonged tenderizing
High can suit soups, sauces, smaller pieces of meat, and recipes where the main task is bringing ingredients up to cooking heat in less time. It also has a place when dinner preparation started late, provided the recipe and appliance instructions allow the change.
Boneless chicken breast needs particular care. Its lean structure does not benefit from unlimited cooking, so the thermometer should guide the finish rather than a promise that a high-setting recipe will remain moist. Remove or serve the chicken once it reaches the appropriate poultry doneness and the texture is acceptable.
High also deserves caution with dairy, seafood, and delicate vegetables. These ingredients may separate, dry out, or lose their shape before a long recipe has finished. Add fragile ingredients at the stage specified by the recipe instead of placing everything in the crock at the beginning.
Use the common conversion without treating it as a guarantee
For planning, these conversions are reasonable starting points:
- 8 hours low: begin by considering about 4 hours high.
- 6 hours low: begin by considering about 3 hours high.
- 4 hours low: begin by considering about 2 hours high.
Those are not promises of equal results. Beans, tough meat, large pieces, dairy-based dishes, and recipes with delicate vegetables often need a different adjustment. A recipe written specifically for low may rely on the longer time for texture, not merely for heat.
Intermediate Guide: Adjusting for Food, Fill Level, and Starting Temperature
Fill the crock neither to the brim nor almost empty
Slow cookers generally produce more predictable results when filled between **halfway and two-thirds full**, subject to the manufacturer’s capacity guidance. A nearly full crock can take longer to heat through, while a nearly empty crock may expose food to a different heating pattern than the recipe expects.
Capacity changes the high-versus-low calculation. If a recipe fills a cooker close to two-thirds and your batch occupies only half, the smaller load may heat sooner. If you crowd a recipe into a smaller insert, the center may take longer to reach the expected condition.
A slow cooker filled between half and two-thirds of its stated capacity usually offers a more dependable starting point for recipe timing. Check the manual because the safe fill range belongs to the appliance, not to a universal chart.
Starting temperature changes the schedule
Cold ingredients take longer to move into the cooking range than ingredients that began closer to room temperature. A cold roast, refrigerated stock, and chilled vegetables create a different starting load from one assembled with ingredients that are not as cold.
Do not use a slow cooker as a shortcut for cooking frozen meat unless the appliance maker and recipe specifically support that method. The center can remain cold while the outside warms, making the stated timing unreliable. Thaw meat by a safe method before placing it in the crock.
Frozen vegetables may also release water as they thaw, changing the final consistency. The recipe may need less added liquid, but do not remove liquid blindly from a recipe that depends on it for safe, even cooking.
Layer ingredients with density in mind
Dense vegetables and large meat pieces should be arranged according to the recipe so heat and liquid can reach the food evenly. Cutting ingredients into similar sizes makes the cooking schedule easier to judge, while a whole large piece naturally takes longer at its center.
Browning meat before slow cooking can deepen surface flavor and improve the finished sauce, but browning does not replace slow-cooker time. A browned beef chuck roast can still be tough if the connective tissue has not softened.
Liquid also affects the result. A tightly covered slow cooker loses less moisture than an uncovered pot, so adding the full amount of liquid from an oven or stovetop recipe can produce a thin sauce. Converting another cooking method requires judgment rather than a direct temperature swap.
Switching from high to low
Starting on high and switching to low later can work when the food has begun heating properly and the recipe allows a longer finish. It is not a reliable way to make a low-setting recipe finish in half the original time.
A common approach is to use high during the early heating phase, then move to low for a roast or stew that needs tenderness. The total time still depends on the food’s size, the fill level, and the temperature at the changeover. Record the switch time so you can judge the finish instead of guessing.
Starting on low and switching to high near the end is less useful for tenderizing a tough cut. High may speed the final heating stage, but it does not instantly soften connective tissue that needed more time.
What happens when you open the lid
Opening the lid releases heat and steam from the cooking chamber. The exact recovery time varies by cooker, fill level, ingredient temperature, and how long the lid remains open, so a universal extra-time figure would be false precision.
As a practical rule, avoid opening the lid for casual stirring or inspection. If you must add an ingredient, do it quickly and reset your expectations instead of assuming the original clock remains exact. A recipe with repeated lid openings may need more time than the same recipe left covered.
Every lid opening makes the original cooking time less dependable because the cooker must recover heat after the interruption. That is why slow-cooker recipes often reserve stirring for a specified point.
Advanced Guide: Doneness, Food Safety, and Texture
Meat can be safely cooked and still be tough
Temperature and tenderness measure separate outcomes. A roast can reach the food-safety target before its connective tissue has softened enough to shred, particularly if the high-setting time was shortened too aggressively.
For beef, pork, or lamb, check the thickest section with a food thermometer and then assess texture. If the meat is safe but firm, continue cooking according to the recipe’s method until the intended texture develops. Do not raise the setting simply because the roast feels tough; the issue may be insufficient time.
Boneless chicken breast presents the opposite risk. Additional hours may make the meat stringy or dry even after safe doneness has been reached. Use the thermometer, then judge texture and serve promptly.
Dried beans need special attention
Dried beans are not a simple substitute for canned beans in a slow cooker. Their starting condition, age, quantity, and cooking method affect the result, so a high-versus-low chart cannot guarantee that they are fully cooked.
Use a tested recipe that gives preparation instructions for the specific beans. Do not decide that beans are ready solely because the liquid is hot or the clock has reached the listed time. Texture should be checked, and food-safety guidance should be followed.
Use warm only for holding cooked food
The warm function commonly maintains approximately **165°F (74°C)**. Its purpose is to hold food that is already cooked, not to bring cold ingredients safely up to cooking temperature.
Cool leftovers promptly, refrigerate them, and reheat them safely rather than placing cold food on warm for an uncertain period. The FDA Food Code provides a framework for food handling and holding practices; current requirements and guidance are available through the FDA.
The warm setting is for holding already-cooked food, not for cooking a cold meal from the beginning. That distinction prevents a common misuse of the third setting on a slow cooker.
Electricity: high is not automatically wasteful
High may draw more power while its heating element is active, but a high-setting cook can also run for less time. Low may draw less power at a given moment yet operate for longer. Without the appliance’s wattage, cycling behavior, batch size, and total run time, no honest answer can declare one setting universally cheaper.
The practical choice should start with the food’s texture and the time available. I would choose low for a roast that needs gradual tenderizing, not because a general electricity claim promises a lower bill. For a soup that needs a shorter schedule and has no delicate ingredients, high may be reasonable.
Cleaning a ceramic crock and lid
Let a ceramic stoneware crock cool before washing it, and follow the manufacturer’s instructions for temperature changes and dishwasher use. Sudden changes can stress ceramic, so moving a hot insert directly into cold water is a poor maintenance habit.
Wash the lid and crock with a suitable dishwashing method, paying attention to the rim where sauce can dry. Avoid sealing a damp crock for storage. The appliance manual takes priority because construction and approved cleaning methods differ between a ceramic insert and a stainless-steel cooking insert.
A Practical Step-by-Step Timing Method
Step 1: Identify the food’s real finish
Write down whether the recipe needs safe doneness, shreddable tenderness, a thick sauce, or vegetables that retain their shape. That goal determines more than the high or low label.
Step 2: Check the starting load
Note whether the meat is thawed, how full the crock is, and whether the ingredients are cold from refrigeration. A batch between half and two-thirds full gives a more useful comparison than an unusually small or crowded batch.
Step 3: Pick the setting
Choose low for dense cuts and recipes built around a long tenderizing period. Choose high when the recipe supports a shorter schedule and the ingredients do not need extended cooking to reach their intended texture.
Step 4: Set a conversion-based first estimate
Use the rough half-time rule only as a starting point. An 8-hour low recipe can begin at about 4 hours on high, but keep the original recipe’s texture warnings in view.
Step 5: Check with a thermometer and a texture test
Use a food thermometer for poultry, large meat pieces, reheated food, and recipes containing dried beans. Then test tenderness separately. A temperature reading cannot tell you that a chuck roast will shred.
Step 6: Correct the next batch
If food was safe but tough, extend the tenderizing stage next time rather than simply increasing heat. If vegetables collapsed or chicken dried out, shorten the high-setting portion and add delicate ingredients later.
For a poultry recipe with a sweet or tangy sauce, the instructions for slow-cooker honey mustard chicken thighs provide a useful example of following a recipe’s ingredient timing instead of forcing every component into the crock at once.
Another practical use of that recipe is planning the texture goal before choosing a setting. If you are preparing chicken for a sauce, the desired result is tender meat with a stable sauce, not merely a shorter clock.
Frequently Asked Questions
How many hours on low equals high in a slow cooker?
A common starting conversion is **8 hours on low to about 4 hours on high**, with similar rough relationships for shorter recipes. The conversion is only a guide because food size, starting temperature, crock fill level, and texture goal change the result. Tough meat and dried beans may need longer than the simple half-time estimate suggests.
Is slow-cooker high twice as hot as low?
No. High and low describe different heating behavior, and actual operation varies by cooker design. Low functions commonly sit around **175–200°F**, while high functions commonly reach approximately **250–300°F** within the heating system. Those ranges do not mean food cooks at exactly twice the temperature or that the time can always be cut in half.
Can I start a slow cooker on high and switch to low later?
Yes, that can be a sensible approach when the recipe permits it. Starting on high may help a cold load begin heating sooner, while low can provide a longer finish for a roast or stew. Record the switch time, keep the lid closed, and use a thermometer plus a texture check because the total cooking time will not follow a fixed formula.
Why is meat still tough after the stated slow-cooker time?
Safe temperature does not always equal tenderness. A dense cut such as beef chuck roast may need more time for connective tissue to soften, especially if the crock was crowded, the meat started cold, or the lid was opened repeatedly. If the meat has reached the appropriate safety target but remains firm, continue cooking according to the recipe rather than assuming high heat will solve it instantly.
Can I use warm to cook cold food or leftovers?
No. Warm is intended to hold already-cooked food and commonly maintains approximately **165°F**. It should not be used to bring cold ingredients up to cooking temperature. Cool leftovers, refrigerate them, and reheat them safely. The food-safety practices set out through the FDA should guide holding and reheating decisions.
The best answer to slow-cooker high-versus-low cooking times is therefore conditional, not mechanical. Start with the rough half-time conversion, then account for the food’s structure, starting temperature, fill level, and intended texture. I trust that method more than any chart that presents high and low as interchangeable clocks.