A neglected coffee maker can leave mineral grit in the water path, stale residue in the brew basket, and a sharp vinegar taste in an otherwise good cup. The key distinction is between descaling the internal water path with diluted vinegar and washing removable parts such as the carafe, brew basket, and reservoir; vinegar does not replace both steps.
This guide to how to clean a coffee maker with vinegar treats vinegar as a compatibility-dependent household descaler. The right method depends on the machine’s instructions, its materials, and its built-in cleaning programme. Rinsing matters just as much as the vinegar cycle.
Key Takeaways
- Use diluted distilled white vinegar only if the manufacturer permits it, and follow the stated ratio rather than guessing.
- Wash the removable water reservoir, brew basket, and glass carafe separately with suitable soap and water.
- Run multiple fresh-water rinse cycles before brewing coffee, and never mix vinegar with bleach or another cleaner.
Why the cleaning method matters
Vinegar is mainly a descaler
Distilled white vinegar contains acetic acid, which can dissolve mineral deposits on smooth surfaces. In a coffee maker, the relevant deposit is commonly calcium carbonate limescale left behind by hard water. The acid reacts with the carbonate material, helping break the scale away from the internal water path.
That chemical action does not make vinegar a complete cleaner for every part of the appliance. Vinegar is primarily a descaler, not a substitute for washing coffee oils, dust, and trapped residue from removable components with soap and water.
Calcium carbonate limescale can be loosened by an acidic descaling solution, while coffee oils still require physical washing. That distinction prevents a common error: treating one vinegar cycle as complete maintenance.
Separate the internal path from removable parts
A drip coffee maker usually has a water reservoir, an internal water path, a brew basket, and a carafe. The vinegar solution belongs in the reservoir only when the manufacturer’s instructions allow that method. The brew basket, reservoir, and glass carafe should be removed and cleaned separately.
Turn off the coffee maker and let it cool before removing parts. Empty any remaining coffee and water. A cool appliance is easier to handle, and a powered machine should not be opened or wiped as if it were an ordinary bowl or jug.
Wash the brew basket and glass carafe with soap and water suitable for those materials. Rinse away soap thoroughly. Clean the reservoir separately, taking care around any outlet, valve, or seal that the manufacturer says must not be submerged.
Read the manual before choosing vinegar
Manufacturer cleaning instructions take priority over a general vinegar routine. Compatibility can vary among drip coffee makers, single-serve machines, pod-based systems, and espresso machines, particularly where aluminium components, silicone seals, or rubber seals are present.
Vinegar can pose a risk to rubber components in small appliances, and repeated exposure may not suit every seal or hose. The listing or manual may instead specify citric acid or a commercial descaling solution. If the instructions prohibit vinegar, do not substitute it because a different machine uses vinegar safely.
Manufacturer instructions determine whether vinegar is suitable for a specific coffee maker. A cleaning cycle that is acceptable for one appliance can be unsuitable for another because internal materials and water paths differ.
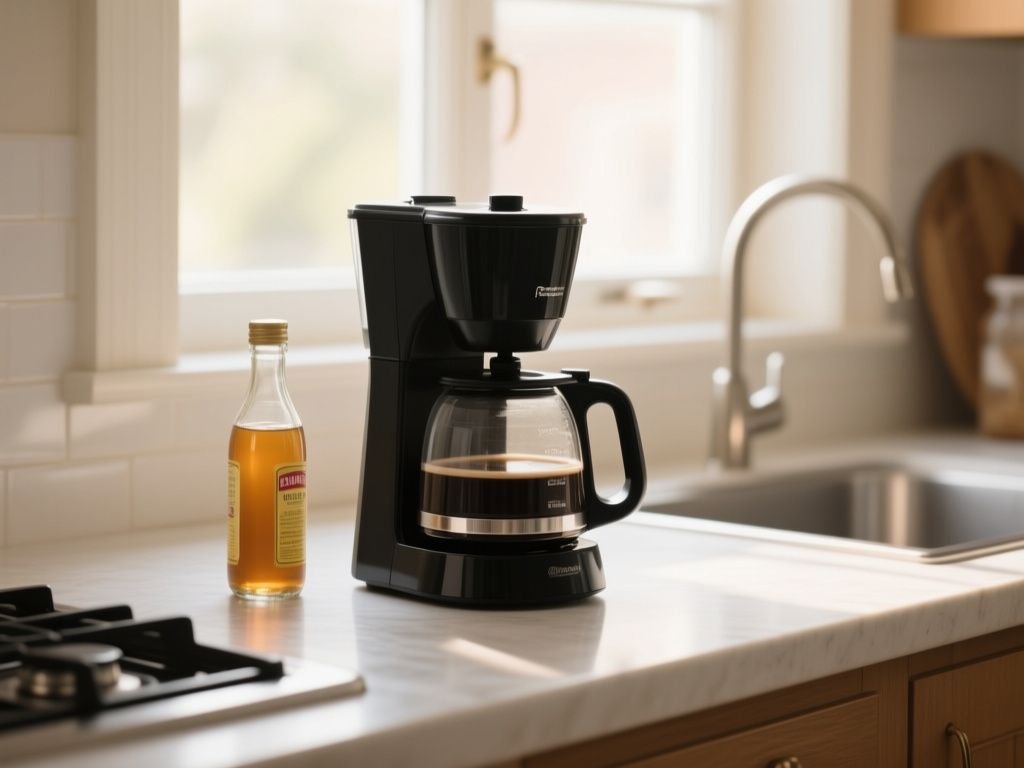
How to clean a coffee maker with vinegar step by step
Step 1: Check the machine’s permitted method
Find the manufacturer’s instructions before adding anything to the reservoir. Look for directions covering descaling, vinegar, citric acid, commercial descaler, and the clean cycle. The instructions may specify a solution strength, a particular button sequence, or a requirement to remove a filter.
Do not assume that a normal brew cycle and a clean cycle are interchangeable. A built-in clean programme may control the flow differently from ordinary brewing. Use the clean cycle if the manual directs you to do so.
If the manual gives no vinegar permission, do not create a ratio from memory. Use the method the manufacturer identifies, or contact the manufacturer for clarification. A universal vinegar ratio cannot account for every coffee maker’s materials.
Step 2: Empty and cool the coffee maker
Switch the coffee maker off and allow it to cool. Remove used grounds, a paper filter, and any coffee left in the glass carafe. Empty the water reservoir before preparing the approved descaling solution.
Keep vinegar away from stone countertops, flooring, iron water tanks, knives, clothing, electronic screens, and rubber components that are not confirmed as compatible. Place the carafe where it cannot be knocked over while the machine is being cleaned.
A coffee maker should be switched off and cool before removable parts are handled. This simple preparation step reduces the chance of contact with hot water and avoids confusing a cleaning cycle with normal coffee preparation.
Step 3: Prepare the approved vinegar solution
Use distilled white vinegar, not a flavoured, coloured, or blended vinegar. The active cleaning ingredient is acetic acid, and the goal is a controlled descaling solution rather than added flavour or dye.
Follow the manufacturer’s stated dilution. If the manual does not provide a vinegar dilution, do not treat an internet ratio as guaranteed safe; ask the manufacturer or use the specified alternative descaler. More vinegar is not automatically better, and a stronger mixture may increase exposure for seals or other components.
Measure the water and vinegar according to the instructions rather than filling the reservoir by eye. Do not add baking soda. Baking soda and vinegar react through the bicarbonate ion and acetic acid, producing carbonic acid that breaks down into water and carbon dioxide; that fizz is not a reason to combine household cleaners inside a coffee maker.
Step 4: Run the correct cleaning programme
Pour the approved solution into the water reservoir. Leave the brew basket empty unless the manual says otherwise. Put the empty glass carafe in its normal position so the liquid is collected safely.
Run the machine’s clean cycle if one is provided and the instructions call for it. Otherwise, use the normal brew cycle only where the manufacturer permits that approach. Do not put coffee grounds or a pod through the machine during descaling.
Watch the appliance for unusual leaking, overflow, or a warning indicator. Stop the process if the machine behaves outside the instructions. Do not dismantle a hot or powered appliance to investigate an internal blockage.
The approved clean cycle or manufacturer-authorised brew cycle carries the descaling solution through the coffee maker’s internal water path. A vinegar-filled reservoir that is never circulated through the path cannot remove deposits from that path.
Step 5: Empty the collected liquid
When the authorised cycle is complete, discard the collected solution. Do not drink it, use it for coffee, or pour it back into the reservoir unless the manufacturer specifically instructs you to do so.
Rinse the glass carafe with fresh water. Empty the reservoir as well. Residual acetic acid left in either container can be carried into the next stage, so do not treat the first emptying as the final rinse.
Step 6: Run multiple fresh-water rinse cycles
Fill the reservoir with fresh water and run a water-only cycle. Repeat the water-only process for multiple cycles, following the manufacturer’s instructions if they specify a number. If no number is stated, continue until the vinegar smell is gone and the collected water no longer has a vinegar odour.
There is no single rinse count that is universal for every coffee maker. Reservoir size, internal tubing, programme design, and the amount of vinegar used all affect how much fresh water is needed to clear the acetic acid.
Empty the carafe after each rinse. Smell the collected water rather than tasting it. If any vinegar smell remains, run another fresh-water cycle before making coffee.
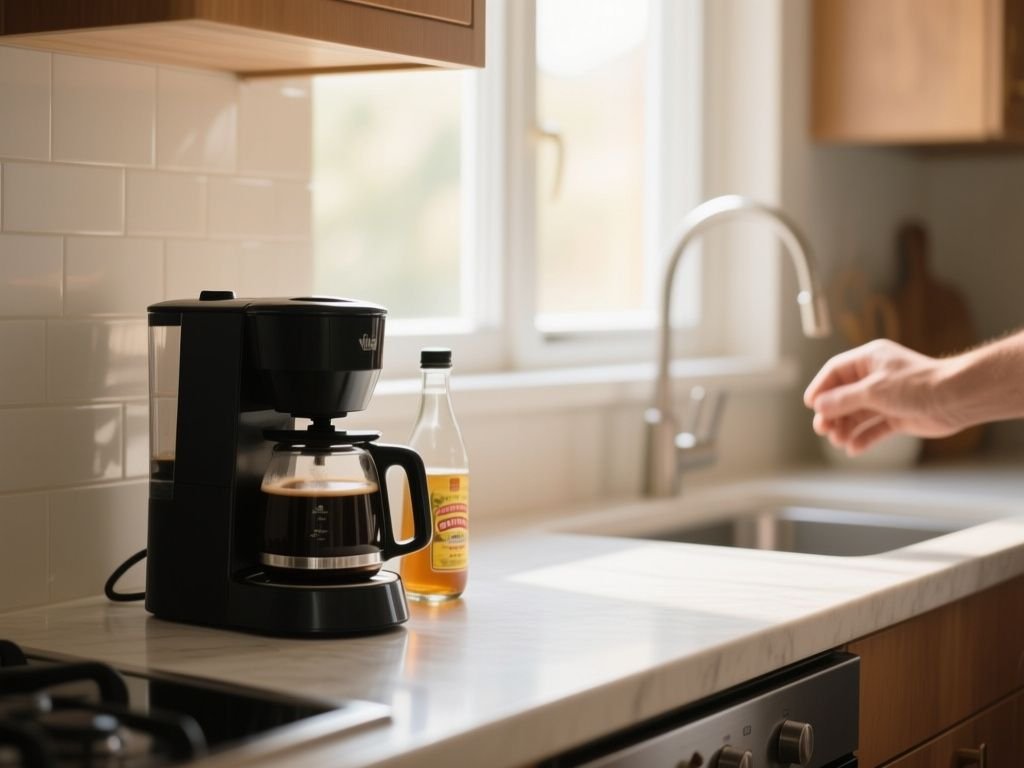
Cleaning the carafe, brew basket, and reservoir
Wash the brew basket separately
Remove the brew basket and wash it with soap and water. Grounds and coffee oils can cling to corners, seams, and the underside, where a descaling cycle does not provide the scrubbing action needed for removal.
Rinse the basket thoroughly so no soap remains. Let the part dry according to the manufacturer’s instructions before replacing it. Do not force a basket, lid, or filter holder into place if it is not seated correctly.
The brew basket needs separate washing because vinegar dissolves mineral scale but does not replace physical removal of coffee residue. This is the part most closely exposed to grounds, so a clear water path alone does not make it clean.
Clean the glass carafe
Wash the glass carafe with soap and water after discarding the vinegar solution. Pay attention to the lid, pouring lip, and any area where coffee residue collects. Rinse until the water no longer feels soapy.
Handle the carafe carefully while it is wet. Do not expose it to a sudden change that the manufacturer warns against, and follow any instructions covering dishwasher use. The presence of glass does not mean every lid, handle, or valve has the same care requirements.
Clean the water reservoir
Remove and wash the water reservoir if the manual allows removal. Soap and water can address residue that vinegar does not remove. Rinse thoroughly, then return the reservoir only when its fittings and base are ready for use.
Some reservoirs include seals, valves, or electronic contact areas. Do not soak those parts unless the instructions permit it. Rubber and silicone materials deserve particular caution because compatibility with acidic cleaners varies.
Do not use vinegar as a general surface cleaner
Vinegar may remove mineral deposits from smooth surfaces, including glass and some coffee maker surfaces, but it is not suitable for every nearby material. Keep it away from stone countertops and other surfaces identified as vulnerable to vinegar damage.
Never mix vinegar with bleach or another cleaning chemical. A chemical reaction can create an unsafe situation, and combining cleaners does not make the coffee maker cleaner.
Choosing between vinegar, citric acid, and commercial descaler
When vinegar is appropriate
Vinegar is reasonable only when the machine’s instructions permit it. Distilled white vinegar is the suitable household type because it supplies acetic acid without flavourings or colouring intended for food use.
Vinegar can be useful for mineral deposits, but it may leave a strong smell and require careful rinsing. A machine with a delicate seal system or an aluminium component may have a different approved method.
When citric acid may be specified
Citric acid is another acidic descaling option, but it is not automatically interchangeable with vinegar. Use it only in the form and concentration identified by the manufacturer. Do not assume that a citric-acid instruction gives permission to use vinegar, or that a vinegar instruction gives permission to use citric acid.
Citric acid and vinegar are separate descaling options that should not be substituted for one another without manufacturer approval. The appliance’s materials and cleaning programme determine the appropriate choice.
When a commercial descaling solution is required
A commercial descaler may be the manufacturer’s stated choice, especially for a single-serve, pod-based, espresso, or more complex machine. Follow the product label and the appliance instructions together, including any rinse requirements.
Do not pour a commercial descaler into a machine that the manual says should use another method. Compatibility matters more than the assumption that all acidic cleaners behave identically.
How often should a coffee maker be descaled?
Use water hardness and usage as the guide
Cleaning frequency depends on water hardness and how often the coffee maker is used. Hard water can contribute to mineral buildup, while frequent brewing exposes the machine to more water and coffee residue than occasional use.
Follow the maintenance interval in the manual if one is provided. If the machine shows a clean warning, use the specified procedure rather than resetting the warning without descaling.
Water hardness and usage determine how often a coffee maker needs descaling. A fixed schedule cannot reflect every household’s water supply or brewing pattern.
Recognise when vinegar is no longer the right answer
Heavy scale buildup may require a different descaling method rather than repeated vinegar treatments. Repeating a household remedy without checking compatibility can expose seals and other components unnecessarily.
A persistent vinegar smell after multiple water-only rinses means the machine should not be used for coffee yet. Continue following the manual’s rinse instructions, and contact the manufacturer if the smell remains or the appliance behaves abnormally.
Changes in coffee flavour can come from residue, mineral scale, or inadequate rinsing. Clean the removable parts, complete the approved internal descaling process, and rinse with fresh water before judging the next brew.
Machine-specific guidance
Drip coffee makers
A drip machine is the most straightforward setting for a permitted vinegar method because the solution can pass from the reservoir through the brew path and into the carafe. Even so, use the clean cycle when available and follow the stated dilution.
Remove coffee grounds and the paper filter before cleaning. Wash the basket and carafe separately, then complete multiple water-only cycles.
Single-serve and pod machines
Single-serve and pod-based machines may include narrower water paths, removable pod holders, or seals that require a particular descaler. Vinegar may be prohibited even if it is acceptable for a basic drip appliance.
Check the manual before filling the reservoir with vinegar. Remove any pod, capsule, or coffee material, and use the machine’s own descaling programme if instructed.
Espresso machines
Espresso machines need special caution because their internal components and seals may differ from those in a drip coffee maker. Aluminium parts, silicone seals, and rubber seals can have different compatibility limits.
Do not push vinegar through an espresso machine unless the manufacturer explicitly allows it. Use the specified descaling product and sequence, then complete every required rinse stage.
Water choice and maintenance
Water quality affects mineral buildup, so understanding whether tap water is suitable can help with routine maintenance. The guide Can You Use Tap Water in a Coffee Maker: What to Know covers that separate question without replacing the machine’s own instructions.
Cold-brew equipment follows a different cleaning pattern because it does not use the same heated water path as a standard drip coffee maker. A guide to how cold-brew coffee makers work is more relevant for that type of equipment.
Common mistakes to avoid
- Using the wrong vinegar: Choose distilled white vinegar only where the manual permits vinegar. Avoid flavoured or coloured types.
- Guessing the dilution: Follow the manufacturer’s stated ratio. If none is supplied, do not assume a universal mixture is safe.
- Skipping removable-part washing: Descaling does not remove all coffee oils and residue from the basket, carafe, or reservoir.
- Running coffee through the machine: Remove grounds, paper filters, pods, and capsules before cleaning.
- Stopping after one rinse: Use multiple fresh-water cycles and continue until the vinegar smell has gone.
- Mixing cleaners: Never combine vinegar with bleach, baking soda, or another chemical in the coffee maker.
- Ignoring materials: Check instructions carefully where aluminium, silicone, or rubber seals are involved.
- Cleaning while hot: Switch off and cool the machine before handling parts.
Mixing vinegar with bleach is unsafe and should never be used as a coffee maker cleaning method. One cleaner at a time, used according to its instructions, is the safer approach.
Frequently Asked Questions
How much vinegar should I use to clean a coffee maker?
There is no universal dilution that suits every coffee maker. Check the manufacturer’s instructions first, because the permitted mixture may depend on the machine’s materials and clean cycle. If the manual does not state a vinegar ratio or allow vinegar, do not guess. Use the specified citric-acid or commercial descaling method instead.
How many water-only rinse cycles remove vinegar taste?
Run multiple fresh-water cycles after the vinegar solution has passed through the machine. The exact number varies with the reservoir, internal water path, programme, and amount of solution used. Continue until the collected water no longer smells of vinegar. Do not brew coffee while any acetic-acid smell remains.
Can vinegar damage rubber seals or aluminium parts?
Vinegar can be unsuitable for some rubber components, silicone seals, aluminium parts, and other internal materials. Compatibility depends on the appliance, so the manufacturer’s instructions take priority. A vinegar method approved for a drip coffee maker should not automatically be applied to a pod machine or espresso machine.
What should I do if coffee still tastes like vinegar?
Stop brewing coffee and empty the carafe and reservoir. Wash the removable parts separately, then run additional water-only cycles until the vinegar smell disappears. If the taste remains, follow the manufacturer’s rinse procedure or contact the manufacturer. Residual acetic acid usually indicates inadequate rinsing or a cleaning method that did not suit the machine.
Is vinegar better than citric acid or commercial descaler?
None is universally better. Vinegar is a household descaler based on acetic acid, while citric acid and commercial products may be the manufacturer’s approved choices for particular materials or programmes. Use the method named in the appliance instructions. Substituting one acidic cleaner for another can create compatibility problems.
Can I use vinegar in a drip, single-serve, or espresso machine?
Use vinegar only if the manufacturer permits it for that machine. Drip coffee makers may provide a vinegar-compatible method, while single-serve and espresso machines may require a dedicated cycle or descaler. Remove pods and coffee grounds, protect seals, and complete every fresh-water rinse specified by the manufacturer.
For general appliance and household product safety information, consult the U.S. Consumer Product Safety Commission, and follow the cleaning and chemical-handling directions supplied with the appliance. Food-contact cleaning guidance is also available from the U.S. Food and Drug Administration; those resources do not replace the coffee maker’s own instructions.