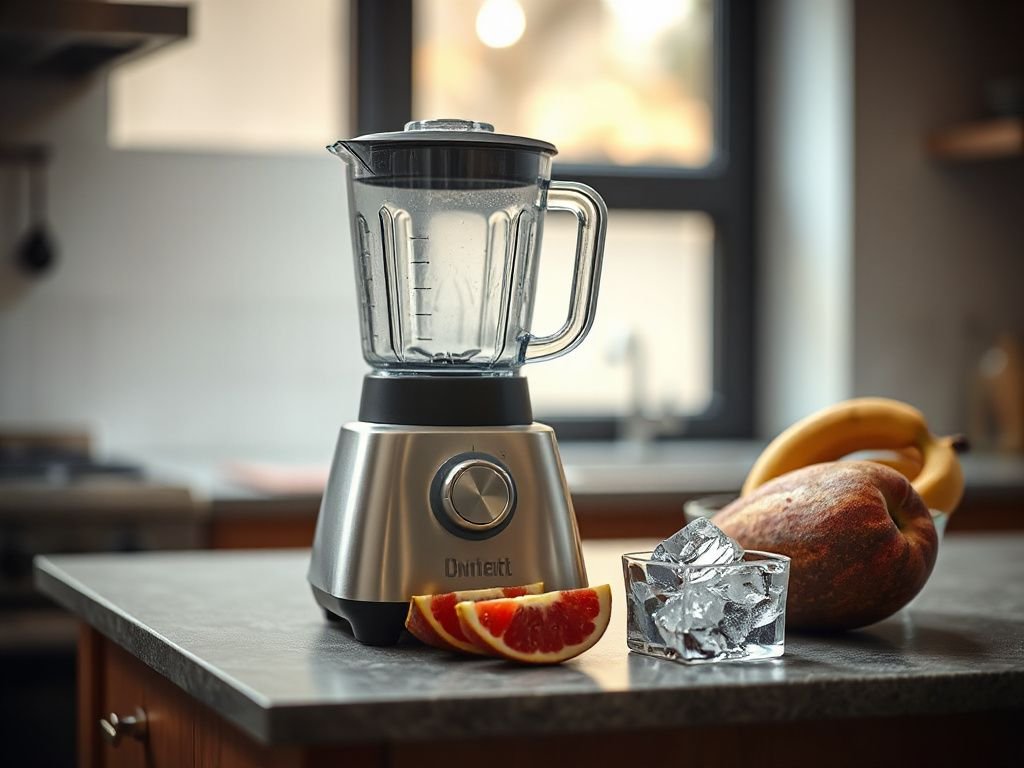
Ignoring a burnt smell can turn a small residue problem into a damaged coupling, overheated motor or electrical hazard. The key diagnostic distinction is whether the smell is produced by ingredients or a rubbing or slipping mechanical part, versus an electrical odor from the motor, brushes or insulation; cooling the appliance can temporarily hide either problem without fixing it. A sound guide should trace the smell by symptom and location, then separate user-correctable overloads and residue from faults that require a compatible replacement part or professional electrical repair.
If you are asking, why does my blender smell burnt, start by stopping the machine rather than trying another blend cycle. A faint new-appliance odor can differ from sharp melting-plastic, scorched insulation or burning-rubber smells, and the difference matters.
Key Takeaways
- Switch off and unplug a blender that smells electrical, smokes, sparks, makes unusual noise or has a hot power cord.
- Trace the odor to food residue, the blade area, drive coupling or motor before deciding whether cleaning is enough.
- A thermal shutdown may allow a blender to restart, but repeated overheating still needs correction or repair.
Why does my blender smell burnt? Start with the source
The location of the smell gives more useful evidence than the brand name or the fact that the motor stopped. Smell the jar, blade area, coupling area and motor base separately only after the appliance is unplugged and cool; never put your face over a running blender.
Food residue can smell scorched
Dried soup, nut butter, spices, fruit sugars and other ingredients can collect around the gasket, under the blade assembly or where the jar meets the drive coupling. A small amount of old residue can smell burnt after the next blend because friction and heat warm the area, even though the motor itself is not failing.
The seal sits between the jar and the agitator, so residue around that joint deserves attention. A blade assembly with trapped food may also develop friction if a seal leaks or a bearing begins to seize.
Food residue near the blade assembly can create a burnt smell without proving that the motor is damaged. That distinction keeps a cleaning problem from becoming an unnecessary electrical diagnosis.
Melting plastic and slipping rubber smell different
A slipping drive coupling often produces a sharp rubber or plastic odor close to the base of the jar. The coupling transfers motor rotation to the blade assembly, and an incompatible jar, misaligned assembly, blocked blade or worn coupling can make the parts rub instead of turning together cleanly.
Look for visible wear, glossy melted spots, cracking, missing teeth or black residue on the coupling. Do not touch a coupling immediately after use. Heat can soften plastic or rubber, and a damaged part can have sharp edges.
A dull blade can increase resistance, but a dull edge alone does not identify the fault. Check whether the blade turns freely only according to the manufacturer’s instructions; never force the blade with your fingers, and do not dismantle a sealed assembly simply to inspect a bearing.
Electrical smells need a harder stop
An electrical smell tends to come from the motor base rather than the jar. Possible sources include overheated carbon brushes, a failing motor shaft bearing, or damaged electrical insulation varnish around the motor windings. These causes cannot be confirmed by smell alone.
Some blenders use universal motors with replaceable carbon brushes. Carbon brushes deliver current to the armature, and worn brushes may produce unusual odor, sparking or unstable operation. Other blenders use brushless or sealed motor assemblies, so a brush-related diagnosis does not apply to every model.
A burnt electrical odor from the motor base means the blender should remain unplugged until the appliance is inspected. Do not repeatedly restart the unit merely because the smell fades after cooling.
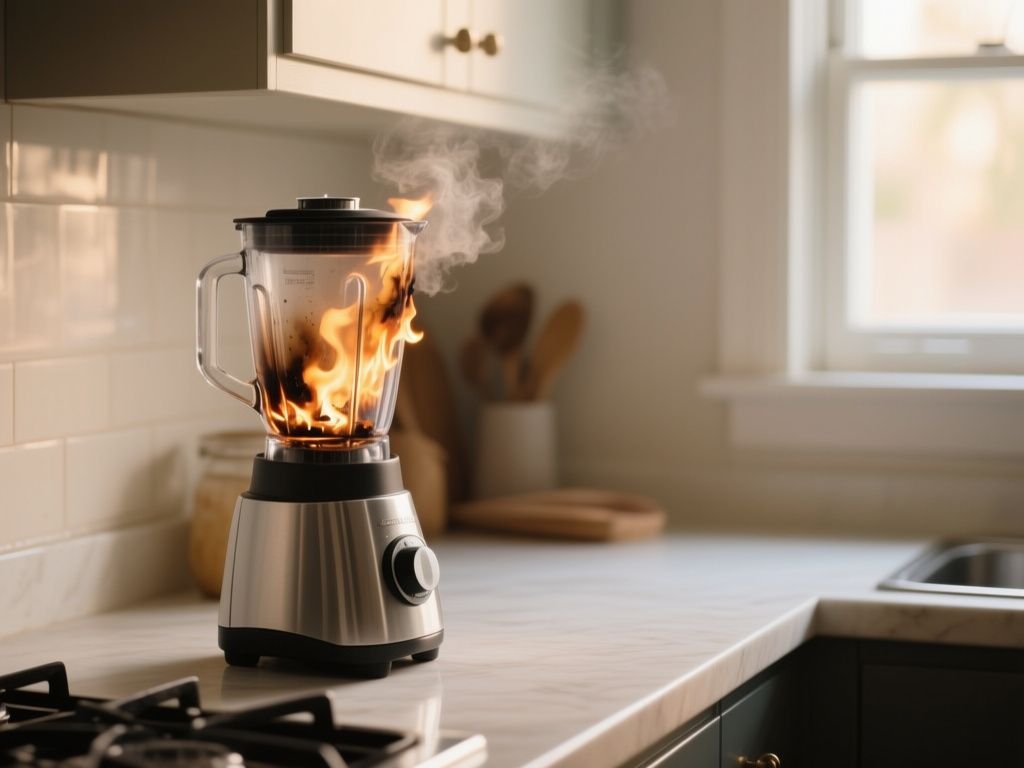
Causes of a burnt smell after only a few seconds
An empty jar removes the load the design expects
Running a blender empty can make the blade spin without moving ingredients, while the motor and drive system still receive the command to operate. The result may be a brief mechanical smell, especially if the coupling is already worn. Empty operation is also a poor diagnostic because it does not show how the machine behaves under a real load.
Use enough liquid or other suitable ingredients for the recipe and follow the model’s instructions. Never use an empty run to “clear” an odor.
Thick mixtures overload the motor
Stiff dough, dense nut butter, frozen fruit with too little liquid and an overfilled jar resist blade movement. The motor must produce more turning force, while the blade may slow or stall. A universal motor can draw more current under heavy resistance, creating heat in the motor and drive system.
Heavy batches should be reduced, loosened with the recipe’s permitted liquid, or processed in smaller portions. If a thick mixture stalls the blade, stop the machine promptly instead of holding the switch down.
Dense mixtures can overheat a blender because resistance slows the blade and increases the demand on the motor and coupling. The smell is a warning about load, not evidence that a longer blend cycle will solve the texture.
Overfilling traps resistance in the jar
An overfilled jar leaves less room for ingredients to circulate. Ingredients can press against the blade and walls, causing repeated stalls or forcing the motor to work against a compact mass. The manufacturer’s fill line exists to control that load.
Frozen ingredients can create the same problem if they are packed tightly or added in a size the manual does not permit. Stop, unplug and release the jam safely. A wooden utensil should never be inserted into a connected blender.
A blocked blade, bearing or seal can raise friction
Fibrous food, hardened residue or a damaged seal can restrict the blade assembly. A seized blade bearing adds mechanical resistance, while a leaking seal can move moisture and food residue into areas that should remain dry. Neither condition should be ignored because the motor still turns.
If the blade does not move as the manual says it should, the blade assembly may require a compatible replacement. A motor shaft bearing inside the base is a different repair and may require a qualified technician, particularly if the housing is sealed.
Why the blender shuts off and later works again
A thermal overload protector may shut the motor down when heat rises too far, then allow operation again after the appliance cools. That reset protects against a temporary overload, but it does not prove that the underlying load, blocked blade, worn coupling or electrical fault is safe.
Record what was in the jar, whether the blade stalled and where the smell came from. If the appliance shuts down again, produces odor or needs repeated cooling periods, stop using it until the cause is corrected.
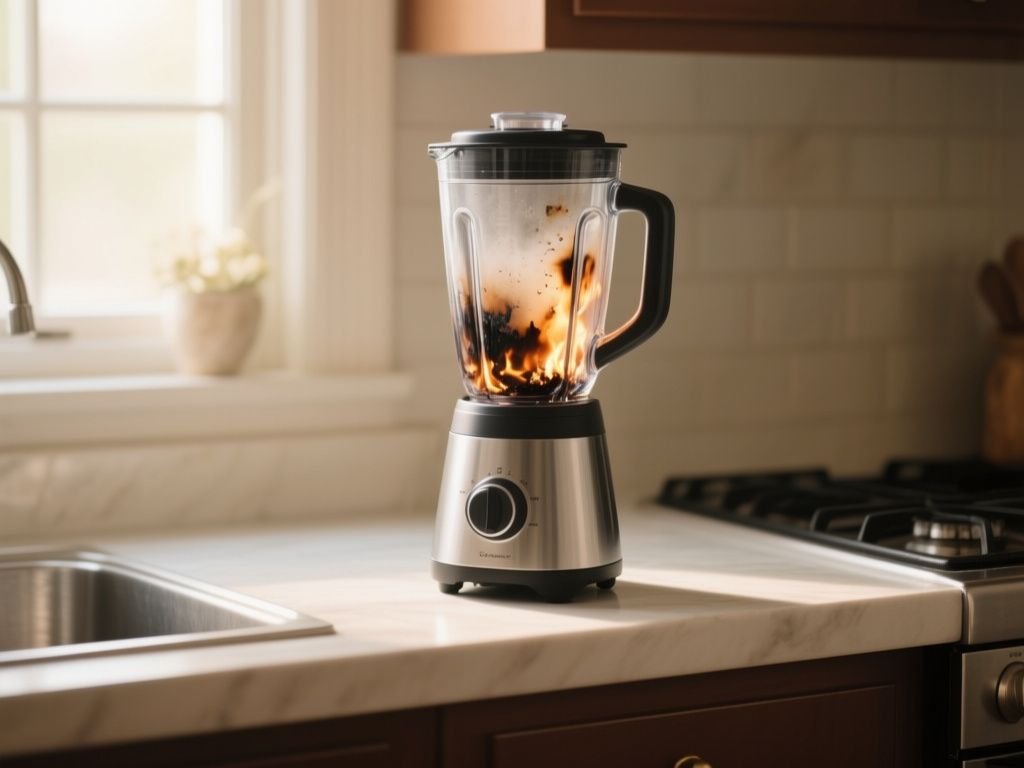
How to tell burnt food, melted plastic and motor odor apart
Check the jar and blade area first
Unplug the blender and let every part cool. Remove the jar according to the manual, then inspect the underside of the blade assembly, the gasket, the jar base and the drive coupling for stuck food, discoloration or softened material.
Burnt food usually follows the ingredient path and may be strongest around the blade or seal. It may wash away after proper cleaning. A melted-plastic or rubber odor is more likely to remain around a coupling with visible wear, but smell alone cannot establish whether the part is safe.
Do not submerge the motor base. Water entering the base can create a separate electrical problem.
Clean residue without wetting the base
Wash the removable jar, gasket and blade assembly only in the manner allowed by the manufacturer. Use a soft brush or cloth around the underside and threads, taking care around the blade edge. A damp cloth can clean the motor base exterior; keep liquid away from openings, controls and the coupling socket.
For a fuller sequence, follow How To Clean A Blender, then allow every removable component to dry completely before reassembly. Cleaning after an odor does not make a damaged coupling or motor safe.
Inspect the coupling without forcing it
The drive coupling should match the exact blender model and jar assembly. Check the manual for the approved inspection method. If the coupling is cracked, deformed, loose or partly melted, do not improvise a substitute or continue blending to see how long it lasts.
The jar, blade assembly and drive coupling must be compatible with the exact model. A part that appears to fit can engage at the wrong height or transfer force poorly.
Trace an electrical odor from the base
Smoke, sparks, a hot power cord, a sharp electrical smell or an odor that returns during a light load calls for a full stop. Switch off, unplug and leave the appliance disconnected. Do not open the motor base unless the manufacturer specifically permits that service and you have the required electrical knowledge.
Universal motors may use carbon brushes, while brushless designs may use a sealed motor assembly. A professional can determine whether a brush set, motor shaft bearing, wiring fault or insulation damage is involved.
Safety requirements for household motor-operated kitchen appliances are addressed by standards including UL 982 and IEC 60335-2-14; those standards do not make a damaged appliance safe to keep using after it develops an electrical odor.
What to do before turning the blender on again
Step 1: Stop the electrical risk
Switch off the controls, unplug the power cord and move the appliance away from water. If smoke or sparks appear, do not restart it. A hot power cord is also a stop signal, not a reason to try a different outlet immediately.
Do not use a blender with a damaged cord, melted housing or signs of arcing. Electrical appliance faults can worsen even when the odor disappears.
Step 2: Remove the load safely
Wait until the jar and contents are cool enough to handle. Remove the jar from the base before clearing ingredients. Never reach into the jar while the base is connected to power, even if the blade appears stationary.
Use a suitable spatula only after the jar is removed and the blade is fully inaccessible to the power source. Do not press the motor repeatedly against a jam.
Step 3: Inspect the removable parts
Check for residue beneath the blade, a displaced gasket, a leaking seal, cracked plastic and coupling damage. Compare the assembly with the manual rather than relying on a similar-looking part from another model.
A replacement coupling or blade assembly can be reasonable when the fault is clearly limited to that compatible, user-serviceable part. A bearing or motor repair requires more caution because opening the base can expose live electrical components and may damage seals or wiring.
Step 4: Decide whether a controlled check is appropriate
Only consider another operation if the manual permits it, the smell was clearly traced to removable residue, the parts are clean and dry, and there was no smoke, spark, hot cord, melting or unusual mechanical noise. Use a modest, suitable load rather than stiff dough or a packed frozen mixture.
Stop immediately if the odor returns. A cooling period is not a repair.
Step 5: Choose parts by identity, not appearance
Use the exact model and revision information from the rating label and manual. Confirm the part number, jar interface, blade assembly and drive coupling before ordering or fitting anything. The appliance must also be used at its rated mains voltage; incorrect voltage can create additional overheating and safety hazards.
Do not fit a coupling from a different blender because the teeth look similar. Do not replace a motor with a part that lacks the correct electrical rating or mounting arrangement.
Correct model compatibility matters because the jar, blade assembly and drive coupling work as one mechanical system. Improvised parts can create slipping, misalignment and further heat.
Preventive measures for heavy batches and stiff dough
Match the batch to the blender
Read the manual before processing stiff dough, frozen ingredients or thick spreads. The manufacturer may limit ingredients, batch size, speed selection or operating method. If the listing does not state a capacity or permitted dough load, that missing information should not be guessed.
Work in smaller portions when the blade struggles to circulate ingredients. Add only the liquid the recipe allows, and stop before the motor labors continuously.
Use pauses instead of forcing a stalled motor
A blender that repeatedly slows, stalls or emits a new smell needs a pause and inspection. A short stop can prevent heat from building, but pauses should not be used to conceal a recurring fault.
For smoothie timing and texture, this guide to how long a smoothie should blend helps separate a normal blending cycle from repeated over-processing. A recipe that needs an unusually long, forceful cycle may be unsuitable for the appliance.
Keep the blade assembly clean and dry
Rinse food from the jar and blade area soon after use when the manual permits. Dried ingredients become harder to remove and can hold moisture near seals. Inspect the gasket for displacement or damage during cleaning rather than assuming the odor is from the motor.
Never wash the motor base under a tap or soak it. Moisture around electrical parts can create a hazard that resembles a motor fault.
Pay attention to noise, but do not trust noise alone
A squeal, grinding sound, clicking coupling or rhythmic rubbing can point toward mechanical trouble. A quiet motor can still have insulation damage or a coupling that slips only under load.
Stay sceptical: push the diagnosis toward the load and contact points before accepting a reassuring sound. Stiff dough is a useful stressor only when the manual permits it; deliberately overloading a suspect blender is not a test worth taking.
Separate a new-appliance odor from a fault
A faint smell from a new blender may come from manufacturing residue or materials warming during initial operation, but the listing or manual should control the expected behavior. A strong burning-rubber or electrical odor, smoke, sparks, melting or a hot cord is not a normal break-in signal.
If the smell is mild but persistent, stop and contact the manufacturer or seller rather than guessing. The same caution applies to an old blender: age alone does not identify a brush, bearing, coupling or insulation fault.
Repair or replacement: make the decision from the fault
When a small coupling may be worth replacing
A coupling is a sensible repair candidate when inspection shows clear wear and the motor base has no electrical odor, smoke, sparks or abnormal heat. Fit only the compatible part specified for the exact model, and correct the cause that damaged it, such as repeated stalls or an unsuitable load.
Replacing the coupling without addressing a blocked blade or misaligned jar can produce another failure. A new part does not compensate for an overloaded batch.
When a blade assembly is the better repair
A blade assembly may need replacement if the blade is damaged, the seal leaks, the bearing is seized or food cannot be removed safely. Use the complete compatible assembly where the manufacturer specifies one instead of mixing a blade, gasket and jar from different models.
Do not assume that a free-looking blade proves the assembly is sound. Leaks and intermittent friction can appear only during operation, which is why recurring odor requires caution.
When motor repair needs professional attention
Carbon brush replacement may be possible on a model designed for service, while a brushless or sealed motor may require a complete motor assembly. A motor shaft bearing, wiring fault or damaged insulation varnish is not a casual cleaning job.
Unplugged does not mean harmless if the appliance has internal damage or stored electrical energy. A qualified repair service can assess the appliance using the model’s service information and correct electrical parts.
When continued use is not sensible
Retire the appliance from service pending inspection if it smokes, sparks, smells electrical, heats the cord, trips protection repeatedly or shows melted housing. Do not pass a questionable blender to another person without explaining the fault.
A blender that smells burnt again after cooling has an unresolved problem, even if the motor restarts normally. That pattern points toward a repeated overload or an intermittent mechanical or electrical defect.
Frequently Asked Questions
Why does my blender smell burnt after only a few seconds?
A smell after a few seconds can come from residue near the blade, a slipping drive coupling, a blocked blade or motor trouble. Empty operation and dense mixtures can create resistance or abnormal contact quickly. Unplug the blender, inspect the jar underside and coupling, and stop completely if the odor is electrical, accompanied by smoke, sparks, unusual noise or a hot cord.
Can I keep using the blender if the smell disappears after it cools?
No, not automatically. A thermal overload protector may shut the motor down and permit a restart after cooling, but the original overload or fault can remain. Remove a heavy or blocked load, clean accessible residue and check the coupling only as the manual permits. If the smell returns, keep the blender unplugged and arrange compatible parts or professional inspection.
How do I clean residue from under the blade without getting water into the motor base?
Unplug the blender, remove the jar and separate only the parts the manual identifies as removable. Clean the gasket, jar and blade area with a soft brush or cloth, taking care around the blade. Wipe the motor base externally with a damp cloth and keep liquid away from openings. Let removable parts dry fully before reassembly.
Is replacing a coupling or bearing worth it compared with replacing the whole blender?
A compatible coupling or blade assembly can be a practical repair when the fault is visible and limited to that part. A motor shaft bearing, brushes or insulation fault needs a more careful service decision, especially on a sealed motor. Compare the repair assessment with the appliance’s condition, but do not choose continued use merely because the smell temporarily fades.
For a related plastic odor diagnosis in another countertop appliance, this explanation of why an air fryer can smell like plastic offers a useful comparison: location, odor character and visible residue are more informative than a vague assumption about the motor.