Grab the wrong pad and you can turn a five-minute fix into a ruined pan. A stiff scouring pad and a scouring powder will rescue scorched stainless steel, and that exact same combination will gouge a PTFE nonstick coating and strip the seasoning off cast iron in a single pass. That is the whole problem in one sentence.
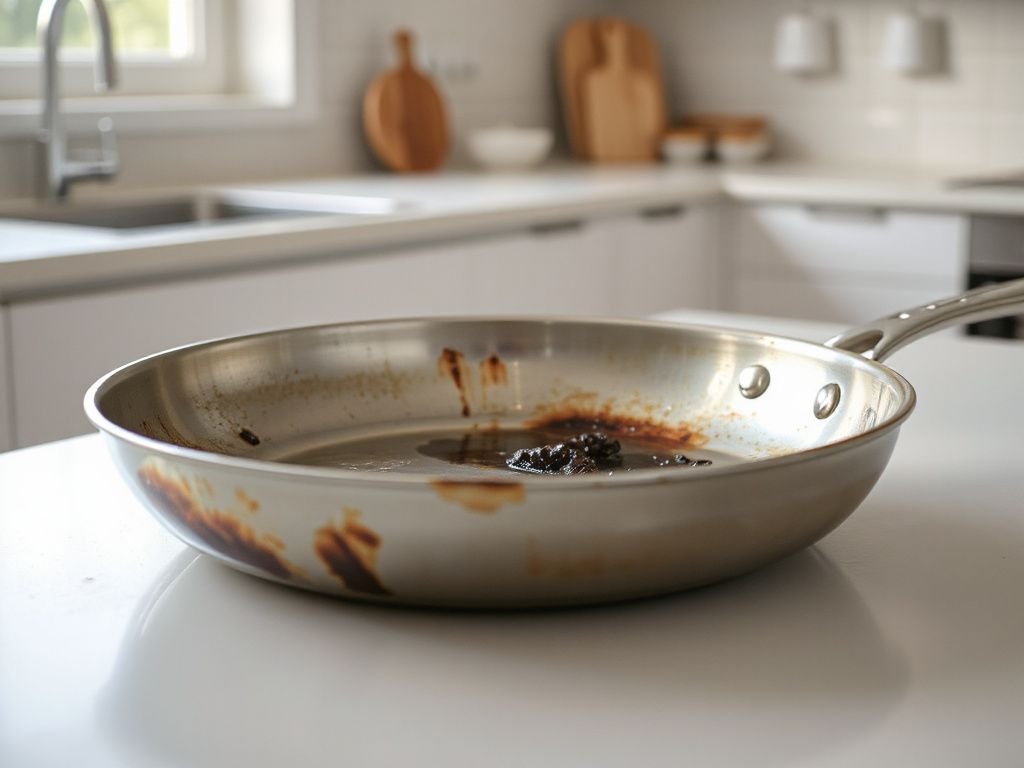
The reason people struggle with how to remove burnt food from a pan is that they treat every pan the same, and they reach for muscle before they reach for heat. Carbonized food is a bond, not a coat of paint. Break the bond and the black stuff practically slides off.
The pan’s material decides the method entirely. Heat and time do the real work on the burnt layer, not scrubbing force, so a soak or a gentle simmer that lifts the carbonized bond beats attacking it with an abrasive nearly every time.
Key Takeaways
- Identify the material first. Stainless takes powders and stiff pads; nonstick takes only soaking and soft tools; cast iron takes heat, coarse salt, and immediate re-oiling.
- Let heat and time loosen the bond. A 15-to-30-minute soak or a short simmer of water does more than hard scrubbing, and it protects the surface.
- Never shock a hot pan with cold water. Thermal shock warps aluminum and can crack enameled or glass cookware.
Read the Pan Before You Touch the Mess
Every rescue starts with one question: what is this pan made of? The answer rules out half the methods before you begin. Get it wrong and the cleanup itself becomes the damage.
Stainless steel (18/10) is the toughest of the common materials. It shrugs off mild abrasives, so a scouring powder and a firm pad are fair game. PTFE nonstick sits at the opposite extreme, where the coating is softer than most of your tools and any scratch is permanent.
Cast iron is its own category, because what looks like a pan is really bare iron under a polymerized oil layer. That seasoning is a feature you built, and long soaks or harsh soap tear it back down. Anodized aluminum and enameled cast iron are hard on the surface but hate thermal shock and strong scouring, so they land somewhere in the middle.
Cast iron should never be soaked for long stretches or scrubbed with heavy dish soap if you want the seasoning to survive. Knowing the material tells you not just what to use, but what will quietly wreck the pan while it looks like it is working.
The Core Method: Let Heat and Time Do the Heavy Lifting
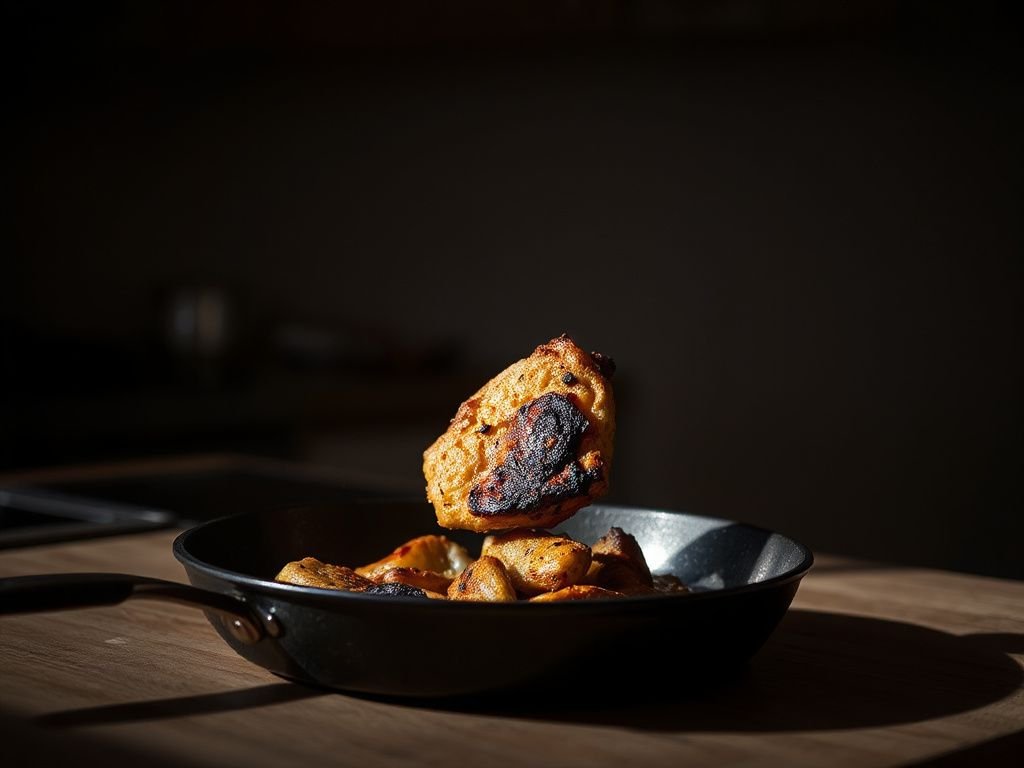
Whatever the metal, the sequence is the same. Loosen first, scrub last. This is where the black layer stops being welded on and starts floating free.
Step 1: Deglaze While the Pan Is Still Warm
The easiest burnt food to remove is the burnt food you catch early. If the pan is warm but not screaming hot, add a splash of water and watch the stuck bits react. Steam gets under the residue and lifts it.
Use a nylon or silicone spatula to nudge the loosened pieces while the pan sits over low heat. Do not pour cold water into a ripping-hot pan to save time. The temperature swing warps thin aluminum and can crack enameled surfaces, which is a much bigger problem than a little scorch.
This warm deglaze is the same move that saves a fond after searing chicken for something like a one-pot chicken pasta that comes together in about 25 minutes — you are lifting stuck browning, just with more of it.
Step 2: Soak or Simmer, Depending on the Metal
If the food is already fully carbonized, walk away and let chemistry and heat work for you. For stainless, enamel, and anodized aluminum, cover the burnt area with warm water and a spoon of dish soap, then wait.
Fifteen to thirty minutes of soaking is enough for most light-to-moderate scorching. Heavy black crust wants longer, up to a couple of hours, but not overnight for aluminum or cast iron. For stubborn stainless, skip the long wait entirely and simmer instead.
- Add water about a half-inch deep and bring it to a gentle boil.
- Let it simmer for 5 to 10 minutes so the steam and moving water pry under the burnt layer.
- Kill the heat, let it cool enough to handle, then scrape with a wooden or nylon edge.
Boiling water genuinely does lift a burnt layer, because sustained heat and hydration break the mechanical grip carbonized sugars and proteins have on the metal. Ten minutes of simmering usually does what ten minutes of angry scrubbing cannot.
Step 3: Match the Abrasive to the Surface
Now, and only now, you scrub. The tool you pick depends entirely on Step one’s answer about material. This is the point where most pans get saved or destroyed.
On stainless steel, a scouring powder like Bar Keepers Friend (its active ingredient is oxalic acid) or Bon Ami paired with a stiff pad clears burnt marks and heat discoloration without harming the metal. On nonstick, none of that touches the pan; you use a soft sponge and patience. On cast iron, coarse salt is your abrasive and your seasoning is what you are protecting.
Will Scrubbing Ruin My Nonstick, and Other Material-Specific Traps
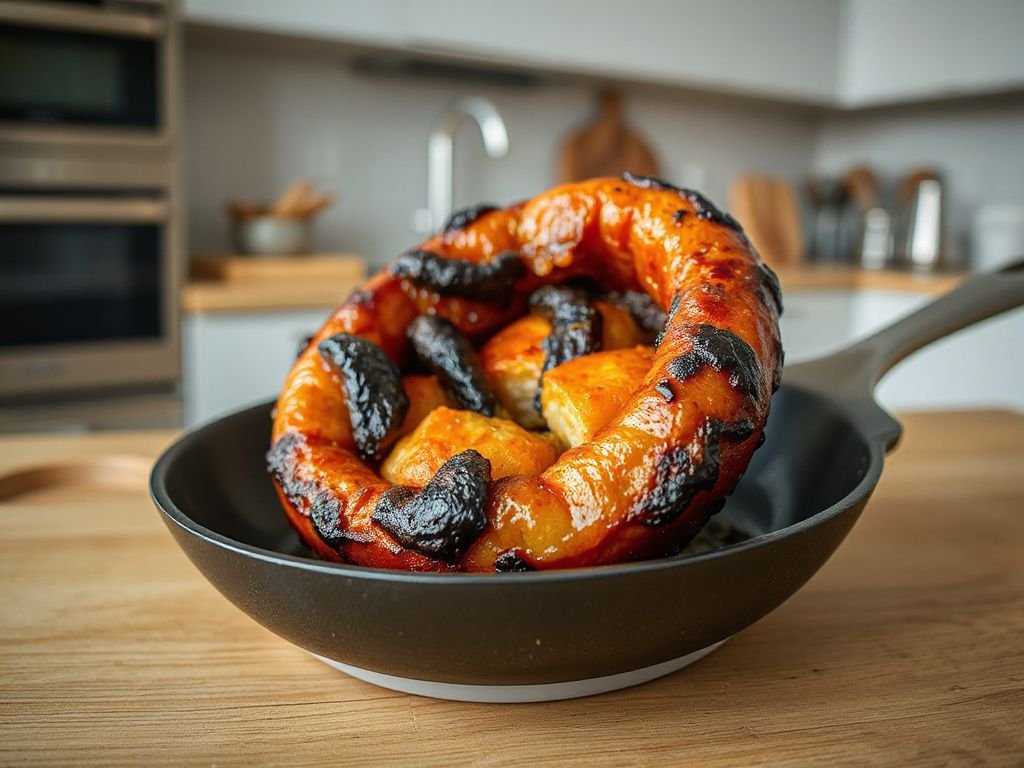
Same burnt food, five different rules. Here is where each material forgives you and where it does not.
Nonstick (PTFE / Teflon)
Never take an abrasive powder, steel wool, or a metal scraper to a PTFE surface. The coating is softer than the tool, so every scratch is permanent, and damaged nonstick sheds flakes and loses its release. Soak the pan in warm soapy water for 20 to 30 minutes, then wipe with a soft sponge — the burnt layer should surrender without a fight.
The safe cooking temperature matters here too. The U.S. Food and Drug Administration regulates the food-contact coatings used on cookware, and PTFE begins to degrade at high, empty-pan temperatures, which is one more reason you keep nonstick on low-to-medium heat and off metal tools. A warped or deeply scratched nonstick pan is not worth saving; retire it rather than cook on damaged coating.
Stainless Steel (18/10)
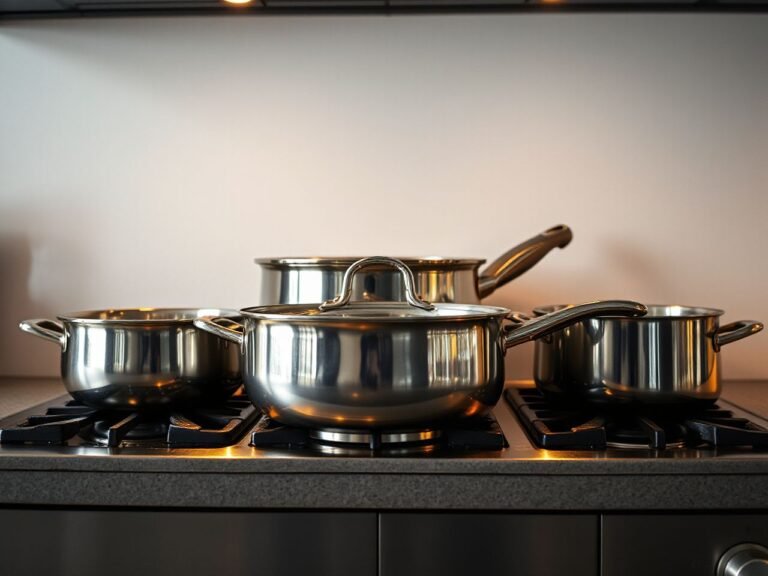
This is the material that answers the question of whether you can use a metal scouring pad. You can get away with a stiff nylon or a fine steel pad on 18/10 stainless, though even here a soft pad plus powder is cleaner and leaves fewer fine scratches. Work in the direction of the grain, not in circles, and the finish stays even.
Bar Keepers Friend also erases the blue-and-rainbow heat tint stainless picks up, along with burnt-on grease on the pan’s exterior. That discoloration is cosmetic, not damage.
Cast Iron
The safest way to clear burnt food off cast iron without stripping the seasoning is heat plus coarse salt, no long soak. Add a tablespoon of kosher salt to the warm pan and scrub with a folded paper towel or a stiff brush; the salt is abrasive enough for stuck food but gentle on the polymerized oil layer.
Rinse fast, dry the pan completely over low heat, and wipe a thin film of oil back on while it is warm. Cast iron rusts the moment you leave it wet, so drying and re-oiling is not optional. If you did have to strip a bad burnt spot down to bare metal, re-seasoning that patch afterward restores the surface.
Anodized Aluminum and Enameled Cookware
Both are hard-surfaced but allergic to thermal shock and harsh scouring powders. Soak them, use a non-abrasive cleaner, and keep metal pads away from the enamel so you do not chip it. Cream of Tartar (potassium bitartrate) mixed into a little warm water makes a mild, safe paste that brightens discolored aluminum interiors without scratching.
Why It Keeps Burning in the Same Spot
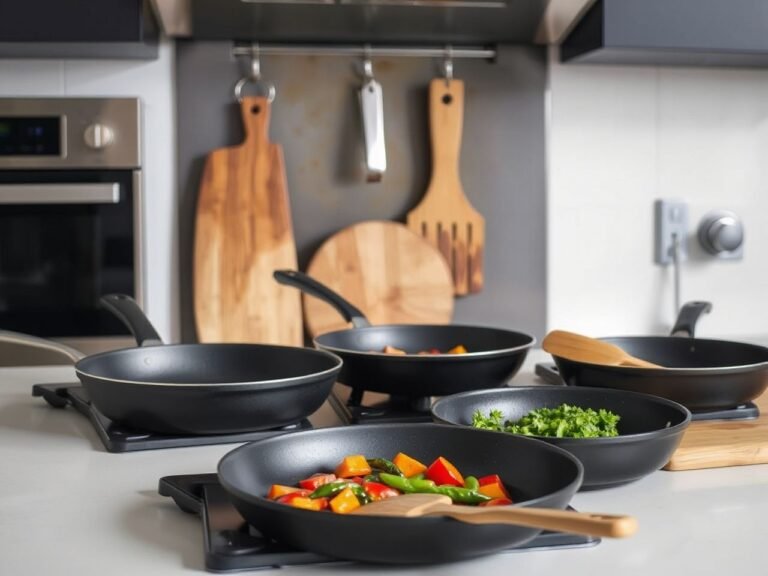
If you are cleaning the same scorch mark week after week, the fix is upstream of the sponge. Food sticks and burns when the pan is not preheated evenly, when oil goes in cold, or when the pan is overcrowded so moisture pools and steams instead of searing.
A recurring hot spot usually means uneven heat — a thin pan on a burner that is too high, or a warped base that only contacts the flame in one ring. Preheat the pan, add oil once it is up to temperature, and give ingredients room. That single habit prevents most of the burnt messes you would otherwise be scrubbing out.
It shows up in real cooking constantly. A brothy pot like this one-pot chicken and dumpling soup rarely scorches because there is liquid buffering the base, while a dry sear on high heat is where food welds itself to the metal.
Killing the Burnt Smell and Stains After the Food Is Gone
Sometimes the food lifts but the pan still smells scorched and carries a shadow stain. For odor, simmer water with a spoon of baking soda for a few minutes, then rinse; the alkaline solution neutralizes many of the acidic burnt-smell compounds.
For lingering discoloration on stainless, a paste of Bar Keepers Friend left on the stain for a minute before scrubbing usually clears it. One rule overrides all of this: never mix cleaning products to attack a stubborn stain.
Combining bleach with an acid such as vinegar releases chlorine gas, and the Centers for Disease Control and Prevention warns that mixing common household cleaners this way can produce toxic fumes in an enclosed kitchen. Pick one product, ventilate the room, and rinse fully between different cleaners.
Can I Just Put It in the Dishwasher?
For a lightly burnt stainless pan, yes — a dishwasher cycle plus a follow-up scrub often finishes the job. For nonstick, check the manufacturer’s guidance, since repeated dishwasher cycles shorten coating life even on “dishwasher-safe” pans. For cast iron, absolutely not; the detergent and the long wet cycle strip seasoning and start rust.
When you are out of special cleaners entirely, household basics cover most jobs: dish soap and hot water for the soak, baking soda for scrubbing power, salt for cast iron, and a splash of vinegar for mineral or light burnt residue. You rarely need anything you cannot already find in the pantry.
When the Pan Is Actually Ruined
Most burnt pans are just under-soaked, not dead. A pan is genuinely done when the damage is structural, not cosmetic — a warped base that no longer sits flat, a nonstick coating that is scratched, bubbled, or flaking, or enamel that has chipped through to the metal.
Deep heat discoloration and old stains on stainless are almost never a reason to toss it; that pan just needs more effort and the right powder. A pan that rocks on a flat counter, though, will cook unevenly forever and keep burning food in the low spot, and that is your signal to replace it. If you are rebuilding your everyday cookware, a soup that leans on a good heavy pot like this 25-minute chicken tortilla soup is a fine test of whether your pan heats evenly.
One more note on materials worth caring for: the NSF certifies food-contact cookware and materials against safety standards, which is a useful reference point when you are deciding whether a battered old pan still belongs in the kitchen at all.
Frequently Asked Questions
How long should I soak a pan before I try to remove the burnt food?
For light-to-moderate scorching, 15 to 30 minutes in warm, soapy water is usually enough to loosen the bond. Heavy carbonized crust on stainless or enamel can go up to a couple of hours. Skip long soaks on cast iron and aluminum, and never leave cast iron submerged, since prolonged water contact strips seasoning and starts rust.
Does the baking soda and vinegar trick actually remove burnt food?
Not the way people think. When baking soda and vinegar combine they neutralize into salty water, so the dramatic foam has almost no cleaning power. The real work comes from the heat and soak. Use baking soda in hot water as a mild abrasive, or a short vinegar simmer for mineral residue, but do not rely on the fizz itself.
Can I pour cold water into a hot pan to loosen the burnt bits?
Avoid it. Hitting a hot pan with cold water causes thermal shock, which warps thin aluminum and can crack enameled or glass cookware. If the pan is only warm, a splash of water to deglaze is fine and helpful. Let a genuinely hot pan cool for a few minutes first, then add water and simmer to lift the burnt layer safely.
What is the safest way to clean burnt cast iron without stripping the seasoning?
Warm the pan, add a tablespoon of coarse salt, and scrub with a folded paper towel or stiff brush — the salt lifts stuck food while sparing the polymerized oil layer. Rinse quickly, dry completely over low heat, then wipe a thin coat of oil on while warm. This protects the seasoning and prevents rust, which forms fast on any cast iron left wet.