A poorly matched peeler can remove thick strips of flesh, skid across hard skins, or force your fingers into the blade path. The useful distinction is not simply between inexpensive and expensive peelers, but between blade geometry, handle control, and the surfaces the tool must follow. A peeler that glides over a long, firm vegetable may perform poorly on rounded or soft produce, while a flexible swivel blade can trade direct control for easier contouring. This vegetable peeler buying guide starts with the drawer-space question that matters most: what job will the utensil replace, and does its design perform that job safely?
Key Takeaways
- Choose a Y-peeler or straight peeler according to the food’s shape and the control you prefer.
- Swivel blades follow curves more readily, while fixed blades give a more predictable path on flatter surfaces.
- Blade sharpness, handle grip, hand preference, and cleaning instructions matter as much as the blade material.
- Loose, chipped, rusty, or heavily dragging blades should be replaced rather than forced through difficult produce.
Beginner: Start With the Job, Not the Handle
Step 1: Identify what the peeler must replace
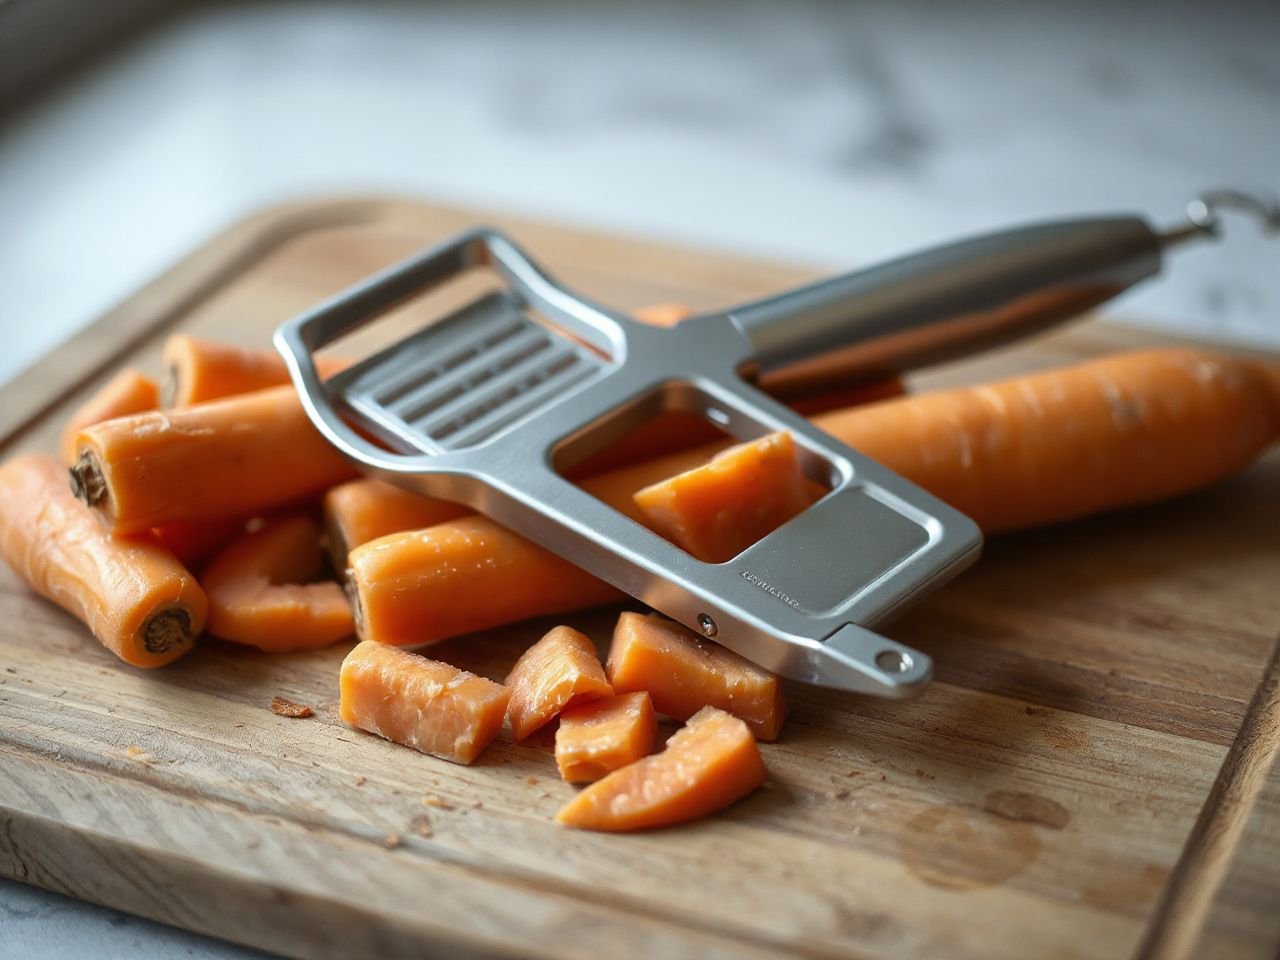
A vegetable peeler earns space by doing a task more neatly or comfortably than a paring knife. That task might be removing thin skin from potatoes, carrots, apples, or squash. It might involve taking a thick rind from citrus, making long ribbons, or preparing julienne vegetables. A julienne peeler adds narrow strips, but it does not replace a general-purpose peeler for every preparation job.
A sharp peeler removes a controlled layer of skin while leaving more edible flesh behind. A dull or poorly aligned blade tends to drag, skip, and encourage extra pressure, so the user loses control of the stroke. The practical test is visible: the tool should leave a reasonably even path instead of alternating between bare produce and attached strips of skin.
Vegetable preparation becomes easier when the tool matches the food rather than forcing one utensil to handle every surface. Soft produce, hard skins, thick rinds, and stringy vegetables can each call for a different blade shape or slower technique.
Step 2: Choose between a Y-peeler and a straight peeler
A Y-peeler, also called a Swiss peeler, places the blade across the handle. The hand usually moves the tool toward or away from the body of the vegetable, depending on the grip and the cut. A straight peeler, also called a Lancashire peeler, places the blade in line with the handle, giving the motion a more knife-like direction.
Neither shape automatically suits every cook. Y-peelers can make long, direct strokes across vegetables such as potatoes and carrots. Straight peelers may feel more familiar to someone who prefers a narrow, forward-facing tool. The important question is whether your hand can keep the blade moving in a controlled path without twisting the food or pressing harder than necessary.
One verified comparison found that potatoes were processed at almost double the speed with Y-peelers compared with straight swivel models. That figure describes a particular comparison, not a promise for every user or every food. It does support a useful starting point: a Y-peeler deserves consideration if potatoes make up a large share of your preparation.
A Y-peeler can also make the blade path easy to see because the handle and blade sit across the produce. A straight peeler may suit narrow spaces or a user who naturally pushes forward. Hold the vegetable securely on a stable cutting surface, keep the free hand away from the projected path, and use controlled strokes instead of trying to strip a large section in one forceful pass.
Step 3: Match the design to hand preference
Left-handed and right-handed users should check whether the blade works in both directions before buying. A symmetrical handle and blade arrangement can make hand changes easier, while a strongly shaped ergonomic handle may favor one grip or one direction. The label, packaging, and maker’s instructions should state whether the peeler is ambidextrous.
Handle comfort is more than softness. A handle that rotates in the hand can make the blade wander, while a surface that is difficult to hold with wet hands can encourage a tighter grip. Look for a shape that lets the wrist stay in a natural position and allows the thumb and fingers to guide the tool without covering the blade opening.
An ergonomic handle is useful only if its shape supports the way the blade is meant to move. A handle that feels comfortable in a dry display may behave differently after produce juice or water reaches the grip, so examine the texture and the transitions around the blade mount.
Intermediate: Read the Blade Geometry and Materials
Step 1: Understand swivel and fixed blades
A swivel blade pivots as the peeler travels over produce. That movement helps the edge follow rounded surfaces such as potatoes, carrots, and some fruit. The trade-off is that the blade can feel less direct because it adapts to the contour instead of holding one fixed angle.
A fixed blade stays in one position relative to the handle. Fixed blades can offer more predictable control on flatter surfaces and may suit someone who wants the tool to respond directly to hand movement. They can be less forgiving when the food curves sharply because the user must adjust the angle instead.
The Jonas peeler is another name for a swivel peeler. Recognizing both terms helps when reading packaging or instructions, particularly if a description uses a style name rather than the word swivel.
Blade movement should serve the food. A swivel blade follows curved produce more easily, while a fixed blade can offer more predictable control on flatter surfaces.
Step 2: Match blade action to the food
Potatoes and carrots usually present firm surfaces that reward a clean, even stroke. A Y-peeler with a blade that stays engaged can remove the skin efficiently, while a swivel design can help maintain contact as the shape changes. If the blade skips, check your pressure and direction before assuming the produce is the problem.
Squash can have a harder exterior and a shape that changes along its length. A stable grip on the food matters because pushing harder against a resistant area can send the peeler off course. Work in smaller sections and keep the blade moving away from fingers.
Soft fruit needs a lighter touch. A blade that bites deeply can remove useful flesh, especially if the fruit yields under pressure. Slow strokes and a shallow angle give the edge less opportunity to dig in. If the skin is delicate or the surface is irregular, a paring knife may offer better control than a peeler, provided the user applies ordinary knife safety.
Stringy vegetables can catch an edge or leave fibers behind. A peeler designed for thin skin is not automatically a tool for removing every tough outer layer. Inspect the surface after each stroke, and change direction or switch tools if the blade catches instead of gliding.
Step 3: Compare common blade materials carefully
Stainless steel is the material typically used for a vegetable peeler blade. It is a familiar choice for kitchen utensil care, but the name alone does not tell you how the edge is shaped, how securely it is mounted, or how the utensil should be washed.
Ceramic blades may appeal to cooks who want a nonmetal edge, but the relevant questions remain practical: does the maker specify care instructions, is the blade free from chips, and does the edge stay seated in its housing? A ceramic blade that is chipped is a replacement concern, not a reason to press harder.
Carbon steel blades appear in Kuhn Rikon Y-peelers, according to the verified product information available for that design. Carbon steel requires attention to drying because moisture can affect the surface. A carbon-steel blade left wet should be dried promptly rather than stored damp.
Handle construction can involve plastic, rubber, or metal. Each material can have different care needs, especially around joints, seams, coatings, and grip surfaces. A metal handle may feel direct in the hand, while plastic or rubber may change the grip character; neither description alone proves that the tool will suit a particular user.
Step 4: Treat extra features as substitutes, not bonuses
An integrated potato-eye remover can save a separate motion when preparing potatoes. That feature matters only if it replaces a small knife task without creating a sharp protrusion that interferes with normal gripping.
A blade guard can protect the edge during storage and reduce contact with the blade when the utensil is being retrieved. The guard still needs to fit securely and stay clean. A loose guard is not a reason to handle the edge casually.
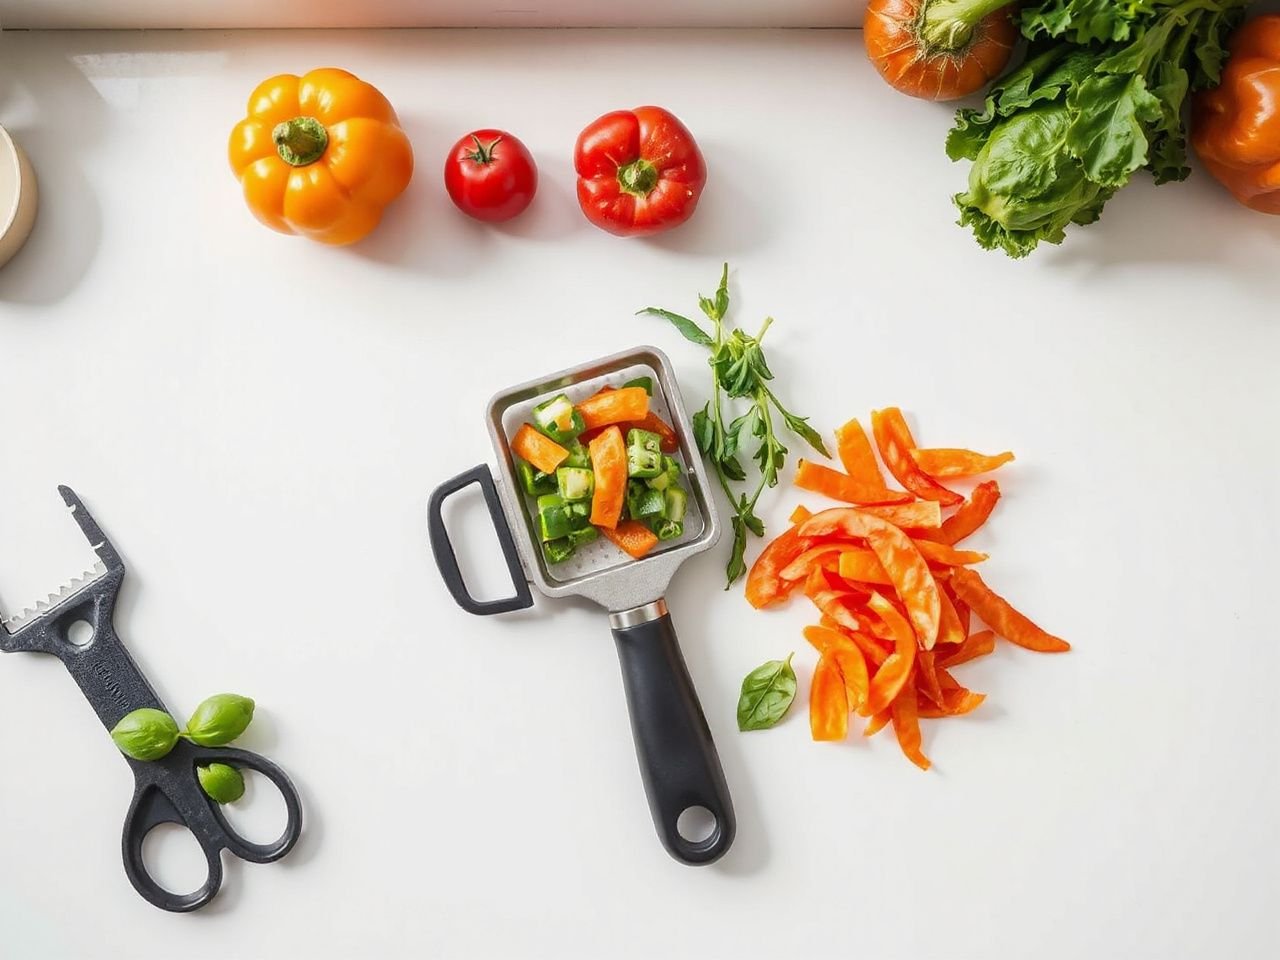
Julienne peelers create thin strips rather than ordinary peeled surfaces. They can support julienne cutting and decorative vegetable preparation, but they do not remove broad skin in the same way as a standard Y-peeler or straight peeler. If the drawer already contains a chef’s knife or paring knife that handles the same narrow-strip task, the extra utensil must justify its space through easier control.
The right gadget replaces a defined motion. A peeler that adds a potato-eye remover, julienne teeth, or a guard should still make its primary peeling work clear and controllable.
Intermediate: Diagnose Dragging, Skipping, and Thick Peels
Why a peeler drags
Dragging can come from a dull edge, residue on the blade, an unsuitable angle, or pressure that is too heavy for the food. A blade should remove the surface rather than scrape against it. Rinse away sticky residue, dry the tool, and try a shorter stroke with less force.
A peel that is consistently thick may indicate that the blade is biting too deeply or that the user is holding the tool at a steep angle. Softer produce exaggerates that problem because the surface yields. Reduce pressure and let the edge do the work.
Why a peeler skips or leaves strips behind
Skipping often happens when the blade loses contact with an uneven curve or when the stroke changes direction abruptly. A swivel blade can help follow rounded produce, while a fixed blade may be easier to guide across a flatter section. Rotate the food rather than twisting the wrist around it, and keep each stroke controlled.
Strips of attached skin can also signal that the blade is not engaging evenly. Inspect the edge for chips, rust, looseness, or visible damage. If the blade rocks in its mount, replacing the utensil is safer than trying to compensate with extra pressure.
How to hold the food and tool
Place the food on a stable work surface rather than holding a small item in the air. Keep the supporting hand behind the direction of travel and away from the projected blade path. Peel in controlled strokes that you can stop easily; a long stroke is not automatically a safer or more efficient stroke.
A sharp blade can cut skin quickly, so hand placement matters before speed. A stable grip, controlled strokes, and clear space around the blade reduce the chance that a slip becomes contact with the fingers.
For a round vegetable, rotate the food between strokes and inspect the surface as you go. For a long vegetable, support the far end on the work surface and work along its length without reaching across the blade. If a thick rind resists the edge, do not force a general peeler beyond its intended job.
The Stainless Steel Pan Buying Guide: What Nobody Tells You covers a different utensil category, but the same drawer-space test applies: a tool should earn room by solving a task clearly, not by collecting features.
Advanced: Clean, Dry, Store, and Replace the Tool
Cleaning after vegetable preparation
Rinse away vegetable fragments soon after use, paying attention to the blade opening and any joint where material can collect. Wash according to the maker’s instructions, then dry the blade and handle before storage. Food residue can make the next stroke less predictable, while trapped moisture can affect some blade and handle materials.
Dishwasher use should follow the manufacturer’s instructions because heat, detergent, and moisture can affect finishes and joints. A dishwasher-safe claim is specific to that utensil and its stated care instructions; it should not be assumed from a stainless-steel blade or a plastic handle alone.
A blade guard can reduce accidental contact during storage, but it is not a substitute for cleaning. Store the peeler where the edge will not strike other utensils, and do not place a wet tool into a closed guard.
Knowing when replacement is the sensible choice
Peeler blades are not always practical to sharpen because the edge is small, exposed, and held in a particular housing. Unless the maker provides a safe sharpening method, replacement is the clearer option when the edge is heavily dragging or damaged.
Loose, chipped, rusty, or heavily dragging blades are safety and performance problems, not merely unattractive signs. A handle that cracks, a joint that wobbles, or a guard that no longer stays in place also changes how the utensil should be stored and handled.
A cheaper peeler can cost more in practical terms if poor control causes wasted flesh or if early damage leads to replacement. Price alone cannot reveal that outcome. Compare the task, blade action, grip, cleaning requirements, and condition of the edge before deciding whether a utensil deserves drawer space.
Use safety information from the right authority
The U.S. Consumer Product Safety Commission publishes consumer product safety information at CPSC.gov; consult that resource for broader safety guidance rather than treating a kitchen utensil’s packaging as a complete safety manual.
The U.S. Food and Drug Administration publishes food-safety information at FDA.gov. That guidance is useful for the wider preparation routine, including clean handling and what to do with food after peeling, while the peeler’s maker remains the source for appliance-specific washing instructions.
For a kitchen with several appliances, the same replacement test can clarify other purchases. A programmable slow cooker buying guide can help separate useful controls from unused features, while a peeler should be judged by the motion it actually replaces.
Advanced: Make the Final Choice With a Drawer-Space Test
Check the blade path
Look at the opening from the side and front. The edge should appear seated rather than tilted or loose. A swivel blade should move through its intended range without catching, while a fixed blade should remain steady in its mount.
Check the handle and hand position
Grip the utensil with the hand you expect to use. Confirm that the fingers stay behind the blade and that the thumb does not need to rest against a sharp or exposed area. Left-handed users should check the actual direction of the edge rather than relying on a general claim that the handle feels comfortable.
Check the food match
- For potatoes and carrots, consider the stroke direction and whether a Y-peeler gives the direct action you want.
- For rounded produce, consider whether a swivel blade will maintain contact more easily.
- For squash and thick skins, check whether the edge can engage without forcing the tool.
- For soft fruit, favor controlled, shallow strokes and consider whether a paring knife gives better control.
- For julienne preparation, decide whether a julienne peeler replaces a task you regularly perform.
Ask what leaves the drawer
The most useful purchase may replace a paring knife motion, a separate potato-eye tool, or repeated work with a less suitable peeler. If the new utensil only duplicates an item already used comfortably, its additional feature must offer a clear improvement in control or cleaning.
The budget baking pans guide addresses a separate category, yet its central question also applies here: does the item solve a real preparation problem without creating a new care problem?
Frequently Asked Questions
How do I choose between a Y-peeler and a straight peeler?
A Y-peeler places the blade across the handle and can suit long strokes over potatoes and carrots. A straight peeler places the blade in line with the handle and may feel more natural to someone who prefers a forward motion. Choose based on hand control, food shape, and the task that needs replacing. A Y-peeler is also called a Swiss peeler, while a straight peeler is also called a Lancashire peeler.
What is the difference between a swivel blade and a fixed blade?
A swivel blade pivots to follow curved produce more easily, which can help around rounded potatoes, carrots, and fruit. A fixed blade stays in one position relative to the handle and can offer more predictable control on flatter surfaces. Neither design suits every food. The better match depends on how much the surface curves and whether you prefer adaptation or a direct blade path.
Which blade material works for potatoes, carrots, squash, and soft fruit?
Stainless steel is commonly used for peeler blades and can serve general vegetable preparation when the edge is sound and the care instructions are followed. Carbon steel appears in some Kuhn Rikon Y-peelers and needs prompt drying. Ceramic blades require attention to chips and the maker’s cleaning guidance. For soft fruit, blade sharpness and light pressure matter more than choosing a material by name alone.
Can a vegetable peeler go in the dishwasher?
Only follow dishwasher instructions supplied for that specific utensil. Heat, detergent, and moisture can affect finishes, handles, blade mounts, and joints, so a stainless-steel blade or plastic handle does not prove dishwasher suitability. If instructions are unclear, hand washing, thorough rinsing, and complete drying are the more cautious care routine. A blade guard should be cleaned separately when the maker requires it.
When should a dull or damaged peeler be replaced instead of sharpened?
Replace a peeler when the blade is loose, chipped, rusty, or heavily dragging, or when the handle or joint no longer keeps the blade stable. These conditions affect both performance and safe control. Sharpening is not automatically practical because the edge is small and mounted in a housing. Use a sharpening method only if the manufacturer specifically provides one for that design.