Bacteria double every 20 minutes in the danger zone between 40°F and 140°F, and a wet blender gasket at room temperature sits squarely in that range. That is the surprise most people never think about when they give their blender a quick rinse. The jar looks clean, the blades look clean, but the underside of the blade assembly is still wet, still warm, and still coated with a film of banana, garlic, or peanut oil. The FDA notes that food residue left at room temperature can support rapid bacterial growth. Learning how to clean a blender properly means treating that hidden seam as the real target, not the visible jar.
Key Takeaways
- A quick rinse cleans the jar but never the blade hub or gasket; those parts require full disassembly at least once a week for daily use.
- The 30-second self-clean cycle with warm water and one drop of dish soap handles light fruit smoothies, but oily or sticky residues need manual scrubbing.
- Hand-washing beats the dishwasher for most blender parts, because the dry cycle can bake residue onto the seal and dull the blades.
The Two Cleaning Approaches: Quick Rinse or Deep-Clean?
The key distinction is between a quick rinse for a fruit smoothie and a full disassembly deep-clean for oily, sticky, or starchy residues like nut butter, pesto, or malted shakes. A beginner often rinses the jar and assumes the blade base is clean, but the gasket and interior of the blade hub collect residue that only comes off when you dismantle the assembly. Knowing which cleaning method fits the blend is the practical skill that separates a clean blender from one that just looks clean.
When a Fast Clean Is Enough
A blender that just processed a simple fruit smoothie, a milk-based shake, or a watery vegetable juice only needs a quick rinse and a fill-and-run cycle. There is no oil, no sticky date paste, no raw garlic. The residue is mostly water-soluble sugars and fiber. One pass with warm water and a drop of dish soap removes it completely as long as you rinse thoroughly afterward, because soapy residue tastes awful in the next smoothie.
When Only Full Disassembly Works
Nut butter, pesto, hummus, or anything with oil, garlic, or dried fruit requires taking apart the blade assembly. Those ingredients leave a greasy film that water alone cannot remove, and that film sits directly on the rubber gasket. Oily residue also holds onto odors, which is why a blender used for garlic pesto still smells like garlic after three rinse cycles. The only way to break that cycle is to remove the blade base from the jar, pull off the gasket, and scrub each piece individually.
Step-by-Step: Cleaning a Blender Jar and Blade Assembly
The 30-Second Self-Clean Cycle
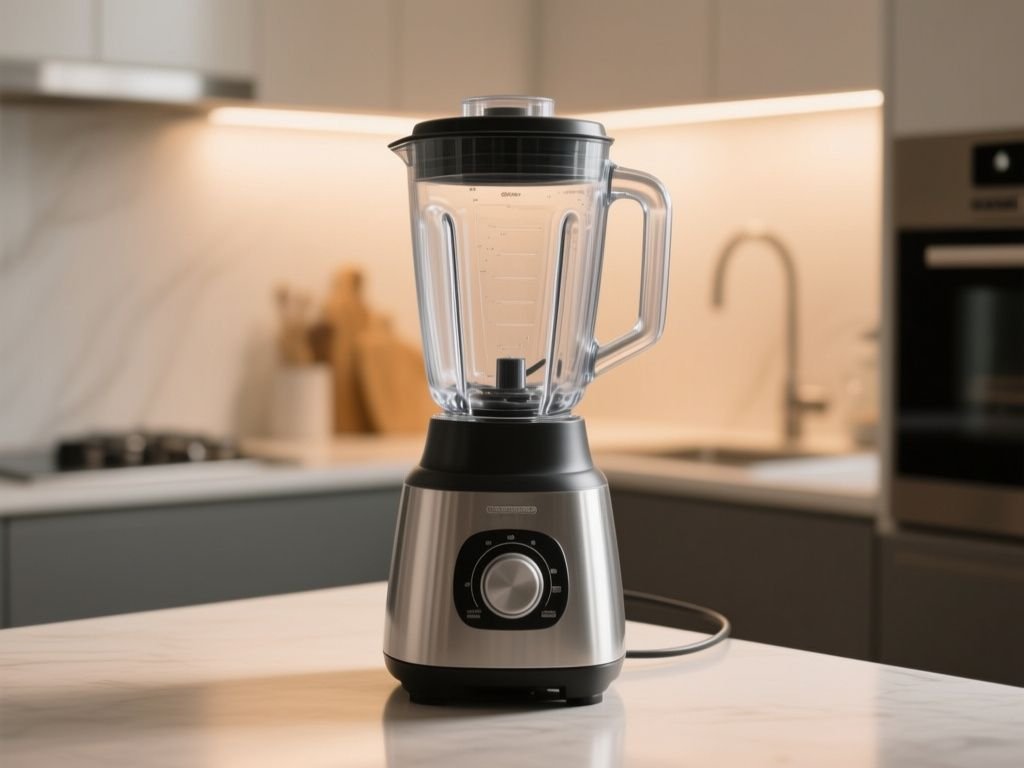
Fill the blender jar halfway with warm water. Add a single drop of dish soap—no more, because extra suds are hard to rinse away. Secure the lid and run the blender on high for 30 seconds. That is the entire method, and it works because the spinning blades push soapy water through every crevice that liquid food touched. Pour out the soapy water, rinse the jar twice with clean water, and dry it upside down. This method is safe for glass and BPA-free plastic jars, and it does not damage the seal as long as the water is warm rather than boiling.
For a blender used to make a healthy pumpkin pie smoothie, a 30-second cycle is usually sufficient because pumpkin puree and banana are water-soluble. But if you added nut butter or coconut oil to that recipe, you need the next method.
Full Disassembly and Hand-Washing
Unplug the blender first. Remove the jar from the base, then unscrew the blade assembly from the bottom of the jar. On most full-size blenders from Vitamix, Blendtec, Ninja, Hamilton Beach, and Oster, the blade base threads off the jar in a counterclockwise direction. Some personal-sized models use a twist-lock instead, which releases with a quarter turn. Once the blade base is off, peel the silicone gasket or O-ring away from the blade hub. This is the critical step that most people skip, and it is where mold and sludge hide.
Wash the jar, blade assembly, gasket, and lid separately in warm soapy water. Use a soft sponge or a bottle brush for the jar and a small nylon brush for the underside of the blade hub. Never scrub the blades with a metal scouring pad or harsh abrasive. The blade edges are not meant to withstand that, and a scratched blade surface traps food particles more easily. A soft sponge is safe; use a brush only if there is caked-on food, and even then choose nylon bristles.
Cleaning the Motor Base
The motor base never goes near water. It houses the electrical motor and the drive socket, and submerging it can destroy the appliance and create a serious shock hazard. To clean the base, unplug it and wipe the exterior with a damp cloth, then dry immediately with a towel. If food splatter has dried on the control panel, use a cloth dampened with a 50/50 mix of white vinegar and water, then wipe again with plain water to remove the vinegar smell. The CPSC advises that any kitchen appliance with a cord should be unplugged before cleaning, and that liquids must never enter the motor housing.
For the drive socket on top of the base, use a dry cotton swab or a small brush to remove dust or crumbs. Never poke anything metal inside, and never spray cleaner directly onto the base. If a spill runs under the blender, unplug the unit, lift it, and wipe the counter and the bottom of the base separately.
Removing Garlic, Onion, and Cloudiness
Garlic and onion odors cling to plastic jars and silicone gaskets because the sulfur compounds in those ingredients are oil-soluble and slowly release over time. A rinse with soapy water removes the surface film but not the trapped molecules. The most effective fix is to fill the jar halfway with warm water, add two tablespoons of baking soda, and run the blender for 20 seconds. Let the mixture sit for 15 minutes, then rinse. Baking soda neutralizes the sulfur compounds instead of just masking them. A second option is to blend a 50/50 mix of white vinegar and warm water for 20 seconds, but vinegar can leave its own smell in plastic, so always follow with a plain water rinse and air-dry overnight.
Cloudy plastic jars are almost always the result of two things: hard water mineral deposits or micro-scratches from abrasive sponges. Hard water deposits come off with the vinegar rinse above. Micro-scratches cannot be removed, but you can prevent more by using a soft sponge and avoiding powdered cleansers. A cloudy jar still works fine; it just looks worn. Glass jars rarely cloud from hard water, but they can develop a hazy film from soap buildup, which a white vinegar rinse removes completely.
Deep-Cleaning Sticky, Oily, and Dried-On Residue
Nut Butter, Pesto, and Oily Films
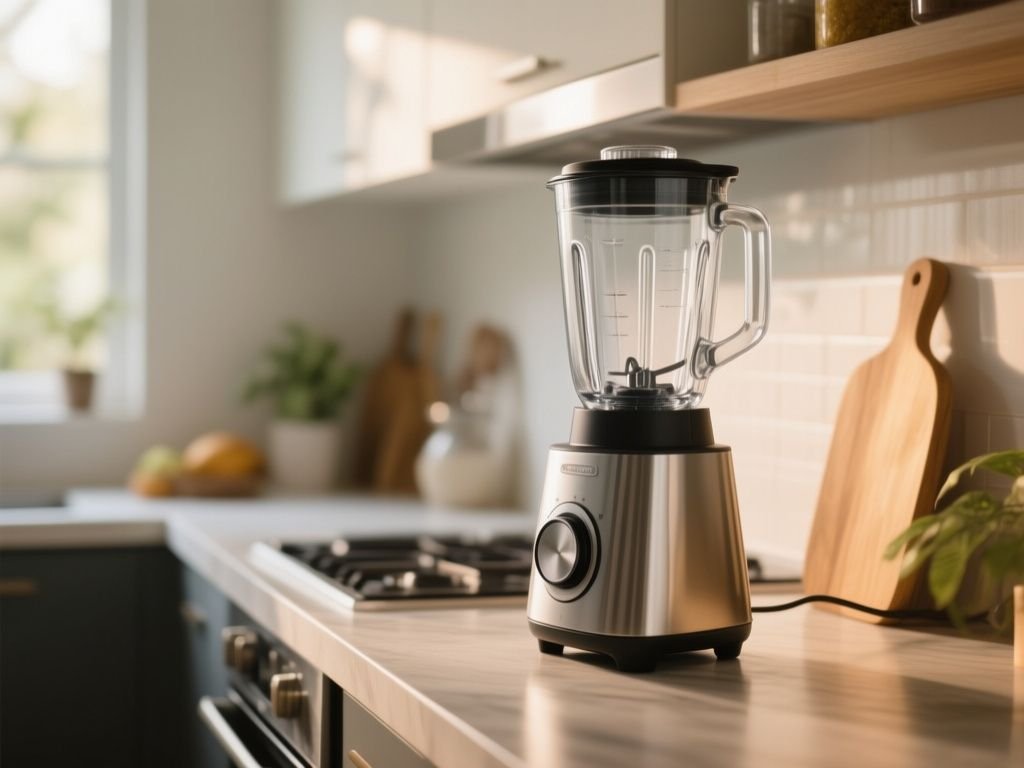
Oily blends leave a thin film that resists plain water. Dish soap alone will remove most of it if you use enough agitation, but the real problem is that the oil works its way underneath the gasket before you even start cleaning. The only reliable method is full disassembly. Remove the blade base, pull off the gasket, and soak both in a small bowl of warm water with a few drops of dish soap for 10 minutes. Then scrub the metal blade hub with a nylon brush, paying attention to the inner rim where the gasket seats. Rinse everything and dry completely before reassembling. For especially stubborn oil, add one teaspoon of baking soda to the soak water; the mild abrasive action helps lift the film without scratching metal or silicone.
Dried-On or Caked Food
If smoothie residue dried onto the jar walls or blades overnight, a simple self-clean cycle may not be enough. Start by filling the jar halfway with warm water and one drop of dish soap, then run on high for 30 seconds to loosen the top layer. Pour out that water, then use a soft sponge to wipe the jar. For anything still stuck, make a paste of baking soda and water, apply it to the spot, and let it sit for 5 minutes before scrubbing gently. Baking soda is abrasive enough to remove dried food but soft enough not to scratch glass or BPA-free plastic. Never use oven cleaner, bleach, or abrasive pads, as those permanently damage the jar and can leave harmful residues.
Dishwasher Use: Why Hand-Washing Often Wins
Which Parts Can Go In
Many blender jars, lids, and blade assemblies are labeled dishwasher-safe. The listing states that the jar and lid can go on the top rack, and sometimes the blade assembly too. But that label means the parts will not melt or warp, not that they will come out clean. Dishwasher detergent is far more alkaline than dish soap, and the high-heat dry cycle can bake food residue onto the seal and the blade hub. In fact, residue may become permanently bonded to the blender if the dry setting is utilized on a dishwasher. That is not a warning you will see in most manuals, but any gasket with baked-on film is far harder to clean than one that was hand-washed after each use.
The Dry Cycle Problem
A dishwasher’s dry cycle reaches temperatures around 140°F to 170°F depending on the model. That heat is fine for glass and most BPA-free plastics, but it accelerates the breakdown of silicone gaskets. Over time, the gasket becomes stiff, loses its seal, and starts leaking. Running a dishwasher cycle can dull the blades and prematurely age the jar, even if the parts are labeled dishwasher-safe. If you do use the dishwasher, select the air-dry or no-heat setting, place the blade assembly and gasket in a mesh bag so they don’t fall into the bottom rack, and remove them as soon as the cycle ends to air-dry completely. But hand-washing takes two minutes and preserves the seal for years longer.
Maintaining the Seal and Preventing Buildup
Gasket Care and Mold Prevention
The silicone gasket or O-ring inside the blade assembly can trap moisture and cause odors—check and air-dry it after each deep clean. Mold spores need three things to grow: moisture, food, and time. A gasket that is reassembled while damp has all three. After washing, lay the gasket flat on a drying rack or a clean kitchen towel, and leave the blade assembly in two pieces for at least an hour. If you see black or pink stains on the gasket that do not come off with soap and water, soak the gasket in a 50/50 mix of white vinegar and warm water for 30 minutes, then scrub with a soft brush. If the stains remain or the gasket feels brittle, replace it. Most manufacturers sell replacement gaskets separately, and a new one costs far less than a new blender.
How Often to Deep-Clean
The frequency depends on what you blend. For a blender used once a day for simple fruit smoothies, a full disassembly deep-clean once a week is enough, with a 30-second self-clean after each use. For a blender used daily for oily, savory, or sticky mixtures—pesto, hummus, nut butter, protein shakes with peanut butter—deep-clean the blade assembly every two or three uses. If you make a high protein chicken salad dressing that includes oil and garlic, clean and dry the gasket the same day. The rule is simple: any blend that contains oil, raw garlic, onion, or dried fruit requires a full disassembly within 24 hours, because those ingredients leave the kinds of residues that support rapid bacterial growth.
Glass vs. Plastic Jars
Glass jars resist staining and scratching far better than plastic, but they are heavier and can shatter if dropped. Plastic jars, especially BPA-free models from Ninja and Oster, are lighter and less likely to break, but they absorb odors and show scratches more visibly. Both require the same cleaning method: hand-wash with warm soapy water, use a soft sponge, and avoid the dishwasher’s dry cycle. If a plastic jar has absorbed a stubborn odor, the baking soda method described earlier removes most of it. If the odor persists after two treatments, the jar may need to be replaced, especially if it is several years old and heavily scratched.
Personal-Sized Blenders vs. Full-Size Jugs
Personal-sized blenders often have a blade assembly that doubles as the cup’s base, which means the blades and gasket are even smaller and easier to lose in the sink. The cleaning steps are identical: unscrew the blade base from the cup, remove the gasket, wash each part, and air-dry separately. The main difference is that personal blender cups are rarely dishwasher-safe on the bottom rack, and the small blade hubs trap food more easily because there is less room for water to circulate. A bottle brush with a narrow head works well for the cup, and a pipe cleaner or small nylon brush cleans the inside of the blade hub. For a full-size jar, a long-handled sponge or a standard bottle brush reaches the bottom easily, but the blade hub is still the part that needs individual attention.
If you use a full-size blender for batch-prepping smoothies or sauces, cleaning the blade assembly right after use prevents the residue from drying in the first place. A chocolate granola recipe that calls for blending a date paste before mixing with oats leaves a sticky film that hardens fast. Rinse the jar and blade base within five minutes of pouring out the mixture, even if you plan to deep-clean later. That one habit cuts cleaning time in half.
Frequently Asked Questions
Can I put my blender jar in the dishwasher?
You can, but hand-washing gives a better result. Dishwasher detergent and high-heat dry cycles can bake residue onto the seal and dull the blades. If the jar and lid are labeled dishwasher-safe, use the top rack with air-dry or no-heat settings, and never put the blade assembly or gasket in without a mesh bag. Hand-washing takes two minutes and protects the seal.
How do I clean a blender without taking it apart?
Fill the jar halfway with warm water, add one drop of dish soap, and run on high for 30 seconds. Pour out the soapy water, rinse twice with clean water, and dry upside down. This works only for water-soluble residues like fruit smoothies. Oily, garlicky, or sticky blends still need full disassembly, because the self-clean cycle cannot reach the underside of the blade hub or the gasket.
How often should I replace the gasket in my blender?
Replace the silicone gasket or O-ring when it becomes stiff, cracked, stained, or when the blender starts leaking from the blade base. A properly cared-for gasket can last two to three years with regular hand-washing and air-drying after each deep clean. A gasket that spends every cycle in the dishwasher may need replacement within a year, because heat and alkaline detergent degrade the silicone. Check the gasket each time you disassemble the blade assembly.