A dirty blender is a dull blender. Knowing how to clean a blender properly means treating the jar and the blade base as two separate jobs, not one big rinse.
The key distinction an experienced cleaner knows is that a blender has two distinct cleaning zones: the jar and lid (often dishwasher-safe) and the blade base with gasket (which must be hand-washed to protect the seal). Begin by disassembling the jar from the blade base, then soak the jar in warm soapy water, and use a bottle brush to scrub the underside of the blades and the gasket groove. Never assume the entire unit is dishwasher-safe—check the base, as submerging it will damage the motor and create a fire hazard.
From the standpoint of someone who runs blenders into stiff dough and thick nut butter, the cleaning routine is not optional maintenance. Heavy blending forces oils, fibers, and sugars into the blade housing and around the rubber gasket. Left there, that residue hardens under heat and friction, which makes the motor work harder on the next run and shortens the life of the seal. A blender that gets cleaned after every heavy batch will outlast one that only sees a rinse when the jar looks cloudy.
Key Takeaways
- Disassemble the jar from the blade base, then hand-wash the blade assembly and rubber gasket separately.
- Never submerge the motor base; wipe it with a damp cloth only to avoid electrical damage and fire risk.
- For everyday cleanup, blend hot water with a drop of dish soap for 30 seconds, then rinse.
Step 1: Disassemble the Blender into Its Two Cleaning Zones
Before touching any part, unplug the power cord. The Consumer Product Safety Commission (CPSC) advises that any motorized kitchen appliance should be unplugged before cleaning to prevent accidental activation. A blender blade can spin without warning if the switch is bumped, and the motor housing holds enough stored energy to cause injury.
Unplug the Power Cord First
This step takes two seconds and removes the single largest risk. Never clean a blender while it is plugged in, even if the jar is off the base. Electricity and water do not mix, and the blade assembly is sharp enough to cause serious cuts if it spins unexpectedly.
Remove the Jar from the Motor Base
Lift the jar straight up off the base. If the jar sticks, a slight twist usually releases the coupling, but do not force it sideways or you may bend the drive shaft. The jar, whether glass or plastic, now becomes one cleaning zone. The motor base stays behind and should never touch running water.
Unscrew the Blade Assembly from the Jar
On most blenders, the blade assembly is a separate collar that threads onto the bottom of the jar. Turn it counterclockwise to remove. Some designs use a retaining ring that requires a cloth for grip, especially after a thick blend like nut butter. The blade assembly includes the metal blades, a plastic or metal collar, and a rubber gasket that sits between the collar and the jar.
Check the Jar for Dishwasher Safety
Many glass jars and certain tritan copolyester jars are labelled dishwasher-safe, but not all plastic jars are. Polycarbonate and cheaper plastics can warp in the high heat of a dishwasher’s drying cycle, which then breaks the seal with the blade collar. The manufacturer’s mark on the bottom of the jar usually states whether it is top-rack safe. When in doubt, hand-wash the jar—the extra minute is cheaper than replacing a warped jar.
Step 2: Clean the Jar and Lid
The jar and lid handle the bulk of the food contact, so they need the most attention. The goal here is to remove oils, fibers, and any cloudiness without scratching the interior surface. Scratches become traps for bacteria and odors, so use soft tools.
Hand-Wash or Dishwasher: Which Is Safer?
A glass blender jar can go through the dishwasher on the top rack without worry. A tritan jar, which is a BPA-free copolyester, usually also survives top-rack cleaning, but the drying element can still cause micro-crazing over time. If the jar has any printed markings or a rubberized grip, those may degrade faster in the dishwasher. Hand-washing with warm water and a few drops of dish soap is always the gentlest method.
Soak Dried-On Food in Warm Soapy Water
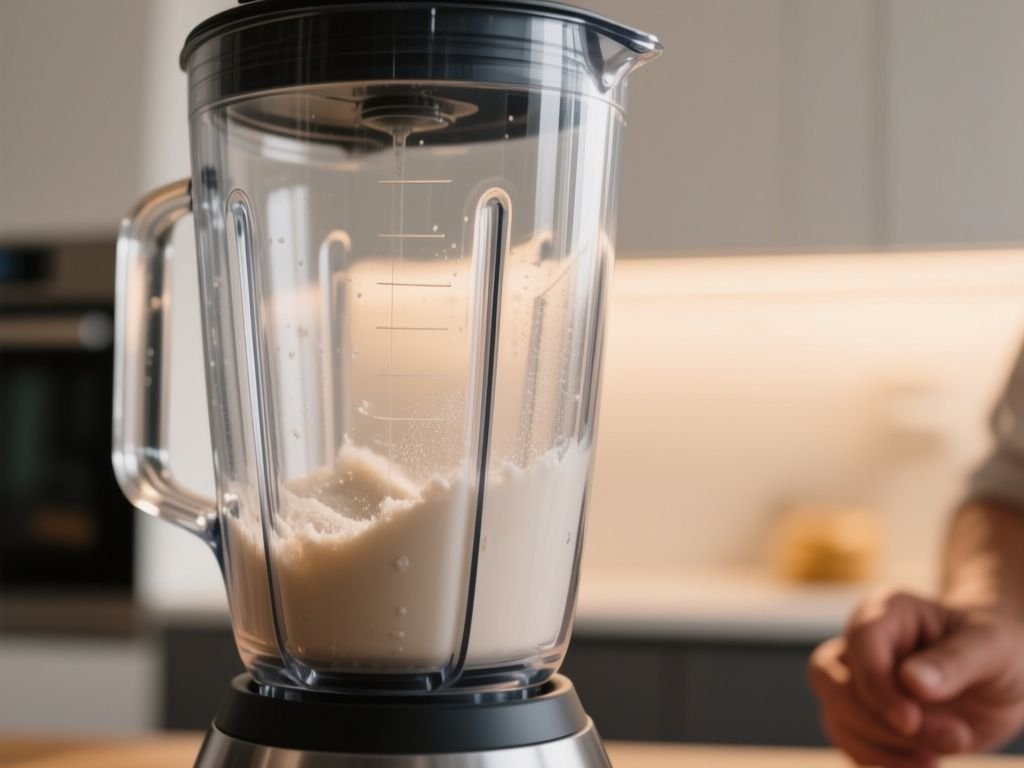
If a smoothie or sauce dried onto the jar walls, fill the jar halfway with warm water and a couple drops of dish soap. Let it sit for 10 to 15 minutes. The warm water softens sugars and starches, while the soap breaks surface tension so the food releases from the glass or plastic. If the residue is from a thick smoothie like this pumpkin pie smoothie, the fibers may need a full 15-minute soak before the brush removes them. For stubborn patches, use a non-scratch sponge or a nylon bottle brush to dislodge the residue after soaking.
Use a Nylon Bottle Brush on the Inside
A nylon bottle brush reaches the bottom curves of the jar where a sponge cannot press firmly. Run the brush in small circles along the walls and across the bottom. Pay extra attention to the threads at the top and bottom of the jar, because those grooves collect dried liquid that later turns sticky. Rinse with clean water until no soap bubbles remain.
Remove Stains from a Plastic Jar
Tomato sauce, turmeric, and berry smoothies often leave orange or yellow stains on plastic. To lift these, make a paste of baking soda and water, apply it to the stained area with a soft cloth, and let it sit for 30 minutes. Then scrub gently with a nylon brush and rinse. Baking soda is a mild abrasive, so avoid hard scrubbing, which will leave fine scratches that hold future stains even worse.
Clean the Lid and Small Cap
The lid and its removable filler cap are easy to forget. Both pieces collect splatter and condensation, and the cap often sits in the splash zone of every blend. Wash them in warm soapy water with a small brush to get into the cap’s groove. A toothpick or cotton swab works well for the narrow gap where the cap snaps into the lid. Rinse and dry completely before reassembling.
Step 3: Clean the Blade Assembly and Gasket by Hand
This is the part that most people skip, and it is exactly where old food hides. The blade assembly contains the seal that keeps liquids from leaking out the bottom of the jar, so cleaning it correctly protects both hygiene and the blender’s performance.
Never Put the Blade Base in the Dishwasher
The blade collar, metal blades, and especially the rubber gasket should never go through a dishwasher cycle. The high heat and harsh detergent dry out the rubber, causing it to shrink and crack. A cracked gasket will not seal the jar, and liquid will leak down into the motor housing during the next blend. Hand-wash this entire assembly in the sink with warm soapy water.
Scrub the Underside of the Blades
Food collects underneath the blades, where the metal meets the plastic collar. Use a nylon bottle brush or an old toothbrush to scrub this area from both directions. The underside of the blades is sharp, so hold the assembly by the collar and angle the brush away from your fingers. A five-second scrub under the blades removes more residue than a thirty-second rinse from above.
Remove and Wash the Rubber Gasket Separately
The rubber gasket often hides food particles and must be removed and washed separately to prevent bacteria growth. Slide the gasket off the blade collar, then wash it in warm soapy water, rubbing it between your fingers to dislodge any trapped bits. Check the gasket’s groove on the collar as well, because that recessed channel is a common place for mold to start. NSF International, which sets sanitation standards for food equipment, notes that removable seals and gaskets must be cleaned separately to prevent biofilm buildup (NSF).
How to Avoid Cutting Yourself
The blades on most blenders are sharp enough to slice skin on contact. Always grip the blade assembly by the outer collar, never by the blades themselves. Use a brush with a long handle so your hand stays at least four inches away from the cutting edges. After washing, rinse the assembly under running water while holding the collar, then set it on a drying rack with the blades facing down so no one reaches into the sink and grabs the sharp end by mistake.
Step 4: Wipe the Motor Base Without Water
The motor base is the electrical heart of the blender, and water is its enemy. Cleaning this part correctly is about using as little liquid as possible while still removing the splatter that inevitably lands on it.
Damp Cloth Only, Never Submerge
The motor base contains the wiring, switches, and motor windings. Submerging it in water or running it under the tap will short the electrical components and create a fire hazard the next time you plug the blender in. Use a soft cloth dampened with warm water and a tiny amount of dish soap. Wring the cloth out until it is almost dry, then wipe the exterior surfaces, including the control panel and the base ring.
Address Spills on the Base
If a smoothie or sauce dripped down the side and onto the base, wipe it up as soon as possible. Dried liquid can seep into the seam between the base and the drive coupling, eventually reaching the motor. For stubborn dried-on residue, apply a drop of dish soap directly to the cloth and scrub the spot, then follow with a clean damp cloth to remove any soap film. Never use a spray bottle near the base, because the mist can enter ventilation slots.
This is the key difference between cleaning the jar and cleaning the base: the jar can be soaked, scrubbed, and even run through a dishwasher, but the base tolerates only a damp wipe. Treat the base like a laptop or a toaster—surface clean only.
Step 5: Deep Clean for Odors and Stubborn Residue
Even with regular washing, a blender that sees heavy use will eventually hold onto odors from garlic, onion, or protein powders. A deep clean with vinegar and baking soda resets the jar and blade assembly without harsh chemicals.
Vinegar Soak for Odors
White vinegar is a natural deodorizer that cuts through alkaline residues left by leafy greens and protein shakes. Fill the jar halfway with warm water, add a quarter cup of white vinegar, and let it sit for 20 minutes. Then rinse thoroughly with water. For the blade assembly and gasket, soak them in a bowl of one part vinegar to three parts water for 15 minutes, then wash with dish soap as usual. The vinegar smell disappears completely once the parts dry.
Baking Soda for Stains and Cloudiness
For a plastic jar that has turned cloudy from hard water minerals or fine scratches, mix two tablespoons of baking soda with enough water to form a paste. Apply the paste to the interior walls with a soft cloth, let it sit for 30 minutes, then scrub gently with a nylon brush. Baking soda is a mild abrasive that polishes away the top layer of haze, but avoid using steel wool or scouring pads, which will gouge the plastic and make future cleaning harder.
The 30-Second Hot Water and Soap Blend
This is the fastest daily cleaning method and the one that most blender manuals recommend. Fill the jar halfway with hot water, add a couple drops of dish soap, secure the lid, and run the blender on high for 30 seconds. The spinning blades create a vortex that forces soapy water through the blade assembly and against the jar walls. After blending, pour out the soapy water and rinse the jar with clean water. For light tasks like smoothies or soups, let the soapy water sit in the jar for one to two minutes before blending to loosen residue. For heavy jobs like nut butters, let it sit for up to five minutes before running the blend cycle. The longer soak gives the soap time to break down oils that the 30-second blend alone will not remove. Nut butters and heavy protein blends, like the dressing from this high protein chicken salad, leave an oil film that the 30-second blend won’t fully remove.
This method cleans the jar and blade assembly together, but it does not replace the need to remove and hand-wash the gasket periodically. The gasket groove sits below the vortex’s effective reach, so food still packs into that seam over time.
How Often to Deep-Clean
After every use of a blender that handled something thick or oily, run the hot water and soap blend method. Once a week, or after any blend with garlic, onion, or fish, do a full disassembly and hand-wash the gasket and blade collar. A monthly deep clean with vinegar and baking soda keeps the jar from developing a permanent smell and prevents mineral buildup from hard water. If you blend protein shakes daily, consider deep-cleaning twice a month because protein powder leaves a film that soap alone does not fully remove.
Step 6: Drying and Storage
Moisture is the enemy of any blender that gets reassembled before it is completely dry. Trapped water inside the blade collar or gasket groove leads to mold and eventually degrades the rubber seal.
Dry All Parts Completely Before Reassembling
After washing, shake off excess water and set each part on a drying rack or a clean towel. The jar should be inverted so water drains out the opening. The blade assembly should sit blades-down on a towel to catch drips, but keep the gasket removed until both the gasket and the collar are fully dry. Rushing this step means you will reassemble a damp blender, and that moisture will sit against the rubber seal for days, causing it to crack.
Store Unassembled to Prevent Mold
If possible, store the blender with the jar and blade assembly separated. Air can circulate through the gasket groove when the collar is not threaded tightly onto the jar. For blenders with a one-piece jar and blade built into the bottom, leave the jar off the motor base and store it upside down on a towel for a few hours before putting it away. A dry blender is a clean blender, and a clean blender runs quieter because there is no crusted residue interfering with the blade bearings.
Frequently Asked Questions
Can I put the blender jar in the dishwasher?
It depends on the material. Glass blender jars are almost always dishwasher-safe on the top rack. Tritan copolyester jars usually survive the dishwasher as well, but check for a symbol on the bottom. Cheaper plastic jars can warp or cloud in high heat, so hand-washing is safer when in doubt. The blade assembly, gasket, and motor base should never go in the dishwasher.
How do I clean the blades without cutting myself?
Always hold the blade assembly by the outer collar, never by the blades. Use a long-handled nylon brush or an old toothbrush to scrub the underside, keeping your fingers at least four inches away. After rinsing, set the assembly on a drying rack with the blades facing down so no one accidentally grabs the sharp end. A cut from a blender blade is deep and jagged, so treat the blades like a chef’s knife.
How do I get rid of stubborn smells from my blender?
Fill the jar halfway with warm water and add a quarter cup of white vinegar. Let it sit for 20 minutes, then rinse. For the blade assembly and gasket, soak them in a bowl of one part vinegar to three parts water for 15 minutes. After soaking, wash with warm soapy water and dry completely. The vinegar smell disappears as the parts dry. Baking soda can also be used as a paste for stains, but vinegar is better for odors.
What is the best way to clean the rubber gasket?
Remove the gasket from the blade collar every time you deep-clean the blender. Wash it in warm soapy water, rubbing it between your fingers to dislodge trapped food particles. Inspect the groove on the collar where the gasket sits, because that recessed channel is a common spot for mold. Let the gasket air dry completely before reinstalling it. Replacing a worn gasket is cheaper than a new blender, so check for cracks every month.
How do I clean the base without getting water into the motor?
Unplug the blender first. Wring out a soft cloth until it is almost dry, then wipe the base’s exterior surfaces, including the control panel and the drive coupling. For dried-on spills, add a drop of dish soap to the cloth, scrub the spot, then wipe again with a clean damp cloth. Never spray water or cleaning solution directly on the base, and never submerge any part of the motor housing. Water inside the base can cause a short circuit and a fire hazard.