The sour smell is the first sign. You rinse the jar, you run it under hot water, you even give it a quick blend with soapy water, but a week later the same stale odor creeps back into your morning smoothie. That’s because the visible walls aren’t the problem. The gasket and the underside of the blade assembly are where old food particles, oils, and bacteria hide, and they won’t come clean with a casual rinse. Learning how to clean a blender properly means alternating a daily quick self-clean with a weekly disassembly that reaches those trapped residues. If you blend a lot of smoothies like our Healthy Pumpkin Pie Smoothie Recipe, the gasket needs extra attention.
Key Takeaways
- A 30-second soap-and-water blend cleans the jar walls after daily use, but it does not clean the gasket or blade base.
- Disassemble the jar, gasket, and blade assembly at least once a week to remove trapped food that causes odors and leaks.
- Never submerge the motor base; wipe it with a damp cloth, and always air-dry gaskets completely to prevent mold.
The Quick Daily Clean: 30 Seconds After Every Use
The fastest way to clean a blender after a smoothie is a self-clean cycle. Pour warm water into the jar until it is half full and add one to two drops of dish soap, such as Dawn. Secure the lid and run the blender on high for 30 seconds. The soapy water reaches the interior walls and the underside of the blade assembly, removing most liquid residues. Pour out the soapy water, rinse the jar and lid with fresh water, and invert to air dry.
This method works for smoothies, soups, sauces, and any liquid-based mixture. It does not work for sticky doughs, nut butters, or thick batters—those require a deep clean. Here is the step-by-step routine.
- Fill the jar halfway with warm water. Add a single drop of dish soap. Too much soap creates excessive suds.
- Blend on high for 30 seconds. The agitation helps dislodge particles from the blades and the jar walls.
- Rinse and dry. Pour out the soapy water, rinse thoroughly, and set the jar upside down on a drying rack.
This quick clean takes less than a minute and keeps your jar ready for the next use. However, it leaves the gasket untouched, which is why a weekly deep clean is essential.
The Deep Clean: Disassembling the Jar, Gasket, and Blade Base
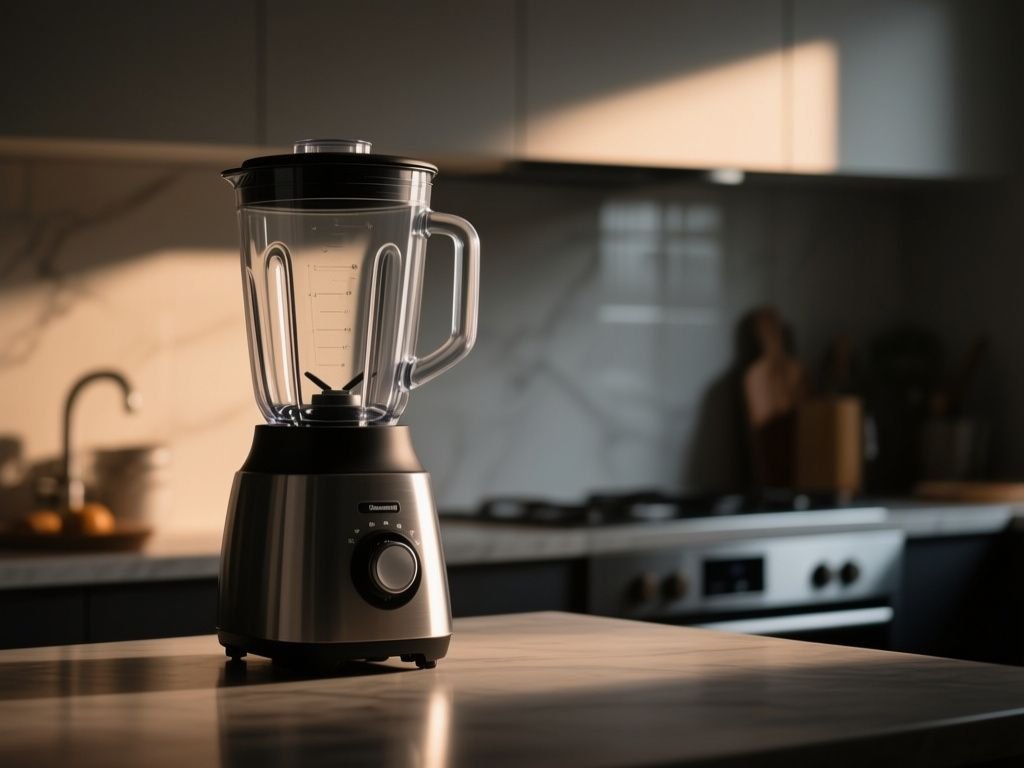
The quick self-clean cannot reach the gasket, a silicone ring that sits between the jar and the blade assembly. Food particles get trapped there and decompose, causing odors and leaks. A proper deep clean requires disassembling the jar, removing the gasket, and scrubbing all parts individually. Do this at least once a week, or more often if you use the blender daily for heavy ingredients.
Step 1: Unplug the blender. Always disconnect the power before handling sharp blades or disassembling parts.
Step 2: Remove the blade assembly. On most blenders, the blade base screws onto the bottom of the jar. Turn it counterclockwise to release. If the design uses a retaining nut, use the wrench that came with the unit or check the manual. Brands like Oster and older Hamilton Beach models often have a screw-on base, while Vitamix and Blendtec use a fixed blade base that may require a special tool. Ninja blenders typically have a blade assembly that lifts out of the pitcher.
Step 3: Remove the silicone gasket. Gently pull the gasket out of its groove. This is the piece most people forget.
Step 4: Wash all parts in warm, soapy water. Use a soft brush or sponge to scrub the gasket, the underside of the blade assembly, and the threads on the jar. Avoid abrasive pads on plastic jars because they create micro-scratches that lead to cloudiness.
Step 5: Rinse and dry thoroughly. Moisture left in the gasket groove can develop mold, so air-dry all parts completely before reassembling.
How to clean the blades without cutting yourself: Handle the blade assembly by the base or the plastic edges, never the cutting edges. Use a long-handled dish brush to scrub under the blades, or soak the assembly in hot soapy water for 10 minutes first to loosen any debris.
Cleaning the Lid and Fill Cap
The blender lid often has a removable center cap for adding ingredients mid-blend. That cap has small vents and edges that trap residue. Soak the lid and fill cap in hot soapy water for a few minutes, then scrub with a small brush or sponge. Do not forget the lid’s underside, where splatter collects. Rinse and dry completely before using again.
Special Cleaning Situations: Odors, Cloudiness, and Dried-On Food
Removing the Smoothie Smell
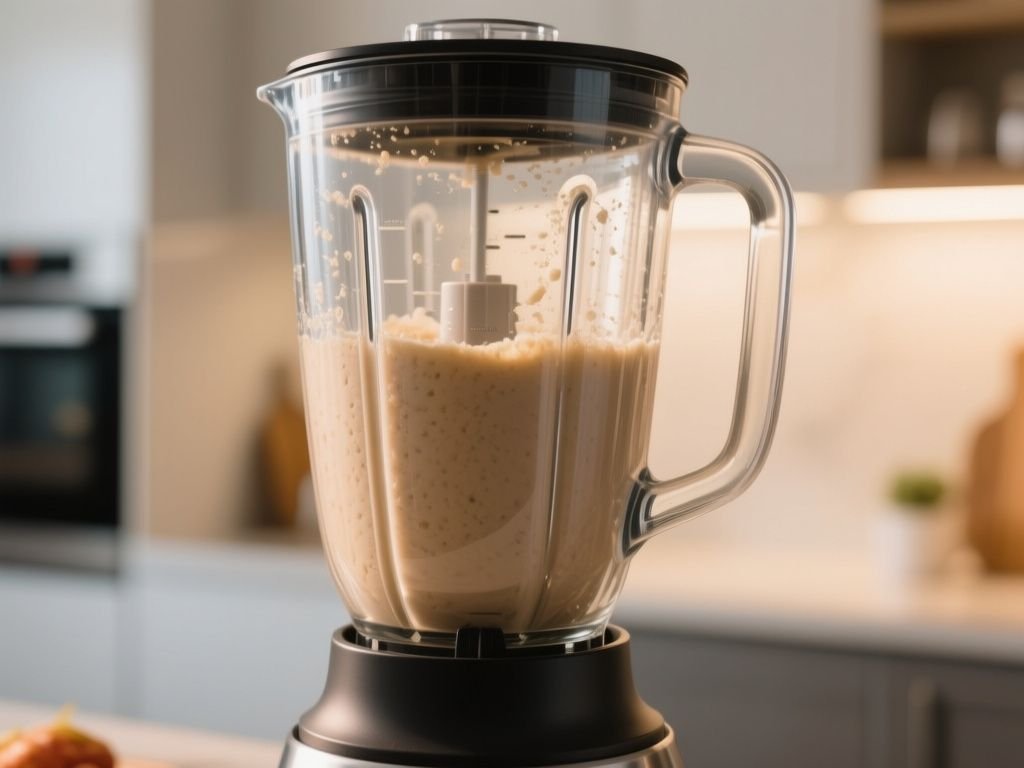
Smoothie odor comes from organic compounds in fruits and vegetables that cling to plastic or rubber parts. After a deep clean, if the smell persists, fill the jar halfway with warm water and add 2 tablespoons of baking soda. Blend for 30 seconds, let it sit for 15 minutes, then rinse. For stubborn smells, use a 50/50 mix of white vinegar and water, blend, let sit, then wash with soap. Do not use bleach unless the manual specifically allows it; bleach can degrade plastic and gaskets.
The best prevention is immediate action: rinse and do the quick clean right after each use. Don’t let smoothie residue dry on the surfaces.
Fixing a Cloudy Plastic Jar
Cloudiness on a Tritan plastic jar usually comes from mineral deposits in hard water or micro-abrasions from abrasive cleaning. Borosilicate glass jars do not cloud from minerals, but plastic does. To remove mineral haze, fill the jar with equal parts white vinegar and warm water, soak for 30 minutes, then scrub with a non-abrasive sponge. Rinse well. If the cloudiness persists, it is likely scratches, which cannot be reversed. To prevent scratches, never use steel wool or abrasive cleansers, and avoid the dishwasher’s heated dry cycle.
Removing Dried-On Food from the Bottom
If you forgot to clean immediately, dried food can stick under the blades. Fill the jar with hot water and a squirt of dish soap, let it soak for 15-20 minutes, then run the blender on high for 30 seconds. Pour out and scrub the bottom with a long-handled brush, reaching under the blades. If necessary, disassemble the blade base to clean thoroughly. Never use the dry cycle on a dishwasher for dried-on food; the heat can bake the residue onto surfaces. According to the U.S. Food and Drug Administration, washing food contact surfaces with hot, soapy water and rinsing thoroughly is the standard for safe cleaning.
Baking Soda and Vinegar: Odor and Stain Remedy, Not a Degreaser
Baking soda and vinegar react to produce fizz that helps lift stains and neutralize odors, but they are not soap. For greasy residues like nut butters, oils, or fatty dressings, you need dish soap to emulsify the fats. If you’ve used your blender for something like our Easy Chocolate Granola Recipe with oils and honey, soap is non-negotiable. Use baking soda and vinegar as an occasional deodorizer or mineral remover, but always follow with soap and water.
Cleaning the Blender Base and Motor
The blender motor base contains live electrical components and must never be submerged in water or placed in a dishwasher. Even a damp cloth should be wrung out thoroughly before wiping. Unplug the base, then wipe the exterior with a damp cloth or sponge. For stubborn splatters, use a paste of baking soda and water on a cloth, gently scrub, then wipe with a clean damp cloth and dry with a towel.
Never run water over the base or let it drip into ventilation holes. The motor housing is not sealed against liquid ingress, and moisture can short the electrical parts.
Dishwasher Safety, Gasket Care, and Preventing Leaks
Is It Safe to Put My Blender Jar in the Dishwasher?
Only if the manufacturer marks the jar, lid, and gasket as dishwasher-safe. Many jars, lids, and gaskets are top-rack safe, but the blade assembly may not be, because high heat can damage the bearing. Check the bottom of the jar or the manual. Placing parts on the bottom rack or using the heated dry cycle can warp plastic or degrade gaskets. The NSF International sets standards for residential dishwashers, and sanitization cycles require high heat that many blender parts cannot withstand. When in doubt, hand wash.
Why Does My Blender Leak After Cleaning?
A blender leaking after cleaning usually means the gasket is not seated properly, the gasket was left out, or the blade assembly was not tightened completely. After cleaning and drying, reassemble the blade base and gasket carefully. Ensure the gasket sits flat in its groove and is not twisted. Tighten the blade assembly by hand until snug but not over-tightened, which can crack plastic threads. Run a quick water test: fill the jar with water and run briefly; if no leaks, you are good.
Caring for Glass vs. Plastic Jars
Glass jars made of borosilicate resist stains, odors, and clouding but are heavier and prone to thermal shock—do not pour boiling water into a cold glass jar. Plastic jars made of Tritan are lightweight and shatterproof but more prone to scratching and clouding. Avoid bleach on both materials. Always air-dry parts completely before reassembling to prevent mold. Tritan plastic is highly resistant to impact but will show micro-scratches from abrasive cleaning, which is why a soft sponge and regular deep clean keep the jar clear longer.
Cleaning Different Blender Types
Personal blenders, like the single-serve cups from Ninja or NutriBullet, have a blade base that attaches to a small container. The cleaning principle is the same: remove the blade base, take out the gasket if present, and hand wash. These small cups are often not dishwasher-safe, so check the mark. Immersion blenders should be cleaned by detaching the blending shaft from the motor handle. The shaft can be washed or placed in the dishwasher if marked, but the motor handle must only be wiped with a damp cloth, never submerged.
Sanitizing Without Harsh Chemicals
For everyday home use, thorough washing with hot soapy water and complete air drying is enough to keep a blender safe. If you want an extra level of sanitization, you can occasionally rinse parts with a solution of 1 tablespoon of unscented bleach per gallon of water, then rinse thoroughly with clean water. But do this only if the jar and gasket are bleach-safe according to the manual. Bleach degrades many plastics and rubbers over time. Hot water at 170°F or higher can also sanitize, but most home taps don’t reach that temperature and many blender parts cannot withstand boiling water. Stick with soap and thorough drying.
How Often Should You Deep Clean?
For daily use with smoothies or liquids, deep clean once a week. For occasional use, deep clean before storing. If you blend sticky or oily foods, deep clean immediately after. This routine prevents odor buildup, leaks, and cloudiness. The key distinction is between a quick self-clean and a thorough deep clean that requires disassembling the lid, gasket, and blade base to reach trapped residue. Experienced users know that most dirty blender problems—smells, cloudy plastic, leaks—come from neglecting the gasket and the underside of the blade assembly, not the visible jar walls.
Frequently Asked Questions
Can I clean my blender with just water and no soap?
Water alone will not remove oils or protein residues. Use at least a drop of dish soap; soap is necessary to emulsify fats from nut butters, dairy, or oils. Without soap, you will end up with a film that harbors bacteria and causes odors.
How do I clean the blender blade without cutting my hand?
Use a long-handled dish brush to scrub under and around the blades while the assembly is still attached to the jar, or remove the blade assembly and soak it in hot soapy water for 10 minutes before scrubbing with a brush. Never wipe the blade edges with your fingers.
Is it safe to put the blender jar in the dishwasher?
Only if the manufacturer marks the jar, lid, and gasket as dishwasher-safe. Even then, place them on the top rack and avoid the heated dry cycle. The blade assembly often is not dishwasher-safe because high heat can damage the bearing.
How do I get rid of the smoothie smell that won’t go away?
Remove and clean the gasket separately—that is where the smell lives. Soak the jar and gasket in a solution of 2 tablespoons baking soda and warm water for 15 minutes, then wash with soap. For stubborn odors, use a 50/50 vinegar-water blend, then rinse.
Can I clean the blender motor base with a wet cloth?
Yes, but the cloth should be damp, not dripping. Unplug first, wipe, and dry immediately. Never use a wet sponge directly on the base, as water can seep into ventilation holes and damage the motor.