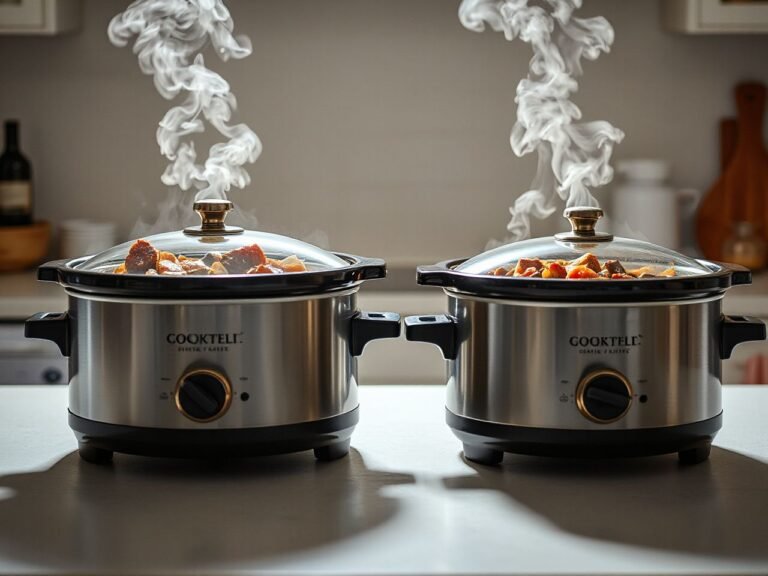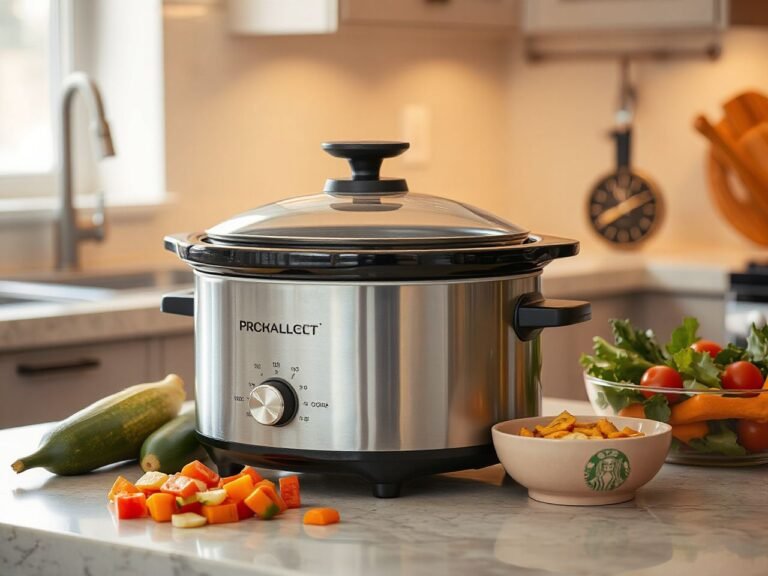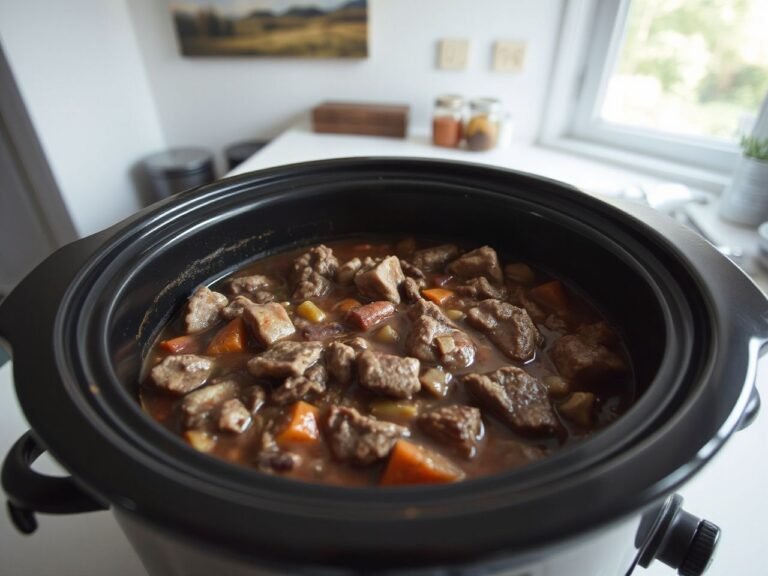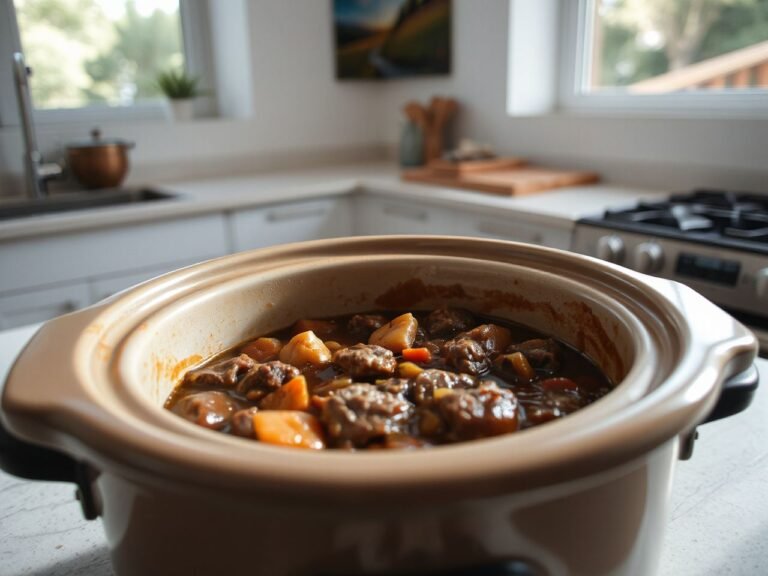
The slow cooker should not be cleaned as one washable object. Cleaning a slow cooker means separating the washable cooking parts from the electrical heating base. Treating the whole appliance as a single washable piece is what can cause damage. Stubborn residue is usually safer to soften with soaking and mild cleaners than to attack with metal tools, abrasive pads, or sudden temperature changes.
The practical method is simple: unplug the cooker, let the removable parts cool completely, wash the crock and lid following their care instructions, and keep water away from the heating base and cord. If you’re also checking how much food belongs in the crock, this short guide to slow cooker fill levels helps prevent spills that later collect around the rim.
Key Takeaways
- Unplug the slow cooker and let the crock cool completely before cleaning.
- Wash the removable crock, lid, and gasket only as their care instructions allow.
- Keep the electrical heating base and cord out of water and running water.
- Use soaking, mild dish soap, baking soda, or white vinegar before reaching for stronger methods.
How to clean a slow cooker safely before washing
A slow cooker has three main parts for cleaning: the lid, the liner or crock, and the cooker itself. The removable stoneware crock and glass lid contact food directly, while the heating base contains electrical controls and the heating element. This division guides every safe cleaning decision.
A slow cooker heating base must stay separate from the washable crock and lid. The base and cord must not be immersed or washed under running water, because water can reach electrical parts and damage the appliance. Treat the metal part of a slow cooker as an electrical surface, not as cookware.
Unplug the appliance and check its condition
Pull the plug before touching the control panel, heating base, or cord. Let the crock cool completely before adding water or moving it from the base. A hot crock exposed suddenly to cold water can suffer thermal shock, and stoneware might crack as a result.
Check the stoneware, glass lid, silicone gasket, cord, and control panel before washing. A cracked crock or damaged glass lid shouldn’t be put back into service. A damaged cord needs attention before the appliance is used again. Cleaning can’t fix a broken cooking component.
Remove loose food with a utensil that won’t scratch the glaze. A plastic scraper is good for dried sauce along the bottom or edges. Metal knives, forks, and spoons can mark the crock, so they shouldn’t be used as chisels.
Read the care instructions before choosing a cleaner
Follow the manufacturer’s instructions to see if the removable crock, lid, or gasket can go into a dishwasher. The same applies before using abrasive cleaners, scouring pads, or metal utensils. Even parts that seem tough may have a finish or seal needing gentler treatment.
Choose the least aggressive cleaner that matches the residue. Dish soap and warm water are the starting point for ordinary grease and food film. Baking soda can help with stubborn residue, while white vinegar may help with some mineral marks or lingering smells, provided the manufacturer’s instructions allow that approach.
Dish soap is the safest first choice for routine food residue on approved washable parts. Strong fumes don’t mean a cleaner is more effective. Never mix household cleaners, and steer clear of ammonia-based products; inhaling caustic ammonia fumes can cause coughing or lung injury.
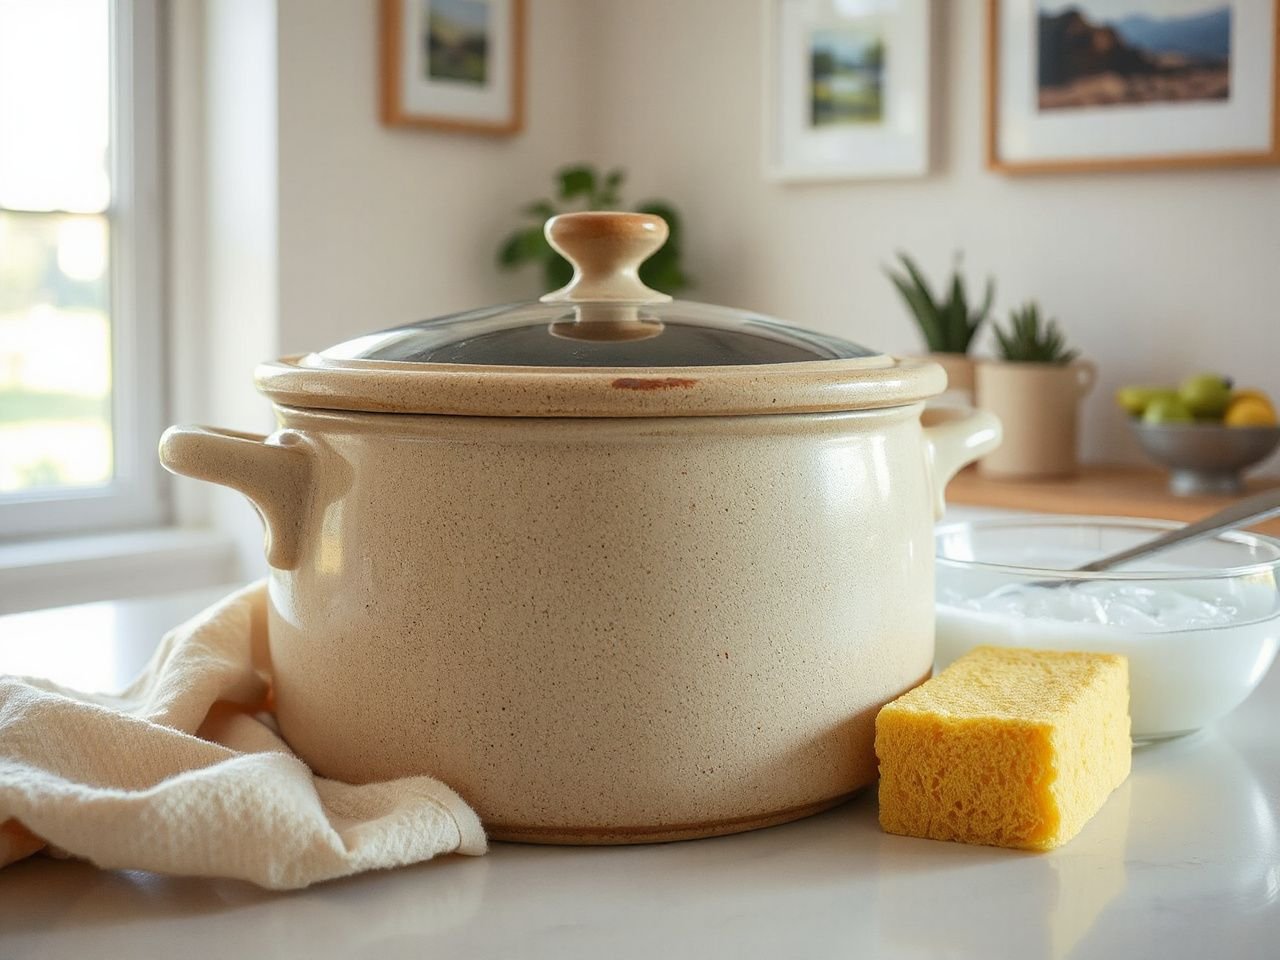
Step-by-step directions for cleaning the crock and lid
Step 1: Remove the crock, lid, and gasket only where designed
Lift the removable stoneware crock from the heating base once it’s cool. Set the base aside in a dry spot. Remove the glass lid and check underneath for a silicone gasket, vent, or other removable parts.
Don’t force a gasket or vent out of its housing. Some parts are meant to come off for cleaning, others are fixed. The instruction manual or markings on the appliance should clarify. If you don’t have the manual, clean around the part without prying it loose.
A removable gasket should be washed separately only if the appliance instructions permit removal. Food residue around a gasket can retain odors or support mold. The seal needs careful attention and thorough drying after washing.
Step 2: Soak the crock instead of scraping aggressively
Put the cooled crock in the sink and add warm water with dish soap, following the care instructions for the stoneware. Let the residue soften before using a non-abrasive sponge. Look for a texture change: dried food should become softer and lift more easily.
Soaking is especially useful for sauce, porridge, beans, and food that has dried into a thin layer. A plastic scraper can help once the residue softens. Keep the pressure light and work across the surface rather than digging at one spot.
Never pour cold water into a hot crock. Don’t carry a hot stoneware liner straight to a cold sink. Thermal shock can crack the stoneware, and a crack might spread during cooking or handling later.
Step 3: Wash the crock with a non-abrasive sponge
Apply dish soap to a non-abrasive sponge and clean the base, side walls, handles, and rim. Give the rim extra attention because splashes can dry there unnoticed. Rinse away the soap and inspect the glaze under good light.
Abrasive cleaners and scouring pads can scratch the liner and other slow cooker surfaces. Scratches can make later cleaning more frustrating because food film may collect in the marked area. The goal is a clean, intact glaze rather than a spotless surface achieved by force.
If the manufacturer permits a dishwasher, follow the stated loading and handling instructions. If those instructions are unclear, hand washing is the cautious choice for the removable stoneware crock. Dry the crock fully before returning it to the heating base or storing it.
Step 4: Clean the glass lid and its rim
Wash the glass lid with dish soap and a non-abrasive sponge. Clean the underside, outer rim, handle, vent, and the area where the lid meets the crock. Grease can remain around the rim even after the broad glass surface looks clean.
Use a plastic scraper for cooked-on food near the edge if soaking has softened it. Do not use a metal blade on the glass or gasket. Check the lid for chips or cracks while it is clean, because food film can hide damage.
A glass lid needs gradual temperature changes during cleaning. Do not expose a hot lid to cold water, and do not place a hot lid on a cold or wet surface. The lid should cool before washing.
Step 5: Clean the silicone gasket and lid vent
If the gasket is removable under the manufacturer’s instructions, take it out gently and wash both sides with dish soap. Clean the groove that holds the gasket as well. A narrow area around the groove can hold grease, sauce, and moisture even after the visible seal looks clean.
For a fixed gasket, use a soft cloth or non-abrasive sponge around the seal without stretching it. Clean the lid vent with the method allowed by the manual. Do not push food deeper into a small opening with a sharp object.
Odor often remains because the underside, gasket, or vent was skipped. Wash those parts separately, rinse away soap, and allow every piece to dry completely before reassembly. Trapped moisture during storage can create an unpleasant smell and may support mold in food residue.
How to remove cooked-on food, stains, and smells
Use baking soda for stubborn residue
Baking soda is handy when plain dish soap and soaking leave stubborn patches. Make a soft paste with baking soda and enough water to spread it over the residue. Apply it gently, let the softened area do most of the work, and wipe with a non-abrasive sponge.
Don’t treat baking soda as permission to scour aggressively. A gritty paste pressed hard against a glazed crock can still cause unwanted wear. Rinse carefully so no powder remains in the texture of the residue or around the rim.
Baking soda should be used as a gentle residue aid, not as a substitute for soaking. If the food stays attached, add more time for softening instead of increasing pressure or switching to a metal tool.
Use white vinegar carefully for mineral marks and odors
White vinegar can help with some mineral marks or lingering food smells on washable parts, but check the manufacturer’s care instructions first. Not all glaze, gasket, or lid finishes should be exposed to an acidic cleaner.
Use vinegar only on parts that the instructions say are okay for that treatment. Keep it away from the electrical heating base and cord. Rinse the washable part afterward and dry it fully so the vinegar smell doesn’t stay trapped around a gasket or lid vent.
Never mix white vinegar with other cleaners. Use a cleaner alone, then rinse with fresh water. If an odor remains after proper washing and drying, look for hidden areas instead of adding stronger chemicals.
Remove stains without damaging the glaze
Staining can stay after food is gone. A mark doesn’t always mean the surface is dirty, so don’t rush to use an abrasive pad. Start with dish soap, soaking, and a non-abrasive sponge; only consider baking soda or white vinegar if the care instructions say it’s okay.
Check the result after each gentle cleaning method. If the stain fades, keep using the same approach. If the surface turns dull, scratched, or rough, stop and rinse the part.
A stained crock should not be attacked with a metal utensil. Metal tools can scratch the liner, and abrasive cleaners might damage slow cooker surfaces even if the stain stays. Preserving the glaze is more important than trying to hide a cosmetic flaw.
Deal with burnt residue and persistent smells
Burnt residue takes patience to remove. Use a plastic scraper to loosen loose pieces, soak the crock with dish soap, and then use a non-abrasive sponge once the residue softens. Repeat the mild cleaning rather than forcing it with sudden, hard scrubbing.
If a burnt smell still lingers, check the underside of the lid, gasket groove, vent, crock rim, and around the heating base. Food splashes can dry in tight spaces. Only wash the removable parts that are approved, and wipe the base with a barely damp cloth.
Persistent odors or mold require a closer look. Check for residue under a removable gasket or inside the lid vent. If the smell remains after cleaning and drying those areas, stop using that part until the manufacturer’s care instructions clarify if it can be restored or needs replacing.
How to clean the heating base and electrical parts
Wipe the metal base without washing it
The heating base is the part that must stay out of the sink. Unplug it, remove the crock, and wipe food residue from the outside with a soft, damp cloth that’s only moist enough to lift the dirt. Keep moisture away from openings, controls, the cord connection, and the underside.
For dried residue on the outside, let the damp cloth soften the spot. Never pour cleaner directly on the base. Use only approved mild cleaners on the cloth and avoid spraying toward the controls or heating area.
The electrical heating base and cord must not be immersed or washed under running water. This rule applies even if the base has a metal exterior that looks like a pan. The surface’s appearance doesn’t change the electrical risk.
Clean around the rim where the crock sits
Food can spill over the crock and settle on the ledge around the heating area. Use a dry or slightly damp cloth to lift the debris, working carefully around the heating surface. A cotton swab or a folded corner of a cloth can reach narrow edges, but don’t push fibers or food into openings.
Never place the crock back into the base while either part is wet. Make sure to dry the crock, base, cord, and control area before reassembling. Store the slow cooker with no trapped moisture around the rim or lid.
Care for the cord and control panel
Wipe the cord with a dry or slightly damp cloth and let it dry before storing. Avoid bending, pulling, or wrapping it tightly around sharp edges. Clean the control panel with a cloth instead of spraying liquid onto buttons or the display.
Follow the manufacturer’s instructions for any removable control or cord parts. If the cord is damaged, liquid has entered the base, or the appliance behaves strangely after cleaning, don’t try fixing electrical issues with more washing.
The same separation principle applies to other countertop appliances. If you’re cleaning a blender too, these blender-cleaning mistakes to avoid show why the motor housing needs a different approach from the removable jar.
Cleaning frequency, storage, and prevention
Clean food-contact parts after every use
Wash the crock, lid, and approved gasket after each use, especially when cooking foods with grease, sauce, dairy, or strong spices. Residue dries and becomes harder to remove, and narrow areas can trap smells. Check the heating base after each session and wipe off splashes.
Don’t leave leftover food sitting in the crock as a way to skip proper storage. Transfer leftovers into suitable containers and follow safe food handling guidelines for cooling and storage. The U.S. Food and Drug Administration offers public info on leftovers.
Dry every part before storing the cooker
Dry the crock, lid, gasket, vent, and base before storing the appliance. If the design allows, store the lid in a way that lets air reach the crock instead of trapping dampness inside. Follow the manual if it suggests a different storage method.
A completely dry slow cooker is less likely to develop trapped-moisture odors during storage. Pay special attention to the gasket groove and lid vent because a thin film of water can remain there after the broad surfaces appear dry.
Prevent residue before it becomes difficult
Use a suitable utensil when serving from the crock and wipe splashes from the outside before they harden. Avoid moving a hot crock directly onto a cold surface. Keep the lid aligned so food does not run repeatedly onto the rim.
Fill the appliance according to the manufacturer’s directions. Overfilling can encourage spills, while under-attending to the rim lets residue dry in a place that’s easy to miss. For cooking guidance rather than cleaning, the explanation of what changes between slow cooker high and low settings provides useful context without turning the cleaning routine into a cooking schedule.
Know when cleaning is no longer the answer
A crack in stoneware, a chip in the glass lid, a damaged gasket, or a frayed cord should be seen as a condition problem, not just a cleaning issue. Do not use an abrasive cleaner to hide damage. Keep using parts that the manufacturer says are unsafe.
If mold stays after washing and drying the approved removable parts, check whether the affected component can be removed and cleaned according to the manual. Persistent residue inside a sealed area might need manufacturer guidance. Electrical damage should be checked through the manufacturer or a qualified service, not just by rinsing the base again.
Frequently Asked Questions
Can I wash the metal part of a slow cooker in the sink?
No. The metal-looking heating base contains electrical parts and shouldn’t be immersed or washed under running water. Unplug the appliance, remove the crock and lid, then wipe the base with a carefully dampened cloth. Keep liquid away from the control panel, openings, cord connection, and underside. If liquid gets inside, stop using the appliance and follow the manufacturer’s instructions.
How do I clean a slow cooker with baking soda or vinegar?
Start with soaking and dish soap on the approved washable parts. Baking soda can be used gently on stubborn residue, while white vinegar may help with some mineral marks or lingering smells if the manufacturer allows it. Never mix cleaners, use either method on the electrical base, or scrub hard enough to scratch the glaze. Rinse and dry each part completely.
How should I clean a slow cooker lid that smells of food?
Wash the underside of the glass lid, its rim, vent, and any removable silicone gasket separately with dish soap and a non-abrasive sponge. Food residue often stays in the gasket groove or vent rather than on the broad glass surface. Follow the care instructions before removing any seal, rinse away cleaner, and dry every narrow area thoroughly before storing the lid.