More oven owners treat routine appliance care as maintenance rather than a once-a-year rescue job. Grease, grit, and grime can create a fire hazard, so cleaning racks regularly makes sense. Damaged rack surfaces can cause shelves to rub or bind, which is frustrating. Softening residue with dish soap or a baking soda paste usually does most of the work. Aggressive scraping can damage a coated rack permanently. The finish, corrosion, and sliding surfaces are just as important as visible grime. A method that removes grease but leaves scratches, rust, or binding isn’t effective. This guide explains how to clean oven racks without damaging the part that earns its place inside the oven. If you’re working on the rest of the kitchen, this practical guide to cleaning a blender without overlooking its working parts shows a careful approach.
Key Takeaways
- Start by identifying the rack coating and choosing a softening method before reaching for a scrubber.
- Use dish soap or baking soda paste for grease and baked-on residue; avoid steel wool, metal scrapers, and harsh scouring powders.
- Dry and inspect every rack before reinstalling it, paying attention to rust, flaking coating, bent supports, and sticking.
How to Clean Oven Racks: Start With the Rack, Not the Grime
Step 1: Let the oven and racks cool
Remove the racks only when they are cool enough to handle safely. Wear gloves if surfaces are dirty or if you’re using a strong cleaning solution. Keep air moving through the room while you work. A cool rack is easier to inspect, handle, and soak. This prevents turning a simple clean into a contact or fume problem.
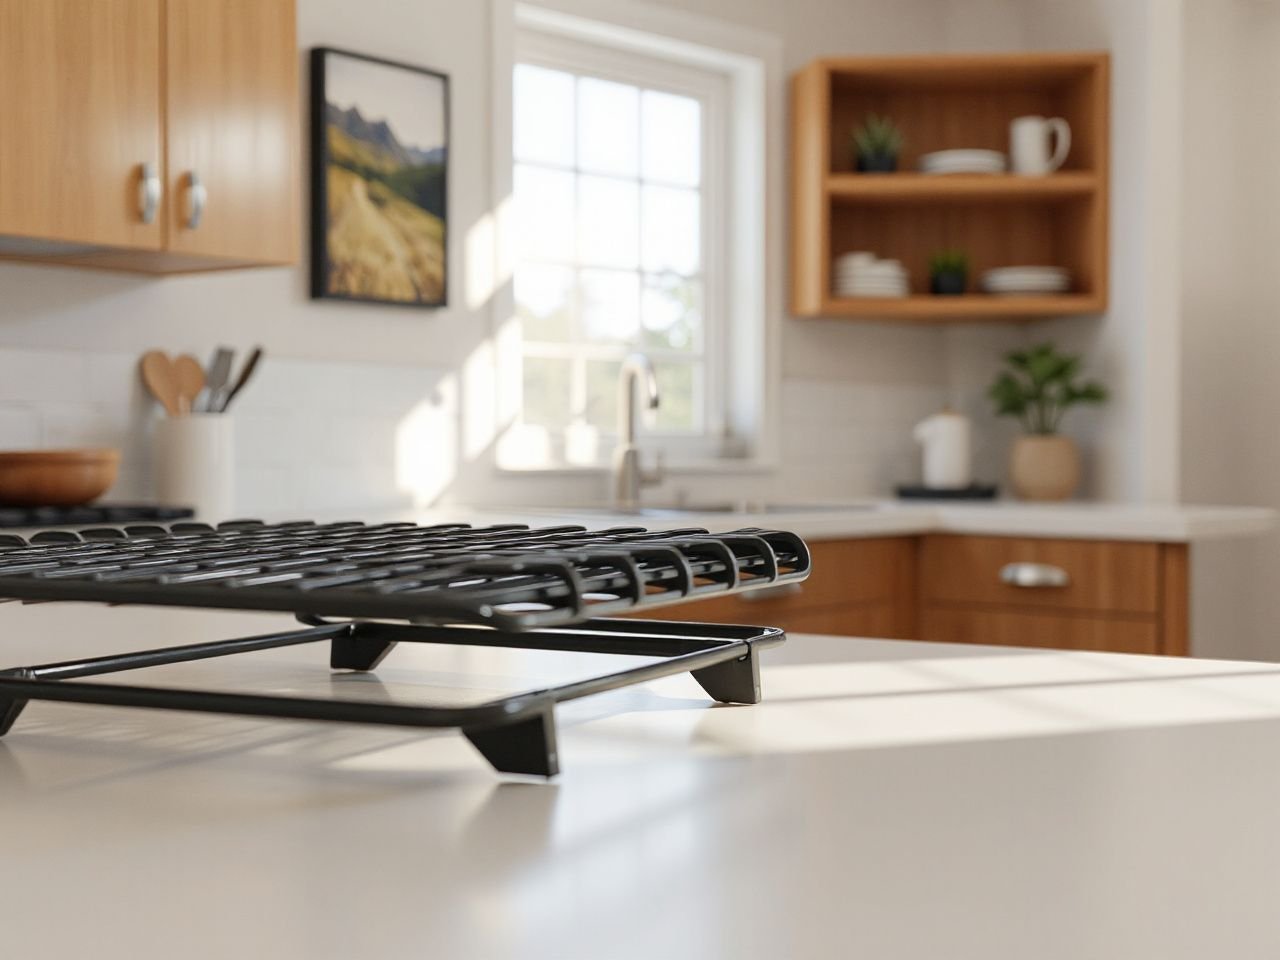
Oven racks should be cleaned outside the oven. Remove each rack carefully so supports don’t catch on guides. Place them on a protected surface afterward. The shape and sliding action matter from the start because a bent or binding shelf needs inspection, not just more scrubbing.
A cool oven rack is safer to handle and easier to inspect than a warm rack covered in softened grease.
Step 2: Read the manual and inspect the finish
Before applying any cleaning, check the manufacturer’s manual about the rack coating, dishwasher safety, self-cleaning options, and removable supports. Look closely at the rack itself. A glossy or coated surface calls for a gentle, nonabrasive method. If the rack has flaking material, sharp corrosion, bent supports, or damaged welds, don’t treat it like a normal dirty shelf.
- Look for coating that is lifting, blistering, or missing.
- Check for rust spots, rough edges, and sharp corrosion.
- Roll or slide the rack gently on a protected surface to notice bending or distortion.
- Inspect the guides and supports for grease or food residue that could cause rubbing.
Do not assume that a rack is safe for every cleaning method simply because it is made for an oven. The manual has the final say on dishwasher cycles and the oven’s self-cleaning cycle. The CPSC, the U.S. Consumer Product Safety Commission, publishes consumer product safety information at cpsc.gov, which is a useful public reference when an appliance cleaning problem involves fire, fumes, or damaged equipment.
Step 3: Choose the method by residue type
Greasy racks often need a detergent soak first. Racks with dried, dark, baked-on residue require more time for a paste or soak to soften deposits. This helps loosen the bond between the residue and the rack surface. The goal isn’t to remove the surface finish but to weaken the residue.
- Fresh or greasy film: Begin with warm water and dish soap, using a nonabrasive scrub pad after soaking.
- Dry, baked-on food: Spread a baking soda paste over the affected areas and leave it in place for 4-6 hours.
- Stubborn brown marks: Treat them as residue first, not as a reason to use metal tools. Repeat a softening step before increasing pressure.
- Flaking or corroded surfaces: Stop cleaning for restoration and assess whether the rack remains safe and slides correctly.
Dish soap helps loosen greasy material in water, while a baking soda paste provides moisture and a mild cleaning medium. It can be wiped away easily. Soaking doesn’t restore a damaged finish. It only addresses surface material sitting on the rack.
Step-by-Step Cleaning Methods for Greasy and Baked-On Racks
Step 4: Use a dish soap soak for ordinary grease
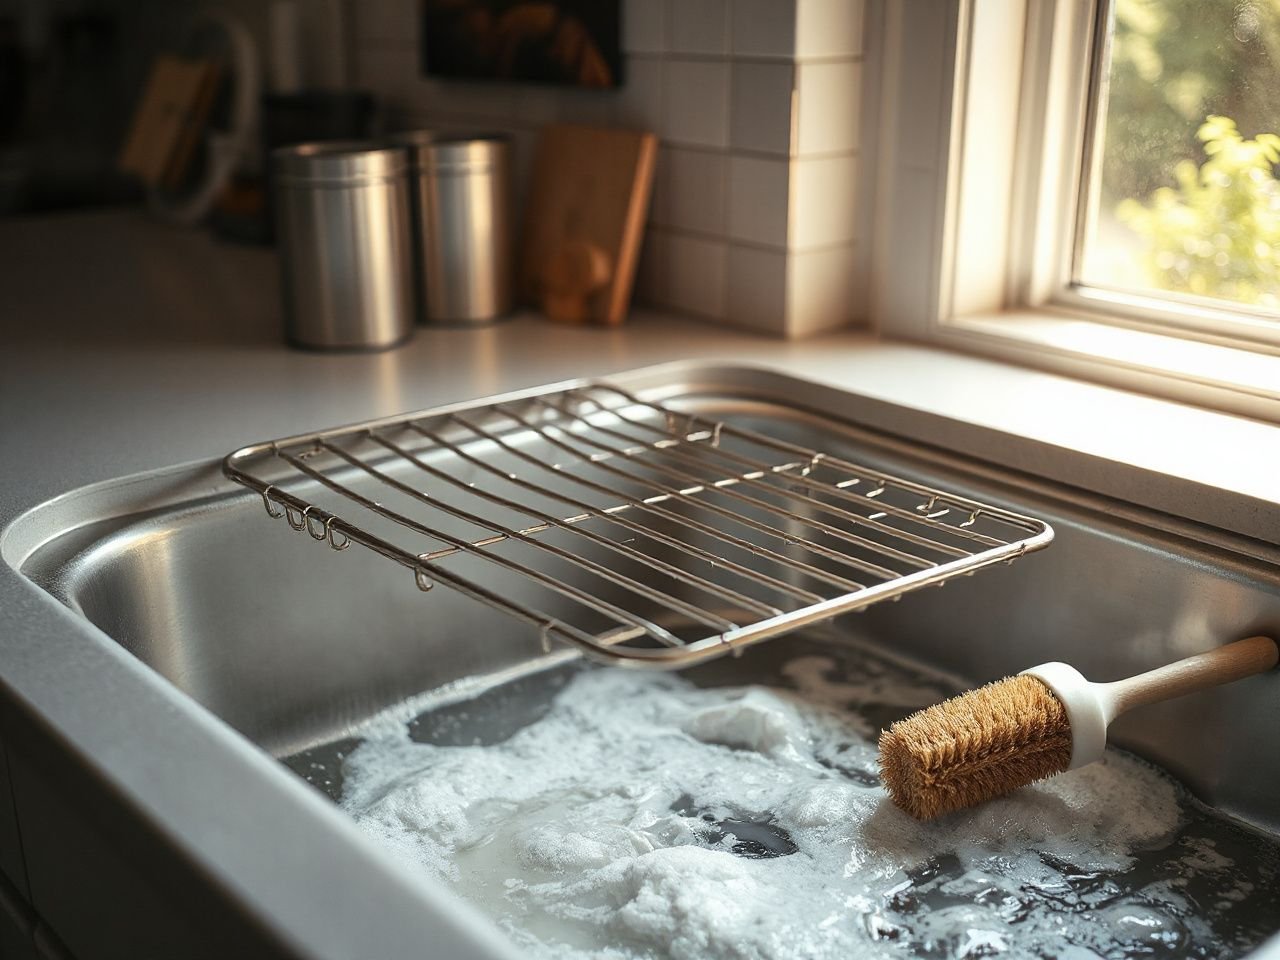
Place the cool rack in a basin, sink, or another surface that can handle it without bending. Add dish soap to water and let the rack soak until the grease softens rather than remains hard and tacky. A simple check is to see if a cloth or nonabrasive pad lifts the film without heavy pressure.
Work across the rack in sections. Wipe along the rods and around the supports, then rinse away the loosened film. A plastic scraper can help lift a soft deposit, but keep the scraper flat and use light pressure. Metal edges are a poor match for a coated rack because they can leave scratches that later collect residue or expose areas to rust.
Dish soap and a soak are appropriate first steps for oven racks covered mainly in grease.
Make sure to rinse thoroughly so no slippery cleaner remains. Check both the underside and the visible top, since grease can cling where the rack rests on supports. If it still feels sticky, repeat the soak instead of jumping to an abrasive cleaner.
Step 5: Make a baking soda paste for hard residue
For baked-on carbon or dry food, mix baking soda with enough water to create a spreadable paste. Apply it only to the affected areas rather than coating every moving or sliding surface unnecessarily. Leave the paste on the rack for 4-6 hours, then wipe and rinse.
The paste needs contact time. Scrubbing immediately tends to make the task harder because dry deposits resist the pad, while a softened layer can be lifted with less force. Use a plastic scraper for softened spots that sit above the rack surface, followed by a nonabrasive scrub pad for the remaining film.
Don’t turn the rack into a test of strength. If the residue stays firm after the first treatment, apply fresh paste and let it soften again. A coating that remains intact is a better result than a bright rack with scratches or exposed corrosion.
Step 6: Use vinegar carefully and separately
White vinegar can be used with baking soda as a short treatment, but the mixture should not be treated as a stronger version of every cleaner. Apply the combination to the residue and let it rest for 10-15 minutes, then wipe, rinse, and inspect the surface. The visible bubbling can help spread and loosen soil, but it does not justify prolonged exposure or forceful scrubbing.
Never mix cleaning chemicals casually. Avoid combining chlorine bleach with ammonia or acids like vinegar, since it can release dangerous fumes. Keep products in their original containers, read labels, and ventilate the room while cleaning.
Vinegar and baking soda should never be combined with chlorine bleach or ammonia.
Step 7: Finish with a nonabrasive scrub
Use a nonabrasive scrub pad only after soaking or pasting has softened the residue. Move with the shape of the rack, not across the same spot repeatedly. A plastic scraper works for material that lifts in patches, but metal scrapers, steel wool, and harsh powders aren’t good choices for a coated rack.
Steel wool and abrasive cleaners can scratch a rack coating. Metal scrapers can gouge the surface or catch on a rough spot, and those scratches can make later cleaning more difficult. If a rack has an uncoated surface, the manual still controls the method because the rack’s finish and construction vary by appliance.
The right stopping point isn’t necessarily a mirror-like surface. Stop when loose grease and residue are gone, the rack has no sharp deposits, and the finish stays intact. A brown stain that won’t lift could be discoloration or surface damage instead of dirt that can be removed.
Bathtub Cleaning, Dishwasher Use, and Self-Cleaning Questions
Can oven racks be cleaned in a bathtub?
A bathtub can provide enough room for a rack to lie flat, but the tub and rack both need protection. Place a towel or other suitable barrier beneath the rack so the metal does not scrape the tub, and keep the rack from being forced against the sides. Use a mild soaking method, rinse the tub afterward, and remove all cleaning residue from the rack.
Don’t drag a rack across the tub surface. Don’t fill the tub with a chemical solution unless the manufacturer’s manual and the product label support it. Concentrated grime and cleaning solutions require gloves and ventilation, and the rack should be rinsed carefully before returning to the oven.
A bathtub can hold an oven rack safely only when the rack is supported, the tub is protected, and the cleaning solution is suitable.
If a bathtub isn’t practical, try a large basin, a protected countertop, or a clean floor that lets the rack lie flat without bending. The method matters more than the location: soften first, scrub gently, rinse fully, and dry completely.
Can oven racks go in the dishwasher?
Only use the dishwasher if the manufacturer’s manual specifically allows it. A dishwasher exposes the rack to a cleaning cycle that might affect the finish. A rack that comes out clean but discolored, rough, or hard to slide hasn’t gained much. The manual is more reliable than a general rule because rack materials and coatings vary.
Before using a dishwasher, check the rack for flaking or corrosion. Make sure it fits without bending or blocking the spray pattern. If the manual isn’t clear, hand cleaning with dish soap, water, and a nonabrasive pad is a safer way to go. Don’t treat dishwasher use as a shortcut around inspection.
The NSF develops public health standards and guidance for products and practices. Its main site, nsf.org, is a good reference for understanding why product instructions and safe-use directions matter when cleaning equipment.
Can racks stay in during the oven’s self-cleaning cycle?
Remove oven racks before using the self-cleaning cycle unless the manual specifically says you can leave them inside. The high heat can discolor racks or change how they slide. A rack that looks clean afterward may still rub, bind, or not move as smoothly as before.
Cleaning the oven interior is different from cleaning the racks. Remove the shelves first, then wipe loose soil from them outside the appliance. Follow the oven manual for the cleaning cycle itself. Don’t use the self-cleaning cycle to replace cleaning the rack coating or inspecting its supports.
What to Avoid and How to Handle Damaged Racks
Skip aggressive abrasion
Steel wool, harsh scouring powders, and metal scrapers can damage a rack coating. The visible result might be a brighter line through the grime, but the real damage can be scratches or exposed surface that catches residue and rusts. Use a plastic scraper and nonabrasive pad after softening the residue.
- Do not use steel wool on a coated rack.
- Do not use metal tools to chase a mark that has not softened.
- Do not assume stronger chemicals are safer or more effective.
- Do not mix chlorine bleach with ammonia, vinegar, or other acidic cleaners.
- Do not clean a rack while it is hot enough to burn skin or produce strong vapors from residue.
Keep the oven door open only as the manual advises and ventilate the room while cleaning. If a product label says to wear gloves, eye protection, or other precautions, follow those instructions instead of making your own.
Know when scrubbing is no longer the answer
If scrubbing doesn’t remove baked-on residue, repeat the softening process. Use a baking soda paste for 4-6 hours, then try a plastic scraper and nonabrasive pad. If the deposit stays, and the surface beneath feels rough, flakes, or shows corrosion, applying more pressure might damage the rack instead of cleaning it.
Racks that are badly corroded should be evaluated for replacement rather than endless attempts at restoration. Sharp corrosion, flaking coating, bent supports, or persistent binding can make a rack unsafe or unusable. The decision depends on the appliance manual, the rack’s condition, and whether it still sits and slides properly; a bright look alone isn’t enough.
A badly corroded oven rack should be assessed for safe replacement instead of repeatedly abraded.
Dry the rack and check the sliding action
Rinse away soap, paste, and loosened residue, then dry the rack thoroughly before putting it back in the oven. Water left in seams or around supports can leave the surface damp, so use a clean towel and let it dry in a ventilated space. Don’t reinstall a rack just because the top looks dry.
Run a cloth over the rods and supports to find rough spots. Check that no coating is lifting, no corrosion has become sharp, and supports aren’t bent. Place the rack back into its guides and move it gently. If it rubs, catches, or binds, remove it and inspect both the rack and guides instead of forcing it.
Maintaining rack guides and supports is part of cleaning the rack. Wipe away residue from those contact points, but do not flood them with cleaner that the manual does not permit. The oven door glass and oven floor can be cleaned separately; residue on those areas does not justify using a harsher method on the rack.
Prevent residue from hardening again
Wipe visible grease and food residue from a cool rack before deposits dry out and become hard to soften. A deep cleaning every three months is usually enough, but the routine should match how much cooking is done and how the oven looks. Regular checks help catch residue, corrosion, and binding before they turn into bigger issues.
Use the right cookware and follow the oven manual for spills, instead of letting grease layers build around the supports. When something spills during cooking, wait until it’s safe to handle, then clean the area with the proper method for that surface.
A clean rack only earns its space in the cleaning process if it goes back into the oven without damage. I’d look for less residue, an intact coating, dry surfaces, and smooth movement when inspecting it.
Frequently Asked Questions
What is the easiest way to clean greasy oven racks?
Grease is easiest to remove with dish soap and a soak. Place the cool rack in a basin, let the detergent loosen the film, then wipe with a nonabrasive scrub pad. Use a plastic scraper only for softened deposits. Rinse thoroughly and dry completely. If grease stays tacky, soak again instead of jumping straight to steel wool or harsh scouring powder.
How do I remove baked-on carbon when scrubbing does not work?
Apply a baking soda paste to the spots and leave it for 4-6 hours. Wipe away the softened residue, then use a nonabrasive pad or plastic scraper with gentle pressure. If the mark stays hard or the surface feels rough, flaking, or corroded, don’t push harder. The damage might be to the coating, not just leftover food, so check the rack before deciding if it’s safe to keep using.
Will baking soda and vinegar clean oven racks?
A mix of baking soda and white vinegar can sit on residue for 10-15 minutes, then be wiped and rinsed off. Keep expectations realistic: bubbling doesn’t fix damaged coating, and stubborn spots might need a longer baking soda paste treatment. Never mix vinegar or acidic cleaners with chlorine bleach, ammonia, or unknown products.
Can I leave oven racks inside during the self-cleaning cycle?
Remove the racks unless the manual says they can stay inside during cleaning. The heat from the self-cleaning cycle can discolor them or change how they slide. Clean the shelves separately with a suitable hand-cleaning method, then check for flaking coating, corrosion, bent supports, and binding before putting them back.
Should I replace a corroded oven rack?
Assess replacement when corrosion is sharp, the coating is flaking, the rack is bent, or the shelf binds in its guides. Repeated scrubbing will not restore missing coating or straighten a damaged support, and aggressive abrasion can make the condition worse. Match any replacement decision to the oven manual and the rack’s actual fit; a rack that is merely discolored may need cleaning, while a rack that is structurally damaged needs a safer solution.
For related care, the guide on cleaning an enameled Dutch oven without damaging its surface applies the same useful principle: soften residue before using pressure. A rack, like any coated kitchen surface, should leave the cleaning process intact and functional rather than merely looking brighter.