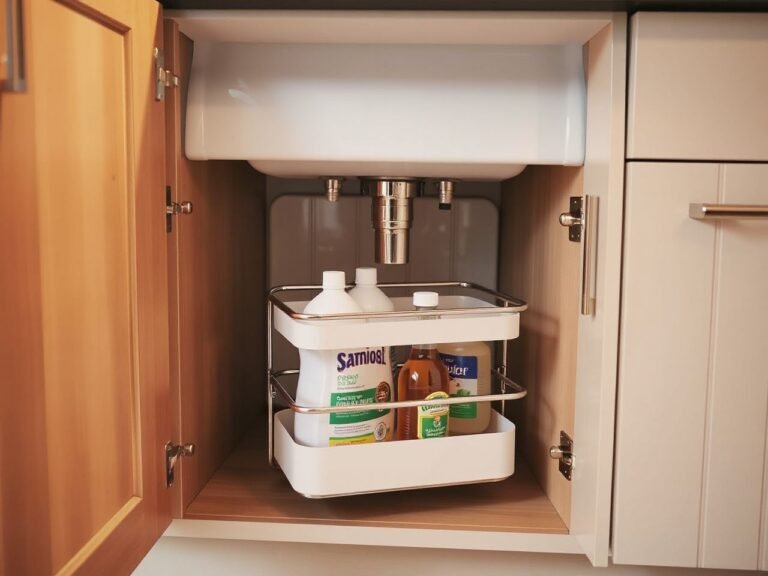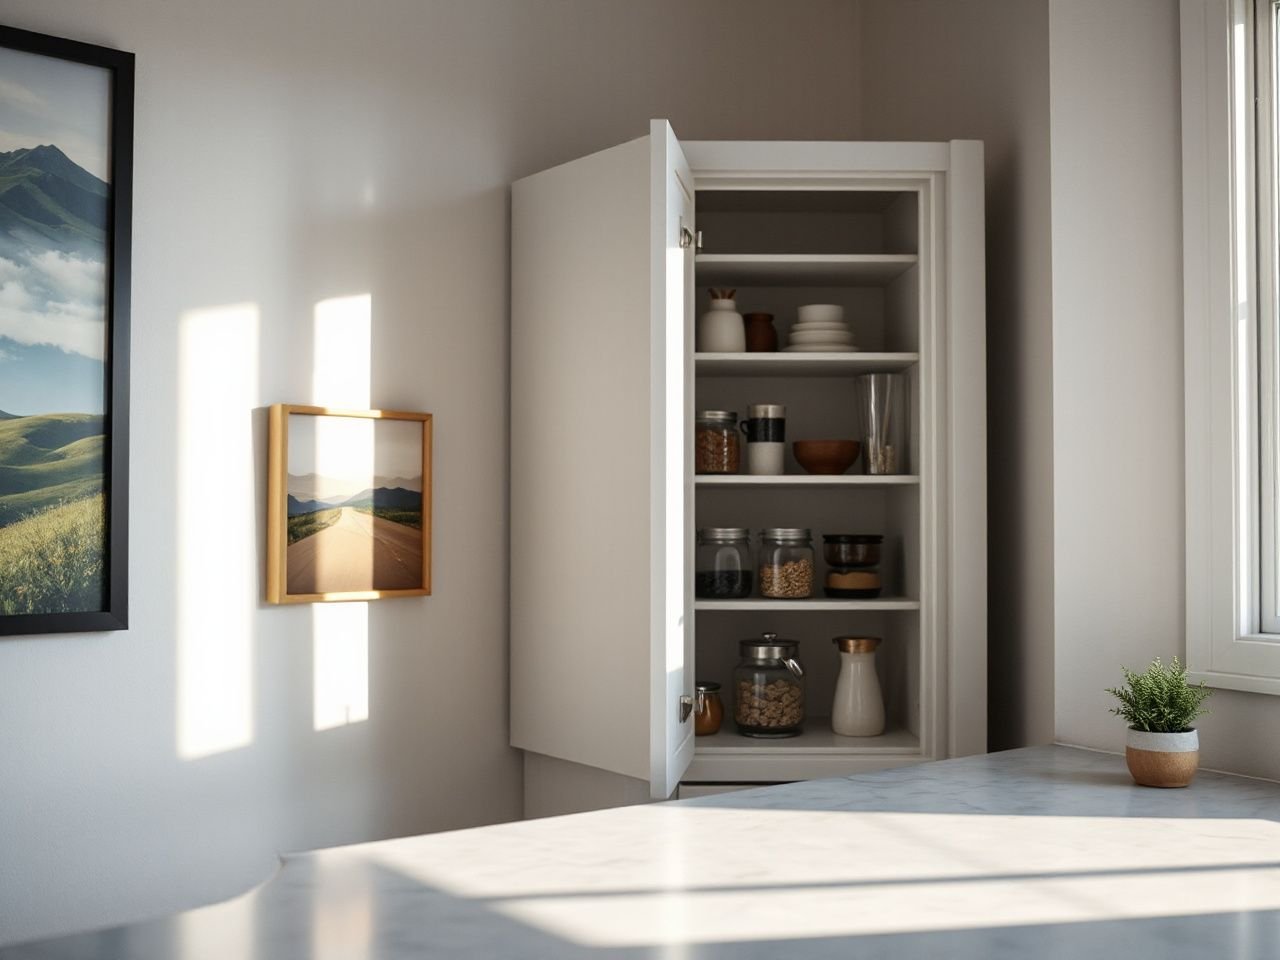
Food disappears in a corner pantry because deep shelves turn the back zone into dead space. Doors, bins, and stacked containers often compete for the same clearance. The key isn’t just adding storage but separating hard-to-reach depth from frequently used zones. Rotation, pull-out access, or clear visibility help do this. A good layout also considers door swing, shelf depth, load support, and aisle clearance as part of the design.
These corner pantry organization ideas start with the shape of the space. A walk-in pantry and a blind-corner cabinet need different solutions, even if both have the same awkward corner. Map out stack height, hand reach, fridge-door clearance, and the path from the kitchen aisle to the pantry door. This helps plan effective storage.
Key Takeaways
- Use pull-out shelves or turntables for deep zones where fixed shelves hide food.
- Keep frequent-use foods visible, label-facing, and clear of doors, hinges, and neighboring storage.
- Check shelf support, load placement, food rotation, and aisle clearance before adding organizers.
Beginner: Read the Corner Before Adding Storage
Step 1: Identify the pantry type
A corner pantry might be a walk-in space with U-shaped shelving or a blind-corner cabinet attached to the kitchen. Walk-in layouts give room to approach shelves from the aisle. Blind-corner cabinets often limit access to one opening. The opening impacts which storage movement is most useful.
Measure the usable shelf depth, opening width, door swing, and clear path in front of the storage. A corner pantry closet with a 24 inches depth can hold a lot, but fixed shelves at that depth might hide short packages behind taller ones. Proper measurement is essential.
A 24-inch-deep pantry shelf can conceal food behind the front row, so visibility must guide the storage plan. Draw the shelf as a rectangle and mark the area that remains visible when the door is open. That front zone belongs to items used often; the hidden zone needs rotation or moving access.
Step 2: Divide storage by reach and frequency
Organize pantry items by food category and how often you use them. Place everyday ingredients in the easiest sightline. Reserve the back for occasional appliances or surplus food. Heavy jars and cans should sit on stable shelving that’s properly supported and anchored when needed.
- Front and hand-height zones: everyday breakfast foods, cooking staples, and open packages that need regular checking.
- Lower stable zones: heavier jars, cans, and appliances that should not sit on a lightly supported shelf.
- Upper zones: lighter, infrequently used items that remain easy to identify from below.
- Door zones: narrow, light items only after the rack clears the door, hinges, frame, and shelving.
Stack height matters more than an impressive total capacity. A tall stack can block the label on the container behind it, and a shallow shelf can waste vertical room if containers are too low to group by category. Adjustable shelving gives you a way to match shelf height to the food rather than forcing every level to follow the tallest package.
Step 3: Protect the aisle and door path
Open the pantry door fully and trace the edge through its swing. Do this again after accounting for a loaded door-mounted pantry rack. The rack shouldn’t collide with shelves, handles, hinges, or nearby cabinet doors. Containers must not project into the aisle.
A pantry door needs an unobstructed swing before a door-mounted rack can be considered usable. The same check applies to pull-out pantry shelves. If a shelf extends into a neighboring cabinet or catches on the door frame, it will create a daily obstacle. This happens regardless of how much food it holds.
For a small-kitchen storage plan, leave the walking path visually open. Don’t fill every corner with a bin or basket if opening one door blocks the refrigerator door. It also makes the pantry harder to access. Fridge-door clearance matters because groceries often move directly from the refrigerator to the pantry and back again.
Step 4: Choose visibility before capacity
Deep fixed shelves can hide food and lead to duplicate purchases. Clear labels, front-facing packages, and grouped containers help reduce that issue. Still, the shelf needs a way to expose the rear area.
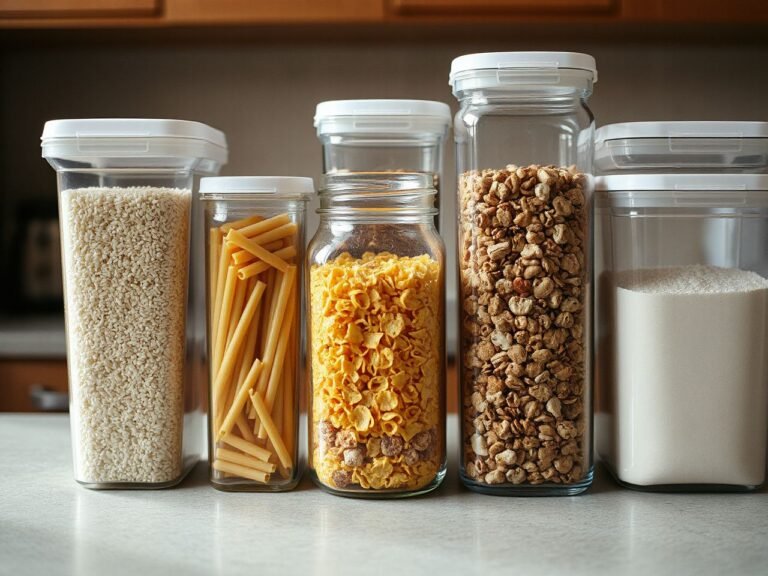
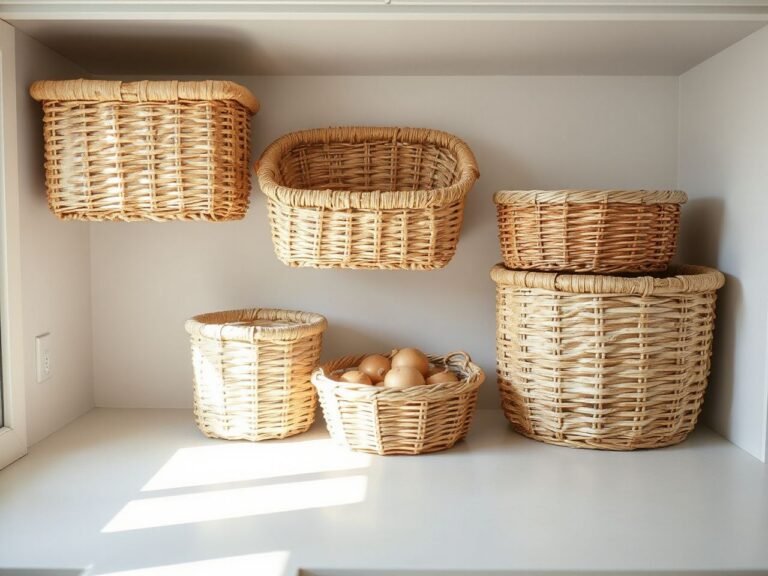
Use shelf risers for short cans or jars behind taller items, provided the riser does not make the front row unstable. Stackable storage bins can gather small packets, but each bin should slide or lift out without trapping another bin behind it. Airtight food containers can make contents visible and protect dry goods from exposure, but labels should remain readable and containers should not trap moisture.
For food rotation, place newer packages behind older ones only if the older packages are reachable. Check dates when restocking and move older food to the front. Rotation works best when the front is visible and the rear can be reached without unloading the entire shelf.
Intermediate: Match the Organizer to the Corner
Lazy Susan turntables for compact blind corners
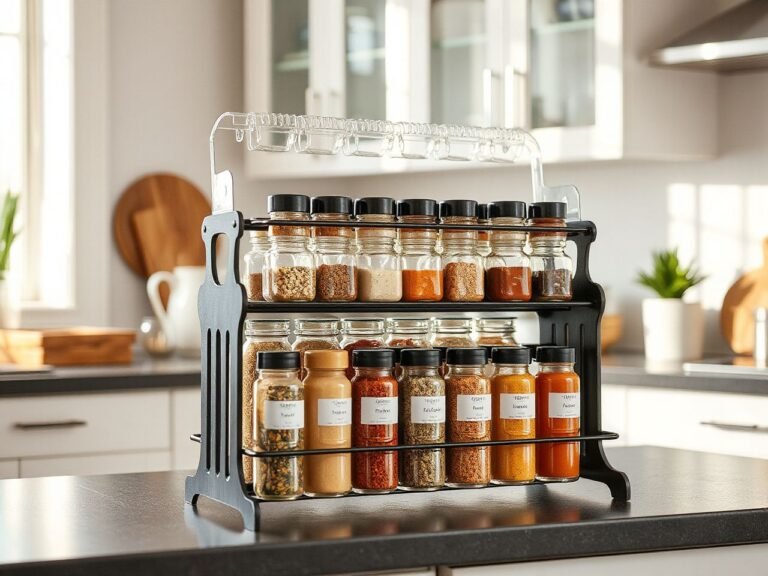
A Lazy Susan turntable suits a blind-corner cabinet when the contents are small enough to stay stable while the surface rotates. It works best for jars, bottles, or similar items that can be grouped and seen from the opening. Keep the turntable clear of the cabinet wall, door edge, and neighboring shelf.
Do not treat a turntable as a solution for every deep shelf. Tall packages can overhang, light packets can fall into the rear gap, and a crowded surface can prevent the rotation that makes the organizer useful. Group items by category, leave label faces toward the opening, and keep the heaviest items where the rotating surface supports them steadily.
A Lazy Susan improves access only when its contents can rotate without striking the cabinet or blocking the opening. If the cabinet opening is narrow and the stored items are tall, pull-out shelves may provide clearer access than a rotating surface.
Pull-out pantry shelves for deep storage
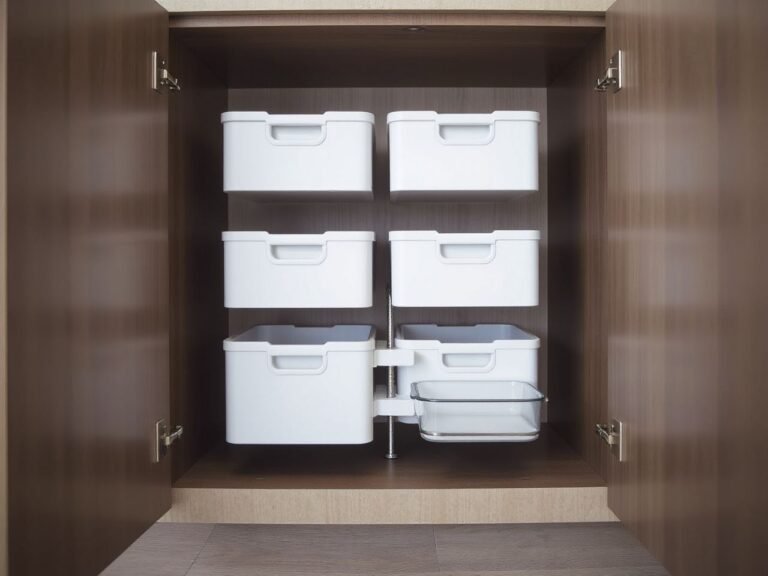
Pull-out pantry shelves bring the back of a deep cabinet forward. Full-extension drawer slides can let more of the shelf come out, but how far depends on the cabinet and the clearance around the opening. Measure the opening first. The main point isn’t how deep the shelf is, but if the loaded shelf can come forward enough to read the rear labels.
Place heavier cans and jars low, and keep the load balanced from side to side. Don’t assume that a shelf made for light packets can hold a dense row of jars. Check the shelf support and anchoring before loading, especially in a blind-corner cabinet where the side walls might block access during installation.
Pull-out shelves need space beside and above the shelf that moves. A raised container can catch on the shelf above, and a nearby door might block extension. Test the empty movement first. Then, add containers by height and check how far they can go out after each group is in.
Fixed shelves for predictable, stable storage
Fixed shelves work well for items that don’t need to be taken out often, especially when they’re shallow enough to keep every label visible. They’re good for heavy appliances or jars if the structure is supported properly. Fewer moving parts make fixed shelves easier to set up, but they don’t help reach things in the back row.
Adjustable shelving offers more flexibility for tall and short containers. Set one level around the tallest common item. Then, use shelf risers or low bins to fill the remaining space. Avoid narrow gaps that hold food but make it hard to remove items by hand.
Floating shelves use hidden internal brackets. Common materials include wood, bamboo, or steel for sturdy shelves. Lighter objects like glass or plastic can sit on shelves made of those materials. Treat floating shelves as structural installations rather than just decorative surfaces, especially when holding jars, cans, or appliances.
For a floating shelf, the shelf width must not exceed 1.4 times the bracket width and 1.2 times the bracket height. On a long shelf, spacing between brackets should remain at a maximum of 4 times the shelf breadth, and a screw placed in concrete should penetrate to a depth of at least one-tenth the shelf width. Use these verified limits only when the shelf and bracket arrangement matches the conditions described; otherwise follow the installation instructions for the actual structure.
Door-mounted pantry racks
A door-mounted pantry rack can turn unused vertical space into storage for narrow, lightweight items. The rack still needs clearance from hinges, the door frame, fixed shelves, and the opposite wall. Distribute the load evenly instead of concentrating it at one end.
Keep door-rack contents below the point where they block the shelf opening. Small packets often fit well, but a tall bottle can block the pantry interior or hit an item on a fixed shelf. Labels should face the room so you don’t have to remove every item during inventory checks.
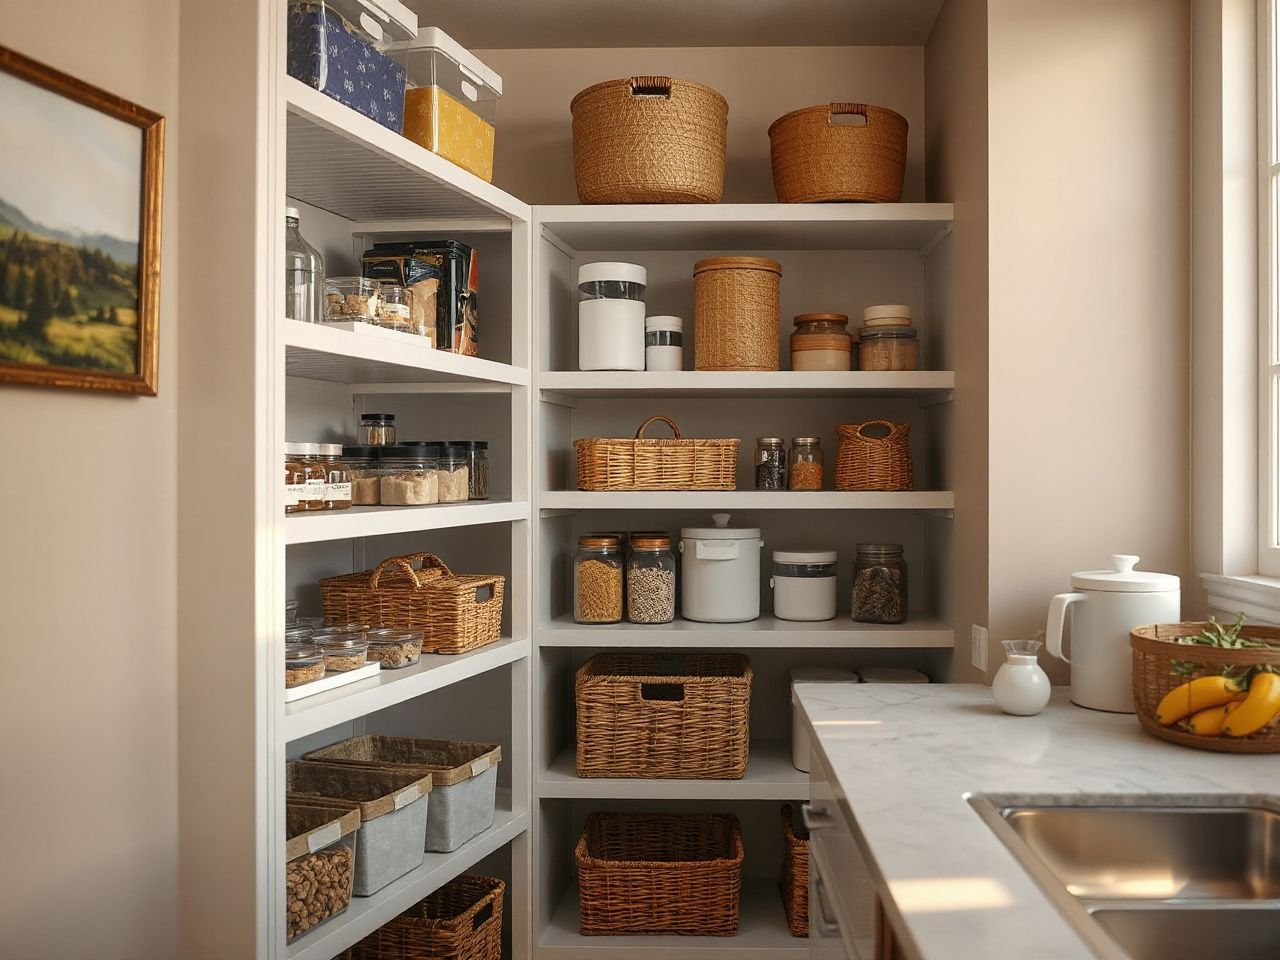
Intermediate: Build a Layout That Stays Visible
Use the back corner for controlled access
The back corner should hold either items that can rotate, items that can slide forward, or items stored in a clearly removable bin. A fixed stack of mixed food categories creates the familiar lost-food problem because one package must be moved to reach another.
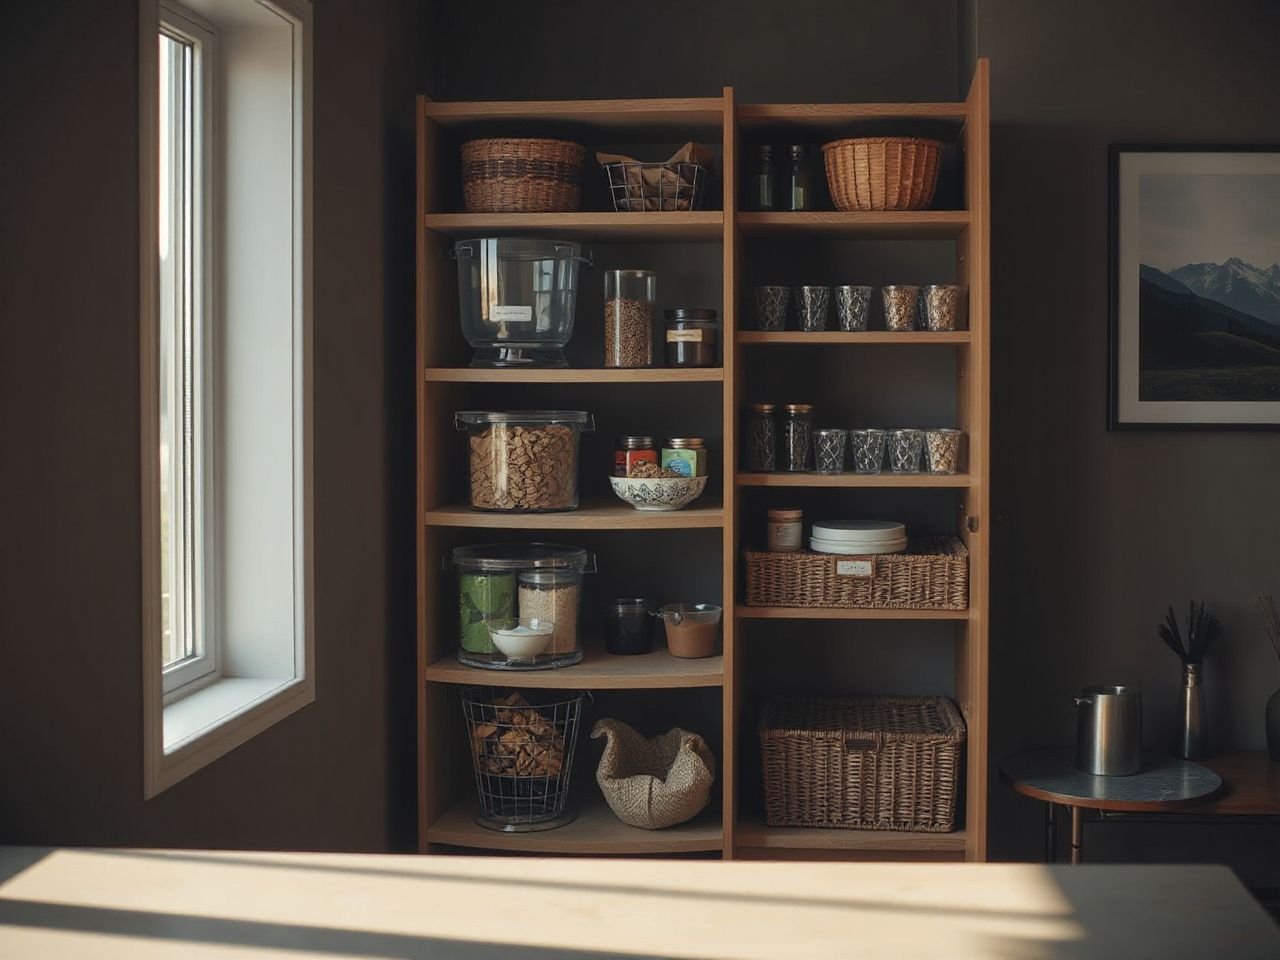
For a walk-in pantry, U-shaped pantry shelving can work when the center aisle remains clear and the deepest corner is assigned to turntables or pull-out access. Keep frequently used ingredients on the side closest to the kitchen work area. Reserve the far end for backup supplies that are checked during restocking.
A walk-in pantry is easier to maintain when the deepest corner has a defined access method instead of a mixed stack of food. Use a rotating surface for small containers, a pull-out shelf for rows that need direct viewing, or a fixed shelf only if the rear remains visible.
Prevent containers from blocking each other
Bins, turntables, and containers shouldn’t form a second wall inside the pantry. Keep each group within its shelf footprint, and avoid placing tall bins in front of shorter ones with labels you need to see. If removing one container is necessary to reach another, the group is too deep or the access method isn’t right.
- Use one bin for a clear category rather than mixing unrelated packets.
- Keep handles or front edges exposed so the bin can be removed without pulling neighboring items.
- Leave enough vertical room to lift a container from the shelf without scraping the level above.
- Keep airtight food containers dry and label-facing; a sealed container does not replace a clean, dry shelf.
- Use the same front line for containers on one shelf so the aisle remains clear.
Labeling and decanting work well only if labels clearly state the contents and the container can be checked without opening it. Transparent storage helps recognize items but doesn’t fix poor rotation or stacking too high.
Use lighting to reveal the rear zone
Lighting under shelves or under-cabinet puck lights can help reveal labels and shelf edges. A six-pack of under-cabinet puck lights is one available format, but the number of lights needed depends on the pantry shape and the existing wiring. Position light so the front row does not cast a deep shadow over the back corner.
Avoid placing a light where a door, bin, or tall container blocks it. The goal is to make labels readable and shelves visible, not to create a bright spot that leaves the rear zone dark.
Handle heavy items with care
Heavy jars, cans, and appliances should go on stable shelving that’s properly supported and anchored where needed. Place them where they can be lifted without reaching across fragile containers or leaning into the door path.
The U.S. Consumer Product Safety Commission provides consumer safety information at CPSC.gov, including guidance relevant to secure storage and anchoring concerns. Use the structure’s installation instructions and inspect fasteners before loading shelves with dense food.
Heavy pantry items need supported shelving because concentrated loads can stress a shelf more than evenly distributed light packages. If a shelf flexes, shifts, or no longer sits level, remove the load and fix the support before reorganizing around it.
Advanced: Create a Rotation and Maintenance System
Step 1: Assign a home to every category
Set up zones that match how food enters and leaves the kitchen. Cooking staples should be near where they’re measured, snacks should be easy to identify, and reserve items shouldn’t be on the most accessible shelf unless used often.
Give each category a boundary. A label on a bin or shelf edge can define that boundary, while a small gap between categories makes missing items visible. Do not pack a shelf until the front and rear labels can still be read.
Step 2: Rotate older food forward
When new food arrives, check the existing row first. Move older packages to the front and place newer packages behind them only if the rear remains reachable. If a package has no clear date or its contents have changed condition, follow the food guidance on the package and use the information from the U.S. Food and Drug Administration at FDA.gov rather than relying on appearance alone.
Food rotation should happen during restocking, not only during a full pantry cleanout. A small written inventory can track reserve food, while a visible front row shows what needs attention first.
Step 3: Review moving parts
Pull-out shelves, full-extension drawer slides, and Lazy Susan turntables need occasional checking. Look for rubbing, shifted alignment, loose fasteners, crumbs in the moving path, and containers that have grown too tall for the shelf above.
Door racks also need adjustments when the pantry contents change. A rack that clears the door with short packets may interfere after taller bottles are added. Cleaning and adjusting are part of the layout, not signs that the organizer failed.
Pantry organizers remain useful only when their moving clearances are checked after the stored items change. Keep the shelves accessible for cleaning, and do not allow crumbs or spilled powder to collect in slide paths or beneath turntables.
Step 4: Account for replacement and maintenance costs
Ongoing costs can come from replacing damaged bins, worn moving hardware, failed labels, or containers that no longer match the shelf setup. A layout with many separate parts often takes more time to clean and adjust. Simple fixed shelving might need less maintenance, but pull-outs and turntables can give better access where fixed shelves aren’t practical.
Before choosing a system, read the Pantry Organizers Buying Guide: What to Know Before You Shop for a broader checklist of features and fit questions. The goal isn’t to fill every space with hardware; it’s to select the access method that fits the corner.
Step 5: Recheck the kitchen aisle
Load the pantry as it will be used, then open the pantry door and fridge door separately and together. Look out for a bin that sticks into the walkway, a rack that narrows the entrance, or a pull-out shelf that stops someone from standing safely in front of the pantry. Check the clearance first.
Small kitchens need especially careful door planning. A corner pantry can hold more food, but it can also make the kitchen harder to use if the aisle becomes a turning zone for open doors and extended shelves. Measure the space first.
Common Mistakes to Avoid
Filling the deepest shelf first
Deep fixed shelving often looks efficient when empty. Once loaded, the rear packages disappear behind taller containers, and duplicate purchases become more likely. Start with visibility, then use depth for reserve stock that can be pulled forward or rotated.
Mixing access methods without checking clearances
A turntable beside a pull-out shelf might seem flexible, but both organizers need room to move. A door-mounted rack can also interfere with a pull-out shelf, even if each works alone. Mark the opening, door swing, shelf edge, and moving path before installing multiple systems.
Using tall stacks on adjustable shelves
Adjustable shelving is only useful if the spacing matches the stored food. A tall stack can hide short packages and make the upper shelf hard to use. Lower the shelf, divide the group, or add a riser so labels stay visible.
Ignoring moisture and labels
Containers and bins shouldn’t trap moisture or cover the info needed to identify food. Keep shelves clean and dry, use labels that stay legible, and avoid placing a sealed container where a spill can’t be seen underneath it. Measure the opening first.
Choosing appearance over load support
Floating shelves, glass shelves, and decorative bins may suit lighter objects, but heavy jars and appliances need stable support. Shelf material and bracket arrangement should match the load, not just the appearance.
Frequently Asked Questions
How do I choose between a Lazy Susan, pull-out shelves, and fixed shelves?
Choose a Lazy Susan for grouped items that can rotate without hitting the cabinet sides. Pull-out shelves work well when labels are hidden by depth and they can extend beyond the opening. Fixed shelves are best for stable, visible storage or heavy items with proper support. The key factors are reach, stack height, door clearance, and how often the items are taken out.
What layout makes the back corner easiest to reach?
A back corner is easiest to access when it has a defined movement system. Use a turntable in a blind-corner cabinet for small grouped containers or a pull-out shelf for rows needing direct view. In a walk-in pantry, keep the corner for controlled-access storage and leave the center aisle clear. Don’t leave mixed food categories in a deep fixed stack.
How can I stop bins and containers from blocking each other?
Keep each bin within its shelf footprint and make every category removable without moving another. Match container height to the space above, keep labels facing forward, and avoid placing a tall bin in front of a short one. Test the movement of a turntable or pull-out shelf after loading, because empty clearance can disappear once food is added.
What should I check before adding a door-mounted pantry rack?
Check the full door swing, hinge position, frame, nearby shelves, opposing wall, and kitchen aisle. Load the rack with the intended container sizes before judging the fit. It shouldn’t prevent the door from closing, block a pull-out shelf, or stick out into the walking path. Keep heavy items on properly supported shelving instead of concentrating them on the door.
How do I organize a corner pantry so older food gets used first?
Older food should be at the front, with newer packages behind only if the rear remains accessible. Group food by category, use readable labels, and check dates when restocking. Pull-out shelves, turntables, or removable bins help access the back; a deep fixed shelf filled with mixed packages makes rotation tough and can lead to duplicate purchases.
Are adjustable shelves better than fixed shelves for tall and short containers?
Adjustable shelves are more flexible when container heights vary because their positions can be changed to reduce wasted space. Fixed shelves tend to be steadier and simpler for a consistent group of items. Leave enough room to lift containers out, keep labels visible, and support heavy food on sturdy shelving.