Attachment choice changes how bread dough develops.
The key point isn’t just paddle for mixing and hook for kneading. The paddle often disperses ingredients better and brings soft dough together. The hook is more effective once the dough needs repeated stretching and folding to develop gluten. You should judge the attachment by dough consistency, batch size, and stage of development. A hook might miss small or very wet dough, while a paddle can smear or overwork dough that needs gentler handling.
In this guide to stand mixer dough hook versus paddle for bread, the sink is part of the decision. An attachment that performs well but leaves dried dough packed around its shaft, coating the bowl, or hiding in tight seams isn’t finished doing its job until cleanup is manageable.
Key Takeaways
- Use the flat beater to combine ingredients and bring soft or enriched dough together.
- Use the dough hook for sustained kneading after the dough has formed a workable mass.
- Judge the result by dough contact, hydration, batch size, and gluten development rather than attachment labels alone.
- Switch off and disconnect the mixer before changing attachments, removing dough, or cleaning the bowl.
Stand mixer dough hook versus paddle for bread: the actual difference
What the flat beater does
The flat beater, often called the paddle, moves through the mixing bowl with a broad working surface. That shape helps distribute flour, yeast, salt, liquid, fat, and other ingredients before the dough has enough structure to pull together around a hook.
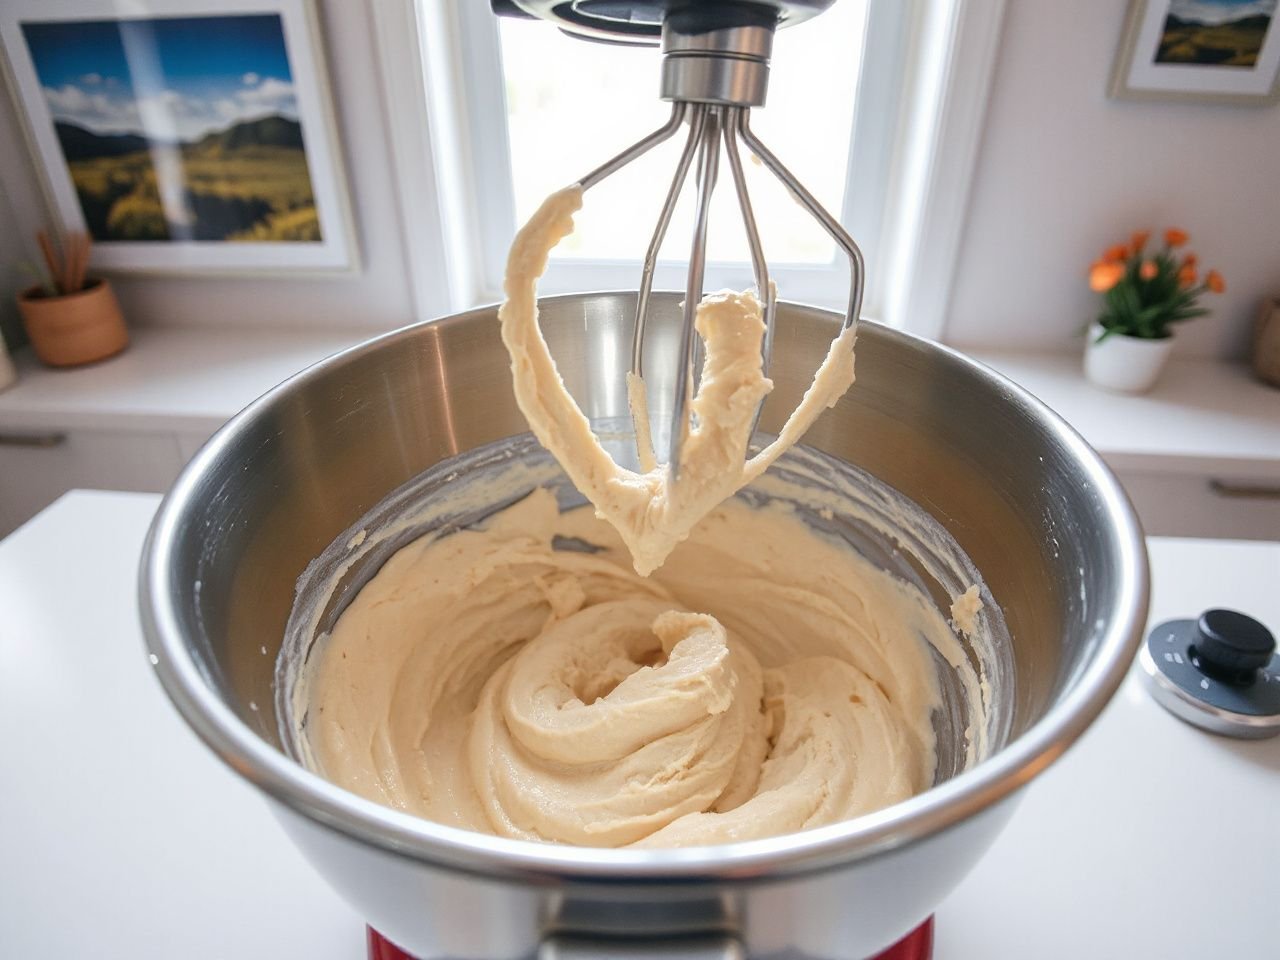
A flat beater is especially useful for soft dough and enriched dough. Dough with fat, sugar, eggs, or other tenderizing ingredients may start as a thick paste or loose mass. The paddle can gather that mixture while scraping ingredients from the sides of the bowl through its normal movement.
The flat beater is mainly a combining tool, but some soft bread doughs can develop useful gluten with it. A paddle can therefore remain appropriate for a portion of the process when the dough is soft, fragile, or not yet ready for the stronger repeated pull of a hook.
What the dough hook does
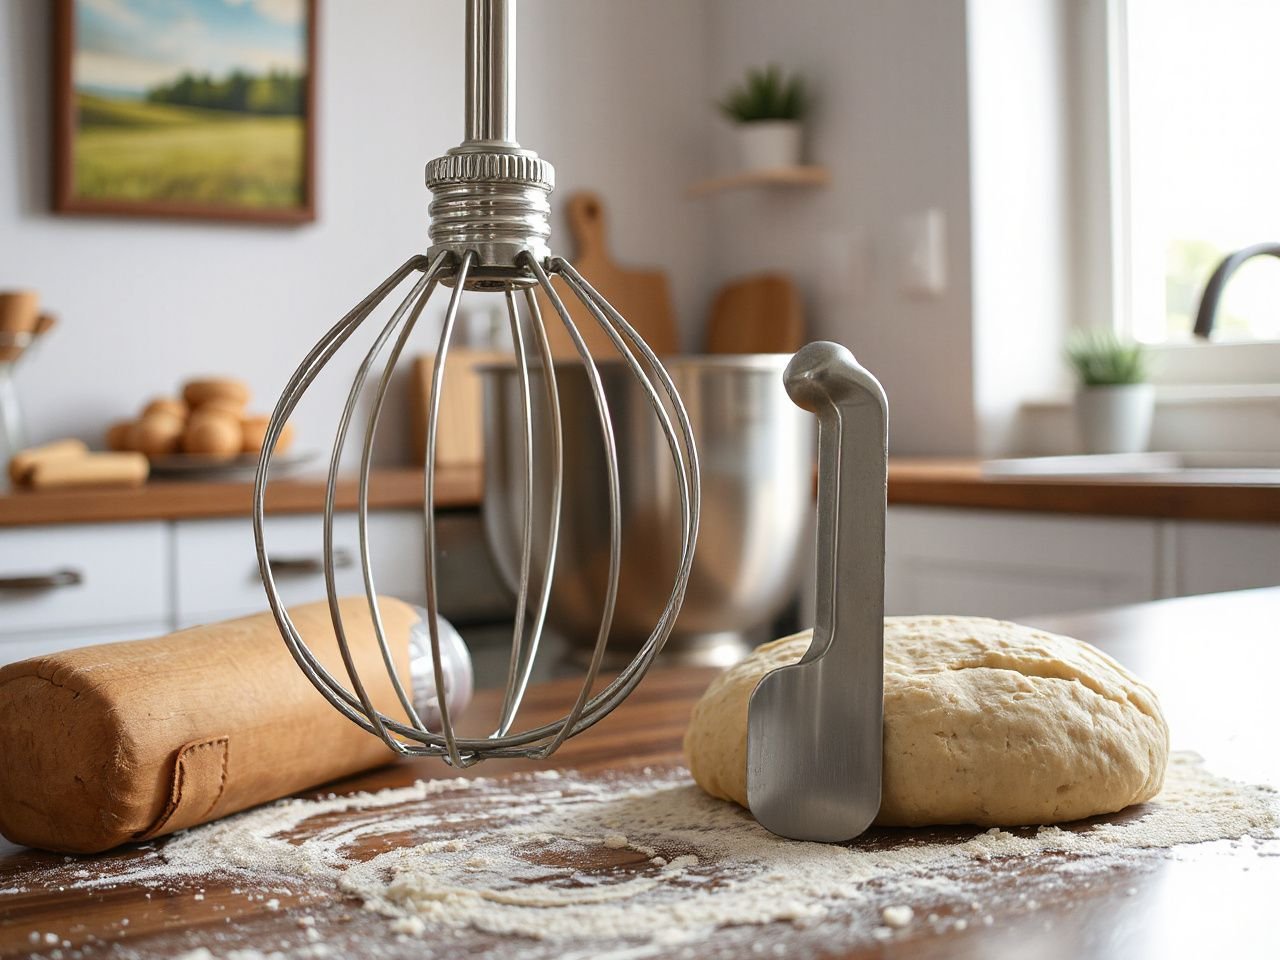
The dough hook works through a narrower contact area and is shaped to pull, fold, and stretch a developing dough. That repeated movement is better suited to kneading after flour has absorbed liquid and the dough becomes cohesive.
A dough hook organizes gluten by repeatedly stretching and folding a cohesive dough. Gluten development depends on flour, hydration, mixing, fermentation, and handling. The hook doesn’t activate yeast, guarantee fermentation, or decide if the loaf will rise.
The attachment choice influences the dough’s mechanical treatment, not the biological process that makes bread rise. Yeast activity, dough hydration, bulk fermentation, shaping, and proofing are separate parts of bread making.
Why the batch size matters
A hook needs enough dough to meet it. If only a small amount remains spread across the bottom of the bowl, the hook passes above or beside it. It can look like kneading but has little useful contact.
A large mass creates a different concern. Very stiff bread dough can put a lot of load on the mixer. This happens especially when the dough forms a dense ball. Even if the attachment is correct, the quantity, firmness, or mixer capacity might not suit the machine.
Home and light commercial stand mixers usually have bowls of about 1 US gal (3.8 L). Countertop mixers are generally defined as mixers of 5 US gal (19 L) or less. Commercial stand mixer models can go over 25 US gal (95 L). These numbers describe broad categories, not a safe dough amount for a specific machine. The manual remains the best source for the bowl and mixer in front of you.
For a closer look at how bowl volume affects contact between dough and attachment, check out this guide to stand mixer bowl sizes and dough behavior.
Causes: why bread dough behaves badly in a stand mixer
Dough climbs the hook
Dough climbing the hook usually means the dough is sticky enough to stick to the attachment. It also needs to be elastic enough to move upward as the hook turns. Factors like hydration, flour absorption, dough temperature, bowl shape, and insufficient scraping can all play a role. The attachment alone doesn’t fully explain this.
Stop the mixer and scrape the hook and bowl with a dough scraper. Then, see if the dough is becoming more cohesive or just wrapping higher around the attachment. If it stays loose, give the flour more time to absorb the liquid before making a small adjustment based on the recipe. Adding flour without checking the dough can lead to a heavy loaf.
Dough climbing the hook is often a contact and hydration problem rather than proof that the hook is defective. A small or very wet dough may also fail to stay in the hook’s working path.
Dough stays stuck to the bottom
A dough that stays under the hook might be too small for the attachment to reach properly. Or, the bowl could have a shape that leaves a low area outside the hook’s path. Some doughs also start as a wet layer before flour absorption gives them enough structure to move.
Switch off the mixer, unplug it, and use a dough scraper to clean the bottom. Look at the texture instead of forcing it to run. If you can gather the dough into a ball by hand, the problem may be contact, not gluten development.
Hand stretching and folding can help collect a small dough before putting it back in the bowl. This method also stops the motor from running while the attachment misses the dough repeatedly.
Dough smears around the bowl
Smearing happens when the mixture is too wet or soft to gather, or when the flour hasn’t absorbed enough liquid. It can also occur if the paddle presses a tender mixture against the bowl wall. Both bowl shape and scraping technique matter too.
A dough that smears around the bowl has not necessarily failed; the mixture may need absorption time, scraping, or a better-matched attachment. Use the paddle to combine a loose mixture, then reassess its texture. A hook is more useful after the dough can hold together instead of flowing across the bowl.
What happens if the dough hook is used from the beginning?
Using the hook throughout can work for a dough that quickly becomes cohesive and reaches the hook’s area. But it might be less effective for small batches, very wet mixtures, or ingredients that need broad dispersal across the bowl.
The initial mixture might stay under or cling to the hook before the flour is evenly distributed. Scraping may be needed more often early on. Using the paddle first helps ingredients combine, then the hook can take over for kneading.
Can the wrong attachment damage the mixer?
An attachment mismatch can create poor contact, extra scraping, or unnecessary load. A very stiff dough places more resistance on the drive system than a soft dough, while a quantity that is too large for the bowl or mixer can make the machine work harder.
The rotating beaters in a stand mixer are powered by a gear-driven system. That mechanical arrangement is why the mixer should be used within the limits stated in its manual, especially for stiff bread dough. Do not hold the attachment by hand while the machine is connected to power.
The [U.S. Consumer Product Safety Commission] provides consumer safety information, while the mixer manufacturer supplies the model-specific instructions for attachment fit, operating controls, and permitted use. Safety instructions are not interchangeable between machines.
Solutions: choosing and changing attachments by dough stage
Step 1: Combine with the paddle when the mixture is loose
Place the ingredients in the compatible mixing bowl. Use the flat beater if the mixture is scattered, wet, or soft. Keep the stand mixer at the setting named in its manual. Watch the sides and bottom of the bowl.
Stop the mixer when dry flour remains outside the main mass. Or when liquid sits beneath a thicker layer. Scrape the bowl with a dough scraper. The goal at this stage is even distribution and a cohesive starting dough. Not maximum gluten development.
The paddle is the better starting attachment when bread ingredients need broad, even distribution before kneading. This is especially useful for enriched dough that begins soft and sticky.
Step 2: Change to the hook safely
Turn the mixer off and disconnect it from power before touching the attachment. Remove any dough from the paddle. Check that the bowl is seated correctly. Fit the compatible dough hook according to the manufacturer’s instructions.
Clean dough on the attachment can be easier to remove while fresh, but do not reach into a moving bowl or attempt to free dough while the mixer is connected. The [Consumer Product Safety Commission] is a suitable source for general consumer product safety information; the appliance manual governs the particular mixer.
Resume with the control setting specified by the manufacturer. Watch whether the hook pulls the dough into a repeating stretch-and-fold motion. If the dough remains flat below the hook, stop and scrape. Longer operation won’t necessarily fix the contact problem.
Step 3: Read the dough during kneading
A dough that is developing structure usually changes from a scattered mixture into a more unified mass. It may still cling slightly to the bowl. But it should show some resistance and stretch rather than behaving like a liquid smear.
Lift a small piece only after switching off and disconnecting the mixer. Examine whether the dough stretches before tearing. A dough that tears immediately may need more development, while a dough that feels increasingly tight or shows signs of excessive mechanical handling may need the mixer stopped and the process reassessed.
Kneaded bread dough should be judged by cohesion, stretch, and resistance rather than by a fixed mixer duration. The appropriate endpoint varies with flour, hydration, enrichment, batch size, and the machine’s instructions.
Step 4: Match the attachment to the dough
- Sticky dough: Begin with the paddle if the ingredients are not distributed, then use the hook once the dough gathers. Scrape the bowl when dough climbs or pools below the hook.
- Enriched dough: The paddle can be useful during early combining because fat and other ingredients may make the dough soft. Change to the hook when the mixture becomes cohesive and needs repeated stretching.
- Whole grain dough: Watch absorption and structure closely. The dough may behave differently from a dough made with bread flour, so use texture and stretch as guides rather than attachment habit.
- Very stiff dough: Use the hook only within the mixer manufacturer’s stated limits. Stop if the machine strains, the dough locks into a dense mass, or the attachment no longer moves through it normally.
- Small dough batches: Check whether the hook reaches the dough. Hand mixing or stretching and folding may be more effective than running an attachment that cannot make contact.
Step 5: Finish with fermentation and proofing
Once kneading is done, transfer the dough as the recipe says and keep going with bulk fermentation, shaping, and proofing. The attachment choice doesn’t decide whether the bread will rise.
Yeast activity, hydration, fermentation, shaping, and proofing determine bread rise more directly than the attachment used to mix the dough. Even a well-kneaded dough can fail to rise if yeast activity or proofing conditions aren’t right. A paddle can help the dough rise if fermentation is managed properly.
Preventive measures: reducing mess, wear, and cleanup time
Clean the attachment before residue dries
Fresh dough is usually easier to remove than dough dried onto a hook, paddle, or bowl. Turn off and disconnect the mixer, take out the attachment, and use a dough scraper to lift thick residue before washing.
Check the underside of the attachment, the shaft, the locking area, and any seams or recesses that contact dough. A clean outer surface doesn’t mean the inside of a joint or around the mounting point is free of residue.
Dough residue left on an attachment becomes harder to remove as it dries. To check, run a finger or a clean cloth over the attachment after it’s been disconnected and washed as the manual recommends. Look for flour paste around the socket and underside.
Clean the mixing bowl methodically
Scrape the bowl from the rim toward the base, paying attention to the bottom where small bits of dough might have remained during kneading. Soaking can soften residue, but follow the manufacturer’s cleaning instructions for the bowl and attachment. Not every part needs the same care.
The U.S. Food and Drug Administration offers food-safety info for handling and cleaning food-contact equipment. Always check the mixer manual to see if a specific bowl or attachment is suitable for certain washing methods.
Check compatibility before every change
Paddles, hooks, bowls, and locking fittings aren’t always interchangeable between different mixer models. Match the attachment to the model info in the manual and stop using any part that doesn’t lock, seat, or clear the bowl properly.
A compatible attachment must fit the mixer and bowl as specified by the manufacturer. Check this before mixing. A loose or unsuitable part can cause poor dough contact, unusual movement, or unnecessary wear.
Consider electricity, wear, and replacement cost
The attachment itself doesn’t determine electricity use alone. Dough firmness, batch size, mixer design, operating time, and how often you need to stop for scraping also affect the work asked of the appliance.
A poor attachment match can also cause more idle running. A hook missing a small piece of dough might rotate without doing useful work. A paddle that keeps smearing dough may need more intervention. That extra work can cause wear to the attachment and the drive system. The manufacturer doesn’t specify a universal replacement interval or cost.
From a sink-first perspective, replaceable parts should be judged by how well they fit, how easy they are to clean, and the condition of the contact surfaces. A part with hardened dough in a joint isn’t ready for the next batch, no matter how well it worked during mixing.
For broader decisions about mixer capacity and attachment types, the Dough Mixer Buying Guide: What to Know Before You Start offers useful context without replacing the instructions for a particular machine.
Use the paddle and hook without overworking the dough
A paddle can smear a dough that needs gentler handling, especially after it has already become cohesive. A hook might keep pulling on dough after it’s reached a good level of development. Stop based on the dough’s texture and the recipe’s process, not on the idea that more mechanical action always makes better bread.
More mixing does not automatically produce better bread dough. Dough development has a useful stage, and continued mechanical action can change the texture in an undesirable direction.
Practical answers for common bread-dough problems
Should the paddle be used before the dough hook?
Often, yes, when the ingredients start loose, uneven, or very soft. The paddle helps distribute ingredients and bring them into a cohesive mass before the hook takes over. If the dough already gathers quickly, you might start with the hook, but the choice depends on how the dough behaves.
Switch attachments only when the mixer is off and unplugged. Scrape the paddle clean, check the bowl, and make sure the hook fits the machine before you start again.
Can a paddle develop enough gluten for bread?
A paddle can develop useful gluten in some soft or enriched doughs, especially during the combining stage. It’s not just for stirring ingredients. Still, the hook is usually better for sustained stretching and folding once the dough has enough body to stay in its path.
Judge the dough by how cohesive and stretchable it is. A recipe might also suggest hand folding or another method, and that can work when a mixer can’t reach a small or wet batch.
Does the hook always knead better?
No. A hook can miss small dough, ride above wet dough, or struggle with a bowl whose shape keeps the mass outside the hook’s path. It’s designed for kneading over time, but that doesn’t guarantee contact with every batch.
Stop, scrape, and reassess the dough. If the hook never gathers it, switch to a suitable hand method or adjust the process as the recipe and mixer instructions allow.
Can the paddle overwork bread dough?
Yes, a paddle can keep pressing and smearing dough after it has become cohesive. The risk depends on the dough’s consistency, the mixing action, batch size, and how long the attachment runs.
Switch to the hook when the dough needs repeated stretching and folding, or stop the mixer once it has reached the desired development. The paddle stays useful for soft dough, but its broad action isn’t right for every later stage.
How should the sink affect attachment choice?
Look at the surfaces holding dough: the underside of the paddle, the curve of the hook, the shaft, the locking point, and the bottom edge of the bowl. Pick a process that lets you remove residue easily without scraping aggressively or leaving paste in a recess.
A cleanable attachment helps keep preparation consistent because dried dough won’t carry over into the next batch. The sink is also where you can see fit issues like cracks, worn surfaces, trapped residue, or a part that no longer seats properly. Check these before starting.
Frequently Asked Questions
Which attachment is better in a stand mixer dough hook versus paddle for bread decision?
The paddle is better for distributing ingredients and bringing soft or enriched dough together. The dough hook works better once the mixture has formed a cohesive mass that needs repeated stretching and folding for gluten development. Batch size and hydration can influence this, so watch the actual dough contact rather than just the attachment name.
Why does bread dough climb the dough hook instead of kneading in the bowl?
Dough can climb up because it’s sticky, elastic, or too wet for the hook to stay in the bowl. Flour absorption, bowl shape, insufficient scraping, and batch size may also contribute. Stop the mixer, disconnect it, and scrape the hook and bowl. If the dough stays loose or is too small to contact the hook, hand folding might work better.
How can I tell whether bread dough has been kneaded enough in a stand mixer?
Look for a cohesive mass with increasing resistance and the ability to stretch without tearing. The dough shouldn’t stay a liquid smear, though slight sticking can remain. Stop the mixer before checking by hand, disconnect the power, and follow the recipe’s cues. Fixed timing is less reliable than texture because flour, hydration, enrichment, and batch size vary.
Can using the wrong attachment damage a stand mixer or increase replacement costs?
Using an unsuitable attachment or dough can cause poor contact, extra scraping, or too much resistance. Very stiff dough can put a heavy load on the drive system, while a small amount might just spin the hook without much contact. Use compatible parts, follow the manual’s limits, and stop if the machine strains. Attachment wear and replacement costs depend on the model and aren’t the same everywhere.