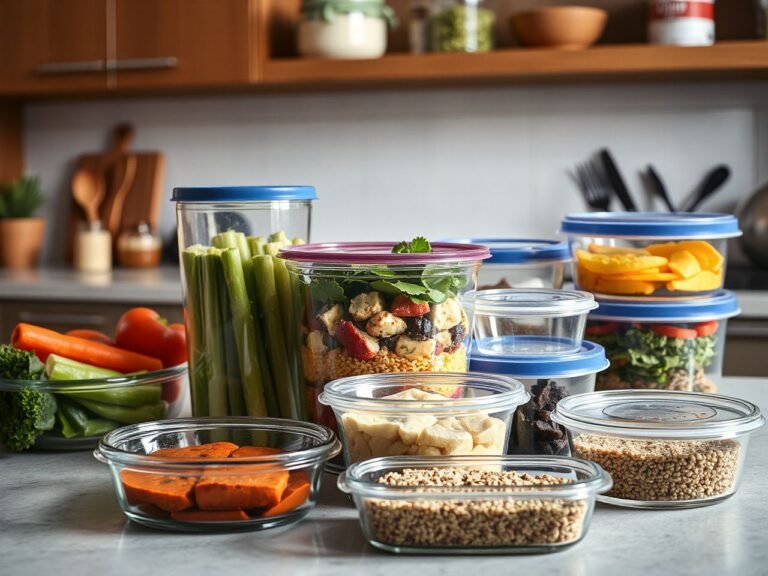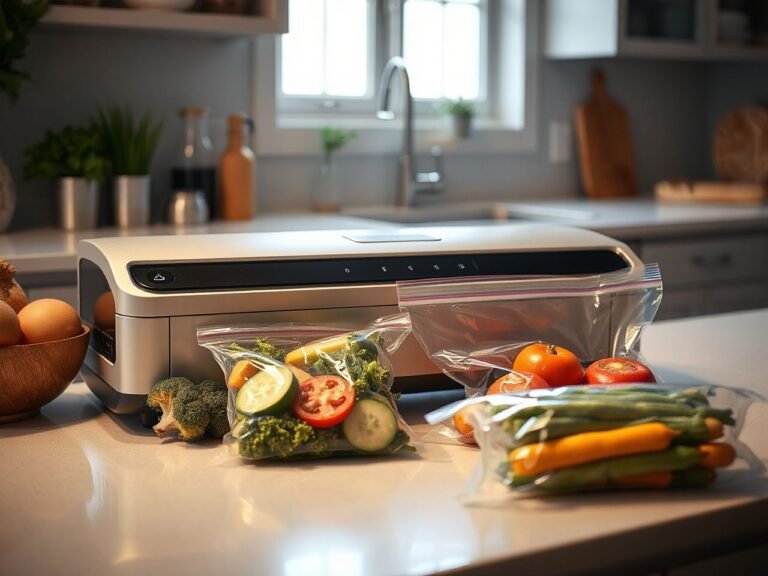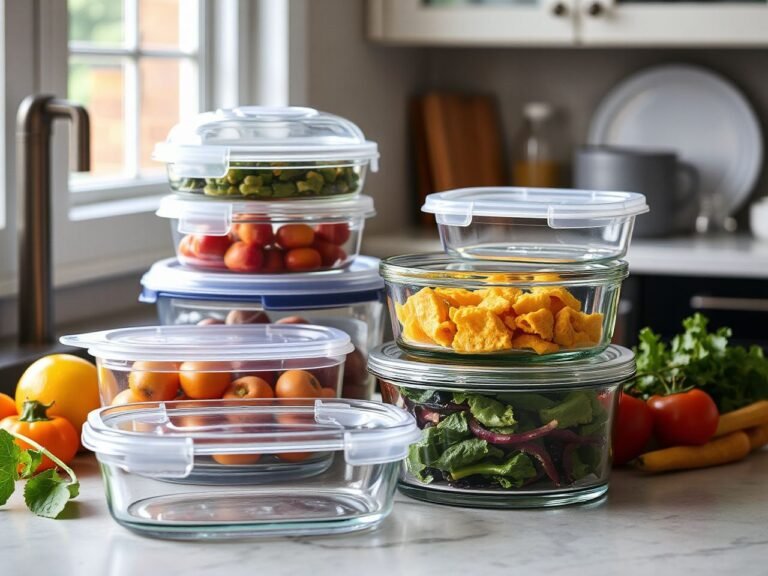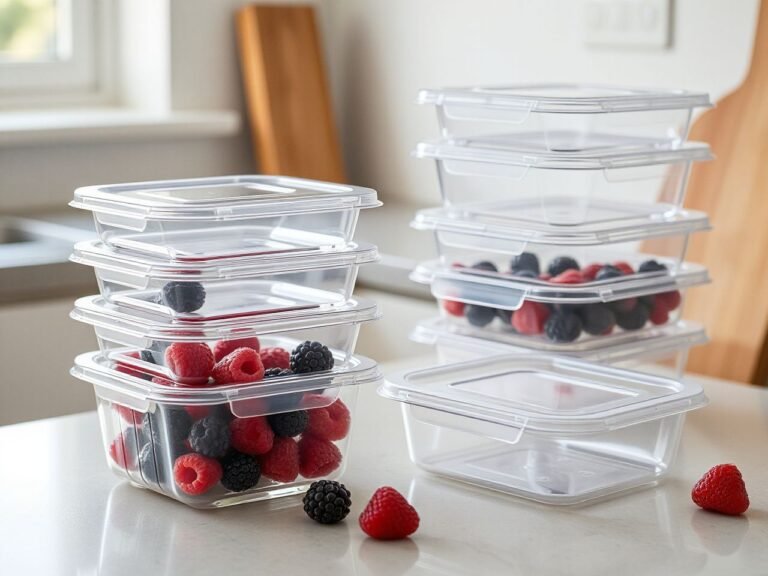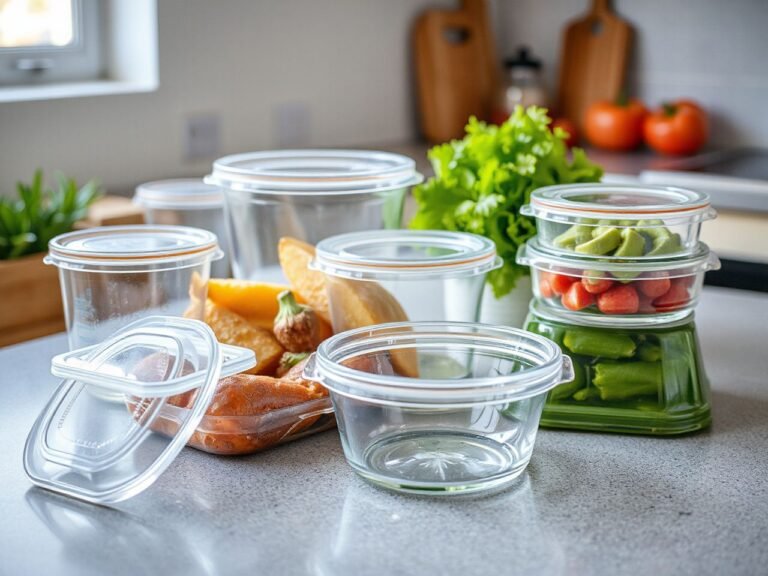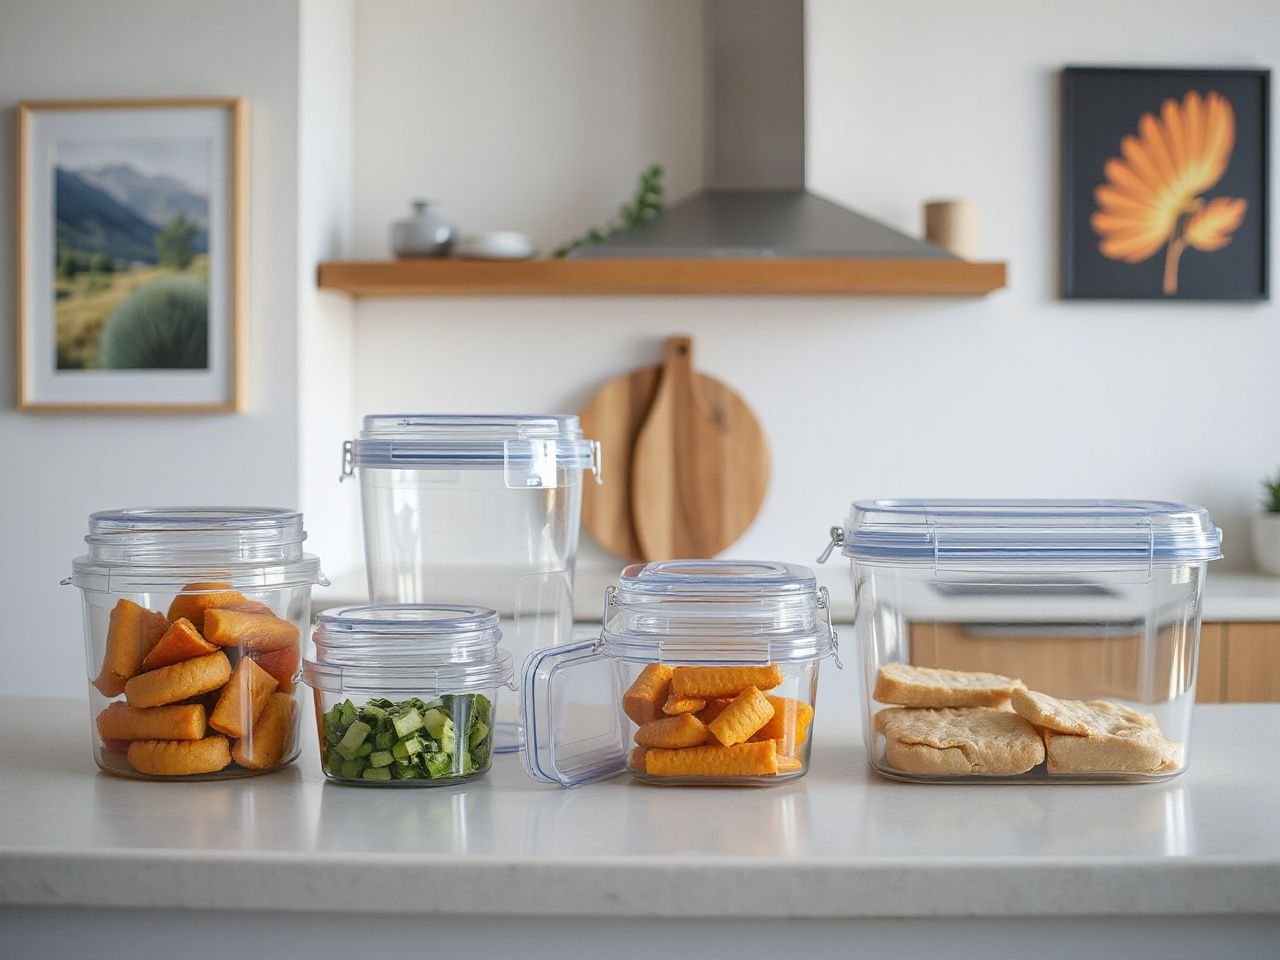
Recent kitchen-storage advice has shifted from collecting matching pieces to planning a container system around actual meals, storage spaces, and seal behavior. That shift makes food container sizes easier to judge because the useful distinction is between stated capacity, usable capacity, and external footprint: a container may hold a similar amount of food while occupying very different refrigerator or cupboard space. Size should also be matched to the food’s behavior, including expansion when frozen, liquid movement during transport, headspace needed for sealing, and the way containers stack when empty or full.
I would check the lid seal before trusting any container on its side overnight. A container that holds the right volume but has a weak fit, a distorted rim, or a gasket that does not sit flat is the wrong size in practical terms. For a broader look at materials and formats, the Food Storage Containers Buying Guide adds useful context.
Key Takeaways
- Stated capacity does not equal usable capacity because food needs room for mixing, expansion, and sealing.
- Choose shape and lid fit alongside volume so containers stack and remain leak-resistant.
- Leave expansion space for frozen food and avoid sealing very hot contents without checking the material and lid instructions.
- Glass, plastic, stainless steel, deli, and nesting containers serve different storage patterns.
How to Read Food Container Sizes Correctly
Step 1: Separate stated capacity from usable capacity
Food containers are generally labelled by volume in litres or millilitres rather than by weight. That label describes the container’s internal capacity, not the amount of food that can be stored comfortably while leaving room for a lid and a reliable seal.
Usable capacity is the amount of food a container can hold while still allowing the lid to close properly and the food to behave as expected. A container filled to the rim may have the advertised volume but leave no room for stirring, movement, expansion, or a gasket that presses into place.
A practical rule supplied by the verified storage guidance is to fill food containers to a maximum of 90% capacity. Treat that as an upper limit rather than a target for every food. Soups, sauces, cooked grains, and foods that may expand need more attention than a firm, dry portion that will not shift during handling.
- For leftovers: choose a shape that leaves enough room for the food to settle without pressing against the lid.
- For sauces: select a container with a lid that closes evenly, since liquid can travel toward the rim when the container tilts.
- For dry ingredients: volume matters, but the shape of the opening also affects scooping and measuring.
- For packed lunches: judge the container by its footprint inside the lunch bag, not only by the label on its base.
Step 2: Match capacity to the food’s behavior
Food portioning works best when the container is neither crowded nor needlessly oversized. A container that is too small can force the lid upward, smear food into the sealing channel, or cause a spill during transport. A container that is too large may leave food spread thinly across a wide base, occupy extra shelf space, and require more washing than a closer fit.
Freezing adds a separate concern. Liquid and moist food need expansion space because the contents take up more room as they freeze. Overfilling can deform lids, split containers, or push food into the seal. Leave visible room where the food’s behavior calls for it, and follow the container maker’s freezer instructions rather than treating a large stated capacity as permission to fill it fully.
Frozen liquid needs expansion space because a full container can place pressure on its walls and lid. The sign to check is simple: the contents should not press against a closed lid before freezing, and the lid should not be forced into position.
Step 3: Judge the external footprint
Two containers may have similar stated capacities yet occupy different amounts of refrigerator or cupboard space. A tall, narrow base uses vertical room efficiently, while a broad, low shape may fit beneath a shelf or suit a lunch bag better. Neither form is universally superior.
Measure the storage space itself by checking the shelf, drawer, freezer basket, or bag opening. Then compare the container’s outside shape, lid overhang, and stacking behavior. A lid that extends beyond the base can prevent close side-by-side placement even when the container body appears compact.
The external footprint determines how a food container fits into a refrigerator, freezer, cupboard, or lunch bag. Capacity alone cannot tell you whether several containers will sit together without wasted gaps.
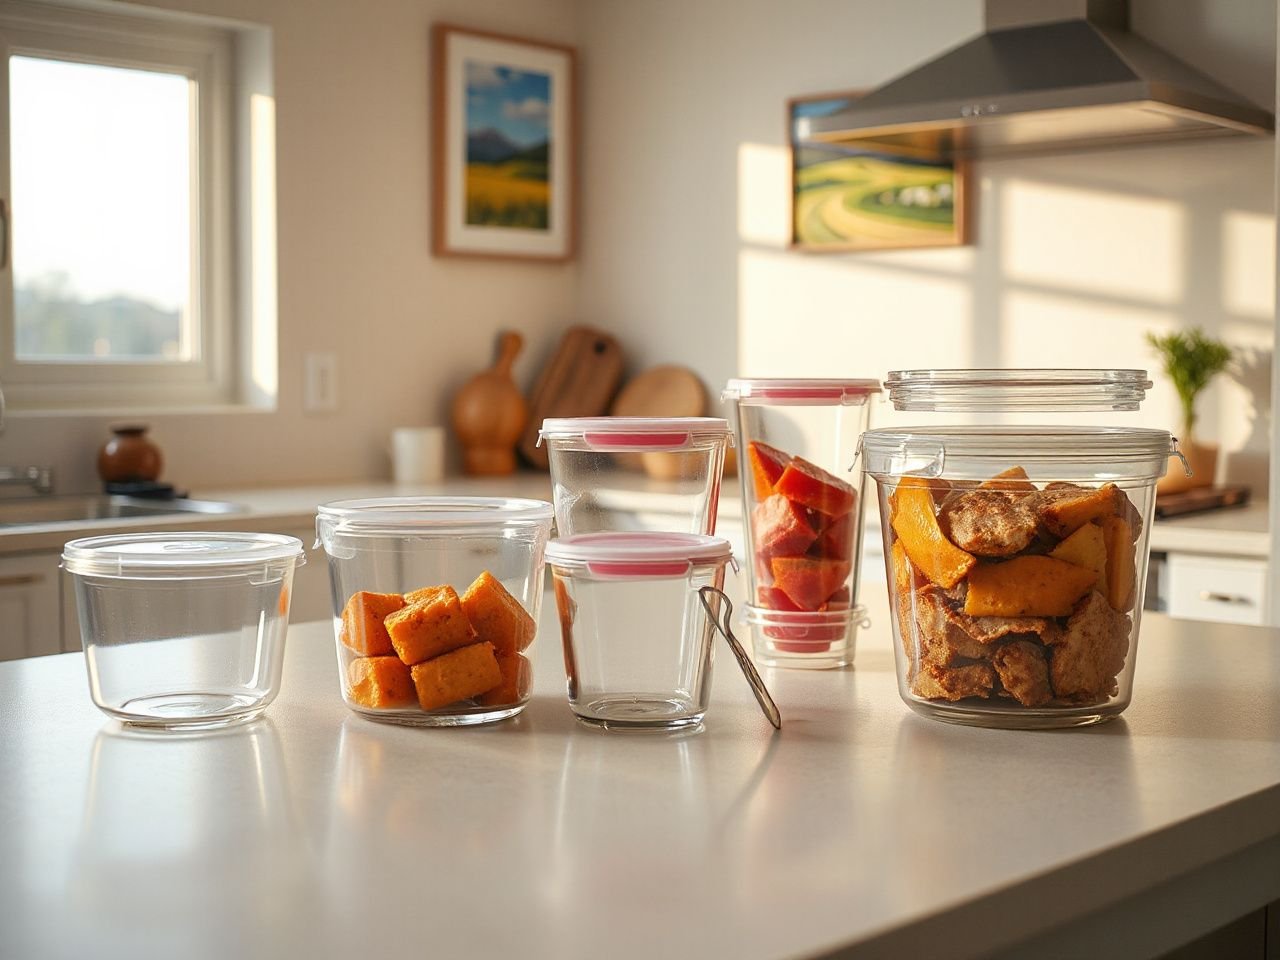
Choosing Shapes for Common Storage Jobs
Leftovers and prepared meals
Rectangular containers often make shelf planning straightforward because their sides line up with other rectangular pieces. Square containers can use a shelf well but may leave different gaps depending on the storage area. Round containers suit foods that are stirred or poured, although their curved edges can make shelf space less predictable.
For leftovers, choose the smallest container that allows the food to sit without being compressed and leaves the lid’s sealing area clean. A close fit can reduce empty space around the food, but the lid must never scrape across the contents. If the meal contains separate components, a divided format may help portioning, provided the divider and lid do not interfere with closure.
A leftover container should provide enough room for the food to settle without touching the sealing surface. This matters more than matching every piece by colour or brand.
Packed lunches and transport
Lunch storage has two measurements to consider: the food volume and the available bag space. A container may fit the portion yet fail to fit beside a bottle, beneath an insulated flap, or through the bag’s opening. Check the whole packed arrangement rather than judging the container by itself.
Leak-resistant storage depends on the lid, rim, and food position. Liquid movement increases when a container is carried, tilted, or placed on its side. A silicone gasket that is dirty, stretched, or out of place can stop sealing even when the lid appears closed.
A packed-lunch container needs a lid that remains closed when the bag changes position. Keep liquid foods upright unless the seal has been checked and the container is designed for that type of transport.
Sauces, dressings, and small portions
Small containers reduce empty space around a modest amount of sauce, but a narrow opening can make filling and cleaning harder. A wider opening can be easier to scrape clean and inspect. The useful choice depends on the food and the washing method available.
Do not judge a sauce container only by its capacity. Look at the rim, the lid’s contact area, and the path liquid would take if the container tipped. Food residue on the rim is a direct threat to the seal, so leave the sealing surface clear when filling.
Dry ingredients and pantry storage
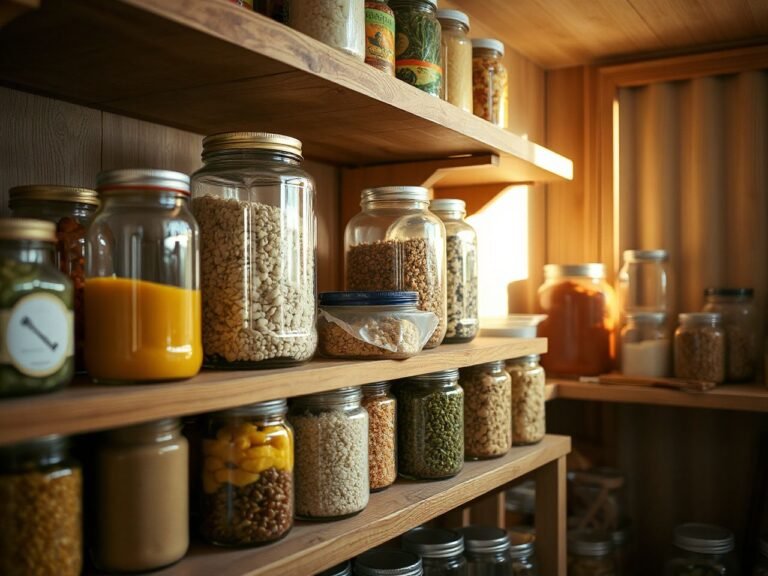
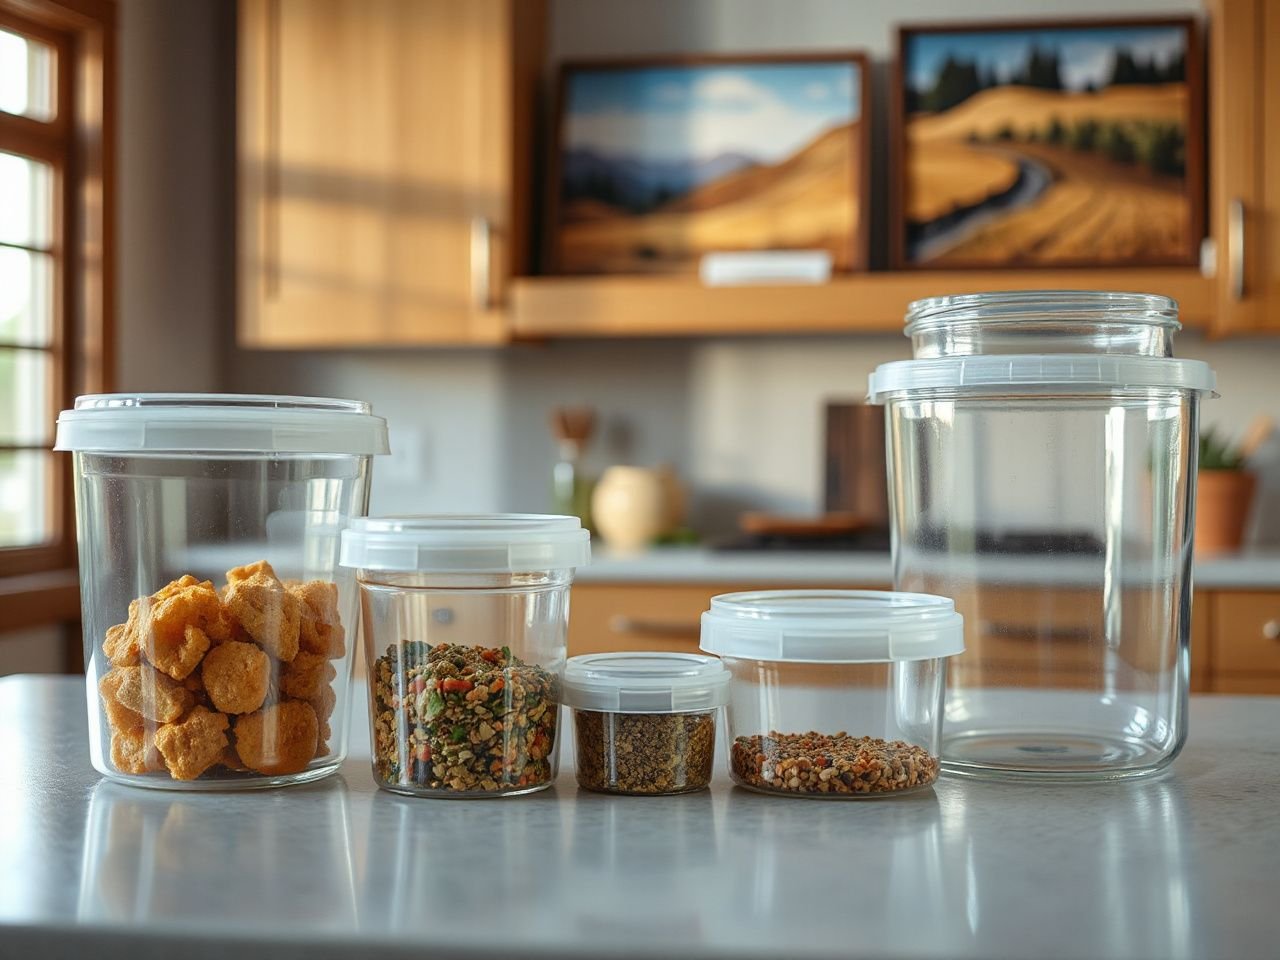
Dry ingredients need a container that supports scooping, pouring, and labeling. Approximately 0.8–0.9 kg of common pulses, flours, and grains can fit into a container with a 1-litre capacity, although the exact amount depends on the food’s density and how it settles.
That figure shows why weight and volume should not be treated as interchangeable. A litre describes space, while kilograms describe mass. A container labelled by volume may hold different weights of flour, grains, or pulses.
Dry ingredients should be matched by volume first and checked by the food’s settling behavior second. Leave room for a measuring cup if the container will be used directly for scooping.
Materials, Temperature, and Lid Behavior
Plastic containers
Plastic is not one single material, so the temperature guidance printed by the maker matters. Polycarbonate food storage containers have an operating range from -40 to 210 degrees Fahrenheit. Polypropylene food storage containers have a range from -40 to 160 degrees Fahrenheit, and the verified information identifies polypropylene containers as 100% BPA-free.
Those figures describe stated operating ranges, not permission to use every plastic container in every appliance. Check the base, lid, and instructions for microwave, dishwasher, freezer, and hot-food compatibility. A lid may use a different material or include a gasket that has separate care instructions.
Plastic container temperature limits must be checked against the specific container and its lid. A material name alone does not answer every use question.
Glass containers
Modern Pyrex glass is produced using soda lime glass. Glass can be useful for seeing the contents and for storage routines that involve reheating, but sudden temperature changes can break glass. Avoid moving from one extreme condition to another unless the manufacturer expressly allows that use.
Glass also changes the external footprint of a storage system because its walls, lid design, and handling space may differ from plastic pieces with a similar stated volume. Check the base and lid together. For a focused discussion of glass formats, see the practical guide to choosing glass food containers.
Glass containers can break when exposed to sudden temperature changes. A safe routine begins with reading the container’s instructions and checking the food’s temperature before changing its storage environment.
Stainless steel containers
Stainless steel containers can be useful for storage situations where visibility is less important than a durable-feeling body, but the lid still determines how confidently the container can travel. A metal base does not make a poorly fitted lid leak-resistant.
Inspect the contact between lid and rim, and keep the sealing surface free of food. If the container is used for hot food, follow the maker’s instructions for the body and lid separately. Metal containers should not be assumed to be suitable for microwave use.
Microwave and hot-food handling
Hot food can create pressure inside a closed container, and some materials can be damaged by heat. Microwave use requires attention to both material compatibility and lid venting. A sealed container can build pressure, so do not microwave a fully closed lid unless the instructions specifically describe a safe venting method.
A sealed food container can build pressure in a microwave. Open or vent the lid according to the manufacturer’s instructions, and stop using a container if heat has warped the lid or changed the way it closes.
The Food and Drug Administration provides information about food-contact materials and food safety. Use the agency’s guidance alongside the container maker’s instructions rather than inferring safe use from a familiar shape or material.
Building a Container System That Stacks
Nesting when empty
Nesting containers reduce cupboard clutter only when their shapes allow one base to sit inside another without stressing rims or lids. Square pieces may nest efficiently with matching shapes, while containers with pronounced shoulders can leave unused air between them.
Keep lids in a separate, visible arrangement or store them with their matching bases. A lid that is forced onto the wrong shape may warp, and a warped lid can later fail to seal on its correct container.
Nesting containers save cupboard space only when their bases fit inside one another without pressure. Do not push a smaller piece into a larger one if the rims catch or the body flexes.
Stacking when full
Full containers need stable bases and lids that can bear the arrangement intended by the manufacturer. Tall containers can be efficient on a high shelf but awkward in a shallow freezer basket. Low, broad containers may be easier to access but can occupy more shelf surface.
Plan a simple storage pattern: place similar footprints together, keep labels visible, and leave enough access to remove a lower container without dragging the stack. Food labeling and date marking become harder when containers are buried behind irregular shapes.
A container system is practical only when its bases, lids, shapes, and storage spaces work together rather than merely matching by stated capacity. The system should also support the way food is cooled, frozen, thawed, reheated, and served.
Deli containers and disposable formats
Deli containers can be useful for portions that need quick identification and simple stacking, while disposable food containers may suit short-term distribution or situations where washing is not practical. Their lids still deserve the same inspection: check the rim, closure, and visible warping before placing liquid food inside.
Do not treat a disposable container as a universal freezer or microwave vessel. Read the markings and instructions on the container, and avoid using a damaged base or lid. The manufacturer does not list one universal temperature range for every disposable format.
Preventing Leaks, Waste, and Early Damage
Why lids stop sealing
Lids can stop sealing when food dries in the rim, a silicone gasket leaves its channel, the plastic or gasket becomes distorted, or the lid is paired with the wrong base. A container may also appear closed while one side remains slightly raised.
Clean the lid and gasket according to the maker’s care instructions. Remove the gasket only if the design allows it, then check that it sits flat before closing. Let parts dry fully before storage if the instructions call for drying, because trapped moisture and residue can make inspection harder.
A silicone gasket must sit evenly in its channel for the lid to seal as designed. A gasket that is twisted, stretched, cracked, or coated with food needs attention before the container carries liquid.
Why containers warp, crack, or stain
Warping can change the fit between a lid and base. Sudden temperature changes can damage glass, while heat beyond the stated range can affect some plastics or lids. Staining may occur when strongly coloured foods contact plastic, but a stain alone does not explain whether the seal remains reliable.
Inspect the part that controls closure. Replace or retire a container when a crack reaches the rim, the lid no longer sits flat, or the gasket cannot remain in position. Do not keep using a container simply because its base still looks serviceable if its lid has changed shape.
Cleaning and maintenance
Wash food residue from the rim before closing the container. Clean lids separately when their channels or vents can retain food, and check that dishwasher use is permitted for the specific parts. Microwave and dishwasher compatibility should never be assumed from the base material alone.
- Check the rim after washing, especially around corners and gasket channels.
- Keep each lid with the base it fits.
- Look for cracks, cloudy stress marks, warped edges, and loose gaskets.
- Mark stored food clearly so older portions are not hidden behind newer containers.
- Use a measuring cup for repeatable portioning instead of filling by eye when the recipe depends on volume.
Food residue on a container rim can interfere with the lid’s seal. A clean, dry contact surface makes the seal easier to inspect before storage or transport.
How the wrong size creates waste
An undersized container can cause spills, crushed food, and a lid that will not close. An oversized container may leave food spread across a large surface, use more refrigerator space, and encourage several half-filled vessels where one closer-fitting container would be easier to manage.
Freezer burn is associated with poor storage conditions and exposed food surfaces, so reducing empty space can help the storage arrangement, but expansion space must remain for moist food. The aim is a careful fit, not a full container at any cost.
A larger container reduces the need for several containers when the food is stored as one stable batch and the container fits the available shelf. A larger container makes storage less practical when it is hard to lift, blocks access, leaves large unused gaps, or cannot be sealed without pressing against the food.
Frequently Asked Questions
How should I compare food container sizes for everyday storage?
Compare three things together: stated volume, usable room beneath the lid, and external footprint. Start with the amount of food you normally store, then allow space for movement, sealing, and expansion. Check the shape against your refrigerator shelf, freezer area, cupboard, or lunch bag. A container is suitable only when the food fits and the closed container fits the storage space.
How much empty space should I leave in a container?
There is no single empty-space amount that suits every food. The verified guidance recommends filling food containers to a maximum of 90% capacity, while frozen liquids and moist foods may need more room for expansion. Keep food away from the sealing surface, and never force a lid over contents that touch or press against it.
Can one lid fit containers with different capacities?
Only if the bases share the same rim and closure design. Similar stated capacities do not prove that lids are interchangeable because shapes, rim profiles, gasket channels, and locking points can differ. Pair every lid with its base and check that it sits evenly all around. If one edge lifts or the gasket shifts, do not trust that pairing for liquid storage.
Are glass, plastic, and stainless steel containers affected differently by food temperature?
Yes, the materials and lids have different instructions. Polycarbonate containers are listed with an operating range from -40 to 210 degrees Fahrenheit, while polypropylene containers are listed from -40 to 160 degrees Fahrenheit. Modern Pyrex glass is soda lime glass and can break with sudden temperature changes. Stainless steel should not be assumed suitable for microwave use.
What should I check before leaving a container on its side overnight?
Check that the lid sits flat, the gasket is correctly placed, the rim is clean, and every closure point is engaged. Fill below the sealing surface and account for liquid movement during handling. If the container is frozen, allow expansion space. My first check is always the seal, because the right capacity does not prevent a leak when the lid or rim is compromised.