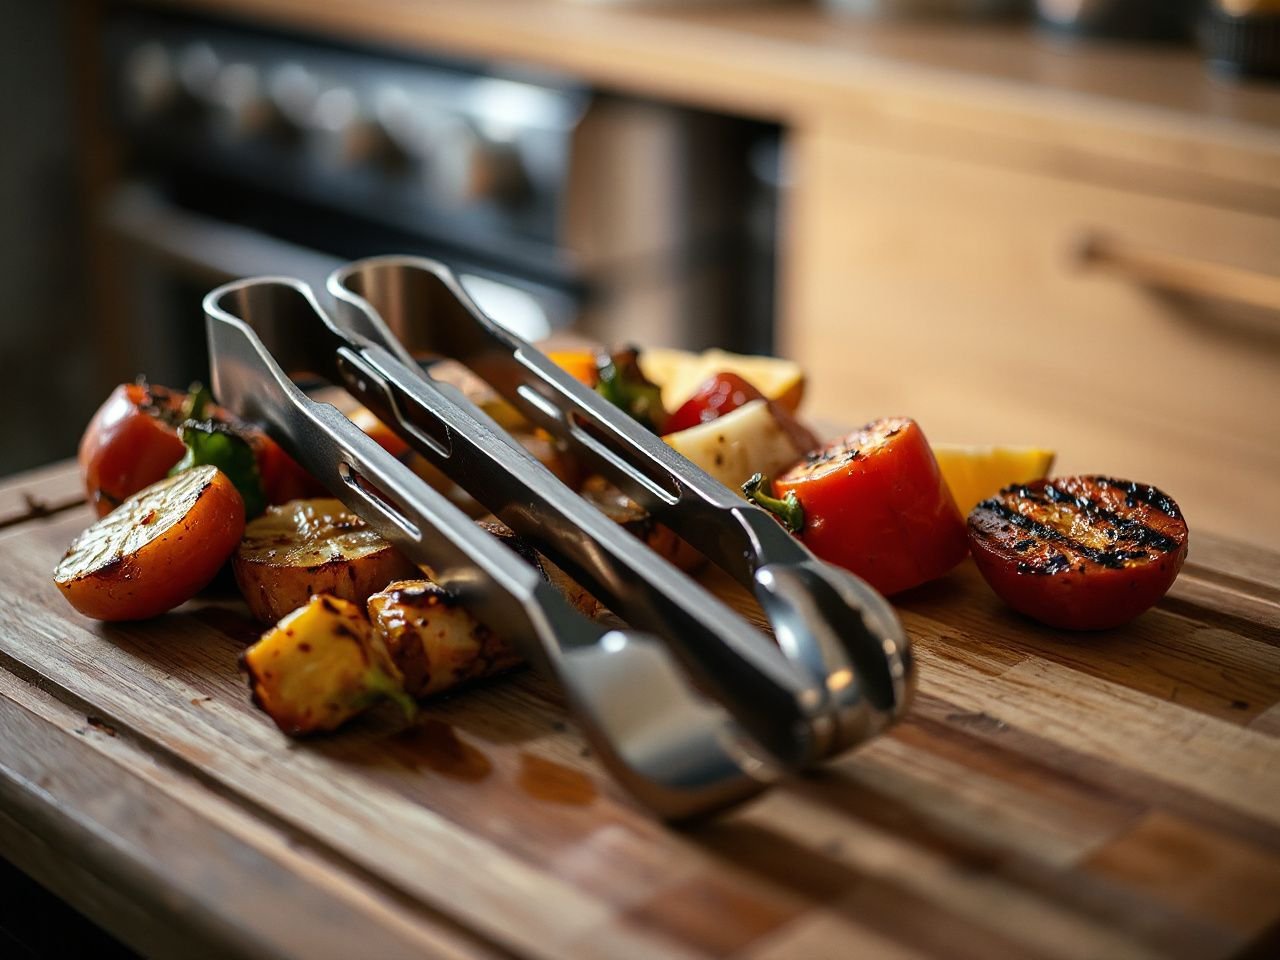
The wrong tongs can drop food, scrape a coated pan, trap grease around the joint, or make a hot task harder than it needs to be. This kitchen tongs buying guide starts with the useful distinction between reach, control, and grip: longer tongs keep hands farther from heat, while shorter tongs usually transmit hand movement more directly. Tip material, joint construction, spring action, and locking design should be assessed together, because a tong that grips well can still be awkward, difficult to clean, or unsuitable for coated cookware.
Key Takeaways
- Choose length by balancing hand control against distance from heat.
- Match stainless steel, silicone, or nylon tips to the cookware and food.
- Inspect the pivot, return spring, lock, and gripping edges for cleanability.
- Read the care instructions instead of assuming every soft tip or handle is dishwasher-safe.
Beginner: Start With the Job, Not the Handle
Step 1: Decide what the tongs must replace
I want a utensil to earn drawer space by replacing a task, not by adding another shape to the collection. Tongs may take over work usually done by a fork, turner, spatula, serving spoon, or kitchen tweezers, but they do not perform those jobs in the same way. They are particularly useful for lifting, turning, transferring, and holding food without piercing it.
Write down the jobs that currently feel awkward. Turning food in a skillet calls for a different balance from tossing salad, moving pasta, serving roasted vegetables, or handling food near a grill or oven. A pair that works well for a serving bowl may lack the reach or heat distance needed for a hot pan.
- Turning and lifting: Look for tips that close evenly and hold food without requiring excessive squeezing.
- Serving: Prioritise a comfortable opening action and tips that do not crush delicate pieces.
- Coated cookware: Soft silicone or nylon contact areas reduce the chance of bare metal touching the cooking surface, provided the maker states that the material suits the intended heat.
- Precise placement: A shorter body and responsive pivot usually make small movements easier to direct.
Tongs should not be used beyond their intended grip, especially for heavy, unstable, or very hot cookware. A tong is a food-handling tool, not a substitute for a pan handle, trivet, or heat-safe lifting device.
Step 2: Choose length by balancing reach and control
Longer tongs improve reach and put more distance between the hand and heat. The trade-off is mechanical: the farther the gripping end sits from the hand, the more leverage the food can exert against the user’s grip, and the more hand force may be needed for a secure hold. Long tools can also feel less precise during small movements.
Shorter tongs usually transmit hand movement more directly. That makes them easier to guide around a crowded skillet, arrange food on a plate, or place small items accurately. Their shorter reach also leaves the hand closer to heat, steam, splatter, and the hot rim of a pan.
Use the cooking area as the test rather than choosing by length alone. Hold the closed tongs as if moving the largest food item you regularly handle, then check the following:
- Can the gripping ends reach the food without your wrist leaning over the pan?
- Can your hand open and close the tool without touching a hot surface or another utensil?
- Can you rotate the tongs while keeping the food level?
- Does the open tool fit comfortably in the storage space available?
A tong that is technically long enough may still be awkward if its handle, spring, or opening action demands more control than the task allows. For a compact cooking area, direct hand feedback may matter more than extra reach. For deep pans or high-heat work, distance can matter more than delicate precision.
Length also affects storage. A locking mechanism may keep long arms closed, but the lock adds a part that can collect residue and may require attention during cleaning. Check the actual stored shape, not only the open length shown on packaging.
Step 3: Match the tips to the food and cookware
Scalloped gripping tips create edges and contact points that help hold irregular food. They are useful for items that do not present a flat, stable surface, such as pieces with curved sides or uneven texture. Smooth tips can feel gentler and may be easier to wipe, but they can offer less purchase on slippery or rounded food.
Bare metal gripping ends are useful when firm, direct contact matters more than surface protection. Stainless steel can provide a crisp response for moving sturdy food and may resist wear from ordinary handling. Bare metal gripping ends can scratch coated cookware, however, so they should be kept away from nonstick surfaces and other finishes that the cookware maker says can be damaged by metal.
Silicone and nylon tips are softer choices for coated cookware, but the material name alone does not establish safe use near high heat. Silicone and nylon tips vary in heat tolerance, so check the manufacturer’s stated limits and the care instructions before using them near a burner, grill, broiler, or hot pan edge.
Soft tips may also change the feel of the tool. They can cushion contact and protect a surface, yet they may offer less precise control than a thin metal edge or wear sooner under repeated contact with hot, rough, or sharp food. A tip that bends excessively can make turning delicate items more difficult.
Step 4: Think about heat claims carefully
Stainless steel is not automatically suitable for every part of every hot cooking task. A listed material, handle covering, spring, locking mechanism, and tip attachment may each respond differently to heat. The component closest to the pan is not the only part that matters.
One verified material fact can help put labels in context: 18/8 stainless steel can withstand temperatures up to 600°F without heat damage. That statement applies to the stainless steel material, not automatically to a silicone grip, nylon tip, adhesive, coating, spring, or lock attached to it.
For products sold with food-contact or safety claims, read the maker’s instructions and look for information from recognised bodies. The NSF establishes standards and certification programs relevant to food equipment and food-contact products, while the U.S. Food and Drug Administration provides authoritative information on food safety and materials that contact food. These links do not replace the product’s own care instructions.
Intermediate: Read the Mechanism Before You Buy
Step 5: Understand the pivot joint
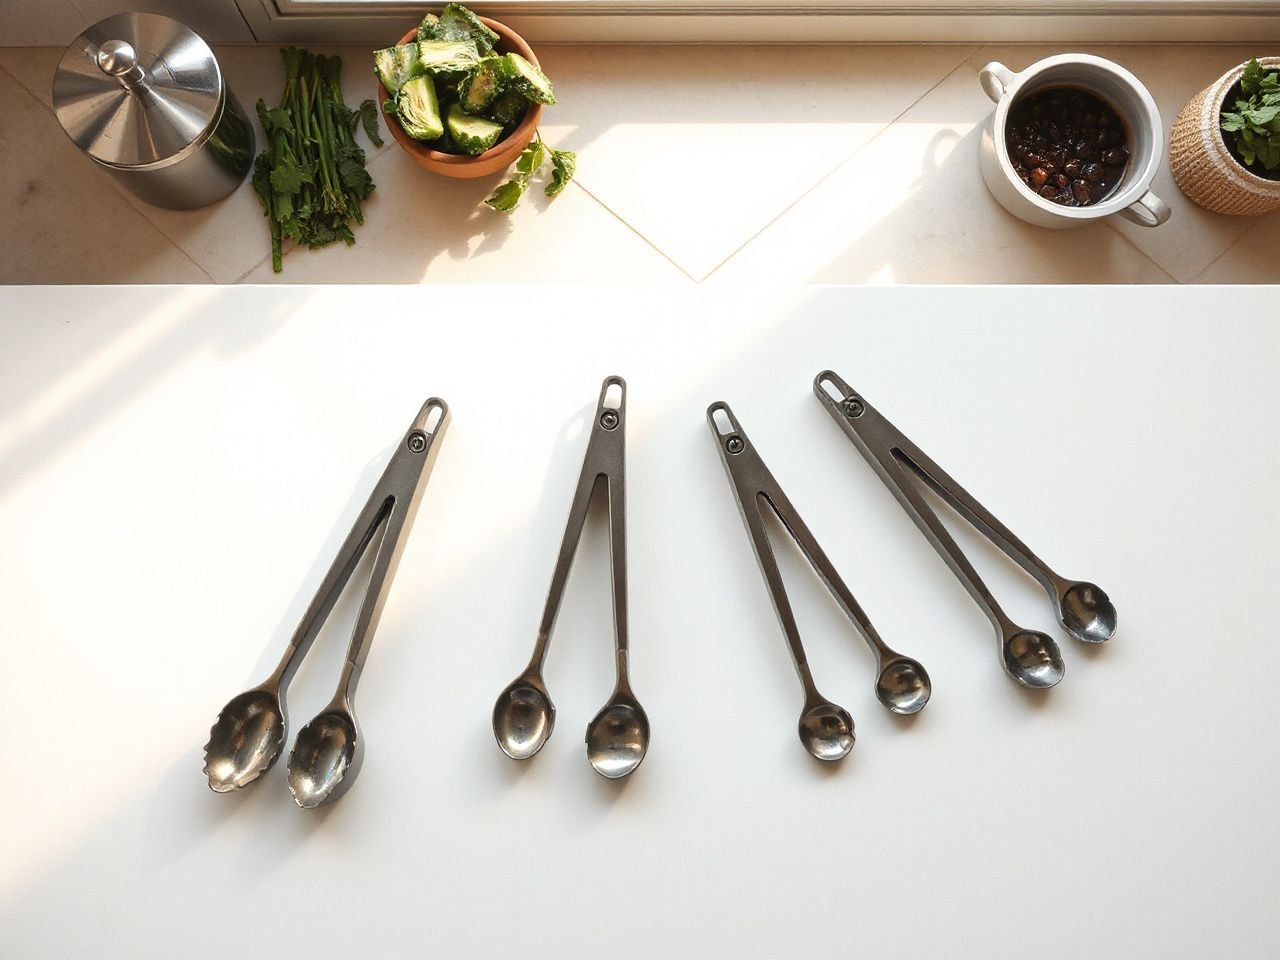
The pivot joint is the point where the two arms move against each other. Its position affects how far the gripping ends open in response to hand movement and how much force reaches the tips. A joint placed closer to the gripping ends can change the leverage compared with a joint farther down the handle, so the same squeeze can feel very different from one tong to another.
A precise tong should respond predictably as the handles move. Excessive looseness can let the tips drift apart or meet unevenly. A joint that feels stiff can make repeated opening tiring. The goal is not maximum resistance or maximum freedom; the goal is a controlled movement that matches the food and the hand.
Inspect the joint from both sides. Look for gaps where food could lodge, edges that catch on cloth, and areas that cannot be reached by a brush or running water. A pivot joint that looks clean from above may still hold residue beneath a washer, cover, or overlapping arm.
The pivot joint controls how hand movement becomes gripping force, so joint position and smooth movement matter as much as the tip shape. That sentence remains useful even if the packaging gives no detailed mechanical specification.
Step 6: Check the return spring
A return spring pushes the arms back toward their open position after the hand releases pressure. If the spring loses tension, the tongs may open only partly, close slowly, or remain partly closed. Food residue, corrosion, deformation, repeated heat exposure, and a damaged connection can all make the action less reliable, but the exact cause must be checked on the individual tool rather than assumed.
Open and close the tongs slowly in the shop or at home after delivery. Watch for smooth movement through the full range. The arms should not scrape, twist, or stop before the tips reach the position shown by the design. A spring that feels strong is not automatically better if it makes the tool hard to squeeze.
Do not bend the arms to restore an opening angle. That can damage the joint, change the alignment, or weaken the metal. If the spring cannot be removed for cleaning, residue around it is a maintenance concern rather than a minor cosmetic detail.
Step 7: Examine the locking mechanism
A locking mechanism usually holds the arms together for storage. Depending on its design, a ring, tab, button, or sliding part may move along the handle or sit near the joint. The lock should engage without forcing the arms out of alignment and release without a sudden movement that sends the tips across the work surface.
Storage convenience has a cost. A lock can trap grease, food residue, and rinse water, especially if it sits near the pivot or has a narrow recess. The part should be easy to see, reach, rinse, and dry. If the care instructions say the tool is suitable for a dishwasher, inspect the lock afterward for trapped debris rather than treating the dishwasher as a guarantee of complete cleaning.
Step 8: Inspect construction at the gripping ends
Examine how the tips meet the arms. A covered tip should sit securely without a loose edge that can peel, catch food, or expose a sharp corner. A metal end should have a smooth transition into the handle, with no burrs or rough seams that could scrape a pan or cut a hand during washing.
- Alignment: Closed tips should meet evenly rather than crossing or leaving a large unintended gap.
- Surface: Silicone and nylon should not show cuts, lifted edges, or loose sections.
- Attachment: The tip should not shift sideways when the arms are gently squeezed together.
- Cleaning access: Food should not have an obvious path into a hollow tip, seam, or fastener.
- Handle comfort: The squeeze should not force the fingers against a hard edge or moving lock.
Construction quality is a maintenance issue as well as a handling issue. A small opening at a tip or joint can collect food that is difficult to remove, and repeated washing may make that opening more noticeable.
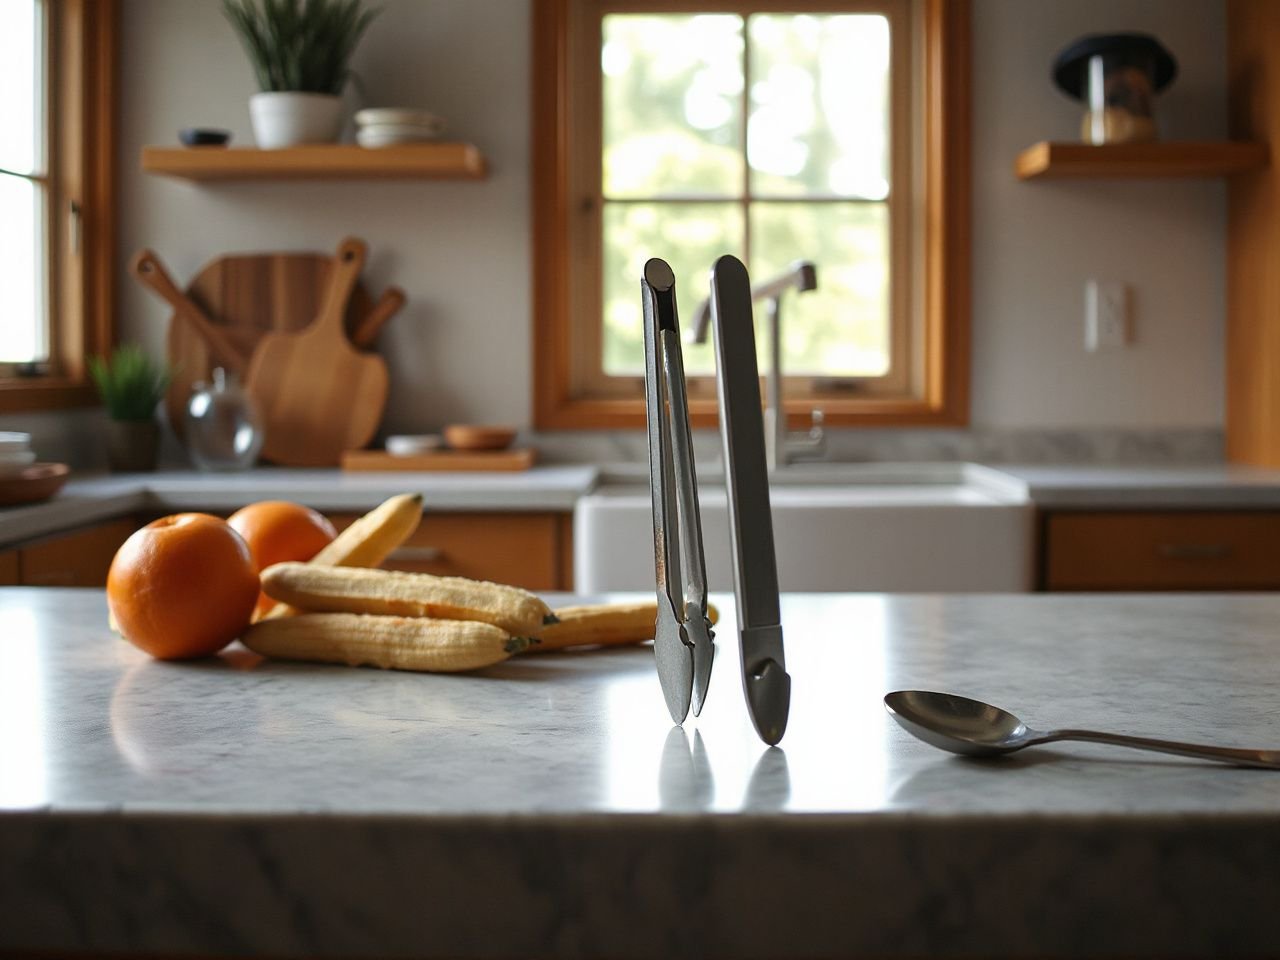
Advanced: Match Materials, Maintenance, and Cost of Ownership
Step 9: Choose stainless steel, silicone, or nylon with purpose
Stainless steel gripping ends suit firm handling, direct feedback, and tasks where contact with the food matters more than protecting a coated surface. They can be useful for sturdy food and cookware that the maker permits metal utensils to touch. They are a poor choice for delicate coated cookware if the tips can scrape the cooking surface.
Silicone tips are often selected for their softer contact with nonstick cookware. They can reduce the chance of metal contact, but softness does not make them indestructible or universally heat-safe. A silicone tip still needs a stated heat limit and careful inspection for cuts, loosened edges, or distortion.
Nylon tips can also be suitable for coated cookware when their instructions permit the intended use. Nylon may provide a different balance of stiffness and softness from silicone, so the material label does not tell you exactly how precise the tongs will feel. Look at the tip thickness, shape, attachment, and stated care guidance together.
A utensil’s compatibility with cookware depends on the contact material and the use, not on the handle alone. Nonstick cookware calls for particular care, while cast iron cookware and other food-safe cookware materials may permit different choices according to their own instructions.
Step 10: Treat dishwasher claims as a care instruction
Dishwasher use can expose tongs to heat, water, detergent, movement, and prolonged moisture. Those conditions may affect soft tips, handle coverings, springs, pivot areas, and locking mechanisms in different ways. A dishwasher-safe statement should be checked against the exact model and its instructions rather than inferred from the material.
Wash tongs promptly after handling greasy or sticky food. Open the arms, move the lock through its full travel, and rinse around the pivot before placing the tool in a dishwasher or washing it by hand. If the manufacturer allows dishwasher cleaning, position the tongs so water can reach the joint and so the gripping ends do not press against another utensil.
After washing, inspect the tool while it is open. Food residue around the pivot, spring, or lock means the cleaning process did not reach every surface. Drying matters because trapped rinse water can remain in enclosed joints and recesses.
The U.S. Consumer Product Safety Commission provides consumer safety information and recall notices, but its material does not replace the care directions supplied with a particular utensil. Check the maker’s instructions for heat, dishwasher, and use limitations before relying on a general assumption.
Step 11: Calculate cost beyond the purchase price
The cost of owning tongs includes more than the amount paid at the start. A tool that is hard to clean may require extra hand washing. A tip that wears quickly may need replacement sooner. A lock that traps grease can make ordinary maintenance frustrating, while a joint that cannot be inspected may shorten the useful life of the utensil.
Compare the ownership questions before choosing:
- Can the pivot and lock be rinsed and dried without special tools?
- Are replacement parts or care instructions provided?
- Will the tips contact cookware that can be scratched?
- Can the tongs replace another utensil already taking up drawer space?
- Will the stored shape fit the available drawer, crock, or hanging location?
- Does the construction show areas likely to trap food or water?
A lower initial price does not make sense if the tongs cannot do the job you need or become unpleasant to clean. A more elaborate design also does not automatically offer better value if its added lock, cover, or joint creates maintenance work without improving control.
Step 12: Use the tongs within their limits
Grip food near its centre when possible, keep the load stable, and lift only what the tips can hold without excessive squeezing. Large or irregular pieces may rotate unexpectedly, especially with long tongs that require more hand force. Very hot cookware should be handled by its intended handle or lifting method, not by gripping the rim with food tongs.
Use a turner or spatula when a broad, flat surface is needed to support food. Use kitchen tweezers for fine placement that tongs cannot control. Use a serving spoon when loose food needs support from below rather than pressure from two opposing tips.
A tong should release cleanly after the food is placed. If the tips stick, the lock catches, or the spring does not reopen the arms, stop using the tool until the cause is clear.
Practical Inspection Checklist Before Choosing
Look, squeeze, and open
A short inspection can reveal more than a long feature list. Hold the tongs in the position you would use at the stove and assess the movement without rushing.
- Look at the tips: Confirm that the scallops, pads, or metal edges are aligned and securely attached.
- Squeeze the handles: Notice whether the force feels manageable and whether the tips close evenly.
- Release the handles: Check that the return spring opens the arms smoothly rather than hesitating.
- Move the lock: Engage and release it several times, watching for rubbing, catching, or exposed gaps.
- Study the pivot: Look for residue traps, rough edges, and surfaces that cannot be reached for cleaning.
- Check the instructions: Find the stated heat, cookware, hand-washing, and dishwasher guidance.
The most useful inspection question is simple: what does this tong replace, and what maintenance does it add? A tool that replaces a fork and turner for everyday jobs may earn space. A tool that performs one narrow task while adding a difficult joint may not.
Readers comparing prep tools can apply the same replacement test to a kitchen knife set buying guide or to an article explaining what to look for in kitchen shears. The useful question remains the same: does the tool solve a real task without creating avoidable care problems?
Frequently Asked Questions
How do I choose a tong length that gives enough reach without losing control?
Choose enough length to keep your hand clear of the heat and pan rim, then check whether you can still guide the tips accurately. Longer tongs improve reach but can reduce control and require more hand force. Shorter tongs usually transmit movement more directly. The right choice depends on the cooking area, food size, storage space, and your ability to squeeze comfortably.
Are silicone-tipped tongs safer for nonstick cookware than bare stainless steel?
Silicone tips are generally the more suitable contact choice for coated cookware because they avoid direct bare-metal contact, but the product instructions still control. Silicone varies in heat tolerance and may wear, cut, or loosen. Bare stainless steel can scratch coated surfaces if dragged or pressed against them. Check both the cookware instructions and the tong maker’s heat guidance.
Why do kitchen tongs lose their spring or stop opening properly?
A return spring can lose its action if residue, corrosion, deformation, heat exposure, or damage affects the spring or its connection. A stiff pivot or trapped food can create a similar symptom. Open the tool, rinse around the joint, and inspect the lock and spring area. Do not bend the arms to repair the opening angle; replace the tongs if the mechanism remains unreliable.
Can kitchen tongs go in the dishwasher without damaging the tips or lock?
Only follow a dishwasher-safe claim for the exact tool and its instructions. Dishwasher conditions can affect silicone, nylon, handle coverings, springs, pivots, and locks differently. Open the tongs and move the lock before washing so residue is less likely to remain hidden. Afterward, inspect the joint and gripping ends. Dishwasher cleaning does not remove the need to check trapped food or water.
How should tongs be cleaned and stored?
Rinse food from the gripping ends promptly, open the arms fully, and move the locking mechanism so water can reach its recesses. Clean around the pivot with a suitable brush or cloth, following the maker’s instructions. Dry the joint before storage. Keep the tongs unlocked if the instructions permit and if that position allows the spring and pivot to dry fully.
For readers building a wider prep setup, a mixing bowls buying guide can help separate tools used for serving, mixing, and handling food. Tongs work best when their job is clear: grip and move food with controlled pressure, without replacing equipment designed to support, cut, or lift in another way.