Run a smoothie too long and you get a thin, warm sludge that tastes slightly cooked. Stop too early and you sip icy grit through the straw. The real question is not how long should you blend a smoothie, but what signal tells you the blade has done its work without wrecking the texture.
Key Takeaways
- High-wattage blenders (1,000+ watts) usually need 30–60 seconds; standard models (300–700 watts) take 1–2 minutes, but watch for the vortex, not the timer.
- Stop blending when the mixture forms a single, flowing slurry with no visible chunks; over-blending adds friction heat that degrades nutrients and makes the drink thin.
- Leafy greens need only 5–10 seconds after the main blend; longer exposure turns them bitter and stringy.
- The cleanest jar comes from a properly timed blend: under-blending leaves sticky chunks, over-blending bakes residue onto the walls.
Blend Time Depends on Your Blender’s Muscle
Motor wattage and blade speed set the floor for how long you blend. A 1,000-watt machine spins blades fast enough to shear frozen fruit in half a minute, while a 300-watt model needs to work longer just to reach the same particle size. That difference is not a flaw—it is the physics of shear force.
High-Speed Blenders (1,000+ Watts): 30–60 Seconds
Vitamix and Blendtec machines fall into this category, and their blade tips move fast enough to create a strong vortex almost immediately. Start with 30 seconds on high, then check. If small specks of fruit skin or ice remain, blend in 10-second increments. More than 60 seconds on a high-speed blender rarely improves smoothness and starts generating noticeable friction heat.
Look for a UL certification on the base label before running frozen fruit and ice for two minutes straight, because that mark means the motor assembly has been tested for overload and electrical insulation under continuous use.
Standard Blenders (300–700 Watts): 1–2 Minutes
Lower-wattage blenders—including many NutriBullet full-size models and budget countertop units—take 1–2 minutes to fully break down frozen ingredients. The verified figure from current top-ranking guides confirms that range: regular blenders run one to two minutes, fast blenders limit to one minute. Within that window, pulse first to break large chunks, then blend continuously.
A 300-watt motor pushes blades with less torque, so ice cubes sit against the blade edges longer before shattering. That extra time is fine as long as you use the right liquid ratio—about 1¼ cups of liquid per full jar keeps the mixture moving, so the motor does not stall.
Personal Blenders: A Separate Category
Single-serve models like the NutriBullet base often spin at high RPM in a small jar, which creates a tighter vortex. The effective blend time can be shorter—20–30 seconds for soft fruit, 40–60 seconds for frozen berries. But the smaller jar also means less room for liquid movement, so you may need to shake the cup between pulses. A coffee smoothie with cold brew and frozen banana only needs about 20 seconds in a personal blender, because the coffee is already liquid and the banana softens quickly.
What to Watch For Instead of a Timer
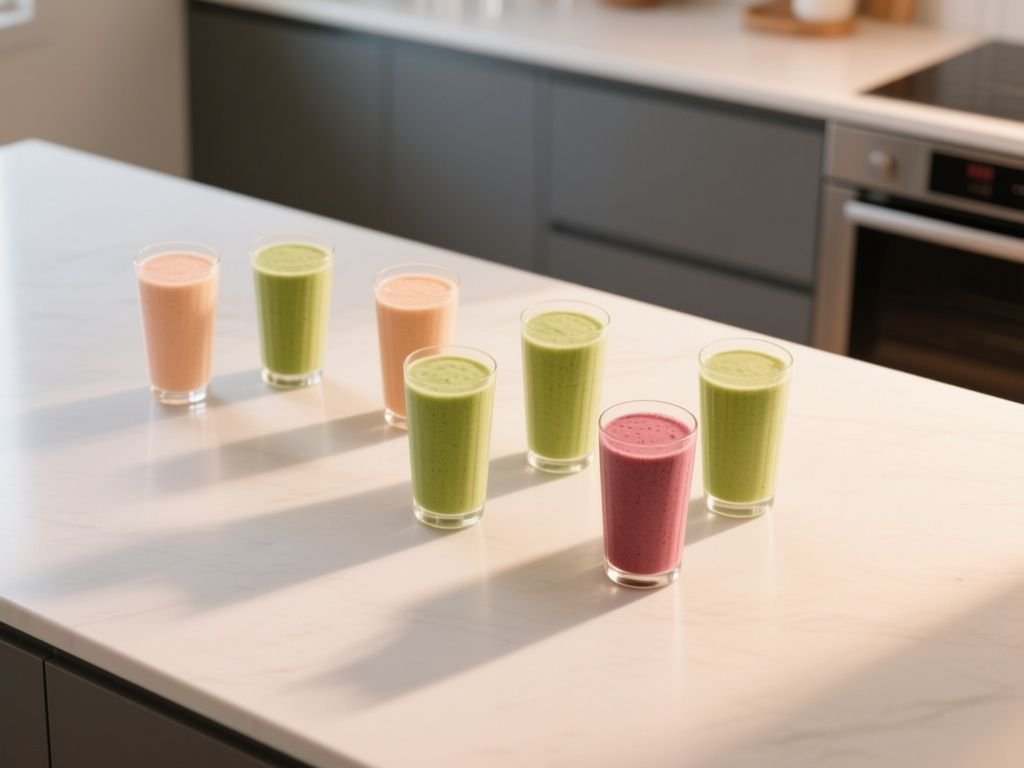
The target is not a fixed number but the moment when the mixture forms a vortex that pulls all particles down and becomes a single, flowing slurry. A beginner thinks time is a constant, but an experienced blender user knows that the required seconds vary with ingredient density, blade geometry, and motor power—so you stop when the vortex looks the same as the rest of the mix, not when the timer hits a specific value.
The Vortex Test
With the blender running, look through the jar. A proper vortex is a visible whirlpool that pulls the top layer of fruit toward the center and down to the blade. If you see pieces bouncing off the walls without joining the flow, the mixture is too thick or the blade speed is too low—add a splash of liquid or run another 10 seconds.
The Slurry Check
Stop the blender and dip a spoon in. The mixture should pour slowly off the spoon in a uniform stream, not plop in separate chunks. If you see individual spinach flecks or ice shards, blend again in short pulses. A smoothie that is ready will look the same at the bottom of the jar as it does at the top—no stratification.
Over-Blending Warning Signs
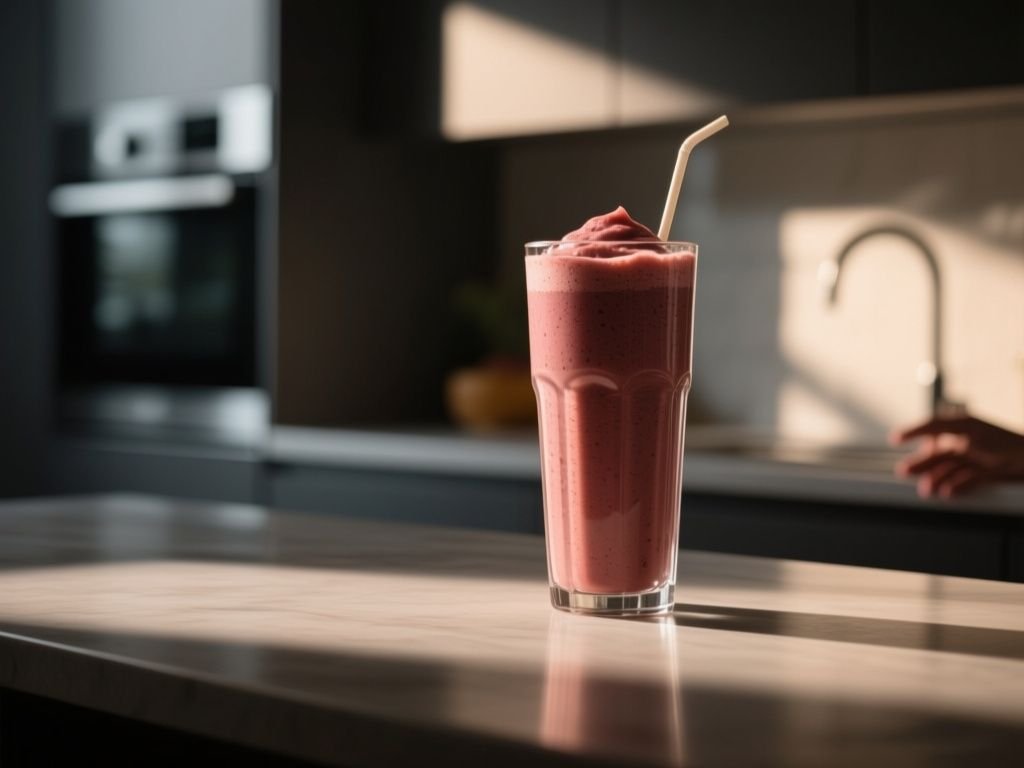
Blending longer does make a smoother smoothie up to a point, but that point arrives quickly. After the vortex stabilizes, additional blending adds friction heat from the blade assembly. That heat degrades heat-sensitive nutrients like vitamin C and changes the texture from thick to watery. You will also start to see a frothy layer on top—a sign the mixture is becoming aerated, which is not what you want unless you are making a whipped drink.
Step-by-Step: Loading and Blending for Smooth Results
Step 1: Load Liquids and Soft Ingredients First
Start with your liquid base—about 1¼ cups of milk, yogurt, juice, or water for a full-size jar. Then add soft items like bananas, yogurt, or nut butter. If you are making a spiced smoothie like this healthy pumpkin pie smoothie, the same liquid-first rule applies: milk or yogurt goes in before the pumpkin puree.
Step 2: Pulse to Break Large Chunks
Use the pulse function for 5–7 quick bursts after loading frozen fruit and ice. Pulses prevent a large ice cube from wedging between the blade and the jar wall, which can stop the motor or send a blade into a low-speed stall. Pulsing also reduces the total continuous run time, which lowers the peak temperature inside the jar.
Step 3: Blend on High Until the Vortex Forms
Switch to high and run continuously. For a 1,000-watt blender, that is 30–45 seconds. For a 300-watt blender, expect 60–90 seconds. Watch the vortex through the jar. The moment it pulls everything down and the top surface becomes a slow, even whirl, stop the motor. If the mixture still has visible chunks, blend in 10-second pulses rather than another full minute.
Step 4: Finish with Leafy Greens and a Final Pulse
Leafy greens blend faster than fruit and become bitter when over-processed. Add spinach or kale after the main blend, then run 5–10 seconds on high. That is enough to break down cell walls and release the green color without developing a grassy, stringy texture. If you want a thicker, spoonable result closer to a bowl, check out this strawberry smoothie bowl recipe; it uses a shorter blend time to keep some texture from the chia seeds and fruit.
Cleanup-First Considerations for Blend Time
As someone who judges an appliance by how it comes apart at the sink, I can tell you that blend time directly affects how hard you scrub later. A perfectly timed smoothie leaves a jar that rinses clean with warm water, while over-blending bakes a film onto the walls and under the blade assembly.
Over-Blending Leaves a Harder Film
Friction heat from long blending can cook the fruit sugars onto the jar surface. That sticky layer is harder to remove than fresh residue, and it often requires soaking or a dedicated brush. The jar material matters here—Tritan plastic jars that meet NSF/ANSI 51 standards for food equipment resist staining and are safe for those temperatures, but even they benefit from a shorter blend.
Short Blends Leave Chunky Residue in the Jar
Under-blending is just as bad for cleanup. If you stop too early, small fruit skins and ice shards stick to the lower third of the jar and around the blade posts. Those chunks are hard to rinse out because they sit in the dead zone below the vortex. A well-timed blend—stopping when the mixture is uniform—flushes that area clean while the blade is still spinning.
Disassembly After a Perfect Blend
The best blenders let you remove the blade assembly from the jar with a simple twist, so you can rinse the gasket and blade base separately. If your blender has a fixed blade, you will need to fill the jar with warm water and a drop of dish soap, then run it for 10 seconds to self-clean. That self-clean cycle works best when the original smoothie was not over-blended, because there is no baked-on layer to dissolve.
Frequently Asked Questions
How long should you blend a smoothie with frozen fruit?
Frozen fruit prolongs blending time because the ice crystals inside the fruit need to melt slightly before the blade can shear them. With a high-speed blender, start at 30 seconds, then check for chunks and add 10-second pulses. With a standard blender, expect 60–90 seconds, and use the pulse function first to break up frozen clusters. The visual cue of a stable vortex matters more than a fixed clock time.
Is it better to blend in short pulses or non-stop?
Use a combination: pulse first to shatter large frozen pieces, then blend continuously on high until the vortex forms. Continuous blending creates a consistent shear force that uniformizes the mixture, while pulses alone leave varying particle sizes. For most smoothies, 5–7 initial pulses followed by 30–60 seconds of continuous high speed gives the best texture without over-heating.
How do I know when my smoothie is fully blended?
Stop the blender and look at the top surface. A fully blended smoothie has a smooth, even appearance with no visible chunks or specks, and it flows off a spoon in a single stream. The vortex should be gone after you stop, meaning the mixture has settled into a uniform slurry. If you still see separation or small ice crystals, blend again in 10-second pulses.