A 2011 NSF International household germ study found that the blender gasket ranked among the top five most bacteria-laden spots in the typical kitchen, right alongside the refrigerator water dispenser and the can opener. That single data point reframes the whole conversation around how to clean a blender properly. A quick soapy swirl removes what you can see; the gasket, blade underside, and pitcher threading are where yeast and mold actually set up camp.
Key Takeaways
- Quick rinse solves 90% of daily residue: warm water, a drop of dish soap, and a 30-second blend clears most fresh messes.
- Deep cleaning requires disassembly: the silicone gasket and blade underside trap bacteria, mold, and old food fibers that a rinse never reaches.
- Non-abrasive tools only: soft sponges and bottle brushes prevent microscratches on plastic pitchers, which become permanent bacteria hiding spots.
- Never submerge the motor base: clean it with a damp cloth only to prevent electrical shock and motor damage.
Step 1: The 30-Second Quick Rinse That Removes Daily Residue
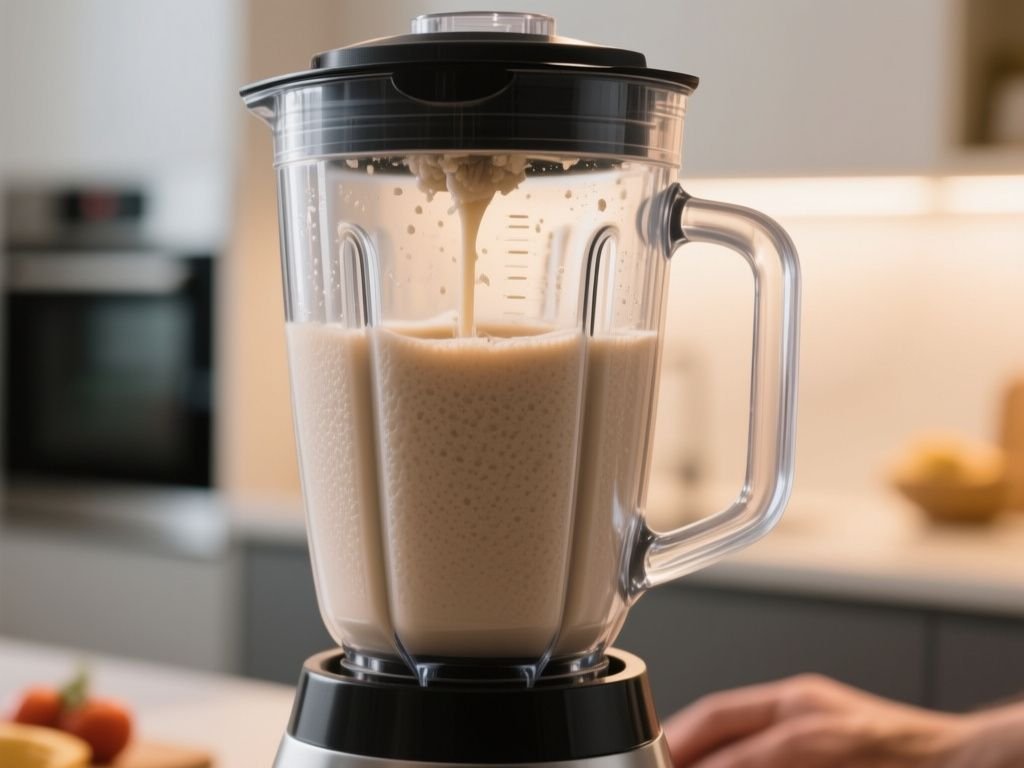
The practical distinction between a daily clean and a deep clean starts with what you actually see in the pitcher. After blending a smoothie, soup, or sauce, the bulk of the residue is still liquid and loosely attached to the walls. Warm soapy water in a running blender knocks that off in under a minute. This is the fastest way to clean a blender between uses, and it works because the blades create enough turbulence to break up thin films of food.
After a Thick Smoothie
Thick mixtures like banana-oat smoothies or a pumpkin pie smoothie leave a heavier coating. The method is unchanged but you need slightly more water and a longer run. Fill the pitcher halfway with warm water, add a single drop of dish soap, secure the lid, and run on high for 30 seconds. Then rinse with plain water and inspect the bottom corners. If you still see streaks, repeat the cycle once more. Use a non-abrasive sponge to wipe the interior if you need physical contact, but do not use anything scratchy.
Is the Dishwasher Actually Safe?
Many people want to just drop the jar in the dishwasher. The answer depends on the jar material and what the manufacturer printed on the bottom. Glass blender jars are almost always dishwasher safe because they tolerate heat and detergent without degrading. Plastic jars made from Tritan or copolyester are often labeled dishwasher safe, but some lids and gaskets are not. The heat from a dishwasher’s dry cycle can warp thin plastic or degrade a silicone gasket over time. The FDA Food Code recommends cleaning removable food-contact parts after each use, but a dishwasher’s dry setting can bake on residue if the jar is not pre-rinsed. If you choose the dishwasher, place the jar on the top rack, skip the heated dry cycle, and always remove the gasket and blade assembly first—those belong in the utensil basket or washed by hand.
Step 2: The Full Disassembly Deep Clean
A quick rinse handles the visible mess, but the actual hygiene risk lives in the parts you cannot see while the blender is assembled. The silicone gasket sits between the blade base and the jar, and it seals in moisture every single time you blend something wet. Left in place, that moisture feeds yeast and mold, and the next time you blend a smoothie you are drinking whatever grew in that gap.
Taking the Blade Assembly Apart
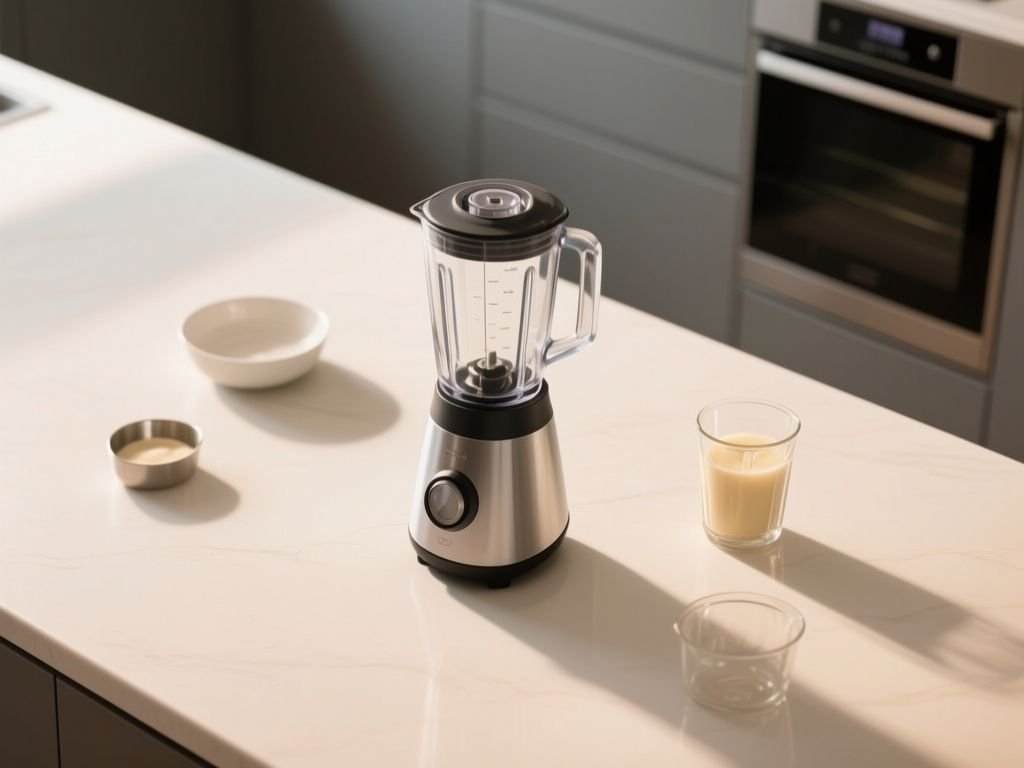
Every blender with a removable blade base works the same way: the jar unscrews from the base, and then the gasket lifts off the blade assembly. Some designs have a second thin ring that seats into the jar’s threading. Remove all of it. The blade assembly is sharp; never wipe the blades with a bare hand. Hold the assembly by its plastic or metal collar, not by the blades. If the gasket does not lift off easily, run warm water over the base for ten seconds to soften the rubber, then peel it away with your thumb and forefinger.
Wash the gasket, the blade base, and the jar separately in warm soapy water. Use a bottle brush to scrub the underside of the blade base, because that flat surface collects a film of blended food that looks invisible but smells sour within a day or two. Rinse everything thoroughly and let the gasket air dry completely before reassembling. A wet gasket reinstalled into the jar is the single most common cause of the mildew smell people attribute to an old blender.
Cleaning the Gasket and Blade Underside to Prevent Mold
The silicone gasket needs monthly inspection even if you never see visible mold. Run your thumbnail along the inner edge where it meets the jar. Any slimy film or dark discoloration means it is time for a deeper sanitizing step. Soak the gasket in a solution of one part white vinegar to four parts warm water for 30 minutes, then scrub gently with a soft brush. Vinegar’s mild acidity breaks down biofilm without attacking the silicone the way bleach does. Rinse well and air dry.
For the blade underside, mix a paste of baking soda and water—roughly two tablespoons of baking soda with enough water to form a thick slurry. Apply it with the bottle brush, let it sit for ten minutes, then scrub and rinse. Baking soda’s fine abrasion is coarse enough to remove dried-on film but fine enough that it will not scratch stainless steel when used with a brush, not a scouring pad.
Step 3: Deodorizing, Cloudy Stains, and Hardened Residue
Once the mechanical parts are clean, you still have to deal with what the food left behind chemically. Garlic, onion, ginger, and turmeric all leave both odor and color compounds that soap alone cannot fully remove. Plastic pitchers are more porous than glass, so these compounds sink into the surface and linger.
Killing Garlic and Onion Odors
To eliminate lingering smells, fill the pitcher halfway with warm water and add one cup of white vinegar. Let it sit for 30 minutes, then run the blender for 20 seconds. Dump the vinegar water, wash with mild dish soap, and rinse. Vinegar neutralizes the sulfur compounds in garlic and onion that cause the odor. For stubborn smells, repeat the process once more, or leave the vinegar solution in the pitcher overnight.
Removing Cloudy Film from a Plastic Pitcher
Cloudy stains on Tritan or polycarbonate pitchers come from two sources: hard water mineral deposits and microscratches from abrasive cleaning. Mineral film responds to acid. Soak the pitcher in a solution of equal parts white vinegar and warm water for one hour, then scrub with a soft sponge. If the cloudiness remains after drying, it is likely microscratches, and those are permanent. That is exactly why a non-abrasive sponge is the only tool that should ever touch a plastic jar—once microscratches form, food particles and bacteria settle into them and become impossible to fully remove.
Loosening Dried-On Food at the Bottom
Hardened smoothie residue, nut butter, or dried dough at the bottom of the jar needs a soaking step first. Fill the jar one-third full with warm water and add a tablespoon of baking soda. Let it soak for at least 30 minutes, or up to two hours for something like a chocolate granola base that dried into a cement-like ring. Then dump the soaking water, add fresh warm water and a drop of dish soap, and run the blender for 45 seconds. The combination of soaking plus the blade action removes almost anything except baked-on sugar, which may require a second round.
Step 4: The Motor Base and Weekly Maintenance
The motor base is the one component that must never go near running water. It houses the electrical motor, the control board, and the cord connection. Water intrusion leads to short circuits, motor failure, and sometimes a fire risk. Clean it dry, or with a barely damp cloth.
Safe Base Cleaning
Unplug the blender first. Wipe the exterior with a soft, slightly damp cloth to remove splatters and fingerprints. For sticky drips that have dried, use a cloth moistened with warm water and a single drop of dish soap, then wipe again with a clean damp cloth. Never spray cleaner directly onto the base, because the liquid can run down into the switch openings. Never submerge the base or hold it under the faucet. The U.S. Consumer Product Safety Commission lists electrical shock as a primary hazard with kitchen appliances that use water, and the base is the one place where that risk is entirely avoidable with dry cleaning.
How Often Should You Deep Clean?
For a blender used daily, a full disassembly deep clean should happen once a week. For one used a few times a week, every two weeks is sufficient. The quick 30-second rinse after each use keeps residue from hardening, which means the weekly deep clean takes less than ten minutes. If you use your blender for raw eggs, dairy-based smoothies, or blended meat, move the deep clean to every three days, because those foods leave behind protein films that bacteria grow on rapidly.
At the same weekly deep clean, inspect the gasket for tears or stiffness. A gasket that has lost its flexibility will not seal properly, which leads to leaks and worse—liquid seeping into the blade base threads and drying there. Gasket replacement is inexpensive and should happen every 6 to 12 months depending on use.
Frequently Asked Questions
Can I put my blender jar in the dishwasher?
Glass jars are generally dishwasher safe on the top rack, but plastic jars made of Tritan may warp or cloud with repeated heated dry cycles. Always remove the gasket and blade assembly first, because the dishwasher’s spray does not reach the underside of the blades. Check the bottom of the jar for a dishwasher-safe symbol. When in doubt, hand wash the jar and blade parts.
What is the fastest way to clean a blender between uses?
Fill the pitcher halfway with warm water, add one drop of dish soap, secure the lid, and blend on high for 30 seconds. Rinse with clear water and let it air dry. This handles fresh smoothie and sauce residue in under a minute. It does not replace the weekly deep clean of the gasket and blade underside.
How do I get rid of the lingering smell of garlic or onions in my blender?
Fill the pitcher halfway with warm water and add one cup of white vinegar. Let it sit for 30 minutes, then run the blender for 20 seconds. Wash with dish soap and rinse. Vinegar neutralizes the sulfur compounds that cause the odor. For stubborn smells, leave the vinegar solution in the pitcher overnight before rinsing.
How do I clean the rubber gasket to prevent mold?
Remove the gasket from the blade assembly after each deep clean. Wash it in warm soapy water, then soak it in a solution of one part white vinegar to four parts warm water for 30 minutes once a month. Rinse and let it air dry completely before reinstalling. A wet gasket trapped against the jar is the number one cause of black mold in blenders.