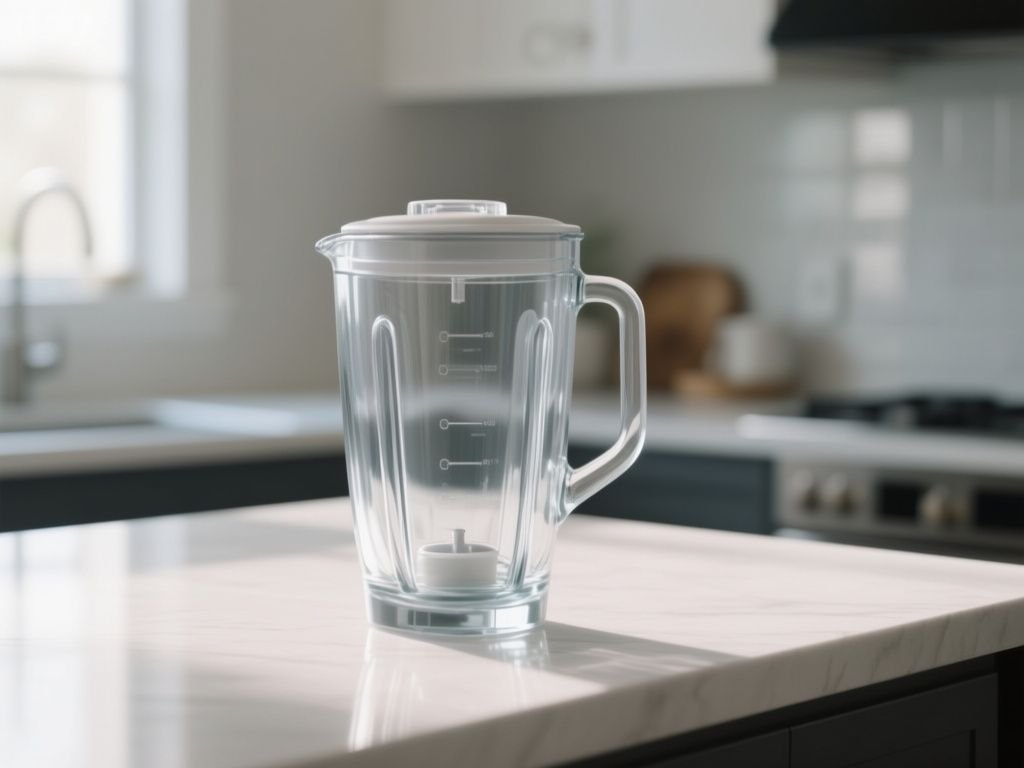
You just finished blending a thick smoothie or a batch of nut butter, and now you are staring at a jar coated in sticky residue. The last thing you want is to scrub it by hand. So you ask: are blender jars dishwasher safe? The short answer is often yes, but the practical distinction is that dishwasher safety is not just about the jar material. It is about the whole assembly, including the seal and blade shaft. A jar may survive the wash cycle, but the gasket’s rubber or silicone will degrade faster with repeated exposure to heat and detergent, eventually causing leaks. The honest answer is almost always “technically yes, but hand washing the seal and blade area preserves the blender’s life.”
Key Takeaways
- Material matters: glass and stainless steel jars handle dishwasher heat better than plastic, but all jars have a rubber or silicone seal that degrades in the dishwasher.
- Top rack only, and even then, hand washing the blade assembly is smarter. The blade base holds the gasket, and that part fails first.
- Cloudy plastic is a sign of etching or mineral deposits, not necessarily unsafe, but it means the surface is breaking down. Hand washing prevents this.
Are Blender Jars Dishwasher Safe? The Material Truth
Most blender jars are made from one of four materials: Tritan copolyester, polycarbonate, borosilicate glass, or stainless steel. Each reacts differently to dishwasher heat, detergent, and physical spray force.
Tritan Copolyester and BPA-Free Plastic Jars
Tritan is the most common blender jar material in 2026. It is a tough, BPA-free plastic that resists shattering and stands up to hot liquids reasonably well. Most manufacturers label Tritan jars as dishwasher safe, and they can go through hundreds of cycles without warping. But that does not mean they come out looking new. Dishwasher detergent is alkaline, and over time it can etch the surface of Tritan, leaving a permanent cloudy film. The jar still works, but it loses clarity and feels rougher. Mineral deposits from hard water also cause clouding, and etching makes those deposits stick harder. If you have a healthy pumpkin pie smoothie with spices and sticky ingredients, that etching gives residue more surface area to cling to.
Polycarbonate Jars
Older blenders, especially commercial models, sometimes use polycarbonate. Polycarbonate is extremely impact resistant, but it contains bisphenol A (BPA), which can leach into food when the plastic is heated repeatedly. The FDA has set limits on BPA migration from food contact plastics, but repeated dishwasher exposure accelerates surface degradation. Even if a polycarbonate jar is labeled dishwasher safe, the heat and detergent combination breaks down the surface polymer chains. The jar becomes more prone to micro-cracking, and the BPA concern becomes more than theoretical. If you own a polycarbonate jar, hand washing is not optional. It is the only way to slow that degradation.
Borosilicate Glass Jars
Glass blender jars are almost always made from borosilicate or tempered soda-lime glass. Borosilicate handles thermal shock better than standard glass, which matters when a cold jar from the fridge goes into a hot dishwasher. But even borosilicate has limits. A dishwasher’s wash cycle reaches 130°F to 150°F (54°C to 66°C), and the drying cycle can push past 170°F (77°C). If the jar was sitting in the refrigerator with leftover smoothie, that 50°F to 100°F temperature swing in under a minute can crack the glass. This is less about the dishwasher itself and more about the thermal shock. Glass jars are generally dishwasher safe in a technical sense, but you should let a cold jar come to room temperature before loading it.
Stainless Steel Jars
Stainless steel blender jars are rare, mostly found on high-end or commercial machines. The metal body shrugs off dishwasher heat and detergent, but the base still has a plastic or rubber seal assembly. The jar itself is fine. The seal is not. If the manufacturer says the entire jar assembly is dishwasher safe, the stainless steel is the least of your worries. The gasket under the blade is the same silicone or rubber found on every other jar, and it degrades the same way.
What the Dishwasher Actually Does to Your Jar
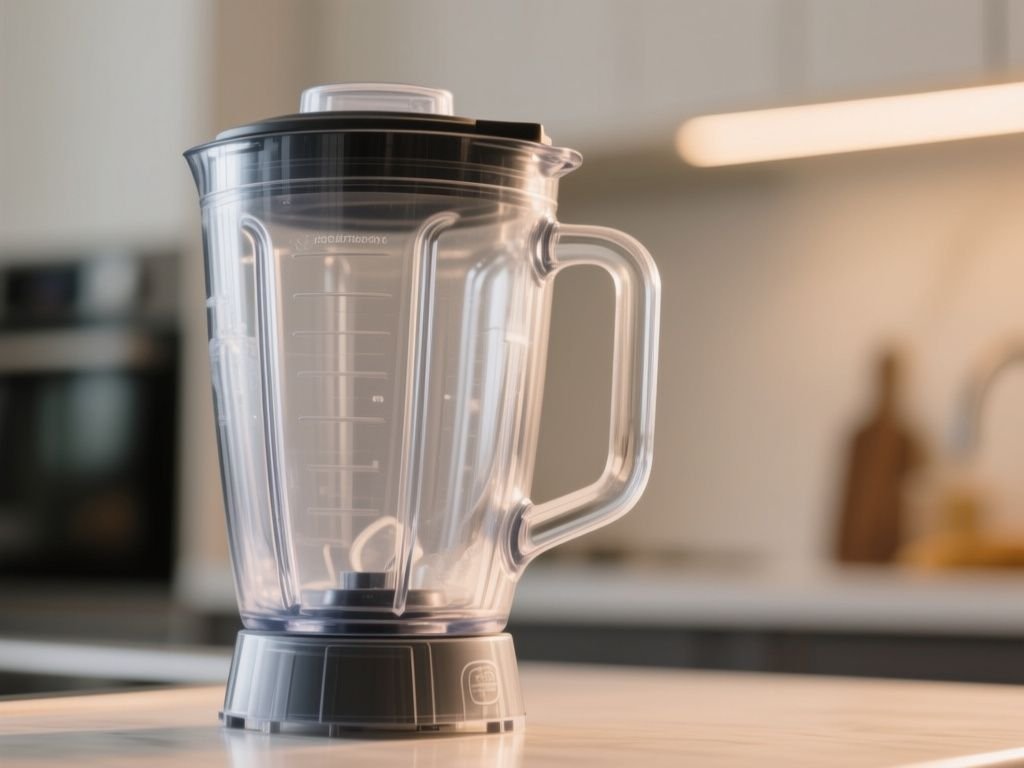
The dishwasher attacks your blender jar in three ways: heat, detergent, and water pressure. Each one matters, and together they create the real problem.
Heat and Thermal Cycling
A standard residential dishwasher heats water to between 120°F and 150°F (49°C to 66°C) for the wash cycle. The heated dry cycle can reach 160°F to 180°F (71°C to 82°C). Plastic jars do not melt at these temperatures—Tritan’s heat deflection temperature is well above 200°F (93°C)—but they do expand and contract with each cycle. Repeated expansion and contraction stresses the plastic at the threaded neck where the blade base screws on. That threaded area is the weak point. Over dozens of cycles, micro-cracks can form, and eventually the jar leaks or the threads strip.
Alkaline Detergent and Surface Etching
Dishwasher detergents are strongly alkaline, with a pH often above 11. That alkalinity is great for breaking down grease and food residue, but it also attacks plastic surfaces. Tritan and polycarbonate both develop surface etching from repeated alkaline exposure. The first sign is a cloudy haze that does not rinse off. The second sign is a rougher texture that holds onto oils and pigments from foods like turmeric or berry skins. “Cloudy plastic” is not just cosmetic. It means the smooth food-contact surface is breaking down, and that makes the jar harder to clean and more likely to harbor bacteria in the microscopic pits. The Consumer Product Safety Commission does not regulate cloudiness, but food safety guidance from FDA emphasizes that scratched or etched food contact surfaces can trap pathogens. Hand washing avoids the alkaline soak entirely.
Spray Force and the Top Rack Question
The bottom rack of a dishwasher sits directly above the heating element and the main spray arm. Blender jars are tall, and many models do not fit upright in the bottom rack anyway. Even if they fit, the bottom rack gets hotter and the spray is more forceful. That force can knock a lightweight plastic jar against other dishes, causing nicks or cracks. The top rack is always the safer choice. The water is slightly cooler, and the spray pressure is lower. If your manufacturer says top rack only, there is a reason. It is not a legal disclaimer; it is a mechanical reality. A jar on the bottom rack can also block the spray from reaching other dishes, which defeats the purpose of loading the dishwasher in the first place.
The Seal and Blade Assembly: Why Hand Washing Wins
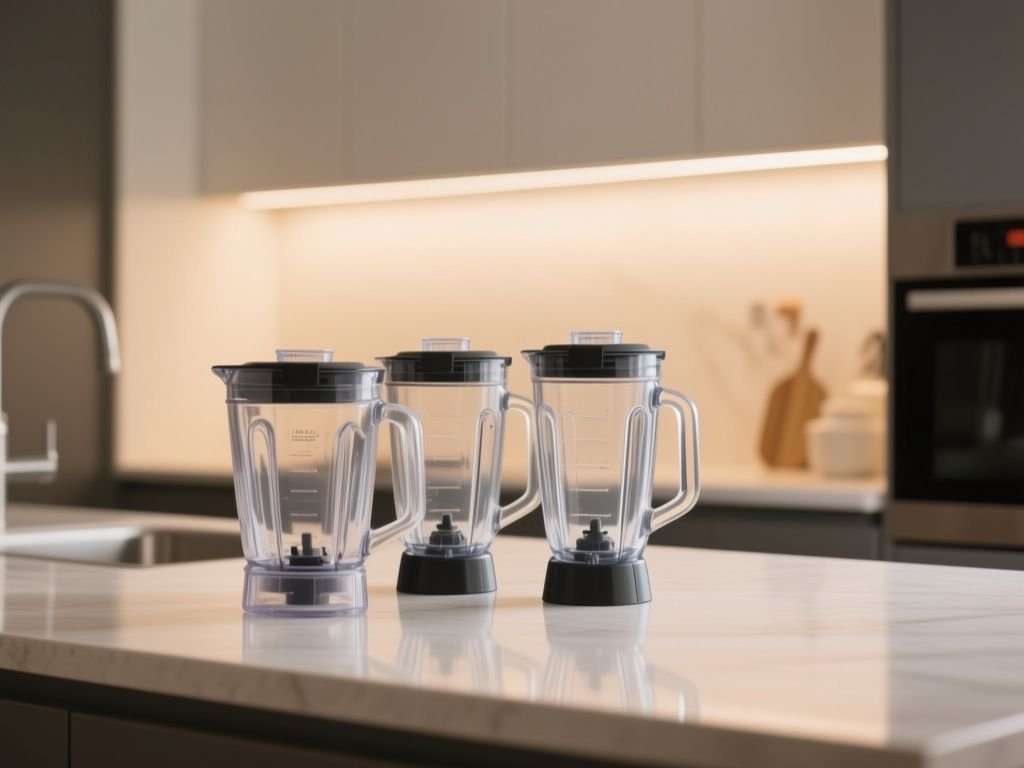
The single most overlooked part of a blender jar is the rubber gasket or silicone seal that sits between the jar body and the blade base. This gasket is what prevents a smoothie from leaking all over your counter. It is also the part most damaged by the dishwasher.
What the Gasket Does
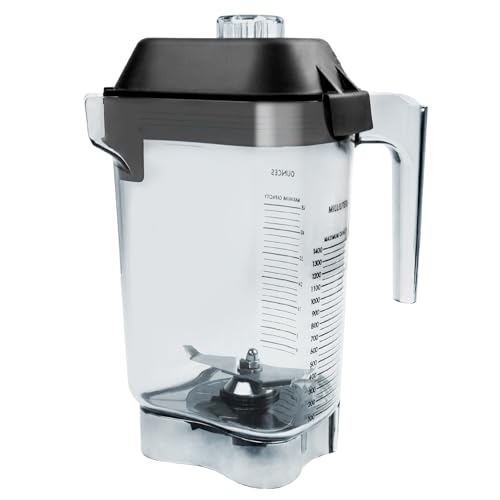
When blades can be removed, a gasket or O-ring must be positioned between the container base and body to ensure a seal and stop the contents from leaking. That gasket is the workhorse of the entire jar assembly. It compresses under pressure, stretches slightly with every blade movement, and comes into contact with acidic ingredients like lemon juice, tomato, and yogurt. After a few months of use, even a well-cared-for gasket starts to lose its elasticity. The dishwasher accelerates that loss dramatically. Hot water and alkaline detergent cause rubber to harden and silicone to break down at the molecular level. The result is a seal that no longer compresses fully, so liquid seeps out around the blade base. You will notice a sticky ring on the counter under the jar.
Why the Blade Base Needs Special Attention
The blade base is a metal disc with sharp edges and tiny crevices. Food particles get trapped under the blades and around the gasket. That trapped food is a bacterial breeding ground if left wet, and a dishwasher spray often cannot reach into the tight space between the blade and the gasket. Hand washing with a small brush—a bottle brush or an old toothbrush—gets into those crevices. You do not need to disassemble the blade every time, but at least once a week, unscrew the blade base, remove the gasket, and wash all three parts separately. If you have been making something sticky like a strawberry oatmeal bar batter, the residue under the blade is exactly where mold starts.
How Often Should You Hand Wash Instead of Using the Dishwasher?
There is no single number, but a practical rule is this: hand wash the blade base and gasket every single time. The jar itself can go in the dishwasher for routine cleaning, but remove the blade assembly first. If the jar is plastic, hand wash it every third or fourth use to give the surface a break from detergent. If the jar is glass, the dishwasher is fine as long as the jar is not cold from the fridge. If the jar is stainless steel, the same rule applies—remove the blade base, put the metal body in the dishwasher. No reasonable person hand washes a massive glass jar every day. That is not the point. The point is that the seal and blade are the parts that fail, and they fail from dishwasher damage.
How to Check if Your Blender Jar Is Actually Dishwasher Safe
You cannot trust the symbol alone. A dishwasher safe icon on the bottom of the jar means the jar passed a standard test for heat and water exposure. It does not mean the seal or the blade base passed the same test, and it definitely does not mean the jar will look good after 50 cycles.
Step 1: Find the Model Number and Manual
Every blender has a model number on the base or on a sticker under the jar. Look that up. The manufacturer’s manual or website will list specific cleaning instructions. Some brands print “top rack dishwasher safe” on the jar. Some print “dishwasher safe, hand wash recommended.” Others say nothing, which means assume hand wash only. The manual is the only source that matters. If you lost the manual, the manufacturer’s website has a PDF for almost every model made in the last 15 years. Download it and search for “dishwasher.”
Step 2: Look at the Blade Base Construction
If the blade base is permanently fused to the jar—common on older Oster and Hamilton Beach models—you cannot remove the gasket for hand washing without risking damage. Those jars should never go in the dishwasher because the gasket is trapped and will degrade with no way to replace it. If the blade base unscrews easily, you have options. Remove it before dishwashing the jar. But even if the base is removable, check whether the gasket is rubber or silicone. Silicone holds up better in heat than natural rubber, but both degrade in alkaline detergent. Hand washing is still the correct call.
Step 3: Check the Cloudiness of Your Plastic Jar
If a Tritan jar has already gone through the dishwasher for months and now looks cloudy, that is irreversible etching or mineral scale. You can try soaking the jar in a solution of one part white vinegar to three parts warm water for 30 minutes to remove mineral deposits, but if the haze remains after scrubbing with a soft sponge, the surface is etched. At that point, the jar is not unsafe, but it will hold odors and stains more easily. Hand washing from now on will slow further damage, but replacement is the only fix. A cloudy jar is a sign that the dishwasher has been doing damage all along, even if the jar did not crack.
Step 4: Test the Seal After Dishwashing
Run a simple test. Fill the jar one-third full with water, screw on the blade base, and turn it upside down over the sink. If water drips out around the blade base, the gasket has already failed. That failure is almost always accelerated by dishwasher use. A fresh gasket costs a few dollars and takes 30 seconds to replace, but if you keep putting the blade base in the dishwasher, you will replace it twice as often. The seal is the first thing to go.
Cleaning a Blender Jar Without Ruining It
The best cleaning method is boring and fast: hand wash immediately after use. Fill the jar one-third with warm water, add one drop of dish soap, and run the blender for 20 seconds. That loosens everything stuck under the blades. Then rinse, unscrew the blade base, and wash all parts with a brush and warm water. Dry thoroughly and reassemble. This takes two minutes.
If you do put the jar in the dishwasher, always use the top rack and always remove the blade base first. Never use a heated dry cycle for plastic jars. Air dry or use the no-heat setting. The heated dry pushes the jar through another high-temperature spike that does nothing for cleaning but everything for degradation. If you blend something fatty like a baked fish taco sauce, hand washing is better because residual oil films on plastic are hard for the dishwasher to fully remove, and the alkaline detergent can react with the oil to create a sticky residue. That residue attracts more dirt next time.
Is it safe to wash a glass blender jar in the dishwasher? Yes, with two caveats. First, let a cold jar come to room temperature before putting it in a hot dishwasher. Second, remove the blade base and hand wash that separately. Glass jars do not etch like plastic, but they crack from thermal shock. A room-temperature glass jar in a standard wash cycle is fine. A refrigerator-cold glass jar in a sanitizing cycle is a gamble.
Why does my blender jar look cloudy after washing? Cloudiness on plastic comes from two sources: mineral deposits from hard water, and surface etching from alkaline detergent. Mineral deposits can be removed with a vinegar soak. Etching cannot. Test by soaking in vinegar for 30 minutes. If the haze disappears, it was minerals. If it stays, the plastic has been chemically etched. The only way to prevent etching is to reduce dishwasher exposure.
What about the blade assembly—can I put that in the dishwasher too? You can, but you should not. The blade assembly contains the gasket, and the gasket is the most fragile component in the entire jar. Dishwasher heat and detergent harden rubber and degrade silicone. The blades themselves are stainless steel and would survive, but the seal is not worth the convenience. Hand wash the blade base every time.
Are there any blenders that are specifically labeled dishwasher safe? Yes, many modern blenders from brands like Vitamix, Blendtec, and Ninja print “dishwasher safe” on the jar and lid. But most of those same brands recommend hand washing the blade base and gasket. The jar itself is safe; the assembly is not. If a blender manufacturer says the entire jar, blade, and gasket are dishwasher safe, ask what material the gasket is made from. Silicone holds up better than rubber, but no gasket lasts forever in a dishwasher.
Will the dishwasher cause my plastic jar to crack or warp? Warping is rare for Tritan and polycarbonate at normal dishwasher temperatures, but micro-cracking and thread wear are real. The threaded neck where the blade base screws on is the weak point. Repeated thermal cycling plus the weight of the blade base can cause hairline cracks. If you see cracks around the threads, replace the jar. A cracked jar can fail under blender pressure and send glass or plastic shards into your food. Wash by hand to avoid that risk entirely.
Can I put my NutriBullet cup in the dishwasher? NutriBullet cups are made from Tritan and are labeled top rack dishwasher safe. But the same logic applies. The cup itself handles the dishwasher fine. The extractor blade base, which includes the gasket, is not dishwasher safe according to NutriBullet’s own instructions. Hand wash the blade base. The cups can go in the top rack, but they will last longer and stay clearer if you hand wash them after thick blends. If you use your NutriBullet for a pumpkin pie smoothie, the spices and pumpkin fibers can cling to an etched cup surface. Hand washing prevents the etching in the first place.
Frequently Asked Questions
Are blender jars dishwasher safe?
Most blender jars are technically dishwasher safe on the top rack, but the blade assembly and gasket are not. The jar material—whether Tritan, glass, or stainless steel—can survive the heat and detergent. The rubber or silicone seal degrades faster and leads to leaks. To preserve the blender’s life, remove the blade base before dishwashing and hand wash that part every time.
Will dishwasher detergent ruin the seal on my blender jar?
Yes, over time. Dishwasher detergent is strongly alkaline with a pH above 11, which breaks down rubber and causes silicone to lose elasticity. Repeated exposure hardens the gasket, so it no longer compresses fully against the jar and blade base. The result is a slow leak around the blade assembly. Hand washing the seal with mild dish soap prevents this.
Why does my blender jar look cloudy after washing?
Cloudiness comes from mineral deposits in hard water or from chemical etching caused by alkaline dishwasher detergent. Mineral deposits can be removed by soaking the jar in a solution of one part white vinegar to three parts warm water for 30 minutes. Etching is permanent and means the plastic surface has begun to break down. To prevent both, hand wash plastic jars or air dry after dishwasher cycles.
Is it safe to wash a glass blender jar in the dishwasher?
Glass jars handle dishwasher heat better than plastic, but thermal shock is the risk. If a cold glass jar from the refrigerator goes into a hot dishwasher, the rapid temperature change can crack it. Let the jar reach room temperature first. Remove the blade base and hand wash the gasket separately. A room-temperature glass jar on the top rack is safe.
What about the blade assembly—can I put that in the dishwasher too?
You can, but the blade assembly contains the gasket, which is the most fragile component. Heat and detergent harden rubber and degrade silicone, leading to leaks. The metal blades themselves are stainless steel and would survive, but the seal will not. Hand wash the blade base with a brush after each use, and the jar and blade assembly will last years longer than a dishwasher-cleaned one.
How often should I hand wash instead of using the dishwasher?
Hand wash the blade base and gasket every single time. The jar itself can go in the dishwasher for routine cleaning, but plastic jars benefit from a hand wash every third or fourth use to reduce detergent etching. Glass jars can handle more dishwasher cycles, but always let a cold jar warm up first. The seal is the limiting factor, so keeping it out of the dishwasher is the priority.