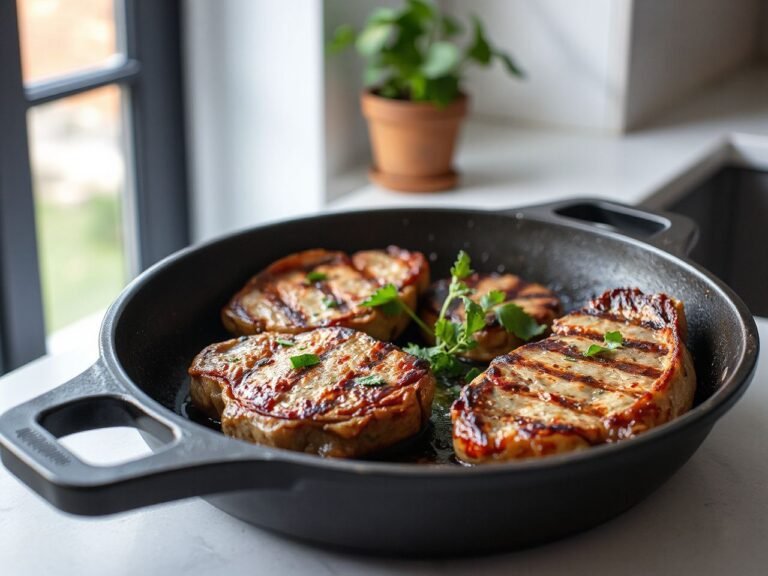
Rub a thick coat of oil on your pan, bake it at 350°F, and you will pull out a sticky, gummy mess that smokes every time you cook. That pan is not seasoned—it is coated in half-polymerized goo. Getting the process of seasoning cast iron right comes down to one chemical reaction and one counterintuitive step: wiping off almost all the oil before heat ever touches the metal.
Key Takeaways
- Seasoning is a microscopic polymer film formed when oil is heated past its smoke point, not a visible baked grease layer.
- The single most important step is wiping the pan completely dry of oil before heating—too much oil causes sticky, uneven results.
- Use neutral, high-smoke-point oils like grapeseed, canola, or vegetable shortening at 450–500°F, never low-smoke-point fats like olive oil or butter.
What Cast Iron Seasoning Actually Is
Seasoning is not a baked grease layer but a thin polymerized film formed when oil is heated past its smoke point. The critical move beginners miss is wiping the pan completely dry of oil before it goes in the oven—effective seasoning uses barely any oil, and residual oil turns sticky and uneven. This distinction between a microscopic polymer coat and a visible oil residue explains both how to season correctly and why common fixes like adding more oil fail.
Oils are long chains of fatty acids. When heated above their smoke point, those chains break and recombine into a hard, plastic-like network called a polymer. That polymer bonds to the iron’s porous surface, creating a slick, protective layer that resists water and food. The American Chemical Society describes this as a thermal polymerization reaction, and it is the same chemistry behind seasoning steel or cast iron. The layer you want is thinner than a sheet of paper; you should not be able to see or feel a thick coating.
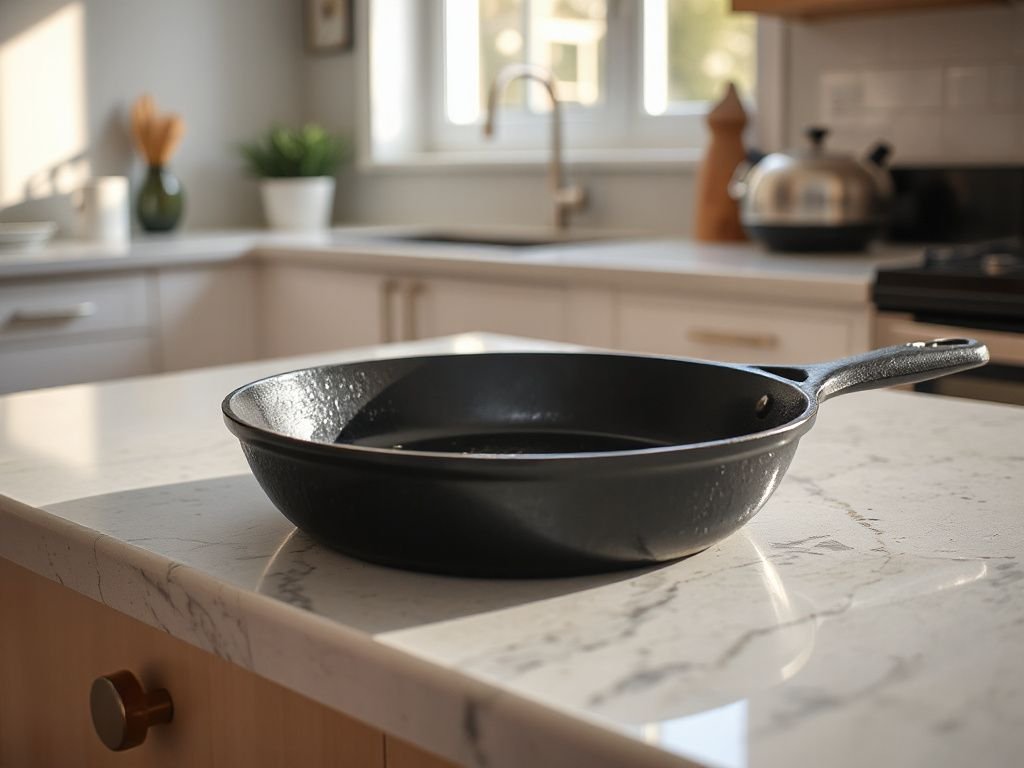
A properly seasoned pan looks dry and slightly dark, maybe with a faint sheen. If you can see oil pooling or tell there is a gummy residue, you have not polymerized anything—you have just browned oil. That is why the wipe-off step matters more than the oil you choose.
The Right Oil and the Right Temperature
Not every cooking fat can form a good seasoning. You need an oil with a high smoke point and a chemical profile that polymerizes cleanly. The best choices are neutral, refined oils: grapeseed oil, canola oil, vegetable shortening (Crisco), and lard. Flaxseed oil is often recommended because it creates an extremely hard but somewhat brittle seasoning; it polymerizes very fast and can flake if over-applied. For most home cooks, canola or grapeseed offers a better balance of durability and forgiveness.
Avoid olive oil, butter, and other low-smoke-point fats. These begin to burn and break down well below the temperatures needed for polymerization, leaving a sticky, patchy, carbonized mess that never hardens properly. The Lodge Manufacturing seasoning guide recommends an oven temperature between 450°F and 500°F, which is above the smoke point of most neutral oils but below the point where they carbonize instantly.
Your oven temperature matters as much as the oil. Set the oven to 450°F (232°C) for canola, grapeseed, or shortening. Flaxseed oil works better at a slightly lower temperature, around 400°F (204°C), because it polymerizes at lower heat and can become brittle if overheated. The metal of the pan must reach the oil’s smoke point for the reaction to occur, so always preheat the pan in the oven first if you are seasoning a cold pan.
How many coats do you need? For a brand-new bare iron pan, three to four thin coats built one at a time create a solid foundation. After that, cooking with oil naturally maintains and builds the seasoning. Applying more coats at once does not make a thicker layer; it just leaves un-polymerized oil that turns sticky.
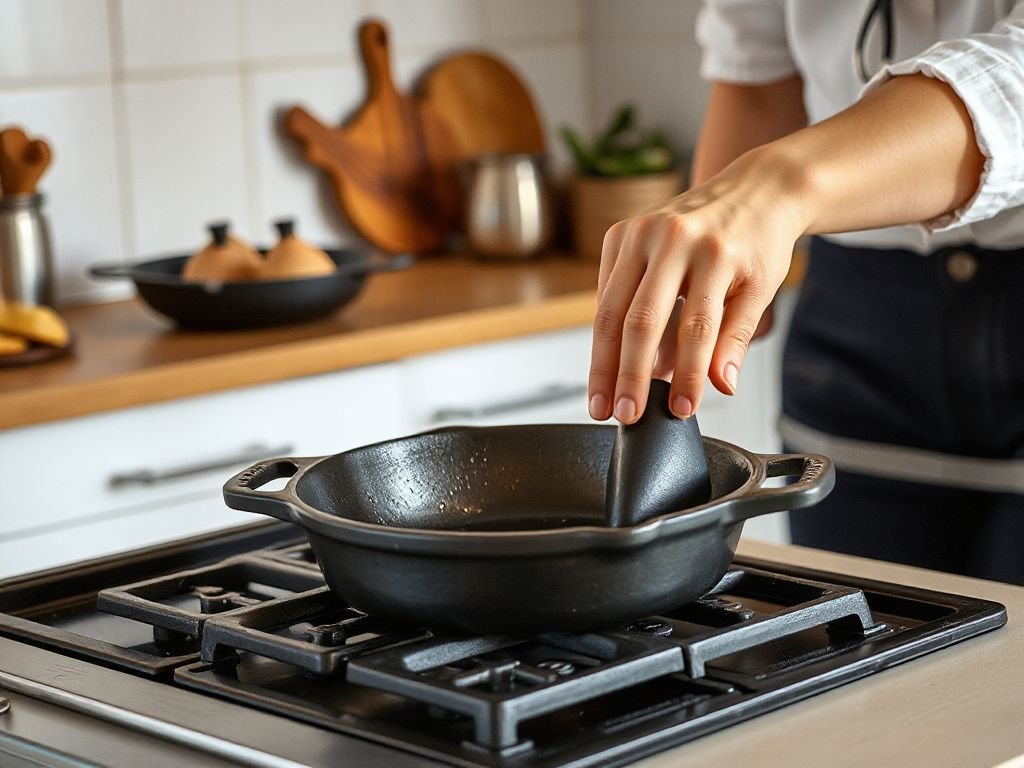
How to Season Cast Iron in the Oven: Step by Step
This method works for bare iron, stripped pans, or factory-seasoned pans that need a refresh. If you are working with a raw pan from Field Company or a similar brand with minimal factory coating, the process is the same.
Step 1: Clean and Dry the Pan Completely
Wash the pan with warm water and a small amount of dish soap if it is new or stripped. Rinse thoroughly. Dry it with a towel, then place it on a stovetop burner over low heat for two to three minutes to evaporate any remaining moisture. The pan must be bone dry before oil touches it.
Step 2: Apply a Very Thin Coat of Oil
Pour about half a teaspoon of your chosen oil into the center of the skillet. Use a folded paper towel or lint-free cloth to spread it over the entire surface: inside bottom, walls, handle, and the outside bottom. You want a faint sheen, not a puddle.
Step 3: Wipe Off the Excess Oil
Take a fresh, dry paper towel and wipe the pan again, as though you are trying to remove every last trace of oil. The surface should look matte and almost dry. This step is the difference between a smooth, hard seasoning and a sticky mess.
Step 4: Bake Upside Down at 450°F
Place a sheet of aluminum foil on the bottom oven rack to catch any drips. Set the oiled pan upside down on the middle rack. Bake for one hour at 450°F (232°C). Placing the pan upside down prevents oil from pooling in the cooking surface, which would create uneven patches.
Step 5: Cool and Repeat
Turn off the oven and leave the pan inside until it is cool enough to handle. One coat gives minimal protection; repeat the oil, wipe, bake cycle two more times for a total of three thin layers. After the final coat, let the pan cool completely in the oven before removing it.
If you are looking for a ready-to-season pan or want to compare factory coatings, our Lodge Cast Iron Skillet Review: Best Picks for 2026 explains what different brands offer out of the box.
Stovetop Seasoning: Faster but Fussier
You can season cast iron on a stovetop, but it requires more attention and works best for small touch-ups rather than building a base layer. Heat the clean, dry pan over medium heat until a drop of water sizzles and evaporates instantly. Add a few drops of oil—no more than a quarter teaspoon—and use a paper towel to spread it into a sheen. Keep heating and wiping with a clean cloth for five to ten minutes until the pan stops smoking and looks dry. Remove from heat and let cool. Stovetop seasoning penetrates less deeply than oven seasoning because the heat is one-sided, but it is a good quick fix for a worn cooking surface.
The oven method remains the most reliable way to get an even, non-stick surface because the entire pan reaches a uniform temperature. Stovetop seasoning works in a pinch, but the bottom and handle of the pan may not reach polymerization temperature at all.
Solving Seasoning Failures: Sticky, Flaky, or Rusty
Seasoning problems almost always trace back to two root causes: too much oil or too low a temperature. A sticky surface means the oil never fully polymerized. A flaky surface means the seasoning layer was too thick and brittle, or it was applied over rust or factory wax that prevented bonding.
To fix a sticky pan, place it in a 450°F oven for 30 to 60 minutes. The heat softens the un-polymerized oil; while the pan is still hot, wipe it out thoroughly with a dry cloth or paper towel. Let it cool, then apply one thin coat of oil and bake as described above. Repeating this once usually restores a clean, hard surface.
Flaking requires stripping the pan down to bare iron. Scrub the entire surface with steel wool or a chainmail scrubber until all loose seasoning is removed. If rust is present, make a paste of kosher salt and a little water, scrub the rust away, then rinse and dry immediately. Once the pan is bare and dry, coat it with a very thin layer of oil and bake at 450°F for an hour, repeating two more times to build a fresh base. Rust removal always leaves the iron more porous, so the first seasoning coat after stripping is the most important.
Why is seasoning flaking off in the first place? On a new pan, it is often because factory seasoning was applied over a wax or rust-preventative coating that was never washed off. On an old pan, flaking happens when too many thick layers build up and become brittle. The fix is the same: strip and start over with thin, well-wiped coats.
Cleaning and Maintaining Your Seasoning
Modern dish soap is safe for seasoned cast iron. The old ‘no soap’ rule stems from when soap contained lye, which would eat through the polymer layer. Today’s mild detergents do not damage polymerized oil, so wash your pan with a few drops of dish soap and warm water after cooking. Do not soak it, and do not put it in the dishwasher.
For stuck-on food, use a chainmail scrubber or a paste of kosher salt and water. Scrub gently, rinse, and dry the pan thoroughly. While it is still warm from rinsing, wipe a drop of oil over the cooking surface and buff it dry—this quick maintenance step keeps the seasoning slick between major seasoning sessions.
Acidic foods can strip seasoning, especially on a freshly seasoned pan. Tomato sauces, vinegar-based dishes, and wine deglazing should be avoided for the first several uses after seasoning. If you cook acidic meals regularly, the seasoning will thin over time; simply add a stovetop touch-up or a single oven coat once a month.
Let the pan cool completely before rinsing with water to prevent warping or cracking—the metal is more vulnerable than the seasoning. A hot cast iron pan plunged into cold water can crack or warp, ruining the flat cooking surface. Cool it on the stovetop or a trivet before cleaning.
Getting a non-stick surface on cast iron is not a one-time event. The seasoning builds with every use as thin layers of oil polymerize during normal cooking. The more you cook with a little oil or fat, the slicker the pan becomes. That is why a well-used cast iron skillet is often more non-stick than a brand-new one.
Frequently Asked Questions
Why is my seasoning flaking off after only a few uses?
Flaking usually means the initial seasoning layers were too thick or applied over factory wax or rust. The polymer film becomes brittle and cracks under heating and cooling cycles. Strip the pan to bare iron using steel wool or a chainmail scrubber, then re-season with three very thin coats of oil at 450°F, wiping off all excess between coats. Do not use flaxseed oil for the base layer; it is harder but more prone to flaking.
Can I use dish soap on my seasoned cast iron pan?
Yes. Modern dish soap contains no lye, which was the ingredient that damaged seasoning in older soaps. A few drops of mild dish soap and warm water will not dissolve polymerized oil. Rinse and dry the pan immediately after washing, then rub a tiny amount of oil over the surface while warm to protect it until the next use.
How do I remove rust and start over with seasoning?
Scrub the rust away with a paste of kosher salt and water or with fine steel wool. Rinse thoroughly and dry the pan on a stovetop burner over low heat. Apply a very thin coat of grapeseed or canola oil, wipe it off until the pan looks dry, and bake upside down at 450°F for one hour. Repeat two more times to rebuild the base seasoning. For deep rust, a lye bath or electrolysis works but is overkill for most home pans.