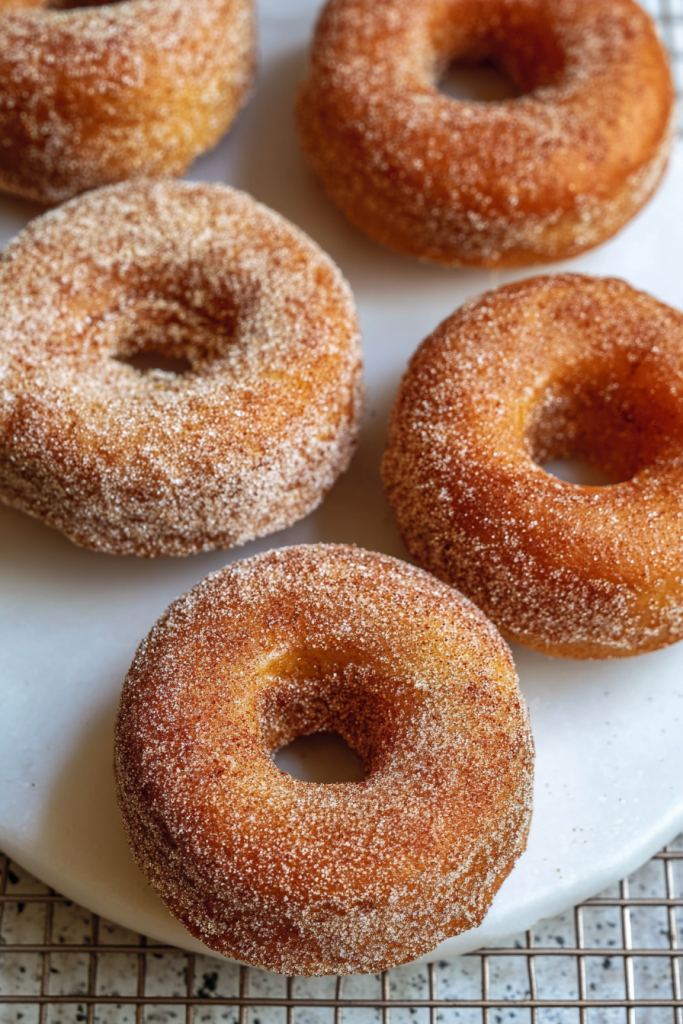
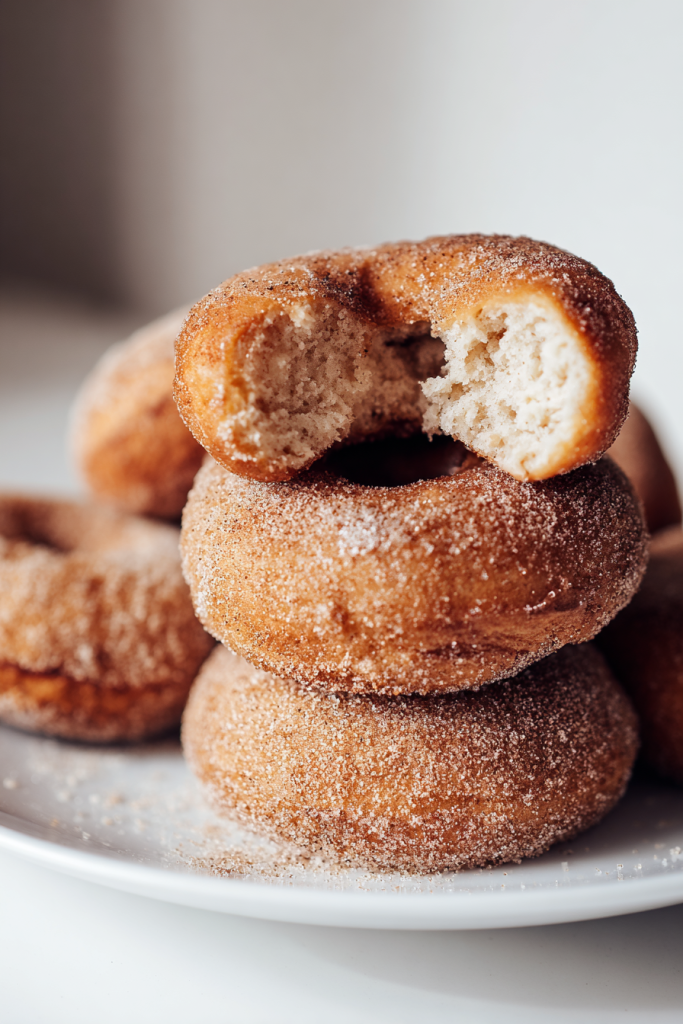
You know that moment when you bite into a warm doughnut fresh from the fryer?
The cinnamon sugar crunches between your teeth. Then you hit that cloud-soft interior. It’s pure magic.
I’m sharing my go-to recipe for fluffy yeasted doughnuts today. And trust me – once you make these, those store-bought boxes will just sit there collecting dust.
Why This Recipe Works
Here’s the thing about these doughnuts. They use oil instead of butter in the dough.
I know what you’re thinking. Oil? Really?
But that’s exactly what makes them so light. The texture practically melts on your tongue. The neutral oil keeps everything clean and simple – the perfect backdrop for that addictive cinnamon sugar coating.
Plus, no fussing with cold butter chunks. Everything just dumps into the bowl and comes together fast.
Recipe Timing:
Prep Time: 45 minutes | Cook Time: 5 minutes | Total Time: 3 hours 50 minutes (including rising) | Servings: 8 | Difficulty: Intermediate
My Frying Journey
Let me be real with you for a second.
I was terrified of frying at home for years. Hot oil? Potential splatters? No thanks.
But then I finally tried it. Figured out the right temperature. Learned the techniques.
Everything changed.
Now I actually find the whole process calming. Watching the dough puff up and turn golden in the oil? There’s something deeply satisfying about it.
Perfect for Small Batches
This recipe makes eight doughnuts. Not dozens. Just eight perfect ones.
Great for:
- Weekend breakfast treats
- Small family gatherings
- When you want doughnuts but don’t want to be swimming in them for a week
Though honestly? If you want to double the batch, I won’t judge. The dough is super forgiving.
The Make-Ahead Advantage
Here’s my favorite part.
The dough needs to chill in the fridge. At least three hours. Even better overnight.
This means you can prep everything the night before. Then fry fresh doughnuts in the morning while your coffee brews.
Smart, right?
Why I Love This Recipe
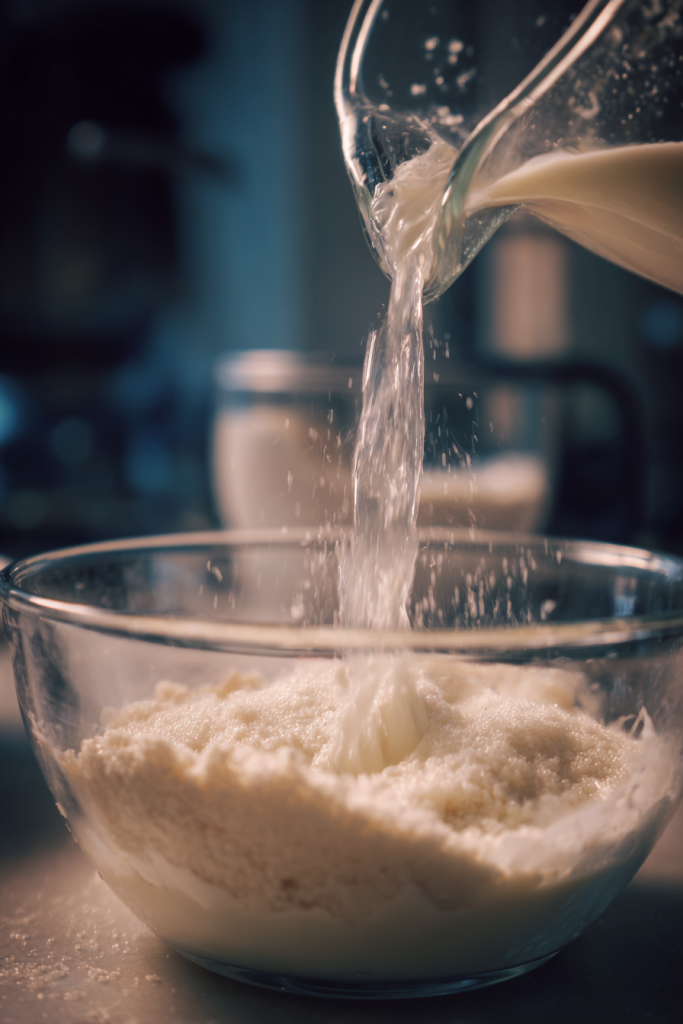
The process is simple. Active dry yeast blooms in warm milk with a little sugar. Once it’s all foamy and alive, everything else goes in.
Flour. Salt. Egg. Oil.
Your stand mixer does the heavy lifting. It kneads until the dough is smooth and stretchy.
No complicated techniques. No special skills. Just dump and mix.
But here’s where it gets fun – the versatility.
Today I’m showing you classic cinnamon sugar. But you could try:
- Chocolate glaze
- Vanilla icing
- Jam filling
- Whatever you dream up
The dough is your canvas.
That Texture Though
Let me tell you about the texture.
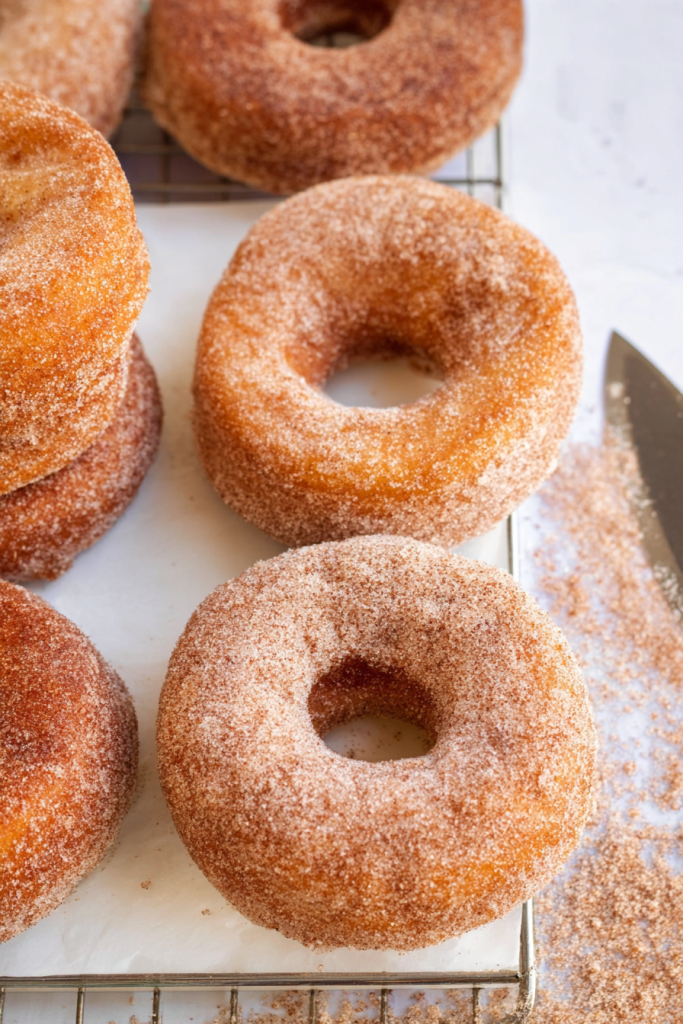
These doughnuts are ridiculously soft. Tender with a delicate crumb. They stay fresh all day long.
The yeast gives them this subtle tanginess that plays beautifully with the sweet cinnamon coating. Every bite hits you with that perfect contrast.
Crispy sugared outside. Fluffy cloud inside.
Whether you’re treating yourself on a lazy Sunday or showing off at brunch, these deliver bakery-quality results. Right from your kitchen.
Let me walk you through every single step.
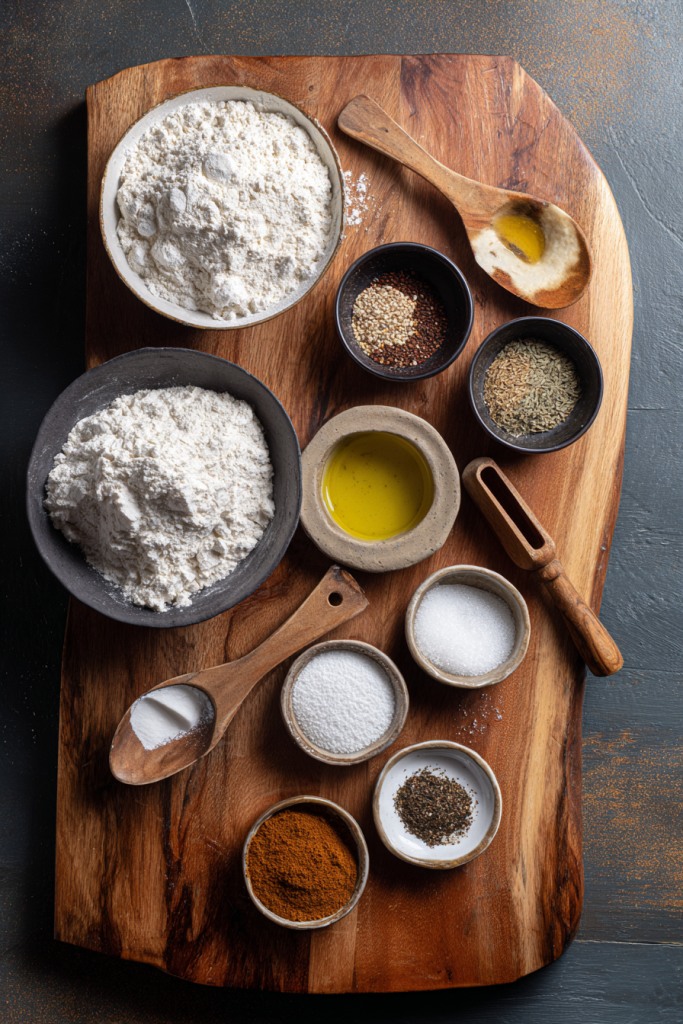
Ingredients You’ll Need
| Ingredient | Quantity | Notes |
|---|---|---|
| Whole milk | 230g | Lukewarm, around 105°F |
| Granulated sugar (for dough) | 2 Tbsp | Feeds the yeast |
| Active dry yeast | 2 tsp | Must be fresh and active |
| All-purpose flour | 425g | Spooned and leveled |
| Salt | ½ tsp | Fine sea salt preferred |
| Large egg | 1 | Room temperature, lightly beaten |
| Neutral oil | 50g | Canola, vegetable, or light olive oil |
| Frying oil | As needed | Same neutral oil, about 4 cups |
| Granulated sugar (for coating) | 100g | For the cinnamon sugar |
| Ground cinnamon | 1 Tbsp | Adjust to taste preference |
| Ground cardamom | ½ tsp | Optional, adds warmth |
| Salt (for coating) | Pinch | Enhances the sweetness |
Step-by-Step Instructions
Getting the Yeast Going
First things first – warm up that milk.
Test it on your wrist. Should feel slightly warm. Not hot. Not cool. Just comfortably warm.
Pour it into your stand mixer bowl. The one with the dough hook attached.
Add your sugar. Sprinkle the yeast over the top.
Give it a gentle stir. Then walk away.
Let it sit for ten minutes undisturbed. You’ll know it’s ready when you see foam and bubbles forming on the surface.
That foam means your yeast is alive and ready to work.
Bringing the Dough Together
Now for the fun part.
Yeast mixture is foamy? Perfect. Add your flour and salt to the bowl. Pour in that lightly beaten egg and the neutral oil.
Start your mixer on low speed. Everything looks shaggy at first.
That’s normal.
Keep mixing. Be patient. Let it go for ten to twelve minutes.
Watch as that shaggy mess transforms into a smooth, elastic ball of dough. It’s kind of mesmerizing.
Want to know if it’s ready? Here’s the test.
Pinch off a tiny piece. Gently stretch it between your fingers. Can you stretch it thin enough to see light through it without it tearing?
That’s called the windowpane test. It means your gluten developed properly.
The Cold Rise
Shape your dough into a ball. Nice and neat.
Place it in a lightly greased bowl. Cover it tight with plastic wrap.
Now here’s the part that makes all the difference – into the fridge it goes.
Minimum three hours. But overnight? Even better.
The cold rise does two things:
- Develops deeper flavor
- Makes the dough easier to work with
Just don’t leave it more than twenty-four hours. After that, the yeast starts losing its strength.
Rolling and Cutting Time
Pull that chilled dough from the fridge.
Turn it out onto a very lightly floured surface. I mean very lightly. Just dust it.
Roll it out to about half an inch thick. Keep the thickness even across the whole thing.
Grab a round cutter. About three and a quarter inches across works perfectly. Cut out your circles.
Then use a smaller cutter – one inch – to remove the centers.
Boom. Doughnut shapes.
Place each cut doughnut on its own square of parchment paper. This is a game-changer for later. Trust me.
Arrange them on a baking sheet. Give them space to breathe.
Got scraps? Don’t throw them away. Press them together gently. Cut out more doughnuts.
Or here’s what I do – cut the scraps into random pieces. Fry them as doughnut holes later.
The Second Rise
Cover your shaped doughnuts loosely with a clean kitchen towel.
Let them sit at room temperature. Thirty-five to forty-five minutes.
How do you know they’re ready?
They should nearly double in size. Feel light and puffy to the touch.
Press one gently with your fingertip. See a small indentation that slowly springs back?
Perfect. They’re ready to fry.
Setting Up Your Frying Station
While those doughnuts are proofing, get everything ready.
Mix your coating first. Granulated sugar, cinnamon, cardamom if you’re using it, and that pinch of salt. Put it in a shallow bowl.
Set up a wire rack over a parchment-lined baking sheet. This is where your doughnuts will drain.
Now heat your oil in a heavy-bottomed pot. Or a deep fryer if you have one.
Get it to exactly 350°F.
And here’s the important part – use a thermometer. Don’t guess. Monitor that temperature closely.
Time to Fry
Test your oil first with a doughnut hole or scrap piece. Better to mess up a test piece than a perfect doughnut, right?
When you’re ready, gently lower two doughnuts at a time into the hot oil. Keep them on their parchment squares.
The paper releases naturally after a few seconds. Use tongs to fish it out and toss it.
Fry each doughnut for about three minutes total. Flip them halfway through.
You’re looking for deep golden brown on both sides.
Remove them with a slotted spoon. Let them drain briefly on your rack.
Wait about thirty seconds. Not long. Just enough so they won’t burn you.
Then toss them generously in that cinnamon sugar mixture while they’re still warm.
The heat makes the sugar stick like magic.
Pro Tips for Doughnut Success
Picking the Right Oil
Neutral oils work best here. The ones with high smoke points.
I use:
- Canola
- Vegetable
- Light olive oil
These oils can handle 410-446°F without breaking down. They won’t leave weird flavors behind.
Use the same oil in your dough and for frying. Keeps things simple.
Temperature is Everything
If you don’t have a thermometer, get one. Seriously.
Maintaining 350°F throughout frying makes all the difference between perfect doughnuts and disappointing ones.
Too cool? They absorb excess oil. Turn greasy and heavy.
Too hot? The outsides burn before the insides cook.
Check that temperature between every single batch. Adjust your heat as needed.
The Crowding Mistake
Only fry two doughnuts at a time.
I know it’s tempting to speed things up. Throw in three or four at once.
Don’t.
When you add doughnuts, the oil temperature drops. Add too many and it drops dramatically.
What happens? Soggy, oil-soaked doughnuts instead of light crispy ones.
Be patient. Two at a time. Superior results every time.
That Parchment Paper Trick
Remember when I told you to put each doughnut on its own parchment square?
This saves so much trouble.
You can transfer them directly to the oil without touching the delicate risen dough. No deflating. No finger marks.
The paper releases naturally. Remove it immediately and move on.
When Things Go Wrong
Dense, Heavy Doughnuts
This usually means one thing – not enough proofing time.
The dough needs that full thirty-five to forty-five minutes. Sometimes even longer.
Temperature matters too. Cold kitchen? Proofing takes longer.
Don’t rush it.
Greasy, Soggy Results
Your oil temperature is too low.
The exterior should seal quickly when it hits the hot oil. This prevents oil absorption.
Always verify your oil reaches 350°F before frying each batch. Every. Single. Time.
Raw in the Middle
This happens when oil runs too hot.
The outside cooks and browns before heat penetrates to the center.
Lower your temperature. Try again.
Adjusting the Spice
My cinnamon sugar mixture is bold. Some people love it. Others find it too strong.
If you prefer milder flavors, start with half the cinnamon. Taste it. Add more if needed.
Make a small test batch first. Adjust before coating all your doughnuts.
Your Questions Answered
Can I make these without a stand mixer?
Absolutely.
Mix everything in a large bowl. Turn it out onto your counter when it comes together.
Knead by hand for about fifteen minutes. Until it’s smooth and elastic.
A bench scraper helps manage the slightly sticky dough. Makes it easier to handle.
The oil-based recipe is actually easier to hand-knead than butter-based versions. No cold butter chunks to work in.
What about leftover frying oil?
Let it cool completely first. This is important.
Strain it through a fine-mesh sieve or cheesecloth. Get rid of any bits of dough floating around.
Pour it back into its original bottle. Store in a cool, dark place.
You can reuse it two or three times for similar fried foods.
Label it clearly. Future you will thank you.
Should I throw away the dough scraps?
Never!
Cut them into bite-sized pieces. Let them proof alongside your doughnuts.
Fry them up as doughnut holes. Toss them in cinnamon sugar.
They make perfect little snacks. Plus they cook faster than full doughnuts.
Warm doughnut holes are dangerous. You’ll eat them all before the main doughnuts are done.
Can I bake these instead?
Technically? Yes.
But they’ll taste completely different. More like bread rolls than doughnuts.
If you want baked doughnuts, look for recipes specifically designed for baking. They use different ratios and techniques.
This recipe is built for frying. That’s what gives them their texture.
How long do these stay fresh?
These taste best the day you make them. Still warm from the fryer? That’s peak doughnut.
Got leftovers? Store them loosely covered at room temperature.
You can refresh them briefly in the microwave the next day. They won’t be quite the same. But still delicious.
Don’t refrigerate them. That actually makes them go stale faster. Room temperature is the way.
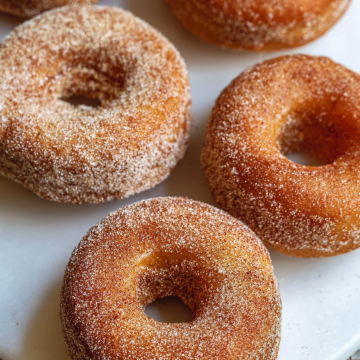
Fluffy Yeasted Doughnuts with Cinnamon Sugar
Ingredients
Doughnut Dough
- 230 g whole milk lukewarm, around 105°F
- 2 Tbsp granulated sugar for dough
- 2 tsp active dry yeast must be fresh and active
- 425 g all-purpose flour spooned and leveled
- 1/2 tsp salt fine sea salt preferred
- 1 large egg room temperature, lightly beaten
- 50 g neutral oil canola, vegetable, or light olive oil
For Frying
- 4 cups frying oil neutral oil with high smoke point
Cinnamon Sugar Coating
- 100 g granulated sugar for coating
- 1 Tbsp ground cinnamon adjust to taste
- 1/2 tsp ground cardamom optional
- 1 pinch salt for coating
Instructions
- Warm the milk to around 105°F (lukewarm). Pour into stand mixer bowl fitted with dough hook. Add 2 tablespoons sugar and sprinkle yeast over the top. Stir gently and let sit for 10 minutes until foamy and bubbly.
- Add flour, 1/2 teaspoon salt, beaten egg, and 50g neutral oil to the yeast mixture. Mix on low speed for 10-12 minutes until the dough is smooth and elastic. Test with the windowpane test – pinch off a small piece and stretch it thin enough to see light through without tearing.
- Shape dough into a ball and place in a lightly greased bowl. Cover tightly with plastic wrap. Refrigerate for minimum 3 hours, preferably overnight (up to 24 hours maximum).
- Remove chilled dough from fridge. Turn out onto very lightly floured surface. Roll out to 1/2 inch thickness, keeping it even throughout.
- Cut out doughnuts using a 3 1/4-inch round cutter. Remove centers with a 1-inch cutter. Place each doughnut on individual parchment paper squares on a baking sheet. Gently press scraps together and cut more doughnuts, or cut into pieces for doughnut holes.
- Cover shaped doughnuts loosely with a clean kitchen towel. Let rise at room temperature for 35-45 minutes until nearly doubled in size and puffy. Test by gently pressing with fingertip – should leave a small indentation that slowly springs back.
- While doughnuts proof, mix the coating: combine 100g sugar, 1 tablespoon cinnamon, 1/2 teaspoon cardamom (if using), and pinch of salt in a shallow bowl. Set up a wire rack over a parchment-lined baking sheet.
- Heat frying oil in a heavy-bottomed pot to exactly 350°F. Use a thermometer to monitor temperature constantly.
- Test oil with a doughnut hole or scrap piece first. Gently lower 2 doughnuts at a time into hot oil, keeping them on parchment squares. The paper will release naturally after a few seconds – remove with tongs and discard.
- Fry each doughnut for about 3 minutes total, flipping halfway through, until deep golden brown on both sides. Remove with slotted spoon and drain briefly on wire rack (about 30 seconds).
- While still warm, toss doughnuts generously in cinnamon sugar mixture. The heat makes the sugar stick perfectly. Check oil temperature before frying next batch and adjust heat as needed.