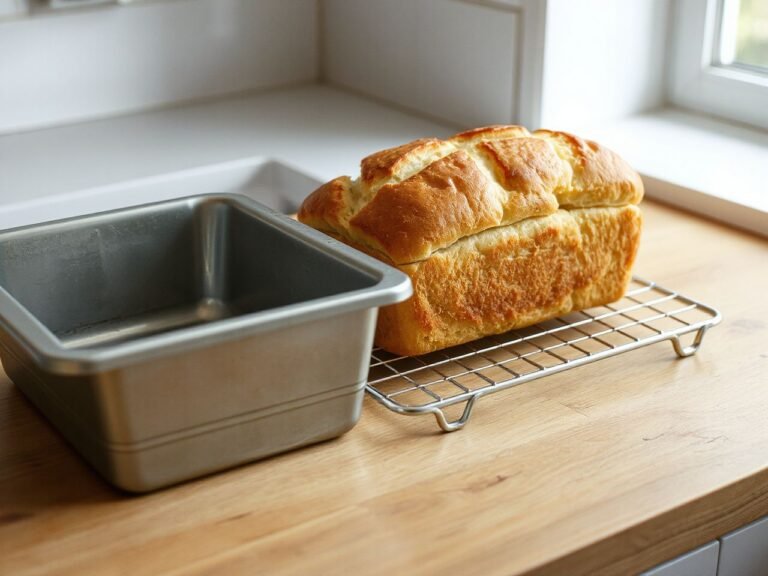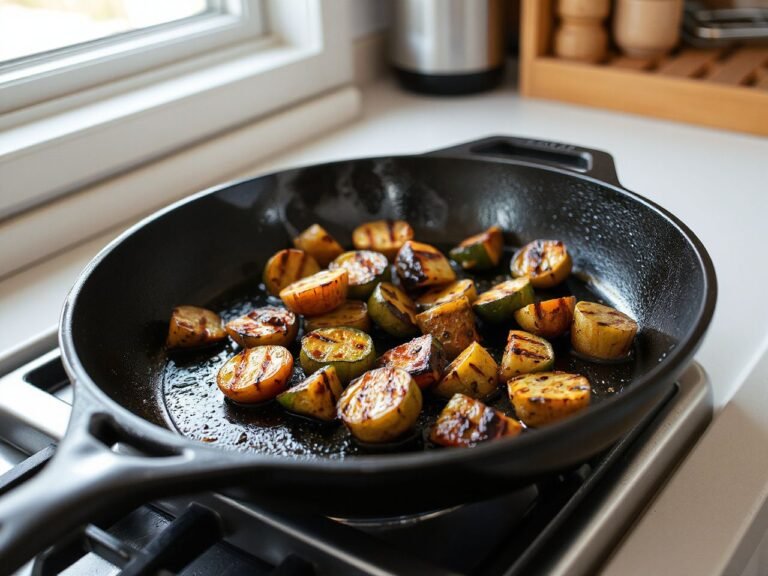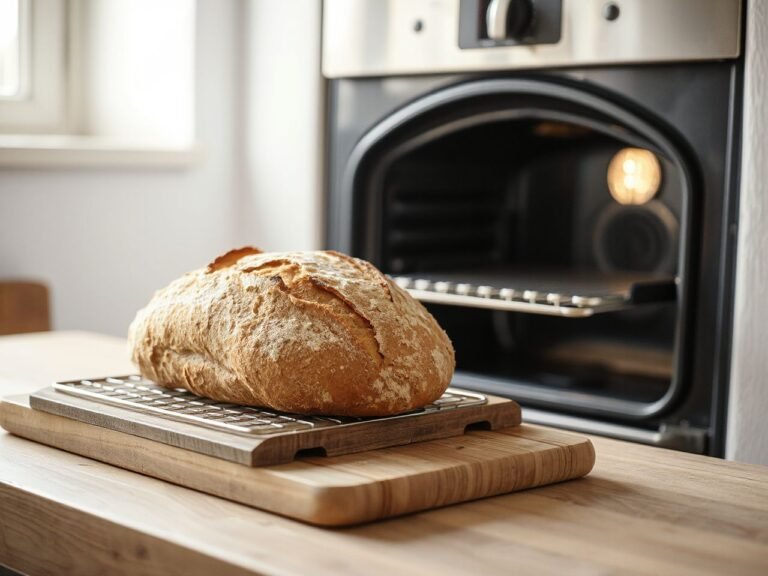
Most bakers never question the metal rectangle they slide into the oven. They grease it, pour batter in, and blame the flour or the yeast when the crust comes out wrong. That instinct is backward. A loaf pan is not a neutral container. It is an active heat exchanger, and its material, wall thickness, and interior coating dictate how your dough rises, how the crumb sets, and how fast the sides brown. I approach this guide by breaking down each loaf pan type according to its thermal conductivity and surface reactivity, since the real difference between a great loaf and a burnt-ribbed disappointment is how the pan moves heat. A beginner might obsess over brand names, but what matters is matching the pan’s material and size to the dough’s hydration and the oven’s heat distribution. I also emphasize the practical workarounds—like adjusting oven temperature for glass or using metal for crusty yeast breads—that come from observing how the pan behaves across many bakes.
This loaves-as-thermal-systems perspective is the only honest way to write a loaf pan buying guide. Once you understand that a dark aluminized steel pan delivers more radiant heat than a shiny one, you stop wondering why your banana bread scorches at the corners. If you want a head start on dough handling after you pick a pan, our one-pot cooking recipes with dumpling dough show how starch and steam interact in sealed vessels.
Key Takeaways
- Metal pan material and finish change baking time and browning — dark aluminized steel browns faster than shiny metal, while glass and stoneware require a 25°F lower oven temperature.
- Loaf pan size is about dough expansion geometry, not just cup volume — a 9x5x3-inch pan lets dough spread sideways and rise lower; an 8x4x2.5-inch pan forces a taller central crown.
- Non-stick coatings degrade and alter how dough grips the pan walls, which directly affects oven spring and side crust formation.
- Warping and sticking are almost always fixable by choosing thicker metal or correct greasing technique — never by cranking the oven hotter.
Why Pan Material Dictates Your Loaf’s Crust and Crumb
The belief that any 9-by-5 pan works the same is a common bread-baking misconception. Thermal conductivity—how fast a material absorbs and transfers oven heat—varies enormously. A 0.8 mm aluminized steel sheet reaches baking temperature in under four minutes. A 10 mm stoneware slab might take fifteen minutes to fully heat through. That lag changes the whole bake.
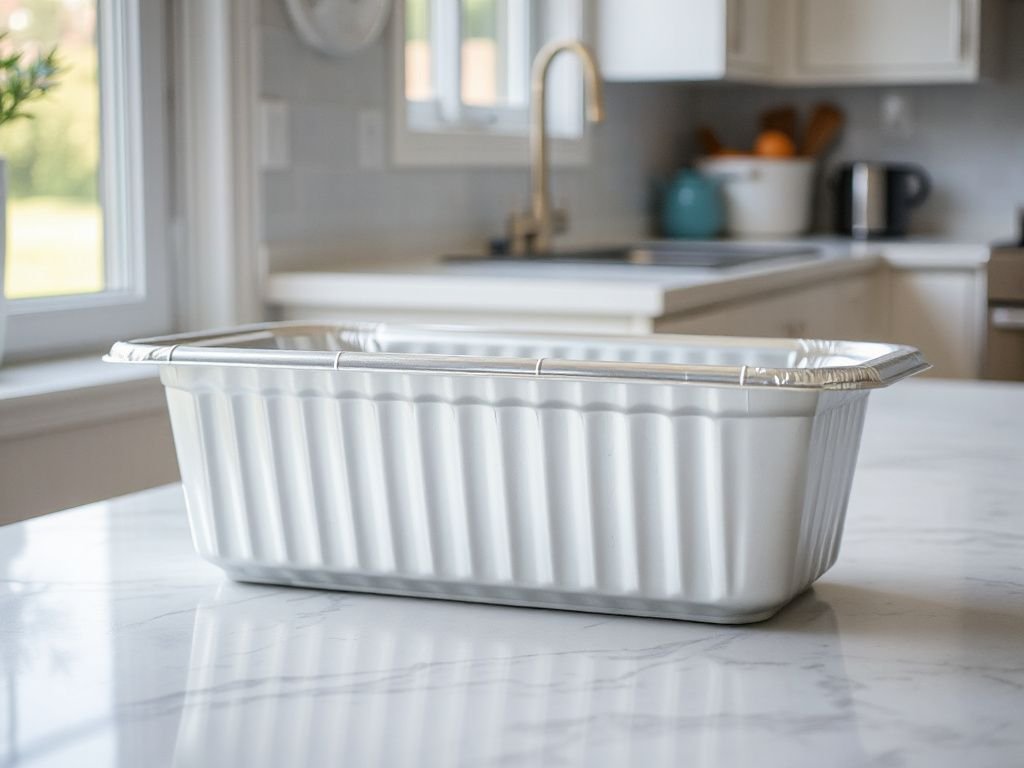
Aluminized steel is the workhorse of commercial bakeries because it heats evenly and quickly without rusting. It browns yeast loaves well and releases cleanly when greased. Borosilicate glass is a poor conductor by comparison but retains heat once hot, which makes it slow to cool and prone to overcooking the bottom and sides while the center is still raw. Cast iron holds far more thermal mass than any other common pan material—once properly seasoned, it gives the deepest, most even side crust on sandwich bread. Carbon steel behaves like a thinner, lighter cast iron. Silicone is flexible, a thermal insulator, and needs a metal tray underneath for stability. Stoneware behaves like thick glass with slightly more porous surface.
The takeaway: a shiny aluminum loaf pan and a dark non-stick pan with identical dimensions can differ in browning time by 10 to 15 percent. If your recipe says “bake 45 to 50 minutes,” the glowing dark pan will hit deep brown at 42 minutes while the shiny one looks pale at 50. You cannot follow a recipe blind. You have to know what your pan is doing.
Glass vs. Metal for Yeast Breads and Quick Breads
Glass retains heat so aggressively that the dough touching the sides sets into a thick, dark crust before the interior reaches 190°F. For yeast breads that need rapid oven spring in the first ten minutes, glass is a handicap. The dough rises slowly against cool glass walls, then the walls overheat and kill the yeast near the edge. Metal, especially dark aluminized steel, transfers heat fast enough to drive that initial rise, then lets the crust set uniformly.
For quick breads—banana, zucchini, pumpkin, cornbread—glass can work if you drop the oven temperature by 25°F (about 14°C) and extend the bake by five to eight minutes. The slower, gentler heat gives a moister crumb. But you must accept that the bottom and sides will be darker than a metal-pan loaf. That is not a defect; it is what glass does.
If you only own one loaf pan, buy shiny or dark aluminized steel. It handles both yeast and quick breads without forcing you to change the recipe’s logic. Save glass for slow-cooked custard breads or meatloaf where a dark, caramelized exterior is the goal.
Loaf Pan Size Is Not About Volume—It Is About Rise Geometry
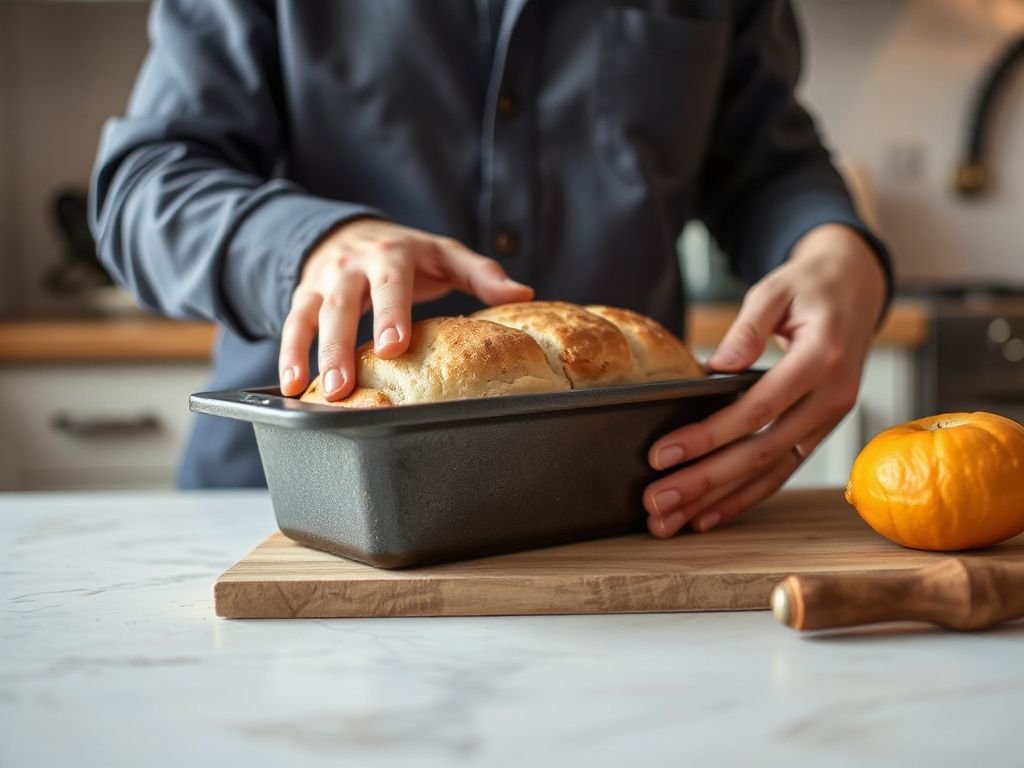
Ask a home baker what size their loaf pan is and they say “one pound” or “one and a half pounds.” That answer is almost always wrong because loaf pan capacity is measured in cubic inches or liters, not dough weight. The two standard sizes you will encounter are the 9x5x3-inch standard loaf pan (about 8 cups capacity) and the 8x4x2.5-inch small loaf pan (about 6 cups capacity). The difference matters more than you think.
A yeast dough that fills a 9×5 pan halfway will spread out into the wider bottom before climbing. You get a flatter loaf with a thick bottom crust and no dramatic crown. The same dough in an 8×4 pan fills it two-thirds full and has to climb the steeper walls immediately. The result is a taller central rise with a rounder, more professional-looking top. For a sandwich loaf that slices evenly for toast, the 9×5 gives longer, lower slices. The 8×4 gives a taller, narrower slice that fits lunchbox sandwiches better.
The 8x4x2.5-inch pan forces dough upward rather than outward, which changes the final crumb density. A wet dough in a shallow, wide pan will not have enough wall support and will collapse into a puddle before the gluten sets. A stiff dough in a deep, narrow pan will crack at the crown because the surface dries before the inside can expand. Pan size directly controls how the dough rises.
Pullman Pans and Lidded Loaves
A Pullman pan with lid is the precision tool for sandwich bread. The lid stops the dough from forming a rounded crown, so you get perfectly square slices from heel to heel. The lid also traps steam during the first twenty minutes of baking, which keeps the top crust soft enough for clean slicing and extends the rise slightly. Pullman pans are almost always made from heavy-gauge aluminized steel because thin metal cannot hold the lid’s weight without warping.
If you bake bread weekly for sandwiches, a 13x4x4-inch Pullman pan with a sliding lid is worth the storage space. It will outlast three non-stick standard pans and produce a denser, more even crumb that does not tear when you spread cold butter on it.
For those seeking a contained-crust loaf without a Pullman, a simple parchment collar greased lightly on the inside will keep the top from doming too aggressively, though it will not box the loaf perfectly square like a lidded pan.
Why Bread Sticks Even After Greasing—and How Pan Coating Affects Rise
Sticking is rarely a fat problem. It is a pan-surface problem. A bare aluminum pan needs a full coating of solid fat—butter, lard, or shortening—plus a light dusting of flour to create a physical barrier between the dough and the metal. A PFOA-free non-stick coating should release a lean dough with just a thin wipe of oil, but only while the coating is intact. Non-stick coatings degrade with every bake cycle, especially above 450°F, and once microscopic scratches appear, dough grips those imperfections like a gecko on a wall.
Parchment paper solves sticking forever but changes how the dough rises. A parchment sling prevents the dough from anchoring to the pan walls, which means the loaf rises slightly higher in the center but develops less side crust. For soft sandwich loaves, that is desirable. For rustic yeast breads that need a firm sidewall to push against, parchment robs you of that resistance and gives a slightly softer loaf.
To find out if a pan’s volume matches your recipe, fill the pan with water, cup by cup, until it reaches the rim. A 9x5x3-inch pan holds about 8 cups; an 8x4x2.5-inch pan holds 6 cups. That water-measuring method also reveals how level the pan sits—if water pools higher on one side, the pan has a subtle warp that will show up as a lopsided loaf.
Seasoning and Caring for Cast Iron Loaf Pans
A raw cast iron loaf pan must be seasoned before its first use or bread will weld to the surface. Heat the clean pan at 200°F for ten minutes, rub a thin layer of neutral oil over the entire interior—flaxseed or grapeseed works well—then wipe it off so only a microscopic film remains. Bake the pan upside down at 450°F for one hour, then let it cool in the oven. Repeat two more times. That polymerized oil layer is what makes cast iron non-stick, not the oil you add right before baking.
After each use, wash the cooled pan with hot water and a chainmail scrubber if needed. Never soak cast iron in soapy water, never run it through the dishwasher, and never leave it wet. A five-minute rust spot can start in less time than it takes to eat dinner. Re-oil the interior lightly after drying and the pan will outlast you.
Cast iron loaf pans produce the darkest, deepest side crust of any material. The trade-off is weight and preheating time. A thick cast iron pan needs fifteen minutes in a hot oven before you add the dough, otherwise the initial cold pan sucks heat out of the oven floor and your loaf bakes unevenly. If that level of browning appeals, cast iron is unmatched. For most home bakers, aluminized steel is the better daily driver.
Preventing Side Browning and Pan Warping
The sides of a loaf brown faster than the center because the pan walls are in direct contact with the heating element’s radiant energy. Dark pans absorb more radiant heat than light pans, so the sides darken first. If your loaf keeps coming out with a burnt crust and raw center, your pan is too dark or your oven runs hot.
Check your oven’s actual temperature with a standalone thermometer. Most home ovens run 15 to 30°F off from the dial. If the oven is correct and the sides still burn, switch to a shiny aluminum pan or drop the temperature by 25°F. For glass or stoneware, that 25°F reduction is mandatory, not optional.
Warping occurs when thin metal heats unevenly. A 0.5 mm thick sheet pan will bow and twist at 425°F because one corner absorbs heat faster than the rest, expanding before the neighboring metal has caught up. Heavy-gauge pans—1.0 mm thickness or more—are too rigid to warp under normal baking conditions. Avoid anything with a visible flex when you press the center of the bottom. If your pan pops and twists on the oven rack during baking, it is thin and will only get worse.
Another warp culprit: pouring cold batter into a screaming-hot pan straight from a cold counter. Thermal shock stresses the metal joints. Let cold batter come to room temperature or let the hot pan cool slightly before filling. Small habits prevent permanent problems.
Silicone Loaf Pans: Convenience With Caveats
Silicone is safe up to about 450°F, depending on the manufacturer’s rating, and it releases bread more easily than any greased metal pan. But silicone is a thermal insulator, not a conductor. A silicone loaf pan in a standard oven will not brown the bottom or sides nearly as well as metal. The bread steams inside the flexible walls instead of crusting over, which gives a pale, soft exterior and a gummy crumb near the edges.
If you use silicone, place it on a metal baking sheet for support during filling, transfer, and baking. Increase the oven temperature by 25°F above the recipe’s metal-pan recommendation and extend the bake by five minutes. The result will still be softer than a metal-pan loaf, but it is great for gluten-free breads that benefit from gentle, moist heat.
Countertop convection ovens have a different airflow pattern than standard ovens—they blast hot air sideways. In a convection oven, the loaf pan’s side walls receive more forced hot air, so even a shiny aluminum pan will brown faster than in a conventional oven. Reduce the recipe temperature by 25°F when using convection mode, regardless of pan material.
Quick Breads vs. Yeast Breads in the Same Pan
Every loaf pan can bake both quick breads and yeast breads, but the ideal material differs. Yeast breads want a fast, hot transfer to drive oven spring, so dark aluminized steel or cast iron works best. Quick breads have high sugar and fat content, which brown rapidly; a light-colored, shiny aluminum pan slows that browning and lets the center cook through without burning the exterior.
If you have only a dark pan and want to bake a banana bread that does not turn mahogany, line the pan with parchment and lower the oven temperature by 25°F. The parchment insulates the dough from direct metal contact and buys you five extra minutes of gentle baking. Gluten-free quick breads are particularly fragile because they have no gluten network to hold structure; a light-colored, rigid metal pan is the safest choice, with a parchment sling for easy release.
For the deepest flavor development, a stoneware or glass pan makes a superior quick bread because the slow, retained heat caramelizes the sugars more thoroughly. The crumb will be denser and moister, and the crust will have a deep, almost molasses-like color. That is the trade-off: stoneware gives better quick bread, worse yeast bread; metal gives better yeast bread, less dramatic quick bread. Pick based on what you bake most often.
Cleaning Without Killing the Non-Stick Surface
Non-stick loaf pans fail early because people scrub them. Metal scouring pads, abrasive powders, and even the rough side of a kitchen sponge tear the coating. The moment the coating scratches, dough sticks to those exposed layers and the pan is effectively worthless for bread. Hand wash a non-stick loaf pan with a soft sponge, hot water, and a few drops of dish soap; never put it in the dishwasher. Dishwasher detergent is caustic enough to erode the coating in a single cycle.
For baked-on residue, fill the pan with hot water and a tablespoon of baking soda, then simmer gently for ten minutes on the stove. The residue will lift without scrubbing. Dry the pan immediately and rub a microscopic film of oil over the interior before storing. That oil layer fills the micro-pores that would otherwise absorb dough and cause sticking on the next bake.
Glass and stoneware can go in the dishwasher, but hand washing preserves the smooth glazed surface that dough releases from. Cast iron never sees a dishwasher—that is non-negotiable. A bare aluminum pan can handle a little more aggressive scouring, but if you want the natural patina that improves release over time, treat it gently too.
Frequently Asked Questions
What is the difference in baking results between a 9×5 and an 8×4 loaf pan?
A 9x5x3-inch pan spreads dough over a wider area, producing a shorter loaf with a thicker bottom crust and a less dramatic crown. An 8x4x2.5-inch pan forces dough upward, giving a taller central rise and a rounder top. The crumb density shifts accordingly: wider pans give slightly more open crumb; narrow pans give a tighter, more uniform crumb for clean slicing.
Should I reduce the oven temperature when using a glass loaf pan instead of metal?
Yes, reduce the oven temperature by 25°F (about 14°C) when switching from metal to glass or stoneware. Glass retains heat far longer and transfers it more slowly, which overheats the sides and bottom before the center bakes through. The lower temperature compensates for that retention and usually requires an extra five to eight minutes of total baking time.
How do I know if a loaf pan is thin enough to warp?
Hold the pan over a stove burner on medium heat for three seconds. If the rim becomes uncomfortably hot to touch quickly, the metal is thin-gauge, likely under 1.0 mm thickness. Thin metal warps at normal baking temperatures above 400°F because the base expands faster than the cooler sides. A heavy-gauge pan stays flat and transfers heat more evenly.
Why does my bread stick to a greased non-stick pan?
Sticking in a non-stick pan means the coating has degraded. Scratches, dishwasher damage, or repeated exposure above 450°F break down the surface, creating microscopic pits where dough grips. Once the coating fails, no amount of butter or oil will fix it. Use a parchment sling to extend the pan’s life, but understand that parchment changes how the dough rises against the walls.