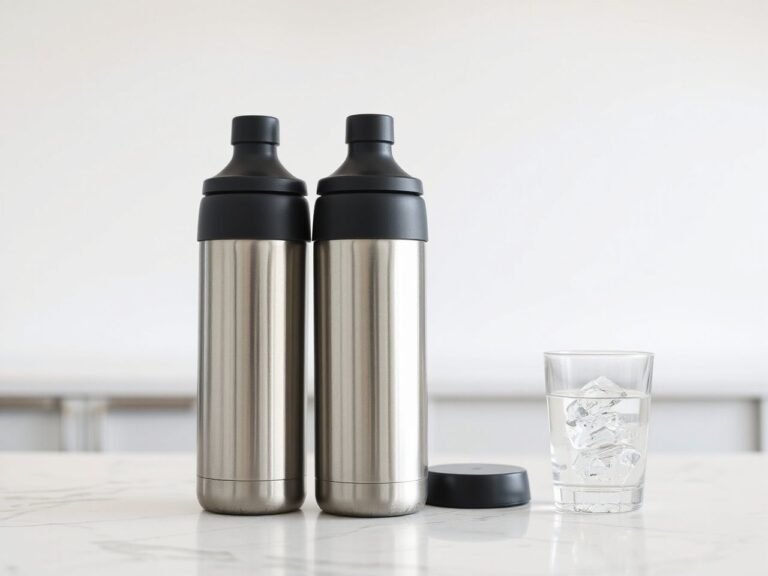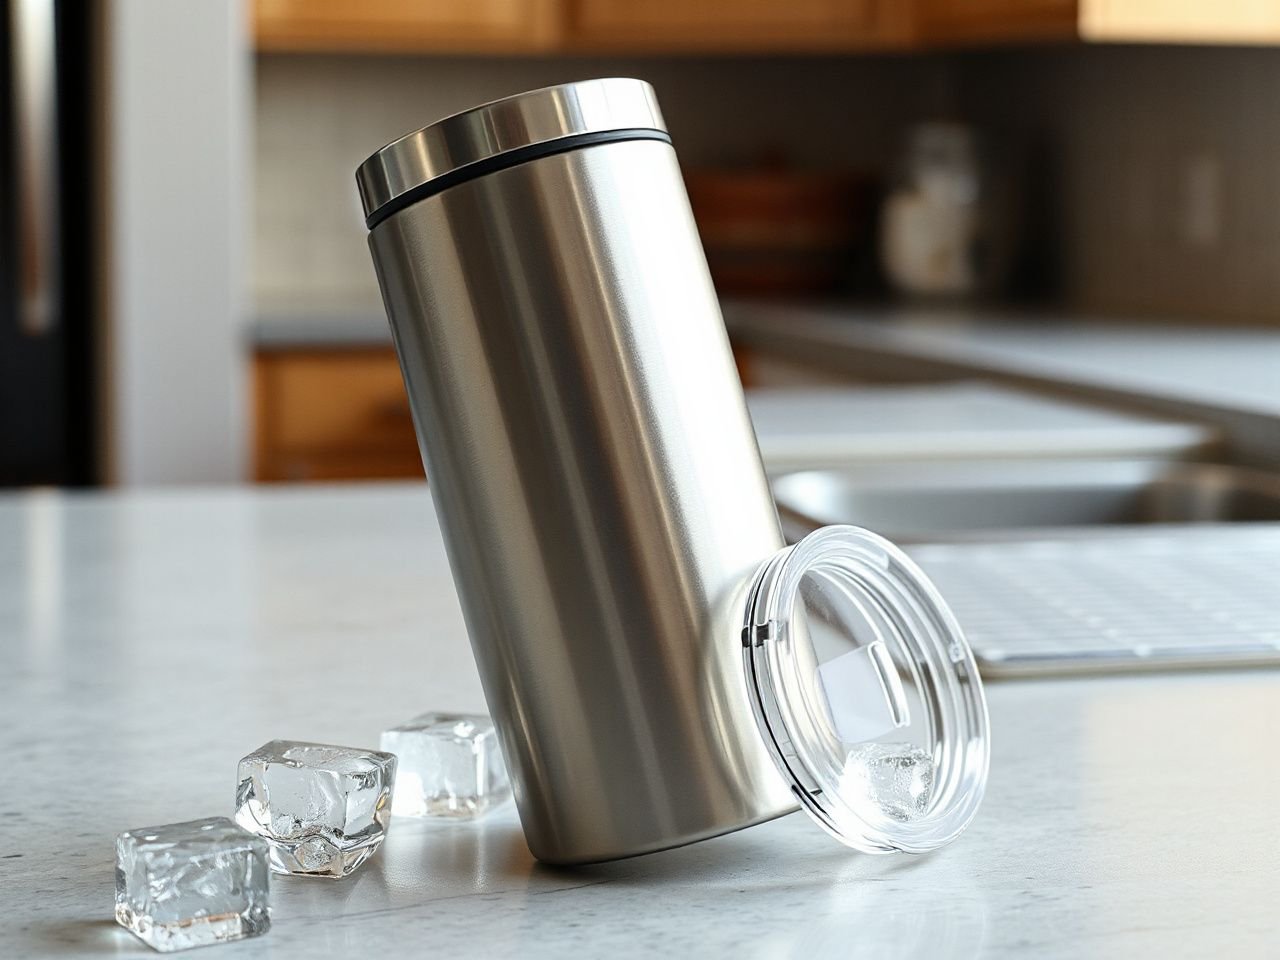
Two interfaces decide whether an insulated tumbler feels dependable: the wall that manages heat and the rim that manages contact with your mouth, lid, and drink. The important distinction is between thermal insulation and spill control: a well-insulated body can still have a poor lid, and a secure-looking lid can still be unsuitable for hot or carbonated drinks. A useful guide therefore evaluates the body, vacuum space, drinking opening, gasket, cleaning access, and intended beverage as one system rather than treating insulation as a single performance trait. That is the starting point for this insulated tumbler buying guide.
Key Takeaways
- Check the rim, opening, gasket, and closure before judging the insulation.
- Vacuum insulation slows heat transfer, but it does not make a drink safe indefinitely.
- Match the tumbler, lid, cleaning method, and drink type as one complete system.
Beginner: Understand the Tumbler as a Complete System
Start with the rim, not the pattern
A tumbler is used through its rim or drinking opening, so that area deserves the first inspection. Look for a smooth edge, a lid opening that aligns with the mouth of the vessel, and a design that does not force the drink against a sharp seam or awkward lip.
The rim also tells you how the tumbler will behave during ordinary use. A broad open top gives direct access to the drink but offers less spill control than a closed lid. A sliding lid narrows the opening, while a straw valve changes the way liquid reaches the user and adds another part that needs cleaning.
The drinking rim is the part of a tumbler that directly controls comfort, contact, and access to the beverage. A decorative finish cannot compensate for an uncomfortable or difficult-to-clean opening.
What actually keeps a drink hot or cold?
Vacuum insulation slows heat transfer by leaving very little material between the inner and outer walls. Double-wall construction can also reduce the direct movement of heat toward the outside surface, but not every double-wall mug has vacuum treatment between those walls. The product description should clearly distinguish a vacuum-insulated body from a non-vacuum double-wall design.
Stainless steel is common in insulated drinkware because it forms a durable body for everyday drinks. Some designs include a copper heat-reflective layer within the wall structure. Polypropylene may appear in lids or other plastic components, while a silicone gasket helps create a seal between the lid and the body.
Vacuum insulation slows heat transfer but does not keep a drink at its starting temperature indefinitely. A cool exterior does not prove that a hot drink is safe to handle or sip, because heat can still reach the rim, lid, opening, or straw.
Evaporation is a major way warm drinks lose heat, especially where the drink is exposed through an open top or drinking opening. A lid reduces that exposed surface, but the lid introduces its own questions about fit, cleaning, pressure, and spill resistance.
Vacuum insulation versus ordinary double-wall construction
The words double wall describe two walls; they do not automatically describe a vacuum between them. A vacuum-insulated tumbler uses the space between the walls to slow heat transfer, while a double-wall mug may simply have air or another non-vacuum space between the inner and outer walls.
Compare descriptions carefully. Look for a direct statement that the body is vacuum insulated, rather than assuming that a second wall provides the same behavior. The outside surface is useful to inspect, but it cannot reveal the full construction by touch alone.
A double-wall tumbler is not automatically vacuum insulated. The construction named by the manufacturer matters more than a photograph showing a thick-looking body.
How insulation can fail
A dent or puncture can compromise the vacuum space, as can a failed seal within the wall structure. A tumbler that suddenly becomes warm on the outside or develops exterior condensation may no longer insulate properly.
Condensation can also come from the drink, lid, or exposed surfaces rather than a failed vacuum space. Check whether moisture is concentrated around the opening, under the lid, or across the body. A sudden change from the tumbler’s previous behavior deserves attention, especially if the body has been dropped or damaged.
Do not treat a cool exterior as proof that the contents are comfortable to drink. Hot liquid can still burn through the opening, lid, or straw even when the outer wall feels cool.
Beginner: Match the Lid to the Beverage
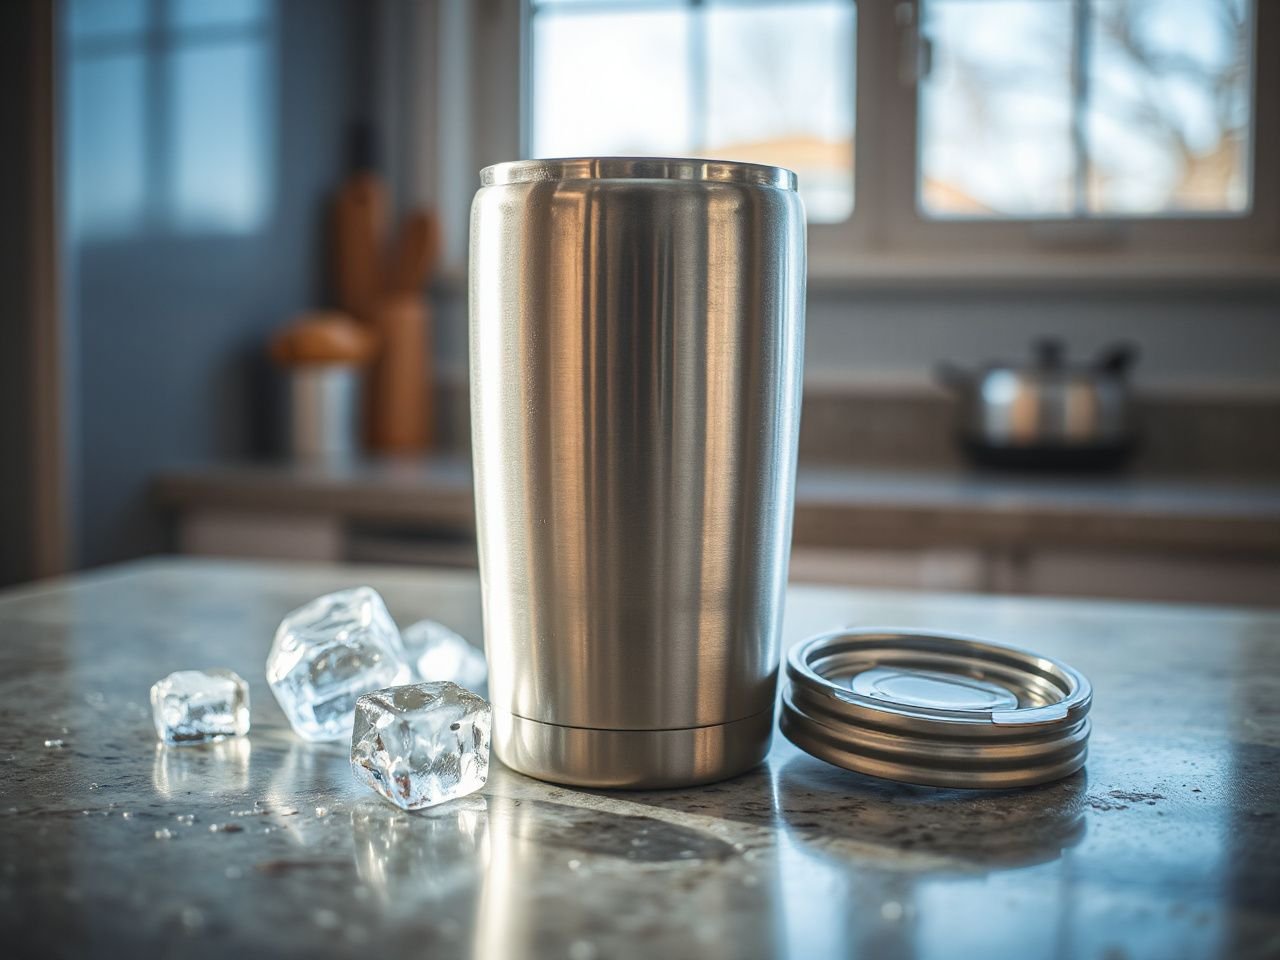
Threaded lids
A threaded lid screws onto matching threads on the tumbler body. The design can make alignment easier to read because the lid follows a defined path, but threads can also trap residue if the grooves are narrow or difficult to reach.
Check whether the gasket sits flat rather than twisted. A threaded closure can feel tight while still leaking if the gasket is displaced, dirty, damaged, or absent. Carry position matters too; a lid that resists ordinary splashes may not be intended for loose storage in a bag.
A threaded lid depends on both thread alignment and gasket placement. Tightening the lid cannot correct a seal that is folded or contaminated.
Sliding lids
A sliding lid gives the user a movable cover over the drinking opening. Its spill resistance depends on how the slider fits, how much of the opening remains exposed, and whether the lid is designed to close fully.
Read the closure language precisely. A lid described as spill resistant does not necessarily offer universal leakproof performance. The seal, closure, carry position, and beverage type must be considered together.
Sliding mechanisms can collect drink residue at their edges. A lid that cannot be opened fully for washing may leave moisture in channels or beneath the slider. Look for cleaning access before choosing a design for dairy drinks, sweetened drinks, or anything likely to leave a film.
Straw valves
A straw valve controls liquid through a straw and may help reduce open exposure at the top of the tumbler. The valve and straw also create extra surfaces where liquid can remain after use.
Hot drinks require special caution. Heat can travel through the liquid in the straw, and pressure or splashing at the opening can cause burns even if the body remains cool. A straw lid should not be treated as a universal hot-drink lid.
Carbonated drinks present a separate concern. Carbonation can create pressure in a closed tumbler, so a lid that works for still water may be unsuitable for fizzy drinks. Follow the manufacturer’s beverage instructions and do not assume that a tight closure is designed for pressure.
Hot, cold, acidic, and dairy drinks
Hot drinks need a safe drinking opening and careful handling, not merely a well-insulated body. Steam, heat, and liquid movement can reach the rim or straw, and the outside wall may remain cool while the drink is too hot to sip.
Cold drinks place more emphasis on condensation, exposed openings, and cleaning. Acidic drinks may interact with unsuitable food-contact materials or leave strong residues, so check the manufacturer’s material and use guidance rather than guessing from appearance.
Dairy drinks need particularly thorough cleaning because residue can remain beneath gaskets, inside sliders, or within straws. A lid that is convenient for water may be harder to clean after milk-based drinks.
The U.S. Food and Drug Administration provides food-contact guidance, but the tumbler’s own care and beverage instructions still govern how its materials and components should be used. If the manufacturer excludes a drink type, follow that restriction.
Intermediate: Compare Construction Without Trusting One Claim
Read the body description
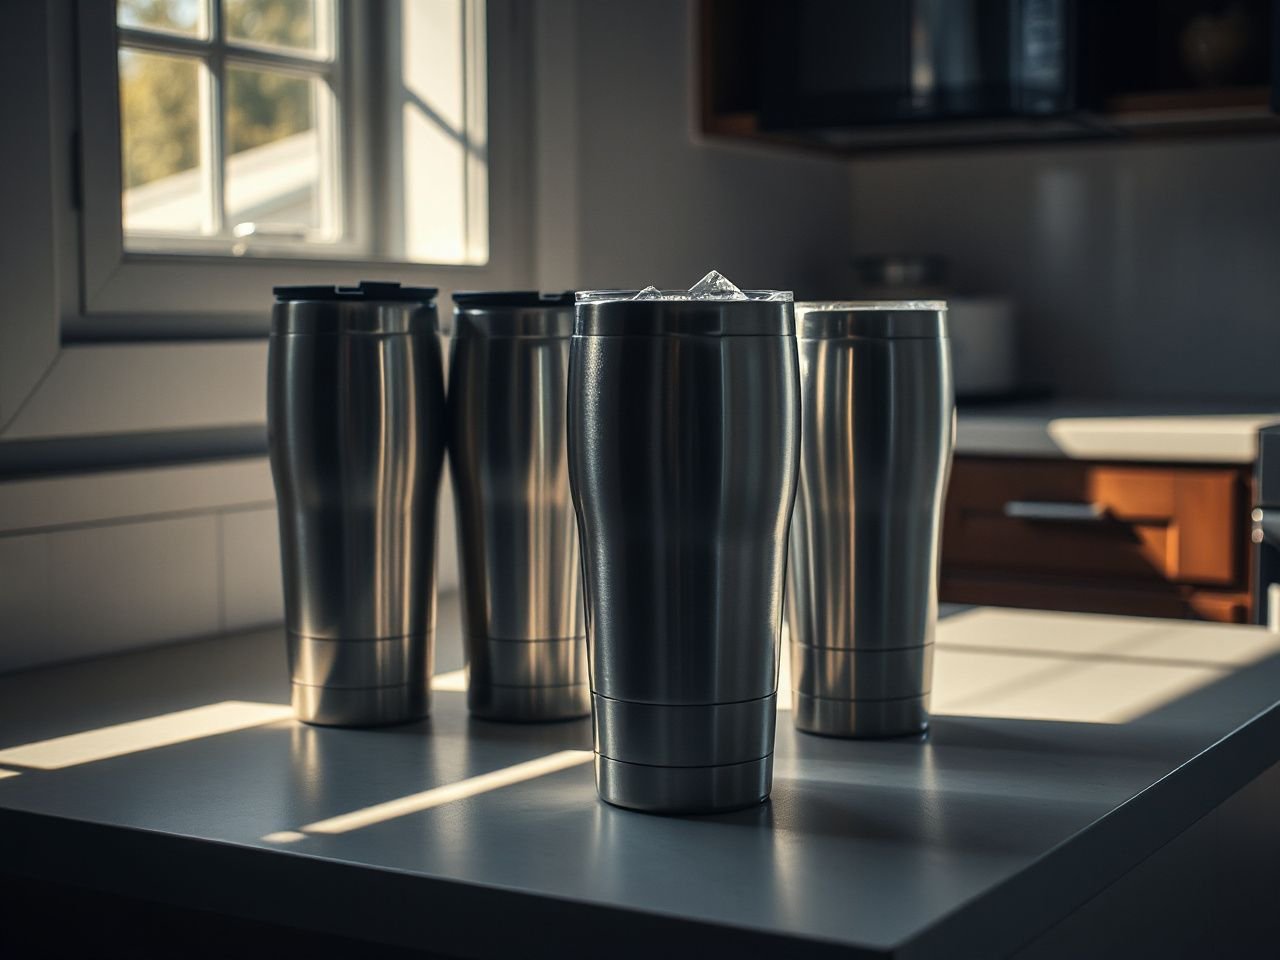
Start with the construction terms, then inspect the parts that touch the drink. Stainless steel may form the inner body, while polypropylene and silicone may appear in the lid assembly. Material names alone do not tell you whether the rim is comfortable, the gasket is replaceable, or the lid can be cleaned properly.
Look for a body with no visible dent, puncture, sharp edge, or damaged seam. Examine the underside as well. An indentation or added rim beneath a mug can reduce the area touching a table and may help limit heat transfer to that surface, but it does not prove how the vacuum space is built.
A damaged body can compromise insulation even when the lid still closes normally. The outside wall, base, rim, and lid should be inspected as separate parts.
Use observable signs instead of marketing language
Compare tumblers by asking what you can verify from the product, manual, or care instructions. A clear vacuum-insulation statement is more useful than a vague claim about advanced temperature control. A removable gasket is easier to inspect than a seal hidden permanently inside the lid.
- Check whether the body is identified as vacuum insulated or merely double wall.
- Inspect the rim for roughness, seams, or a shape that makes sipping awkward.
- Look for the location and removal method of the silicone gasket.
- Check whether the slider, straw valve, and lid channels can be reached during cleaning.
- Read the stated beverage restrictions before using the tumbler for heat or carbonation.
- Confirm whether the body and each lid component have separate dishwasher instructions.
The manufacturer does not always provide every detail a buyer wants, such as the full wall construction or a clear replacement schedule. When information is missing, treat that absence as a reason to inspect the physical design and care instructions more closely rather than filling the gap with assumptions.
Stainless steel or plastic?
Stainless steel is often suited to everyday use because it can form a firm, non-porous-feeling drinking body and a durable rim. Plastic components such as polypropylene can keep a lid lighter or easier to shape, but the lid still needs to be judged by its opening, seal, and cleaning access.
Plastic and stainless-steel food-contact materials can both be appropriate when used as directed. The meaningful comparison is not a blanket claim that one material always wins; it is whether the material, finish, rim, and care instructions fit the drinks you plan to use.
A stainless-steel body can still have a lid that retains odors. A polypropylene lid can still be practical if its channels and gasket are accessible. Separate the body decision from the lid decision.
For a broader look at how material choices affect kitchen use, the practical guide to cookware materials offers useful context, even though cookware and drinkware have different shapes and demands.
How a tumbler differs from related drinkware
A travel mug usually emphasizes use during movement and may prioritize a handle, a narrower profile, or a lid designed for sipping while traveling. An insulated water bottle often uses a smaller opening and a bottle-shaped body. An insulated tumbler commonly favors a wider drinking surface and a cup-like shape.
Those categories overlap. The rim remains the useful dividing point because it reveals how the drink is accessed, how the lid closes, and how much cleaning the opening requires. Choose by use rather than by category label alone.
Intermediate: Clean Every Part, Not Just the Cup
Body and rim
Rinse the body after use, then wash the rim and underside of the lid with the same care given to the interior. Residue can collect where the mouth meets the rim or where the lid overlaps the body.
Do not assume that a narrow opening means the interior is clean because liquid passes through it. Use a suitable bottle brush or dish brush where the shape prevents direct access. The brush should reach the inside surface without leaving scratches or missing the base.
A tumbler body can smell clean while residue remains in the lid and gasket. Cleaning must include every part that touches the drink or traps moisture.
Gasket, lid, and straw
Remove the silicone gasket if the design permits it, and wash the gasket separately. Clean the groove beneath it, because trapped moisture under a gasket can lead to odors or microbial growth.
Wash sliding lids with attention to the track, underside, and drinking opening. A threaded lid needs care around the threads. Straw systems require a narrow straw brush and attention to the valve, since liquid can remain inside parts that are difficult to see.
Allow components to dry fully before reassembly. Closing a damp lid can trap moisture in the gasket channel, straw valve, or slider. Reassemble only after each part is visibly clean and dry.
Dishwasher questions
The body, lid, gasket, and straw can have different cleaning and dishwasher requirements. One dishwasher-safe label for the tumbler does not automatically apply to every removable part.
Dishwasher heat and detergents may affect a finish, printed surface, seal, or plastic component. The dishwasher may also fail to clean a hidden gasket groove or the inside of a straw. Read the care instructions for each component and use hand washing where the instructions require it.
The Consumer Product Safety Commission publishes consumer product safety information, while the manufacturer remains the source for the tumbler’s specific care directions. Do not use a general dishwasher assumption in place of those instructions.
Replacement parts and ongoing cost
A tumbler may need replacement gaskets, lids, straws, or cleaning accessories over its useful life. The ongoing cost depends on whether those parts are sold separately and whether the replacement fits the exact lid and body design.
Check the availability of compatible parts before choosing a complicated lid system. A replacement straw that does not seat properly can create leakage, while an incorrect gasket can make a threaded lid appear defective.
Keep the original part beside any replacement during fitting. Match its shape, seating position, and closure behavior rather than relying only on a similar-looking accessory.
Advanced: Prevent Leaks, Odors, and Loss of Insulation
Use the right carry position
Spill resistance is a system property. A tumbler carried upright in a cup holder faces different forces from one placed on its side in a bag, and the same lid may not suit both situations.
Inspect the closure after filling with the beverage permitted by the instructions. Check the seal around the rim, the position of the slider, and the area where a straw passes through the lid. Do not infer universal leakproof performance from a closure that feels tight.
A lid’s spill resistance depends on its seal, closure, carry position, and beverage type. Each factor should be considered before the tumbler is placed beside electronics, clothing, or papers.
Avoid trapped moisture
Odors often persist because moisture remains in a hidden part rather than because the body was not washed. Gaskets, straw valves, threads, and sliding tracks deserve separate inspection after cleaning.
Take the lid apart only as far as the care instructions allow. If a component is not designed for removal, forcing it can damage the seal or change how the lid fits. Clean around fixed parts with an appropriate brush and allow air to reach the assembly.
Respond to condensation or a warm exterior
Condensation on the outside of a cold tumbler can come from humid air contacting a cold surface, from an exposed lid, or from a damaged insulating wall. Check where the moisture forms and whether the pattern is new.
A sudden warm exterior, a new area of condensation across the body, or visible damage suggests that the vacuum space or its seal may have been compromised. Stop treating the tumbler as fully insulated until the manufacturer confirms whether it can be repaired or should be replaced.
Use heat and carbonation carefully
Hot drinks can burn through the opening, lid, or straw even when the outer body is cool. Open the lid cautiously, keep the drinking opening directed away from the face, and follow the stated use instructions for hot beverages.
Carbonated drinks can create pressure in a closed tumbler. Do not assume that a threaded lid or sliding lid is suitable for carbonation simply because it resists ordinary spills.
Acidic and dairy drinks require attention to both material guidance and cleaning. A drink that leaves residue should not remain in a closed tumbler longer than the care instructions permit, and every part exposed to that drink should be washed.
A rim-first buying sequence
Use this sequence when comparing options:
- Inspect the rim: Look for a smooth, comfortable edge and a drinking opening that suits the way you sip.
- Identify the body: Confirm whether the construction is vacuum insulated or simply double wall.
- Study the lid: Decide whether a threaded lid, sliding lid, or straw valve matches the intended drink and carry position.
- Find the gasket: Check whether the silicone seal is visible, removable, and cleanable.
- Read the care instructions: Separate dishwasher guidance for the body, lid, gasket, and straw.
- Check parts support: Look for compatible replacement gaskets, lids, straws, and cleaning tools.
- Inspect for damage: Reject a body with a dent, puncture, sharp rim, or sign of a failed insulating seal.
This sequence keeps a polished exterior from distracting you from the parts that determine daily use. If you also compare cookware materials for a larger kitchen setup, this straight guide to melamine dinnerware explains why surface feel, care instructions, and intended use should be judged together.
Frequently Asked Questions
What should I inspect first in an insulated tumbler?
Start with the rim and drinking opening. Check for a smooth edge, comfortable access, and a lid opening that aligns correctly. Then inspect the gasket, closure, and cleaning access before judging the body. A tumbler can insulate well and still spill, retain odors, or feel unpleasant to use if the rim and lid are poorly designed.
Can a vacuum-insulated tumbler lose its insulation?
Yes. A dent, puncture, or failed seal can compromise the vacuum space. A tumbler that suddenly becomes warm on the outside or develops new condensation across the body may no longer insulate properly. A cool exterior also does not prove that a hot drink is safe to sip, so inspect the opening and follow the use instructions.
Are threaded lids better than sliding lids or straw valves?
No lid style is universally better. Threaded lids depend on correct thread alignment and gasket placement. Sliding lids offer a movable cover but may retain residue in tracks, while straw valves add cleaning work and require caution with hot or carbonated drinks. Choose the style according to the beverage, carry position, spill resistance, and cleaning access.
Can every insulated tumbler go in the dishwasher?
No. The body, lid, gasket, and straw may have different dishwasher requirements. Heat and detergent can affect finishes, seals, or plastic components, and a dishwasher may not clean hidden grooves or the inside of a straw. Follow the manufacturer’s instructions for each part, and hand wash components that require it.