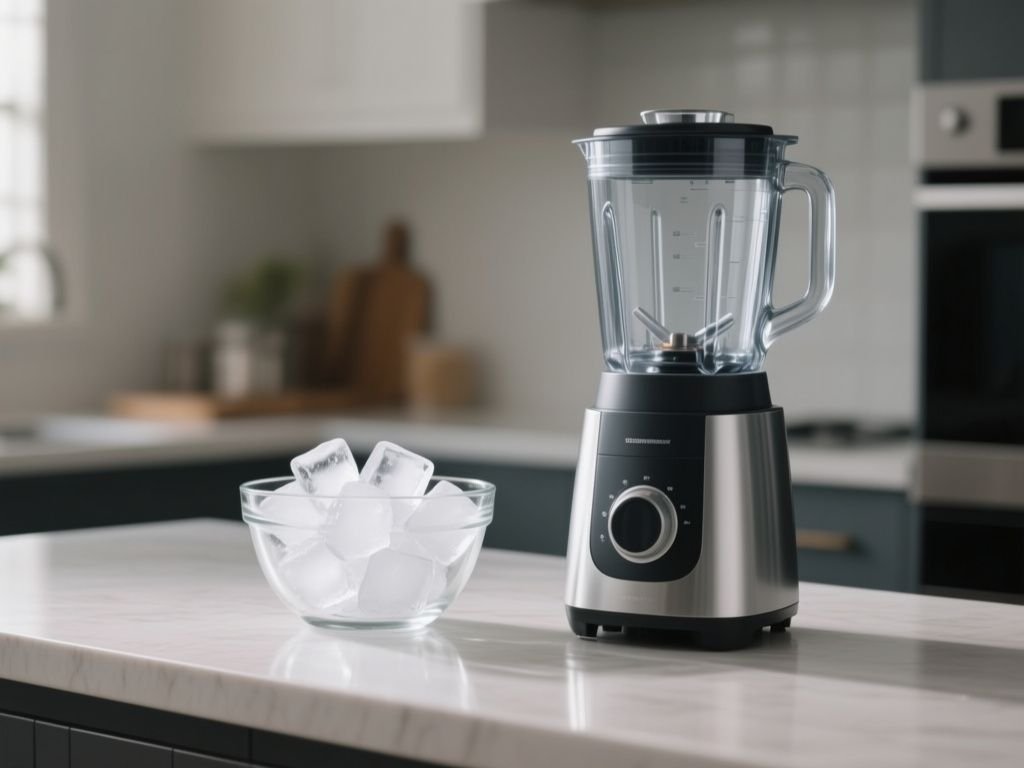
You dump a tray of ice cubes into the blender jar, press puree, and ten seconds later the motor is screaming while the blades spin free above a half-fused block of ice. The cubes have packed into a solid mass, and the blender is about to trip its thermal cutoff. That is the failure mode that sends people to the sink wondering whether a blender can crush ice at all. The answer is yes for most full-size blenders with enough torque and a low, wide blade assembly, but no for many portable or narrow-jar models. The real question is not whether the motor spins; it is whether the blade can actually bite into the ice and keep it circulating instead of just polishing the bottom of a frozen lump. This article is written from a cleanup-first perspective: the blender that crushes ice well but cannot be taken apart at the sink is a blender you will stop using within six months. The goal is to show you which design details matter before you turn a tray of frozen cubes into a motor-killing brick.
Key Takeaways
- Most full-size blenders crush ice if the motor is 600W or higher and the blades sit low in a tapered jar.
- The pulse setting plus a small splash of liquid prevents overheating and forces cubes down into the blade path.
- A cracked jar or dull blades, not the motor, is what usually ends a blender’s ice-crushing career.
Can a Blender Crush Ice? The Short Answer
For the majority of full-size countertop blenders, the answer is yes. A motor of 600 watts or more, a low-mounted stainless steel blade, and a jar with enough width to let cubes tumble are the three requirements. Portable blenders with 120-watt or 150-watt motors can crush a few small cubes mixed with liquid, but they will not produce a pitcher of dry crushed ice. The failure almost never comes from the ice being too hard; it comes from ice packing into a solid block, a blade that sits too high, or a jar that traps cubes above the cutting path.
The cleanup-first view on this question matters because a blender that crushes ice well but cannot be taken apart at the sink will eventually become a source of mineral scale and stale odors. Ice residue is not greasy, so it is easy to ignore, but that thin film of meltwater is exactly what corrodes blade collars and grows mold under gaskets. A jar that unscrews cleanly is a jar you will actually use for ice, and that is the real determinant of whether a blender can crush ice day after day without becoming a cabinet orphan.
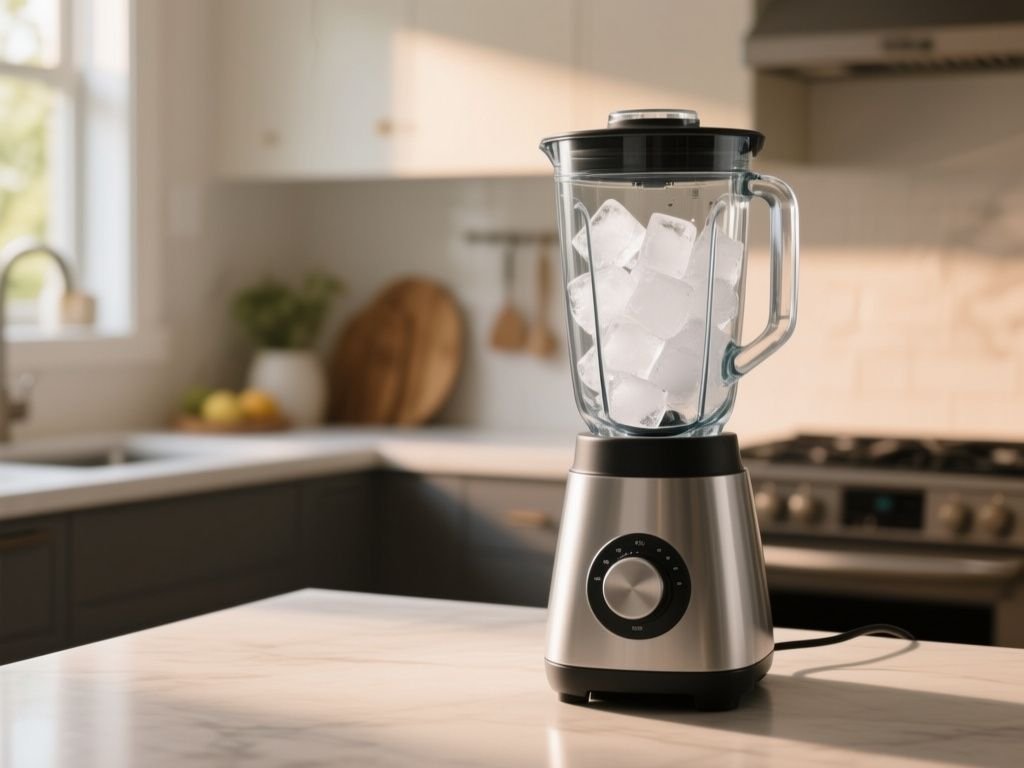
Why Some Blenders Choke on Ice While Others Make Snow
The distinction that separates blenders that reliably crush ice from those that don’t lies in the motor’s torque and the blade design’s ability to pull ice cubes down into the vortex. A beginner often assumes more power alone solves the problem, but even high-wattage blenders fail if the blades are too high or the jar is too wide for the ice to tumble properly. The practical trick is to use a pulse setting and add a small amount of liquid. This creates the circulation that forces ice into the blades, and it prevents the motor from overheating.
Motor Wattage Only Tells Part of the Story
A 600-watt motor can crush ice occasionally; a 1,000-watt motor can do it repeatedly. But wattage measures electrical input, not mechanical torque at the blade. A 1,200-watt motor in a tall narrow jar may still fail because the cubes pile above the blade instead of circulating. What matters more is how the motor handles the sudden resistance of ice: a direct-drive coupling recovers from a stall, while a belt-driven or weak coupling slips and burns. A motor rated at 1,000 watts or higher will crush ice repeatedly without straining, while a 600-watt motor manages occasional batches. Household blender motors are not designed for continuous stalling; the windings heat rapidly when the blade is prevented from rotating. A thermal cutoff protects the motor, but repeated trips weaken the insulation over time. This is why the pulse setting is not a suggestion—it is the difference between a five-year blender and a two-month one.
Blade Reach and Jar Taper Control the Vortex
A low-profile blade assembly with four or six stainless steel blades sits close to the jar bottom, so cubes fall into the cutting path as soon as they move. If the blades are mounted two inches above the floor of the jar, ice rides over them and spins. The jar’s taper matters too: a wide base with steep shoulders sends ice outward and up; a narrow base with a gradual taper pulls everything down into the center. This is why full-size blender jars crush ice well: the geometry does the work, not just the horsepower. A jar with a wide base and high-mounted blades will leave whole cubes spinning above the blade, even on a 1,000-watt motor. The number of blades matters less than their angle and reach. A six-blade assembly with short, steeply angled blades may bounce ice upward instead of cutting, while a four-blade assembly with longer, flatter blades shears more efficiently. Look at how low the bottom blade sits relative to the jar floor; if you can fit your finger under the blade stack, the blender will leave whole cubes on the bottom.
The Role of Pulse and a Little Liquid
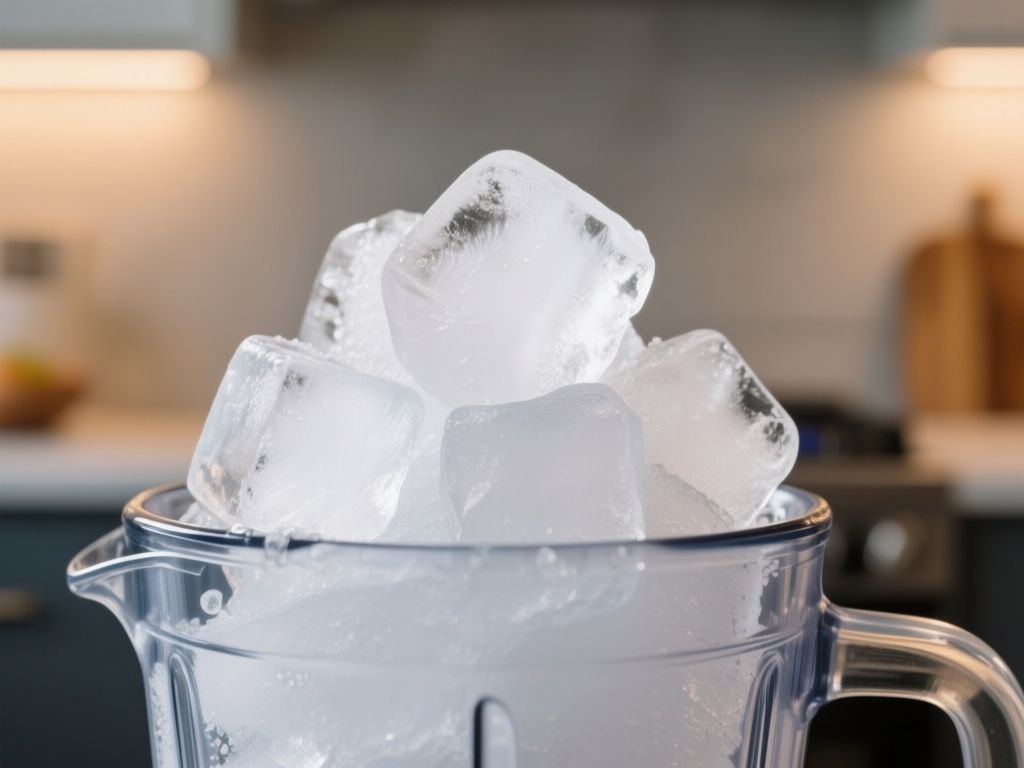
Dry ice cubes are brittle, but a pile of them forms a solid block under compression. Adding liquid lubricates the contact point and creates a vortex that carries cubes back down after each bounce. Use the pulse button in one-second bursts; this prevents the motor from locking into a continuous high-speed cycle that builds heat. The liquid does not need to be a lot—two to three tablespoons for a standard 64-ounce jar is enough. If you are making crushed ice for cocktails, a light splash of water or citrus juice works, and the alcohol itself can be added later so the ice stays crystalline.
What Kind of Blender Actually Crushes Ice Well
A full-size countertop blender with a motor rated at least 600 watts, a stainless steel blade, and a jar made of Tritan copolyester or thick glass can crush ice reliably. Portable and personal blenders with 120-watt or 150-watt motors may handle a few small cubes but will stall on a full tray. The spec sheet reveals more than the brand name: look for the wattage, the blade material, and whether the blade base unscrews for cleaning.
Full-Size Jars vs. Portable and Personal Blenders
The BLENDi Pro+ has a 120-watt motor and a 17-ounce jar; the BLENDi X has a 150-watt motor and a 24-ounce jar. Both can blend soft fruit and a few small ice cubes, but neither has the torque or blade mass for a full tray of ice. A full-size jar also gives ice room to tumble; a narrow personal bottle traps cubes in a column where only the bottom one touches the blade. If you need crushed ice in a portable format, pre-crush at home and transfer it rather than expecting a travel blender to do the work.
Blade Material and Sharpness
Stainless steel blades hold an edge longer and resist chipping when they hit ice, whereas coated or low-grade blades dull quickly. Dull blades don’t cut ice; they smash it, producing a mix of slush and large shards and forcing the motor to work harder. Replacing a dull blade assembly is often cheaper than replacing the motor, and it is the first thing to check when a blender that once crushed ice suddenly struggles. The edge does not need to be razor-sharp; it needs a clean bevel that can bite into the cube instead of glancing off.
Jar Material: Tritan, Glass, or Basic Plastic
Standard polycarbonate jars can crack under the point load of a fast-moving ice cube, especially if the jar has been scratched. Tritan copolyester is a BPA-free plastic that resists impact much better and is used on most high-performance blender jars. The U.S. Food and Drug Administration covers Tritan through its food-contact substance notification process, which means no BPA leaches into drinks. Glass jars are heavy and stable but can shatter if dropped while full of ice and liquid; they also transmit more vibration to the counter. For cleanup, a jar with a removable blade base and a gasket you can pop out is far easier to dry than a one-piece jar that traps water between the blade and the bottom. The ASTM International publishes test methods for plastic impact resistance, and jars that pass those tests survive ice crushing without stress cracks. For cleanup, Tritan has another advantage: it does not retain mineral haze as readily as some other plastics, and it tolerates warm water and mild detergent without clouding. A glass jar cleans more easily but is heavier; if you have wrist or grip issues, a lightweight Tritan jar with a removable base is the better daily choice.
How to Crush Ice Without Breaking the Jar or Burning the Motor
This is a step-by-step routine, not a gamble. Follow the load limit, use pulse, and then check how easily the jar comes apart at the sink. That cleanup check is the best predictor of whether a blender survives daily ice duty.
Step 1: Measure the Ice Load Before You Start
Most full-size blenders handle about two cups of ice cubes at a time, roughly half a standard tray. Overloading the jar fills the space above the blade and prevents circulation. A good rule is to fill the jar no more than halfway with ice before adding any liquid. If you need more crushed ice, work in batches. The KitchenAid K150, for example, is capable of crushing half a tray of ice in under 10 seconds, but piling in a full tray will leave uncrushed cubes on top and force the motor to labor against a packed mass. Check the manual for the maximum ice capacity listed in cups or ounces. If the manual does not list one, assume two cups is the safe ceiling for a 64-ounce jar and one cup for a 48-ounce jar. The ice should be loose enough to shift when you tilt the jar; if it does not move, you have overloaded.
Step 2: Add a Splash of Liquid and Use Short Pulse Bursts
Pour two to three tablespoons of water, juice, or a cocktail base into the jar. This liquid does not need to dissolve the ice; it just needs to create a slurry at the blade level. Use the pulse function in one-second bursts, letting the motor stop between each burst. After four or five pulses, stop and check the texture. If most cubes are still whole, shake the jar or use a spatula to redistribute them, then pulse again. Never run a blender on puree or liquefy with dry ice for more than 10 seconds at a time—that is how thermal overloads trip.
Step 3: The Cleanup Check That Predicts Long-Term Reliability
After you have crushed ice, the jar is wet but not greasy, which makes it tempting to rinse and put away. That is a mistake if the blade base does not disassemble. Ice melt and condensation sit in the threads and under the gasket, where they evaporate and leave mineral deposits. Over months, that buildup corrodes the blade base and makes the jar smell. The cleanup-first test is simple: if you can unscrew the blade assembly by hand and remove the gasket, the blender will survive daily ice use. If the blade base is sealed or requires a wrench, moisture will collect and you will be dealing with a rusty collar and a jammed lid within a year. The easiest cleanup sequence after ice is: dump any leftover ice, rinse the jar with warm water, remove the blade base, pop the gasket, and dry all three pieces separately. If the gasket is stuck, soak the base in warm water for five minutes rather than prying with a knife. A stuck gasket often means mineral buildup from dried ice melt, and forcing it will tear the seal. The same rinse-and-disassemble routine applies when you move from ice to blended soups; a recipe like this healthy broccoli cheddar soup that skips heavy cream leaves dairy residue that hardens if you skip the gasket pop.
Direct Answers to the Most Common Ice-Crushing Doubts
Can a Regular Blender Crush Ice?
Yes, if it has a motor of at least 600 watts and a jar wide enough for ice to tumble. A regular household blender from a major brand will crush ice for occasional margaritas or smoothies. The caveat is the jar: a cheap single-speed blender with a 400-watt motor and a one-piece plastic jar will likely stall or crack. Check the manual for the maximum ice capacity; most list it in cups or cubes.
What Speed Setting Is Best for Crushing Ice?
Pulse is the correct setting, not puree, not liquefy, not the highest continuous speed. Pulse gives the motor a rest between impacts and lets the ice settle back onto the blades. If your blender does not have a pulse button, run it on the lowest speed and turn it off every three seconds. The highest speed is useful only for the final few seconds to even out the texture after the cubes have already broken down.
Should You Add Water When Blending Ice?
Yes, a small amount of liquid helps. Two to three tablespoons is enough to prevent the ice from fusing into a block and to carry the broken pieces away from the blade. Without any liquid, the ice fragments can pack around the blade and stall the motor. For dry crushed ice, you can pulse with no liquid but you must stop frequently and shake the jar to break up the pack.
Will Crushing Ice Dull the Blades?
Ice is hard but brittle, so it wears blades over time rather than instantly dulling them. However, repeated impact against a stainless steel blade will eventually round the cutting edge. A sharp blade shears ice; a dull blade smashes it, producing uneven shards and putting more strain on the motor. If your blender stops producing fine snow and starts leaving big chunks, the blades are likely dull and should be replaced. Most blade assemblies cost less than a service call.
Should You Use Crushed Ice or Whole Cubes?
Whole cubes crush more evenly because they are uniform in size and have enough mass to be caught by the blade. Pre-crushed ice from a dispenser is already wet and tends to clump, which can jam the vortex. If you only have crushed ice, pulse in very short bursts and add less liquid, because the ice is already partially melted. For cocktails that call for a specific ice size, whole cubes give you more control over the final texture.
Can I Crush Ice in a Smoothie Blender?
Yes, if the smoothie blender has a full-size jar and a motor over 600 watts. Personal-size single-serve blenders with 120-watt to 150-watt motors work for a few small cubes mixed with frozen fruit and liquid, but they will not crush a full tray of dry ice. For a thick frozen smoothie, the ice and fruit need liquid to move; a recipe like this healthy pumpkin pie smoothie uses enough liquid to keep the vortex going while still freezing up thick.
Can I Use a Blender to Make Crushed Ice for Cocktails?
Yes, and a blender is often faster than a Lewis bag and mallet. For margaritas or daiquiris, add the lime juice and a small amount of the sweetener before pulsing the ice, then add the alcohol after the ice is crushed. This keeps the mixture from turning into a slushy foam and preserves the bright citrus flavor. The pulse method gives you a coarser texture, which is closer to what a bartender calls cracked ice.
What About Snow Cones and Shaved Ice?
A blender can make snow-like ice if you use very small cubes, pulse in short bursts, and do not add any liquid before the ice is fine. The result will not be as uniform as a dedicated shaved ice machine, which uses a blade to shave a block rather than crush cubes. For a quick snow cone, freeze water in small silicone molds or use ice from a tray with small compartments, then pulse a half-cup at a time and shake between bursts.
Can I Use Crushed Ice in an Ice Cream Churner?
Crushed ice works in a traditional salt-and-ice churner, but blender-crushed ice melts faster than chipped block ice because it has more surface area. If you are churning ice cream, aim for coarse cracked ice rather than snow, and add rock salt to the ice bath to drop the temperature.
What Is the Difference Between a Blender and a Dedicated Ice Crusher?
A blender uses a spinning blade to cut and shear ice, while an ice crusher uses a crushing mechanism—often a set of metal teeth or a hammer—to break cubes into uniform shards. Dedicated ice crushers produce a drier, more consistent crushed ice for snow cones and some cocktails, but they are single-purpose machines that take up counter space. A blender is the more practical choice for most kitchens because it also handles smoothies, soups, and sauces; you sacrifice some uniformity in ice texture but gain versatility.
Frequently Asked Questions
Can a blender crush ice without adding any liquid?
Yes, but only if you pulse in very short bursts and stop often to shake the jar. Dry ice tends to pack and stall the blade, and without liquid there is no vortex to keep cubes moving. For most home blenders, adding two to three tablespoons of water or juice is safer and produces a finer, more even result.
How much ice can I put in a blender at once?
Fill the jar no more than halfway with ice, roughly two cups or half a standard tray. Overloading blocks circulation and leaves whole cubes sitting on top of the blade. If you need more crushed ice, work in batches and let the motor cool for a minute between them.
Will crushing ice break a plastic blender jar?
Some plastics, particularly older polycarbonate jars with scratches, can crack under the point load of a fast-moving ice cube. Tritan copolyester jars resist that kind of impact much better. If your jar develops cloudy stress marks or fine cracks, stop using it for ice and replace it before it fails during a blend.
Is a 600-watt blender enough to crush ice regularly?
For occasional batches, yes. A 600-watt motor will crush ice for a few cocktails or a smoothie here and there. For daily or heavy ice crushing, a motor rated at 1,000 watts or higher is the safer choice, as it runs cooler and recovers from stalls without tripping the thermal cutout.
What is the best way to clean a blender after crushing ice?
Disassemble the blade base and gasket if possible, then rinse everything under warm water. Ice melt leaves mineral deposits that harden over time, so dry the threads and gasket before reassembling. A quick rinse alone will trap water and lead to corrosion or mold. The same thorough wash applies after making a recipe like this muffin almond granola, which leaves oils behind.