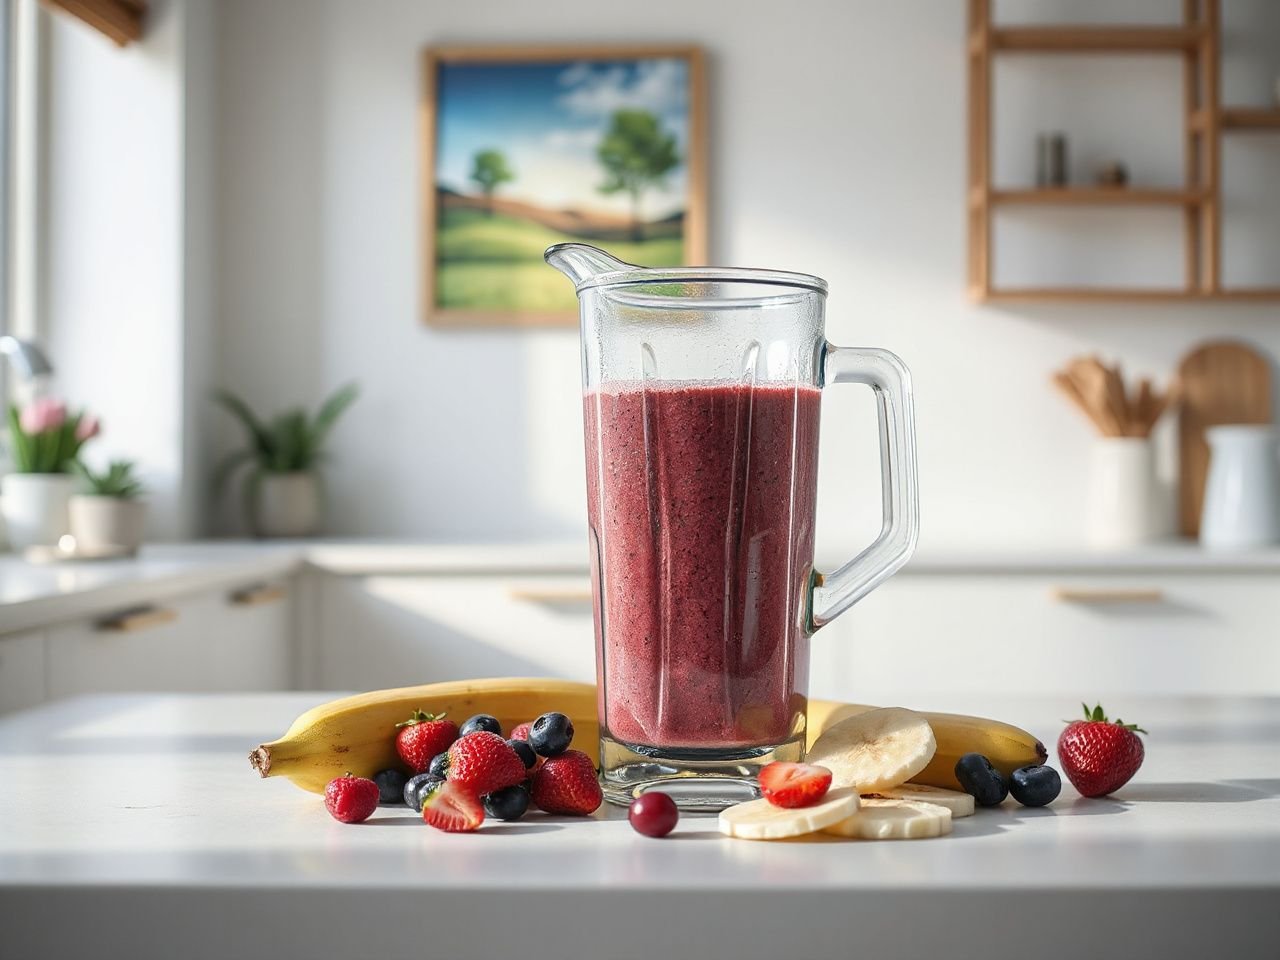
Blending longer is not automatically better. The useful distinction is between blending until the ingredients are uniformly broken down and continuing after the smoothie has already reached its intended texture, which can add foam, warmth, and unnecessary motor load. A sound guide to how long to blend a smoothie should connect the stopping point to ingredient mix, liquid balance, circulation around the blades, and the blender’s behavior rather than presenting a fixed time as universally correct.
Key Takeaways
- Stop when the smoothie circulates smoothly and has the texture you want.
- Frozen fruit, ice, leafy greens, thick mixtures, and low liquid can extend blending.
- Use the blender’s pulse setting, added liquid, or a pause for scraping when circulation stops.
- Disconnect power before handling the blade assembly, and clean the jar promptly after a sticky blend.
How Long to Blend a Smoothie: Start With the Texture
No single duration works for every smoothie. Ingredient hardness, frozen content, liquid level, batch size, and motor power all influence when the mixture is uniform. That means the clock is just a rough guide, not the final decision.
A smoothie is ready when the mixture moves around the blades and reaches a uniform texture without unwanted pieces. Check the surface, listen to the motor, and feel the texture. Don’t rely solely on a preset routine to decide when to stop.
Step 1: Identify the intended texture
A drinkable smoothie should pour smoothly in a continuous stream, with no visible ice pieces, hard fruit chunks, or fibrous strands. Thicker mixtures meant for bowls can stay spoonable, but they still need to be evenly broken down rather than having dense pockets around the blades.
Soft fruit usually breaks down more easily than frozen fruit or ice. Leafy greens often need extra attention because their texture depends on how well their fibers are cut and evenly distributed through the liquid.
Step 2: Watch the circulation pattern
During a good blend, ingredients move toward the blades, pass through the cutting zone, and return through the mixture. The exact look depends on the blender jar and its design, but a mixture that keeps moving rather than sitting still in a mound is usually easier to process.
If the top stays still while the blades spin below, the mixture might be too thick, too dry, or packed tightly enough to block circulation. Stop the blender first, then follow the instructions for adding liquid or loosening the ingredients before opening the lid.
Step 3: Stop at the first stable endpoint
When the color looks even, the texture feels smooth enough, and the ingredients circulate without chunks, it’s time to stop blending. Extra time can create more foam and warmth, and put more load on the motor, without making the drink better.
The stopping point depends on the recipe, not a universal number. For a detailed comparison of visual stopping cues and ingredient texture, see How Long Should You Blend a Smoothie: What To Know.
Step-by-Step Ingredient Order for Faster, Cleaner Blending
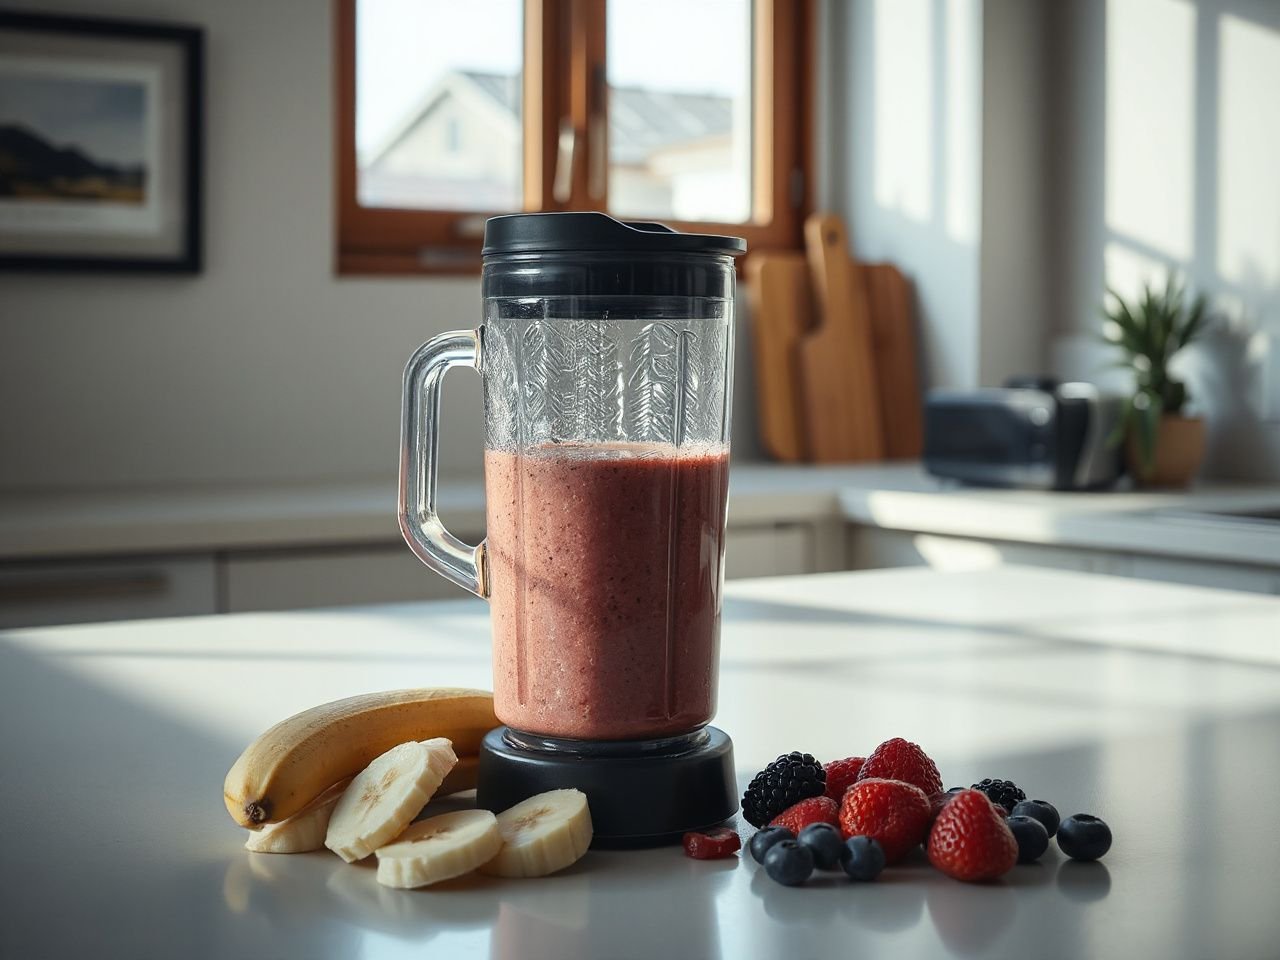
Ingredient order impacts how easily the mixture reaches the blade assembly. A sensible order gives liquid room to move first, keeps soft ingredients near the cutting zone, and prevents frozen or dense ingredients from forming a dry cap.
Step 1: Add liquid before dense ingredients
Place the liquid in the blender jar before adding the heavier ingredients, unless the appliance manual gives a different order. Liquid at the bottom can help the blade assembly draw the mixture into motion instead of trying to cut through a compact mass.
Liquid at the bottom of a blender jar can help dense ingredients circulate around the blades. That doesn’t mean more liquid is always better. Too much can make the finished smoothie thinner than intended.
Step 2: Add soft fruit and leafy greens
Soft fruit can sit above the liquid, while leafy greens benefit from contact with moisture rather than being left dry at the top. Tear or divide large leaves if the appliance instructions permit, and avoid forcing ingredients down toward moving blades.
Leafy greens may take longer to disappear visually than soft fruit because their fibers can stay noticeable even after other ingredients are smooth. Check the texture if green strands remain, then add more liquid or pulse briefly instead of running the motor without making progress.
Step 3: Add frozen fruit and ice carefully
Frozen fruit and ice cubes are harder ingredients than soft fruit, so they can interrupt circulation in a thick mixture. Add them in a way that leaves liquid and softer ingredients available to move around the blade area.
The pulse setting can help break up a packed mixture or distribute ice before continuous blending. Pulsing is especially useful when ingredients settle into a solid pocket, but it doesn’t replace the need to stop and correct a mixture that’s too dry.
Step 4: Increase liquid only when the mixture needs help
Adding liquid can help a thick smoothie blend faster because the ingredients can move more freely around the blades. Use a small amount first, blend again, and then check the texture before adding more.
A smoothie that still contains lumps may need liquid, a different ingredient order, or a pause for scraping rather than a longer uninterrupted blend. The correct adjustment depends on what the mixture looks and sounds like inside the jar.
Step 5: Check the lid, jar, and base before starting
The jar, lid, blade assembly, and motor base must be used as instructed. A loose jar, poorly seated lid, or damaged part can change how the mixture moves and may cause leaks or unsafe conditions.
The U.S. Consumer Product Safety Commission provides consumer product safety information at cpsc.gov; consult the appliance manual and the manufacturer’s safety instructions before operating a blender with an unusual leak, smell, sound, or stall.
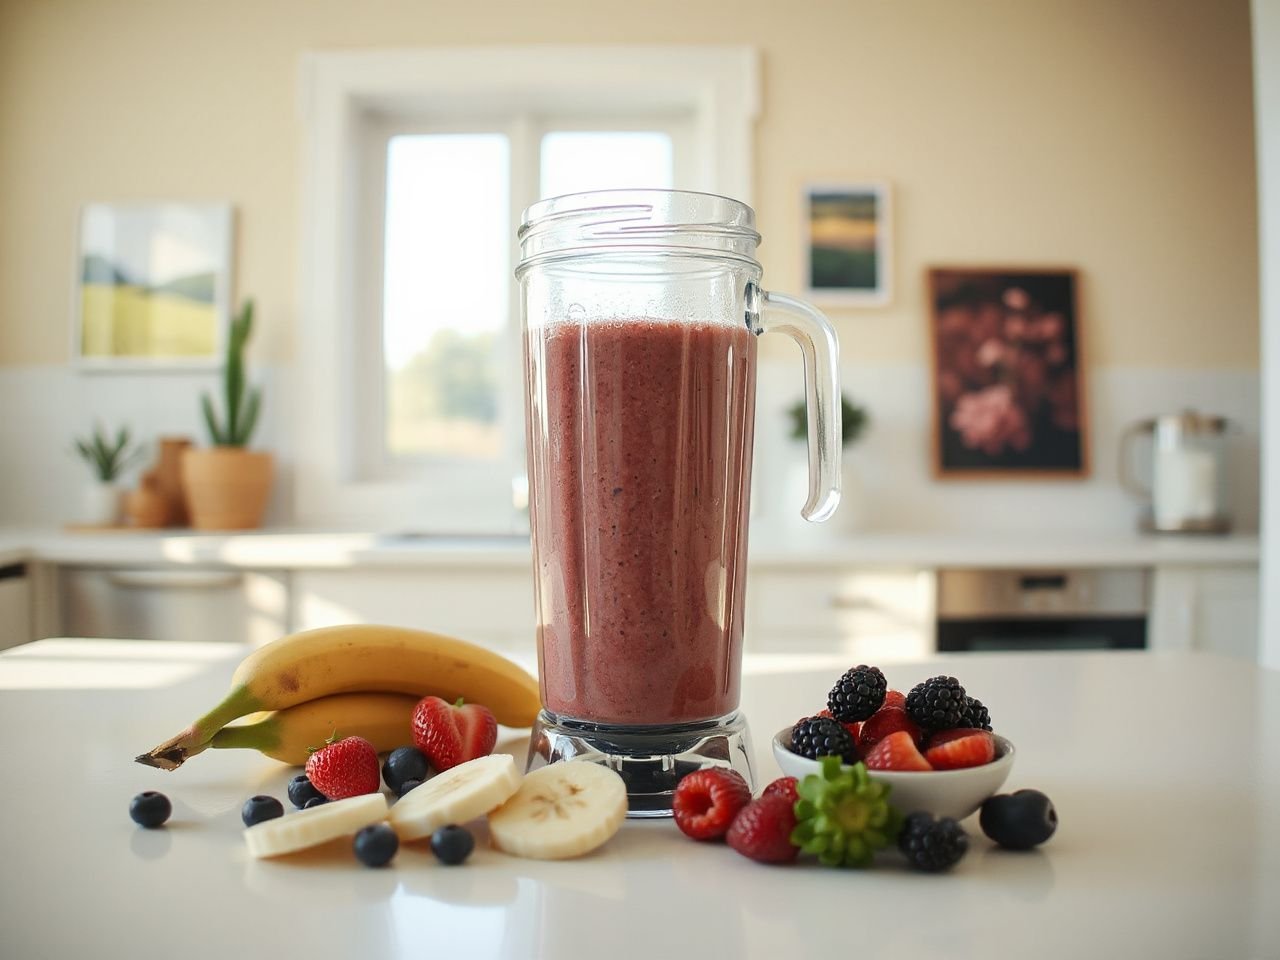
Why a Smoothie Takes Longer Than Expected
A slow blend is usually a circulation problem, an ingredient problem, or a mismatch between the mixture and the appliance’s intended use. Running the motor for longer does not correct every cause.
Hard or frozen ingredients
Ice cubes and frozen fruit are tougher to cut than soft fruit. They can also cool and thicken the mixture, making it harder for the contents to reach the blades. Use the pulse setting when ingredients need repositioning, and check the manual for ingredients not listed as suitable.
Frozen ingredients can make a smoothie thicker and harder to circulate than a blend made with soft fruit. If the contents stop moving, stop the blender and correct the mixture instead of holding the controls continuously.
Too little liquid
A thick smoothie can form a bridge or mound above the blades. The motor might sound like it’s running, but the upper ingredients stay untouched, leaving lumps even after a while.
Pause the blender, disconnect power as the manual advises, and check the mixture carefully without putting fingers near the blades. Add liquid if the recipe allows, loosen the contents with a utensil only when the appliance is off, and then secure the lid before restarting.
Too much mixture in the jar
A larger batch can be hard to circulate if the ingredients press against each other. If the jar is filled beyond the marked limit, blending becomes more difficult. Divide the mixture when the manual calls for smaller batches, instead of forcing the motor to work against a packed jar.
Batch size matters because blades need access to moving ingredients. A smaller amount may circulate more easily. Dense mixtures often need more deliberate pauses and adjustments.
Leafy greens and fibrous strands
Leafy greens can stay stringy if they aren’t surrounded by enough liquid or if the mixture is too dense for the blades to distribute them. Blend the leaves with liquid and softer ingredients first. Then check if the smoothie needs more time.
Don’t assume a uniform green color means the texture is fully smooth. A smoothie can look evenly colored while still having strands. Use a spoon or taste it on the tongue for the final check.
Blade or jar problems
A leak, strange sound, visible damage, or a persistent stall are signs to stop and check the instructions. Never handle the blade assembly while the blender is plugged in.
The U.S. Food and Drug Administration offers food-safety info through fda.gov. Use that guidance along with the blender manual when handling ingredients, storing the finished drink, or cleaning parts that touch food.
How Blender Behavior Changes the Blending Process
Different blenders can give different results with the same ingredients. Motor power, blade design, jar shape, control settings, and instructions all influence how quickly ingredients become uniform.
Motor behavior matters more than a timer
A blender that keeps a steady circulation can reach a smooth texture without running longer. If the mixture is thick and the blender struggles, it may need a break, more liquid, or a smaller batch, even if the motor still sounds fine.
Universal motors can work with both DC and AC power sources. But this alone doesn’t tell you how a blender will process a smoothie. Don’t assume smoothie performance based on a motor speed number copied from a different appliance.
Motors in weed trimmers and vacuum cleaners often run above 10,000 rpm. Miniature grinders can hit speeds over 30,000 rpm. Those numbers don’t really tell you how long it takes to blend because motor speed is just one factor in how a blender moves and cuts food.
Controls and the pulse setting
Continuous blending is handy once the contents are already moving smoothly. The pulse setting helps break up settled pockets, distribute frozen pieces, or check progress in short bursts.
Always use the setting mentioned in the manual, especially if the appliance needs to start, change speed, or stop in a specific order. A control that sounds powerful might still leave a thick mixture sitting above the blades.
When the blender stalls or cavitates
A stall means the blades or motor aren’t behaving normally under the mixture’s load. Cavitation might look like a hollow space around the blades, with ingredients sitting above it instead of circulating.
Stop if the blender stalls, cavitates, leaks, smells hot, or has trouble with a thick mixture. Follow the instructions for what to do next. Don’t keep restarting if the appliance keeps showing a problem.
Longer blending and electricity
Running a motor longer uses more operating time than stopping once the desired texture is reached. It can cause unnecessary wear, especially when the mixture is thick and circulation is poor. Measure the opening first.
Extra blending cannot repair ingredients that are not reaching the blade assembly. Correct the circulation problem first, then blend only until the texture is uniform.
How to Check the Finished Smoothie and Clean the Blender
The sink is where appliance design becomes practical. A smoothie can be easy to pour but hard to clean if thick residue settles around the blade assembly, under the lid, or in corners of the blender jar. Rinsing it soon after pouring helps prevent this buildup.
Use three texture checks
Before pouring, inspect the smoothie using these checks:
- Visual check: Look for ice pieces, fruit chunks, dark pockets, and visible leafy strands.
- Movement check: Confirm that the smoothie flows rather than dropping in stiff clumps.
- Texture check: Taste a small amount for unwanted grit, fibrous strands, or hard fragments.
The smoothie doesn’t need to be maximally aerated. If it already has the right thickness and uniformity, stop before extra blending creates a foamy surface or warms the drink.
Clean the jar promptly
Rinse the blender jar soon after pouring so sticky fruit residue doesn’t dry around the blade assembly or lid. Follow the manual to see which parts can be removed, submerged, or put in a dishwasher.
Never handle the blades while the blender is plugged in. Keep fingers away from the cutting edges, and use the cleaning method specified for the jar and blade assembly.
For practical guidance that connects blending time with cleanup and texture, read How Long Should You Blend a Smoothie? A Practical Look.
Inspect the parts at the sink
Check the underside of the lid, the jar’s seating area, and the visible blade assembly for trapped pulp. If some parts are removable, keep them together as the manual suggests so seals and fittings don’t get misplaced.
A blender jar with dried smoothie residue can require more scrubbing than a jar rinsed immediately. Cleaning is part of the blending routine because residue can affect the next use and can hide signs of a damaged seal.
Know when a blender versus a food processor is relevant
A smoothie depends on liquid circulation through a jar and blade area. A food processor may be designed for a different type of movement and preparation, so use the appliance according to its instructions rather than assuming that every blade appliance should process a thick smoothie in the same way.
Practical Corrections for Common Smoothie Problems
The smoothie is still lumpy
Stop and identify the lump before adding more blending time. A frozen fruit piece might need better circulation, an ice piece may require pulsing, and a dry pocket could need liquid or a smaller batch.
Rearrange only with the appliance disconnected from power and only as the manual permits. Restart with a brief pulse, observe the movement. Continue only if the ingredients are traveling through the blade area.
The smoothie is foamy
Foam can increase when a smoothie is blended after it has already reached a smooth texture. Stop earlier next time, and use the lowest effective setting named in the manual once the mixture is circulating.
Foam is not proof that the ingredients are better broken down. The intended texture remains the useful endpoint.
The smoothie is too warm
Extended operation can make a smoothie warmer, especially when the mixture is thick and the motor keeps working after the texture has stabilized. Stop when the drink is uniform instead of using extra blending as a substitute for ingredient preparation.
The smoothie is too thick
Add liquid gradually if the recipe allows it. Blend briefly after each adjustment, then stop once the mixture moves freely and reaches the desired consistency.
The smoothie is too thin
A thin smoothie can’t be made thicker just by running the blender longer. Add an appropriate thick ingredient according to the recipe, then blend only until the new ingredient is evenly distributed.
For another concise explanation of stopping cues, ingredient order, and liquid balance, see How Long Should You Blend a Smoothie? Getting It Right.
Frequently Asked Questions
How long to blend a smoothie if the texture still has lumps?
Don’t rely on extra time alone. Stop the blender and check if the mixture has enough liquid to circulate, frozen ingredients have settled, or if the batch is too dense. Correct the cause, then pulse or blend briefly while watching for a uniform texture. Stop once lumps, ice, and strands are gone.
Does adding more liquid shorten smoothie blending time?
Adding liquid can shorten blending when the mixture is too thick to circulate around the blades. Add it gradually because excess liquid changes the final consistency. Stop the motor first, follow the manual’s instructions for opening and adjusting the jar, then restart only after the ingredients can move through the blades.
Is pulsing better than continuous blending for frozen fruit or ice?
Pulsing can be more useful at the start when frozen fruit or ice has formed a packed area that needs breaking apart and moving. Continuous blending can then finish the mixture once circulation is good. Neither setting fixes a batch that’s too dry, large, or unsuitable for the appliance, so fix that first.
How should I clean a blender after making a thick smoothie?
Pour the smoothie and rinse the jar promptly. Check the manual for how to remove or wash the lid and blade assembly. Disconnect the blender from power before touching parts near the blades. Inspect the underside of the lid, the jar seating area, and the visible blade assembly for sticky residue. Use only the cleaning method permitted for those parts.