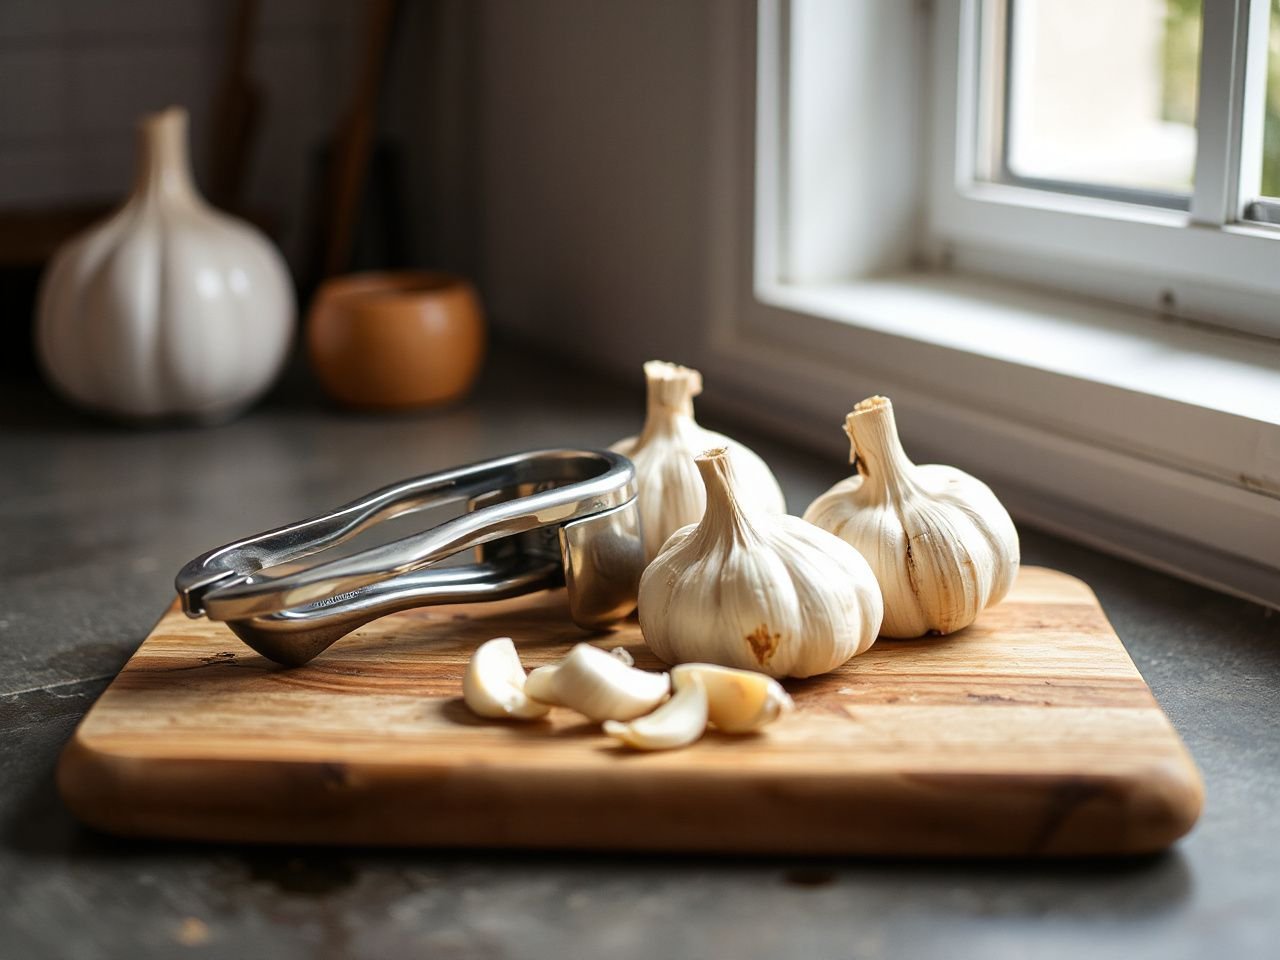
A garlic press forces a clove through a grid of small holes, yet that simple action can place surprising demands on the hand and wrist. This garlic press buying guide focuses on the point that matters after repeated pressing: whether the grip, hinge, chamber, plunger, and ejector work together rather than making one joint absorb all the strain.
The useful distinction is between a press that merely forces garlic through holes and one whose chamber, plunger, hinge, and ejector work together without trapping residue or requiring excessive force. A sound guide should separate crushing performance from cleanup burden, material behavior, and the texture produced, because those tradeoffs matter more than appearance alone.
Key Takeaways
- Judge a press by grip alignment, hinge movement, chamber clearance, and the way the plunger releases garlic.
- Peeled and unpeeled cloves can behave differently, so chamber design affects both effort and cleanup.
- Stainless steel, aluminum, zinc alloy, nylon, and silicone have different maintenance considerations.
- Pressed garlic has a different texture from knife-minced or microplane-grated garlic, so the tool should match the dish.
Beginner: Start with the Hand, Chamber, and Hinge
Step 1: Check the grip before judging the finish
Hold the closed press in the position you would use at the counter. The handles should meet your palm without forcing the wrist into a sharp bend. A handle can look substantial and still place pressure near the fingers, where repeated squeezing becomes tiring.
I assess a garlic press from the wrist outward. A comfortable grip keeps the hand close to the tool’s working line, while an awkward grip makes the wrist angle compensate for a hinge that sits too far away or a handle that closes unevenly. That distinction matters more than a polished surface.
A garlic press should allow the hand to guide the handles without twisting the wrist. If the handles shift sideways as they close, treat that movement as a warning sign rather than a minor annoyance. A loose handle or damaged hinge can also create a sharp edge or an unexpected pinch point.
Step 2: Look inside the garlic chamber
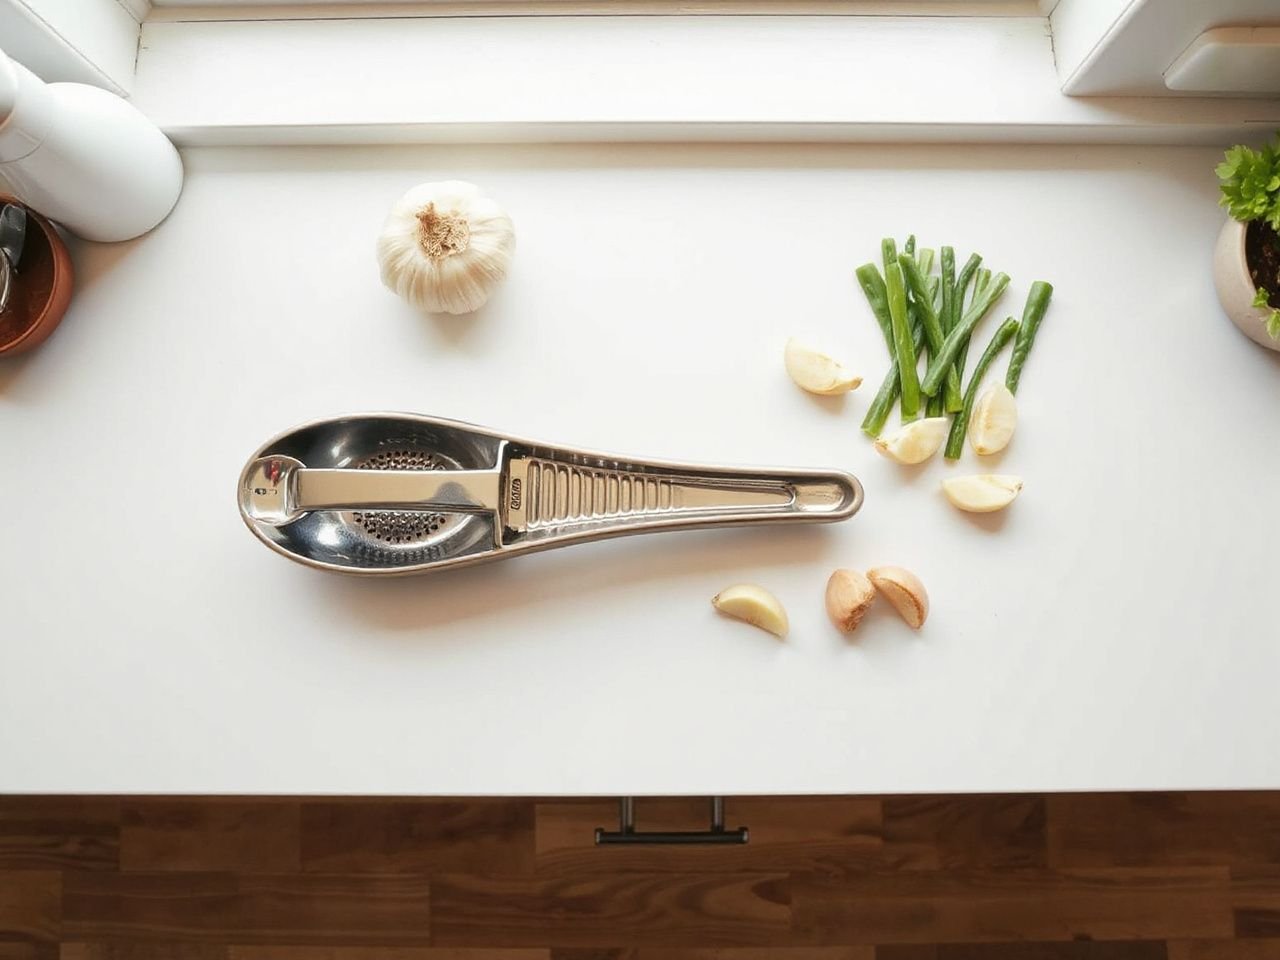
The chamber is the space that receives the clove before the plunger pushes it through the perforated plate. Inspect its shape, corners, and clearance with the press open. Smooth transitions give residue fewer places to collect, while deep corners can hold a layer of garlic even after the surface looks clean.
Chamber size alone does not tell you how well a press will behave. A large-looking cavity may leave too much room around a small clove, while a tight cavity may make a peeled clove easy to process but leave little space for skins or irregular pieces. The chamber’s relationship with the plunger matters more than its visible volume.
The chamber determines how much garlic contacts the walls before compression. A chamber with awkward recesses can increase scraping and make each pressing cycle feel harder than its handle shape suggests.
Step 3: Examine the hinge and closing path
The hinge controls how the plunger travels toward the holes. Open and close the press slowly without food inside. Watch whether the plunger approaches the chamber evenly, whether the handles remain aligned, and whether the movement becomes rough at a particular point.
A hinge does not need to feel loose to be poorly designed. Side-to-side play, a rough pivot, or a handle that rubs another part can redirect force into the wrist. A smooth closing path spreads the work across the movement instead of making the final part of the squeeze feel like a separate task.
A damaged hinge can make a garlic press difficult to operate and can leave an uneven gap between the plunger and chamber. That gap may retain residue, while a misaligned plunger may push garlic around the plate instead of through it.
Step 4: Inspect the plunger and ejector
The plunger is the surface that drives the clove toward the grid of holes. The ejector, if present, helps remove the compressed garlic or loosen material from the plate. These parts should work as a pair: the plunger should push the useful portion through the holes, and the ejector should help release what remains.
Look for edges that meet the chamber cleanly without creating narrow pockets. A broad, uneven gap can leave a plug of garlic behind. A very tight fit may seem efficient, but it can also make the press difficult to open if skins or dry residue become trapped.
Beginner: Understand Peeled, Unpeeled, and Pressed Garlic
How a garlic press crushes and releases a clove
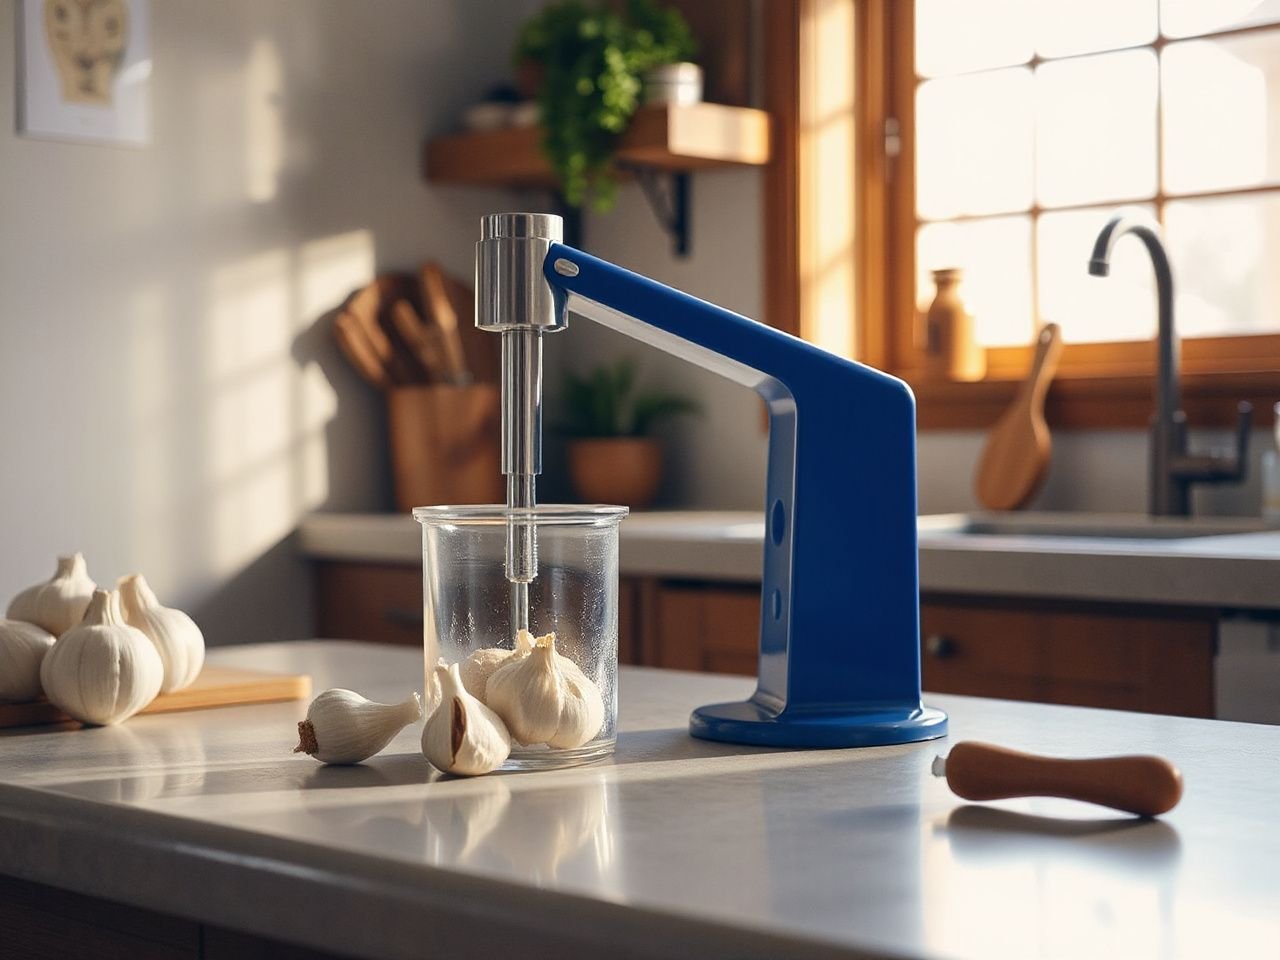
A garlic press forces a garlic clove through small openings in a grid. The pressure breaks the clove into strands or paste-like pieces that emerge on the other side, while skin and drier fragments may remain in the chamber.
The release depends on the clearance between the chamber wall, plunger, and perforated plate. If that space is poorly matched, the press may leave a thick layer inside or push material around the edges instead of through the holes. An ejector can help, but it cannot correct every chamber or hinge problem.
Pressed garlic is generally finer and more compressed than garlic chopped with a chef’s knife. Garlic grated with a microplane can be finer still, and its wet texture may disperse quickly in dressings or sauces. These methods are not interchangeable in every dish.
Does a press work with unpeeled cloves?
Some presses accept unpeeled cloves more readily than others. The answer depends on the chamber opening, the clearance around the plunger, and the way the skin exits or remains behind. A design that handles a peeled clove neatly may leave more skin and residue when the clove is unpeeled.
Read the maker’s instructions before treating unpeeled garlic as a normal use case. If the chamber is shallow and open, skin may be easier to remove. If the chamber has narrow recesses, unpeeled cloves may increase the amount of material caught around the plate and hinge.
Garlic skin is not simply a cosmetic issue. Skin can occupy chamber space, interfere with the plunger’s contact, and add dry residue to the holes. Peeling garlic first often makes the result easier to inspect, but the press’s design still controls how cleanly the clove moves.
Why garlic sticks inside the chamber
Garlic sticks when compressed material is forced into gaps, corners, and perforations that the plunger does not clear. A wet clove can smear across the chamber wall, while skin and fibrous pieces can catch near the hinge or plate.
Residue also becomes harder to release when it dries. A surface can look clear while the holes still contain garlic, and the hinge can hide material that is not visible from above. The relevant inspection points are the chamber, the hole grid, the underside of the plunger, the hinge, and any ejector edge.
Garlic residue can remain in the perforations, hinge, and plunger even when the outside of a press appears clean. That is why a quick visual check should include the open tool rather than only its outer shell.
What pressed garlic does in a recipe
Pressed garlic has a soft, compact texture that can spread through a dressing, sauce, or cooked mixture. Knife-minced garlic retains more distinct pieces, while microplane-grated garlic can become especially fine and wet. The choice changes how quickly the garlic disperses and how noticeable its pieces remain.
Use a press when you want compressed garlic without knife work. Choose a chef’s knife when you want control over the size of the pieces. Choose a microplane when a very fine grate suits the recipe and you are willing to clean the grater’s fine surface.
Pressed garlic is not automatically better than chopped or grated garlic. The preferred texture depends on whether the dish needs visible pieces, quick dispersion, or a smoother mixture.
Intermediate: Compare Materials and Maintenance
Stainless steel
Stainless steel interacts with oxygen to develop a self-healing passive film that shields the material. That behavior helps explain why stainless steel is often considered for utensils exposed to moisture, garlic juices, and washing, but it does not remove the need for cleaning and drying.
Inspect stainless steel for rough seams, sharp edges, and areas where another material joins the body. A corrosion-resistant surface can still be uncomfortable if a seam catches the finger or if residue gathers around a fastener and hinge.
Stainless steel does not guarantee that every part of a press has the same maintenance behavior. Handles, inserts, coatings, and hinge components may use different materials, so the complete construction matters.
Aluminum
Aluminum may feel light in the hand, but lightness does not answer the wrist question by itself. A poorly aligned aluminum press can still demand an awkward squeeze, while a well-shaped handle can make the force easier to direct.
Aluminum can discolor or corrode under some cleaning conditions. Dishwasher suitability therefore depends on the particular materials, finish, handle construction, and manufacturer instructions rather than on the word aluminum alone.
Check the care instructions before putting an aluminum press in a dishwasher. If the instructions are unclear, hand cleaning gives you more control over the cleaning method and lets you inspect the hinge, chamber, and plate immediately.
Zinc alloy
Zinc alloy presses can have a solid feel, but a heavy body is not proof of good ergonomics. Weight may change how the tool sits in the hand, while the handle geometry determines how much the wrist must bend or rotate.
Look closely at the finish around the hinge, edges, and chamber. Scratches, exposed areas, or a finish that begins to lift can make cleaning less predictable. A corrosive environment coupled with tensile stress can result in stress corrosion cracking, so damaged or stressed parts deserve careful attention rather than continued forceful use.
Nylon and silicone components
Nylon and silicone may appear in handles, grip surfaces, seals, or other contact areas. Their presence can change how the press feels, how easily it slides in a wet hand, and how thoroughly the tool can be cleaned.
Do not judge a soft grip only by touch in a store listing or photograph. Check whether the material creates a seam, recess, or joint where garlic juice can collect. A comfortable handle that traps residue still creates a maintenance problem.
How to judge dishwasher compatibility
Dishwasher compatibility of kitchen gadgets is a whole-tool question. The body, finish, handle covering, hinge, ejector, and any joined materials may respond differently to heat, detergent, moisture, and contact with other utensils.
Look for explicit care instructions from the manufacturer rather than assuming that a metal body makes the press dishwasher-safe. A dishwasher may remove visible grease while leaving compressed garlic in the holes or hinge, so inspection remains part of cleaning.
The [NSF] develops public health standards and certification programs that can help readers understand whether a claimed certification applies to a product, but a certification mark does not replace the manufacturer’s cleaning instructions. The [U.S. Consumer Product Safety Commission] also provides consumer safety and recall information, which is useful if a press develops a broken handle, exposed sharp edge, or other defect.
Intermediate: Clean the Press Without Leaving Hidden Residue
Step 1: Open the tool immediately after use
Open the garlic press while the residue is still easy to identify. Remove the bulk material from the chamber and plate with a utensil that will not damage the surface, then rinse according to the care instructions.
Do not use the hinge as a scraping surface. Forcing a hard object into the pivot can mark the joint or push residue deeper into a narrow opening.
Fresh garlic residue is easier to locate than dried residue. Cleaning a press soon after use reduces the chance that material will harden inside the perforations and around the plunger.
Step 2: Clear the perforations
Inspect the hole grid from both sides. A small brush, the tool’s own ejector, or a gentle stream of water may help clear the openings when the care instructions allow it. Work across the plate rather than pressing residue farther into the holes.
Hold the plate toward the light and look for dark or pale plugs that interrupt the open pattern. The outside can look washed while the inner openings remain blocked.
Step 3: Clean the hinge and plunger
Move the hinge through its normal range while rinsing or wiping, provided the manufacturer permits that method. Pay attention to the pivot, handle junction, underside of the plunger, and any ejector edge.
Dry the joint as thoroughly as the material and care instructions permit. Standing moisture around a joined area can keep residue soft and make the next use less hygienic, while trapped moisture can affect finishes or vulnerable materials.
Step 4: Inspect before storing
A clean press should have open holes, a clear chamber, a hinge without visible residue, and a plunger that moves as designed. Check for a loose handle, sharp edge, crack, finish damage, or a hinge that no longer aligns.
Stop using a press if a crack, sharp edge, or loose handle changes the way the tool closes. Those defects can affect handling and can make cleaning less reliable.
Cleaning and maintaining kitchen utensils is easier when inspection is part of the routine rather than a response to a failure. Store the press in a dry condition, with the chamber open if the design allows it.
Advanced: Match the Press to Your Cooking and Your Wrist
Choose based on force direction
The key ergonomic question is not whether a press feels strong. It is whether the handles let the hand apply force in a natural direction without the wrist bending to keep the tool aligned.
Place your thumb, fingers, and palm where they would rest during use. A narrow handle may concentrate pressure at the fingers, while a broad handle may spread contact but force the wrist to rotate if the closing path is offset.
A garlic press with aligned handles reduces the need for the wrist to compensate for hinge movement. That matters during repeated preparation, even when each individual squeeze seems brief.
Consider the cost beyond the purchase price
The cost of owning a garlic press includes more than the amount paid at checkout. Consider how much time cleaning takes, how much residue the chamber retains, whether the press needs hand washing, and whether the hinge or finish requires careful handling.
A press that demands scraping after every clove may cost more attention than its simple operation suggests. A press that produces a texture you do not use may also sit unused, making its apparent convenience irrelevant.
Maintenance cost includes cleaning tools, replacement if a hinge fails, and the effort required to keep the holes clear. No exact ownership figure can be given without the model, materials, care instructions, and local price, so inspect those details before deciding.
Know when a chef’s knife is more useful
A chef’s knife gives direct control over the size and shape of the garlic pieces. It is more useful when a recipe calls for visible mince, when the clove is unusually large or irregular, or when cleaning a press would take longer than chopping.
Knife-minced garlic also lets you stop at a coarse texture or continue toward a finer one. A press narrows that choice by forcing the clove through its fixed grid.
Readers comparing preparation tools may also find the broader discussion in this practical guide to cookware types useful when deciding which tools deserve space in a working kitchen.
Know when a microplane is more useful
A microplane can produce a very fine grate that spreads quickly through a dressing or sauce. It may suit recipes where a smooth garlic presence matters more than distinct pieces.
The tradeoff is contact with a fine grating surface and the need to remove residue from that surface. A press may be easier to hold for some users, but its chamber and hinge require their own inspection.
Neither tool removes the need to match texture to the dish. Pressed garlic, knife-minced garlic, and grated garlic can each change how the mixture looks, spreads, and cooks.
Use neighboring tools as part of the decision
A garlic press rarely works alone. A knife, cutting board, scraper, and cleaning brush all affect whether the tool saves effort or adds another task. The same wrist-first approach applies to other kitchen equipment: handle shape, contact points, and the direction of force deserve attention before surface appearance.
For readers evaluating the wider prep area, the cooling rack buying guide shows why storage, cleaning, and handling details can matter as much as the headline feature of a kitchen tool.
Frequently Asked Questions
What should a garlic press buying guide tell me to inspect first?
Start with the grip, hinge, chamber, plunger, and ejector. Close the empty press slowly and look for alignment, rough movement, sideways play, or a handle that forces the wrist into an awkward angle. Then inspect the chamber for corners and gaps that could hold residue. A smooth finish matters less than a clean closing path and accessible parts.
Can a garlic press handle unpeeled garlic cloves?
Some designs accept unpeeled cloves better than others because chamber clearance and the ejector shape control where skin goes. Follow the manufacturer’s instructions, then inspect the holes, plunger, and hinge after use. If skins collect in narrow recesses or the handle requires extra force, peeling the clove first may reduce cleanup and make the pressing motion easier to control.
Is stainless steel easier to maintain than aluminum or zinc alloy?
Stainless steel can develop a self-healing passive film when it interacts with oxygen, but the whole press still needs cleaning and inspection. Aluminum can discolor or corrode under some cleaning conditions, while zinc alloy and its finish require attention to scratches, seams, and stress. Material alone does not determine maintenance; construction and care instructions matter.
Why does garlic remain in the holes after washing?
The perforations may retain compressed garlic even when the outer surface looks clean. Open the press, inspect both sides of the plate, and check the underside of the plunger and the hinge. A small brush or the manufacturer’s recommended cleaning method can clear openings. Avoid forcing sharp objects into the hinge or plate, since that can damage the tool.
When is a chef’s knife better than a garlic press?
A chef’s knife is preferable when you need a specific mince size, want visible pieces, or are preparing a clove that does not fit the chamber well. A press is more convenient when a fine, compressed texture suits the recipe. A microplane may be better when a very fine grate should disperse through a dressing or sauce.