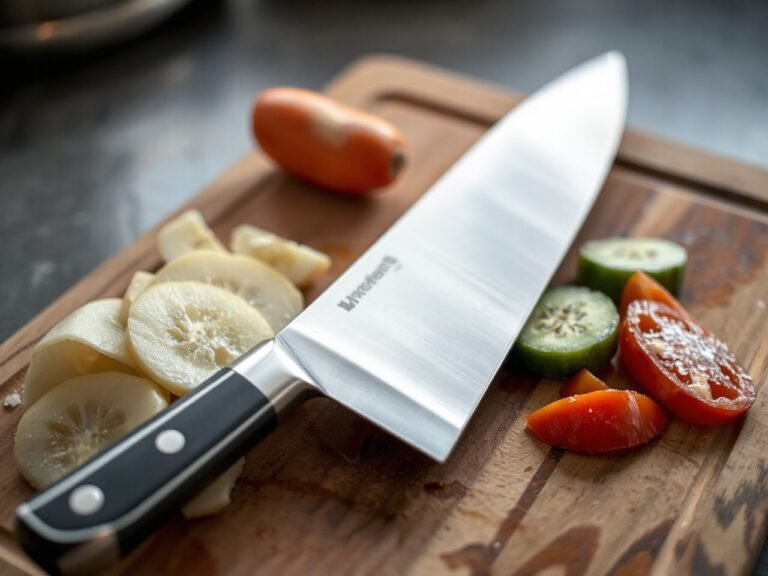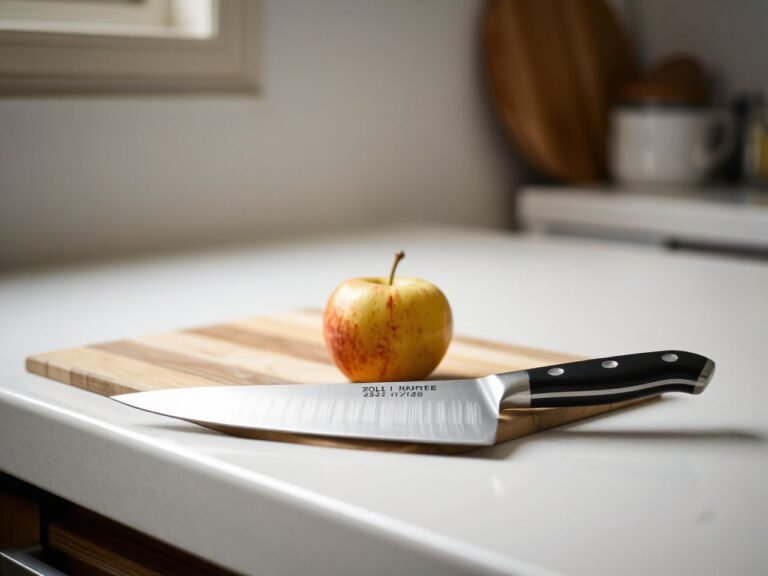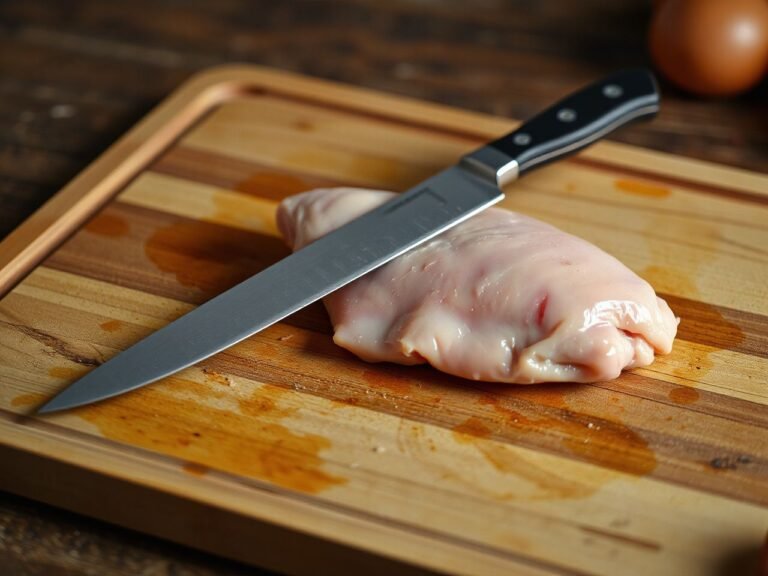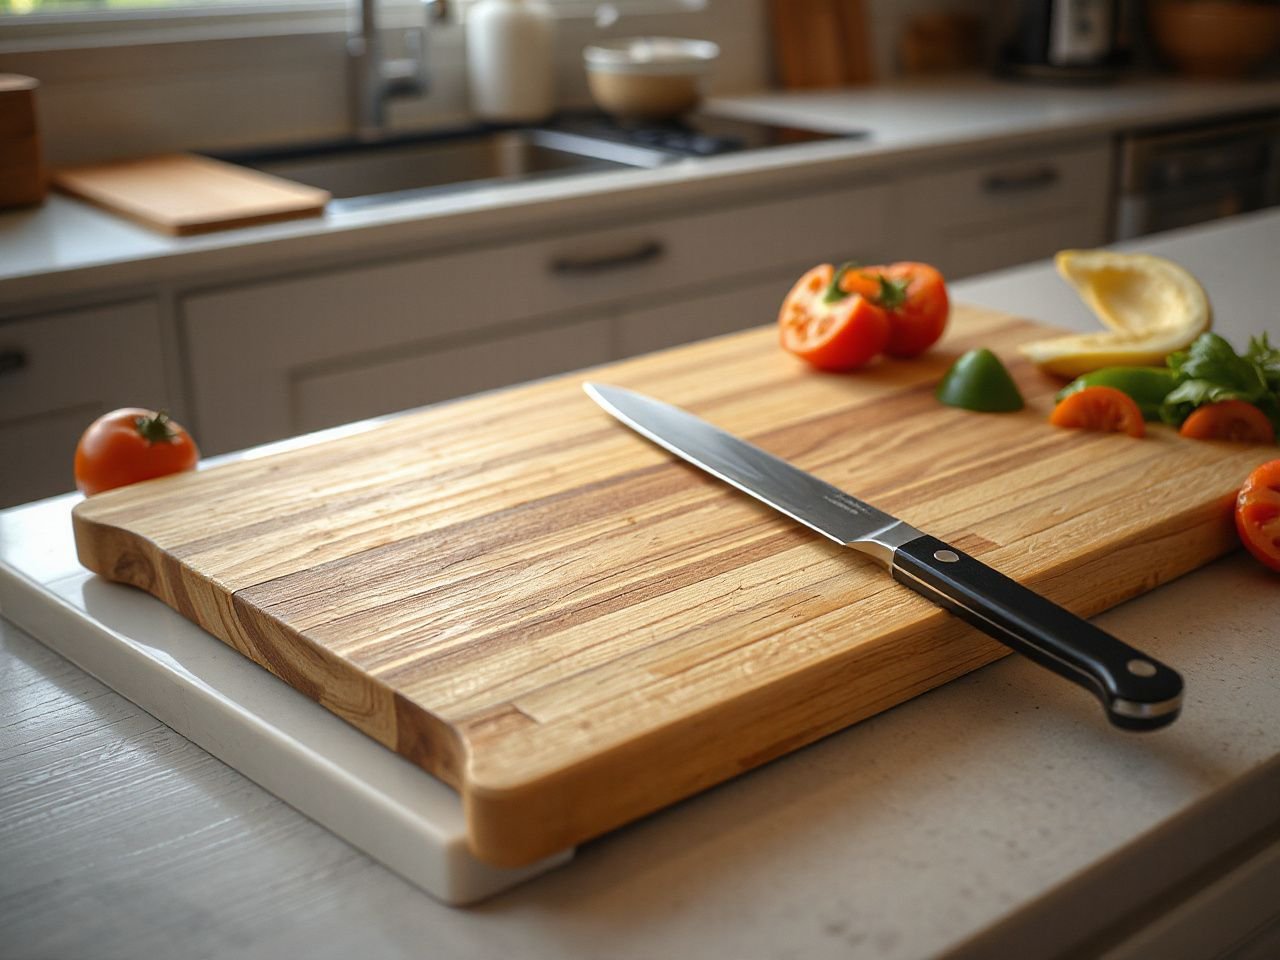
A poor cutting board can slide under a chef’s knife, hold food in deep grooves, damage the edge, or warp after a few washes. The useful distinction is not simply wood versus plastic: board material, surface hardness, construction, moisture behavior, and knife compatibility determine how the board performs and how it must be maintained. A sound cutting board buying guide also treats ownership as a complete cycle—stability during cutting, cleaning after use, gradual surface damage, conditioning or replacement, and food-safety limits—rather than judging a board only when it is new.
Key Takeaways
- Choose a stable surface that suits your knife, food-preparation habits, and willingness to maintain it.
- Wood and rubber are generally gentler choices for knife edges than glass or other very hard surfaces.
- Wooden boards need hand washing, thorough towel drying, side storage, and periodic conditioning.
- Deep grooves, cracks, and unstable movement are practical reasons to stop using a board.
Beginner: Start with the cutting board buying guide basics
Step 1: Match the surface to your knives
A cutting board is part of the knife system. The blade meets the board thousands of times during ordinary prep, so surface hardness affects how quickly the edge loses its clean working shape. Glass and other very hard surfaces can accelerate knife-edge damage even though they are easy to wipe clean.
A chef’s knife is best paired with a surface that gives the edge some protection rather than one that feels rigid and unforgiving. Hardwood, bamboo, polyethylene, and rubber each behave differently under a blade, but the practical check is simple: avoid using a glass board as the regular surface for a knife you want to keep sharp. Knife sharpening and honing cannot make poor board compatibility disappear.
Glass cutting boards can damage knife edges because their surface is very hard. The damage may show up as a blade that no longer feels smooth through an onion or that catches instead of making a clean cut.
- Hardwood: A well-maintained wooden board offers a firm prep surface with a feel that is generally more forgiving to knives than glass. Maple is harder on the Janka hardness scale than walnut and cherry, so wood species can affect the board’s feel and resistance to marking.
- Bamboo: Bamboo has a firm surface and requires attention to moisture and finish. Treat the board as a wooden prep surface: keep it clean, dry it carefully, and follow the maker’s care instructions.
- Polyethylene: Plastic is straightforward for wet, messy prep and can be useful where quick cleaning matters. Gashes may develop over the course of use, and those grooves deserve close inspection.
- Rubber: Rubber can provide a stable, knife-friendly work surface, but the exact care instructions depend on the construction and finish. Read the care label rather than assuming every rubber board behaves identically.
- Tempered glass: Glass is easy to clean, but its hard surface is a poor match for protecting a knife edge. Ease of wiping does not cancel out the effect of repeated blade contact.
Step 2: Judge stability before surface finish
A board must remain stable during use because sliding or rocking creates a knife-injury hazard. Place the board on a clean, dry countertop and press across its corners and center; movement, rocking, or a lifted edge indicates that the board needs repositioning, a suitable non-slip mat, or replacement.
Board stability depends on more than weight. A board can shift because the counter is damp, the underside is uneven, the feet do not sit evenly, or the material has changed shape. A thin cloth may reduce movement in some kitchens, but it can also bunch up, so check the board again after setting up your work area.
A stable cutting board reduces unwanted movement while a knife is in use. The check takes place before cutting, not after the board has already shifted beside the blade.
Step 3: Match board use to food separation
Raw meat and ready-to-eat foods need separation through dedicated boards or careful cleaning and sanitizing between uses. Produce that will be eaten without further cooking should not share an uncleared surface with raw meat. Separate boards make the workflow easier to remember, while one-board kitchens require a deliberate wash and sanitation routine between tasks.
Keep the order of work in mind. Ready-to-eat foods can be prepared first, followed by raw ingredients, or the board can be fully cleaned and sanitized before changing tasks. The U.S. Food and Drug Administration provides food-safety information for handling food and preventing cross-contamination, and the NSF explains considerations for food equipment and food-contact products.
A board is not made safe merely because it looks clean. Colour, odour, residue, and the condition of the cutting surface all matter, but visible cleanliness cannot replace a suitable cleaning process.
Intermediate: Understand construction, moisture, and surface wear
Step 4: Tell end-grain, edge-grain, and face-grain construction apart
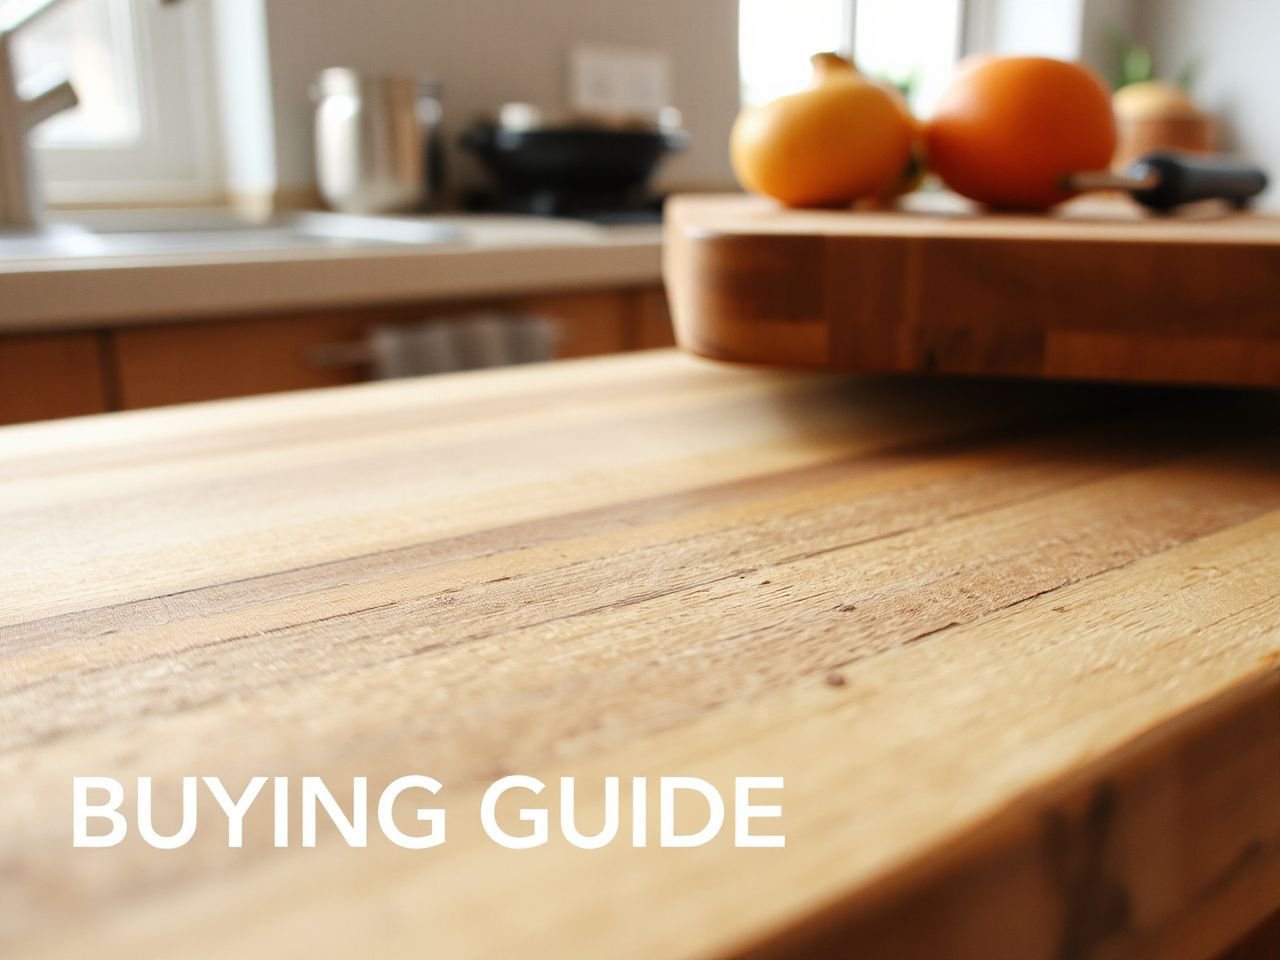
Wooden boards can be built from pieces arranged in different directions. The construction changes the visible pattern, the way the surface responds to knife contact, and the areas where moisture can enter. Construction should therefore be considered alongside wood species and care instructions rather than treated as a quality label by itself.
End-grain construction places the exposed ends of wood fibres at the working surface. The top may show a block-like pattern because the pieces are arranged so their ends face upward. Edge-grain construction places the long edges of boards at the surface, creating a more linear appearance. Face-grain construction exposes the broad face of the wood and often shows the grain as a flat, continuous pattern.
For the buyer, the key questions are practical. Does the board sit flat? Are the joints sound? Is the surface free from cracks? Can the care routine be followed in your kitchen? A visually striking grain pattern does not compensate for movement, neglected moisture control, or damage that is difficult to clean.
Step 5: Understand why boards warp, cup, crack, and groove
Wood responds to moisture. Water can penetrate between the fibres, and uneven wetting or drying can change the board’s shape. A board may warp or cup when one side becomes wetter than the other, while repeated exposure to water can contribute to splitting or a shorter service life.
Wooden cutting boards require towel drying to limit water penetration within the spaces between fibres, and they should be stored on their side. Standing the board on its edge allows air to reach more of the surface instead of leaving one broad face against a damp counter.
Deep knife grooves have a different cause. Repeated cuts remove or compress surface material, and a heavily marked plastic board can retain food residue in its gashes. Cracks can form a more serious cleaning problem because narrow openings are difficult to reach completely.
Deep knife grooves and cracks are reasons to retire a cutting board when cleaning can no longer be trusted. A board does not need to look perfect, but damaged areas should not be dismissed simply because the board still feels usable.
Step 6: Set a care routine before choosing a material
Wooden boards generally require hand washing rather than dishwasher cleaning. Wash the working surface with appropriate dish soap and water, rinse away residue, towel-dry the board, and store it on its side so it can dry more evenly. Do not leave a wooden board soaking in a sink.
Periodic conditioning helps a wooden board remain usable, but the product and frequency should follow the manufacturer’s instructions. Wood conditioning oil and board wax are common parts of a maintenance routine; they are not substitutes for washing or drying. Apply any conditioner only to a clean, dry surface and allow the board to return to a suitable working condition before food preparation.
Wooden boards should not be placed in a dishwasher for sanitizing. Dishwasher exposure can cause warping, splitting, or a shortened service life because the board receives repeated water and heat exposure that its construction may not tolerate.
Plastic boards are often easier to wash after raw-food preparation, yet they still need inspection. If gashes become deep enough to hold visible residue or cannot be cleaned effectively, replacement is more sensible than trying to preserve the board indefinitely.
Rubber boards may need a different cleaning method from wood or polyethylene. Check the label for permitted cleaners and dishwasher instructions. A dishwasher-safe claim belongs to the specific board, not to every item made from a similar material.
Step 7: Compare ownership effort rather than purchase price alone
Every board carries an ongoing cost in time, attention, and eventual replacement. A wood board asks for more deliberate drying and conditioning. A plastic board may simplify cleanup but can develop gashes that shorten its useful life. Glass needs little special maintenance, yet its hard surface can be costly to the knife edge.
Those trade-offs affect how a board fits your kitchen. Someone who prepares raw meat often may value a surface that is easy to clean and easy to inspect. Someone who spends an hour chopping vegetables may care more about wrist comfort, stable placement, and a knife-friendly surface. The right choice is the one whose care routine you will actually follow.
Material also affects how the wrist feels over a long preparation session. A board that rocks makes the hand correct the knife path repeatedly. A board that is too hard can make each contact feel abrupt through the handle and into the wrist. I judge ergonomics by the whole sequence: board stability, knife angle, hand position, and the number of corrective movements required.
If your prep area also needs cookware that stays stable and comfortable to handle, the cast iron griddle buying guide on common setup mistakes offers a useful comparison in thinking about countertop contact and movement.
Advanced: Build a safer, more comfortable prep system
Step 8: Choose board material by the foods you actually prepare
There is no single material that makes every kitchen routine easier. Start with the food groups that dominate your prep and the cleaning method you can maintain without shortcuts.
- For vegetables, fruit, bread, and herbs, consider how the surface feels under a chef’s knife and whether the board stays stable through repeated chopping.
- For raw meat, prioritise a board that can be cleaned thoroughly and inspected easily after use. A separate board limits the chance of carrying residue into ready-to-eat food.
- For sticky or wet preparation, look for a surface that does not shift on the counter and that can be dried fully after washing.
- For a shared household kitchen, choose a care routine that other users can understand without guessing whether the board belongs in the dishwasher.
Material selection is only half of compatibility. A bamboo board that is left wet can develop problems, just as a plastic board with deep cuts can become difficult to clean. The best surface on paper is not useful if its care limits are ignored.
Step 9: Check the board before every serious prep session
Run a short inspection before cutting. Look at the top and underside, press the corners, and check for movement. Scan the surface for cracks, deep grooves, lifting layers, or residue that remains after washing.
A board that has begun to cup may rock even when placed on a flat counter. A board with a split can admit moisture and food particles. A plastic board with pronounced gashes may still look clean at a glance, so inspect it under good light and replace it when the surface can no longer be cleaned with confidence.
A cutting board with deep grooves, cracks, or persistent instability should be removed from food preparation. Continuing to use a damaged board saves space only temporarily and can make cleaning and knife control harder.
Step 10: Protect the wrist through setup and technique
Handle ergonomics are affected by the board beneath the knife. A board that slides forces the cutting hand to steer around movement while the other hand braces the work. That extra correction can make the wrist feel strained well before the food is finished.
Keep the board at a comfortable working height and place ingredients so the knife does not need to reach far across the surface. Use a stable grip on the knife, keep the guiding hand clear of the blade, and move the food rather than stretching the wrist around a distant pile of scraps.
A non-slip mat can help with countertop stability, but it must lie flat and remain clean. If the board still rocks, do not rely on the mat to disguise a warped underside. Replace the board or change the setup.
For a broader look at how cookware shape and handle design affect hand comfort, the frying pan handle guide and review provides a useful adjacent reference, though pan ergonomics do not replace a board stability check.
Step 11: Keep cleaning and sanitizing separate in your routine
Cleaning removes food residue. Sanitizing is a separate step intended to reduce remaining microorganisms, and the method must suit the board material. Follow the product instructions and food-safety guidance rather than applying one harsh treatment to every surface.
After raw meat, wash the board thoroughly and use a suitable sanitizing method before the board returns to ready-to-eat food preparation. If the board has cracks or grooves that remain visibly dirty after washing, sanitation becomes less dependable and replacement is the safer decision.
Never use a board simply because it has been exposed to a dishwasher cycle. Wooden boards can be damaged by that exposure, while other materials still need inspection for warping, surface wear, and residue. A clean-looking board is not automatically a well-maintained board.
Making the final choice without chasing a perfect board
Use a simple decision sequence
Start with the knife. If the board will serve a good chef’s knife, remove glass and other very hard surfaces from consideration. Next, check stability. A board that moves is unsuitable regardless of its material or appearance.
- List the main foods: Note whether the board will handle ready-to-eat produce, raw meat, bread, or a mixture.
- Choose the cleaning routine: Decide whether hand washing and careful drying fit your household, or whether a material with simpler cleanup is more realistic.
- Inspect construction: For wood, look at end-grain, edge-grain, or face-grain construction, the joints, the underside, and the manufacturer’s care directions.
- Test countertop contact: Place the board where it will be used and check for rocking, sliding, or a lifted corner.
- Plan replacement: Decide what visible damage will end the board’s service, especially deep grooves, cracks, or persistent warping.
That sequence keeps marketing language in its place. A decorative finish, unusual grain, or thick appearance cannot answer the central questions about knife compatibility, food separation, moisture behaviour, and stable use.
Common mistakes that shorten board life
- Choosing glass for easy cleaning: The surface may wipe clean, but its hardness can damage knife edges.
- Leaving wood flat on a wet counter: Moisture can penetrate the fibres and encourage shape changes. Towel-dry the board and store it on its side.
- Putting wood in the dishwasher: Water and heat exposure can cause warping, splitting, and shortened service life.
- Using one damaged board for everything: Deep grooves and cracks can hold residue and make effective cleaning difficult.
- Ignoring movement: Sliding or rocking makes knife control less secure and places extra demand on the wrist.
- Confusing washing with sanitizing: A board used for raw meat needs a suitable cleaning and sanitizing routine before ready-to-eat food returns to the surface.
Board care belongs alongside the rest of the kitchen setup. If you are organising a larger prep area, the budget baking pan buying guide can help with a separate piece of equipment, but the same rule applies: inspect how the item sits, cleans, and ages in the actual kitchen rather than judging it only from its first appearance.
Frequently Asked Questions
What is the most important point in a cutting board buying guide?
Stability comes first because a sliding or rocking board makes knife work less controlled and can strain the wrist. After stability, match the surface to the knife and food routine. Avoid glass for regular knife use, plan separate handling for raw meat and ready-to-eat food, and choose a care method you can follow consistently. Construction and appearance matter, but they come after safe contact and maintenance.
Which cutting board material is easiest on a chef’s knife?
Wood and rubber are generally more suitable for protecting a knife edge than glass or other very hard surfaces. Hardwood, bamboo, and polyethylene each offer different care demands, so material alone does not settle the choice. Glass is easy to clean but can accelerate edge damage. A stable, clean, undamaged board is more useful than a theoretically gentle surface that moves or cannot be maintained.
Can a wooden cutting board go in the dishwasher?
A wooden cutting board should not be placed in a dishwasher for sanitizing. Dishwasher exposure can cause warping, splitting, and a shorter service life. Hand-wash the board, rinse away residue, towel-dry it, and store it on its side. Periodic conditioning with a suitable wood conditioning oil or board wax can support maintenance, but conditioning does not replace washing and thorough drying.
When should a cutting board be replaced?
Replace a board when deep knife grooves, cracks, persistent warping, or unstable movement make cleaning or safe knife control unreliable. Plastic boards can develop gashes during use, and wooden boards can split or change shape after poor moisture care. A small mark is not automatically a reason to discard a board, but damage that traps residue or prevents the board from sitting flat should end its food-preparation service.
A cutting board earns its place through the entire ownership cycle: stable placement, compatible knife contact, careful cleaning, complete drying, sensible conditioning where required, and timely replacement. The most useful choice is the board whose material and construction fit both your food and your habits, while its surface lets your hand guide the knife without unnecessary correction.