A boning knife earns drawer space by doing one job well.
The important distinction is that flexibility is a task-specific control feature, not a simple sign of a better boning knife: contouring poultry and trimming meat call for different blade behavior. A sharp edge can still be unsuitable or unsafe when the blade bends, twists, or meets bone in the wrong way. This boning knives buying guide separates those decisions from marketing language and asks a more useful question: what does the knife replace in your kitchen?
Key Takeaways
- Choose flexibility according to the food: flexible blades follow contours, while stiff blades control dense cuts and joint work.
- A boning knife separates meat from bone and connective tissue; it should not be used to chop through hard bone.
- Handle security, board stability, washing, drying, honing, and storage matter as much as the blade shape.
Beginner: Decide What the Knife Must Replace
What a boning knife does differently
A boning knife is designed to separate meat from bone and connective tissue. Its narrow blade gives the edge room to work near joints and along contours where a chef’s knife can feel too broad. A chef’s knife remains more useful for general chopping, slicing, and preparation, so a boning knife should not be treated as a smaller replacement for every kitchen knife.
Fillet knives overlap with boning knives in their narrow form, but the jobs are not identical. A flexible fillet knife is intended to follow fish bones and delicate contours, while a boning knife may need more control around poultry, meat, connective tissue, and joints. The distinction is practical: buy the blade behavior required by the food you actually prepare.
A boning knife is a unitasker by design, and that is not automatically a flaw. I would give it drawer space only if separating meat from bone or trimming meat is a repeated task that a chef’s knife handles poorly. If those jobs are occasional, the new knife must still offer a clear control advantage rather than merely adding another shape to the block.
Match the blade to the food
Flexibility should match the task. A flexible blade follows the curves of poultry and can help remove meat while leaving less behind. A stiff blade resists bending and gives more direct control during dense meat trimming and work near joints.
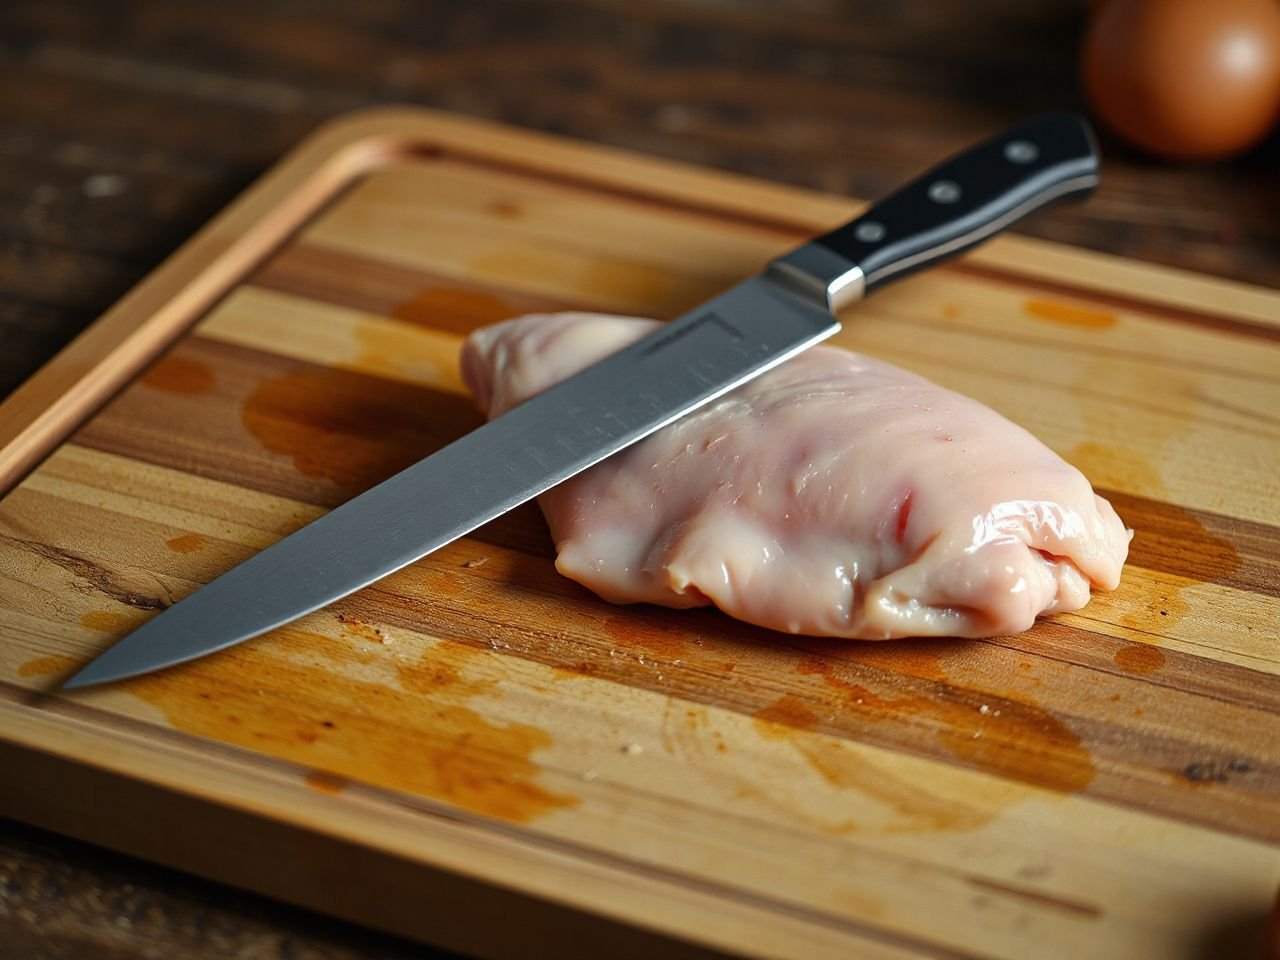
Poultry generally calls for a blade that can follow changing contours. Meat trimming usually benefits from a blade with more stiffness, particularly when the work involves firm connective tissue or close control near a joint. Fish may call for behavior closer to a fillet knife, so a very stiff boning knife may be the wrong tool for delicate work.
Too much flexibility can make the edge wander, especially when the blade meets dense tissue or a joint. Too much stiffness can make it harder to follow a curved surface without removing useful meat. The correct choice is therefore task-specific, not a contest between flexible and stiff blades.
Blade shape and length
A curved blade can help keep the edge aligned with rounded joints and meat surfaces. A straight blade offers a more direct path for trimming and gives a predictable contact line. Neither shape is universally superior. The curve should earn its place by matching the motion you need to make.
Boning knife blades commonly range from 5 to 7 inches, or 12.7 to 17.8 cm; another typical range is described as 12 to 17 cm. A shorter blade can feel easier to control in tight areas, while a longer blade can cover more of a trimming line. The reader’s hand, the size of the cut, and the amount of room around the joint decide which length feels manageable.
Blade length affects control around joints because excess blade can extend beyond the area you are trying to expose. A blade that is too short may require repeated strokes and awkward repositioning. The useful test is not a number alone: hold the knife safely and check that the working section reaches the area without forcing your wrist or allowing unused edge to drift into the supporting hand.
Look at the handle, bolster, and tang
A secure handle matters because wet tissue can make the knife slide. The handle should allow a firm grip without forcing the fingers onto the edge path. A notch near the start of the blade or near the resting point of the hand may provide a visible reference for finger placement, but the notch does not replace a controlled grip.
A bolster can change how the hand rests near the blade. A full tang may provide a continuous structure through the handle, but the presence of a full tang alone does not prove that the shape suits your grip. Look at the junction between handle and blade, the surface texture, and whether your hand can stay clear of the cutting line.
Handle comfort is a control issue, not a decoration issue. A knife that causes the grip to shift during a wet task is a poor fit even if its blade shape looks correct.
Intermediate: Choose, Use, and Control the Blade
Separate meat from bone without forcing the edge
Start with a stable cutting board and position the food so that it does not roll as the knife enters. Keep the supporting hand away from the path of the blade, and cut away from that hand. Wet tissue and curved surfaces can make a knife slide, so wiping the work area and maintaining a secure grip are part of the technique.
- Expose an edge of the meat or connective tissue with a shallow, controlled cut.
- Follow the contour with the part of the blade closest to the food, rather than driving the point toward the bone.
- Use short adjustments near joints and change the angle gradually instead of twisting the blade.
- Separate connective tissue with the edge; do not use the knife as a lever.
- Stop and reposition the food if the board shifts or the grip becomes uncertain.
A boning knife should glide along bone rather than chop through hard bone. Forcing the edge into hard bone can damage the edge and may cause a slip. Cleavers and bone saws belong to tasks that require cutting through bone; a boning knife belongs beside the bone.
A stable cutting board reduces unwanted movement during boning work. The board should sit securely on the work surface, and the food should be held in a way that keeps the supporting fingers away from the blade’s route.
Know what the wrong flexibility feels like
A blade that bends away from the intended line can leave uneven strips of meat and encourage extra pressure. Extra pressure makes control harder, particularly if the surface is wet. If the blade flexes when you are trying to make a straight trimming cut, a stiffer design may suit that task better.
A blade that refuses to follow a curved surface can force the wrist into a strained angle or make the edge lift away from the food. That behavior wastes meat and can encourage a sideways twist. A more flexible blade may suit contouring, but it still needs enough control for the tissue being cut.
Why sharpness does not solve every problem
A sharp edge reduces the need for force, but sharpness does not determine whether the blade is too flexible, too stiff, too long, or poorly suited to the cut. A sharp blade can still twist or slide when it meets a curved, wet surface at the wrong angle.
Edges lose effectiveness when they contact hard bone, other utensils, or unsuitable surfaces. Contact with hard bone can damage the edge, while loose storage can let the blade strike other objects. A cutting board intended for food preparation gives the edge a more suitable working surface than a hard counter or metal surface.
Slipping can also begin with technique. If the hand moves toward the blade, the food rolls, or the edge is used as a pry bar, the problem is control rather than sharpness. I would correct the board, grip, food position, and cutting direction before reaching for a sharper edge.
Use the knife as a separator, not a chopper
Place the edge against the seam between meat and connective tissue, then use controlled strokes to open that seam. The knife should do the separating while the other hand exposes the work area. A shallow approach gives more opportunity to adjust than a deep thrust.
Near a joint, a stiff blade can provide a more direct feel, but the joint still should not be attacked with force. Follow the natural separation and reposition the food when the angle changes. If resistance rises suddenly, stop rather than twisting the handle.
A boning knife separates meat from bone by following the boundary between them, not by cutting through the bone itself.
Advanced: Maintain the Tool and Judge Its Real Cost
Wash and dry after use
Wash the blade and handle after preparation, then dry them rather than leaving the knife wet. Carbon steel can develop rust if left wet. Stainless steel contains chromium as an iron-based alloy, but stainless steel still needs cleaning and drying to protect its edge and handle.
Dishwashers can expose a knife to contact with other utensils, movement, and conditions that may damage the edge, handle, or corrosion resistance. A dishwasher-safe claim from a manufacturer should be read carefully, but hand washing and prompt drying give the user more control over contact and moisture.
Do not leave a boning knife loose in a sink or drawer. Loose storage permits the edge to strike other utensils and creates a poor retrieval habit. A sheath, blade guard, or dedicated storage location can keep the edge separated from other tools, provided the knife is clean and dry first.
Honing and sharpening
Honing and sharpening are different maintenance tasks. Honing can realign an edge that has moved during use, while sharpening removes material to create a new edge. Use a sharpening method suited to the blade material and follow the sharpener’s instructions rather than guessing at an angle or pressure.
Ceramic blades require specific grinding wheels or silicon carbide sandpaper for sharpening. Ceramic blades can fracture if dropped on a hard surface or twisted during use, so their maintenance and handling needs differ from steel blades. If the manufacturer does not identify the blade material or approved sharpening method, do not assume that a standard steel-knife sharpener is suitable.
Stainless steel and carbon steel both need sensible care, but carbon steel needs particular attention to moisture because rust can develop when the blade remains wet. A dull edge can encourage force; an edge damaged by bone or poor storage may need sharpening rather than routine honing.
Compare maintenance with the space it occupies
The financial cost of maintaining a boning knife depends on its material, sharpening method, storage, and how often it meets bone or other hard surfaces. No honest guide can give one maintenance cost without those details. The practical comparison is with the tool it replaces: if the boning knife prevents a chef’s knife from being forced into trimming work, it may reduce misuse of that broader tool; if it sits unused, its care is simply another task.
Maintenance also has a time cost. A knife that needs careful drying and protected storage asks for more attention than a tool left loose in a drawer, but the same attention protects the edge and handle. I would judge that trade by frequency of use, not by the purchase price alone.
For the wider prep setup, a useful comparison is our guide to choosing budget baking pans; the principle is similar: a tool should solve a recurring task before it earns storage space.
Check safety information and material claims
Knife safety is partly a matter of handling and partly a matter of the product information supplied with the tool. The U.S. Consumer Product Safety Commission provides general consumer safety information, while the manufacturer should explain care, material, and dishwasher guidance for a specific knife.
Food-contact and sanitation questions should be checked against information from the U.S. Food and Drug Administration rather than inferred from a handle’s appearance. A certification mark or compliance statement should identify the body responsible for it; do not treat an unverified claim as a substitute for instructions.
Advanced: A Practical Selection Process
Step 1: Name the main job
Write down the task that would justify the knife: poultry contouring, meat trimming, or work near joints. If the main job is chopping, a chef’s knife may be the more sensible tool. If the main job is fish filleting, compare the required flexibility with that of a fillet knife.
Step 2: Select blade behavior
Choose flexible behavior for contours and stiffer behavior for dense cuts and joint control. A curved blade supports a curved cutting path, while a straight blade suits a direct trimming line. The choice should follow the motion, not a claim that one shape is always superior.
Step 3: Check length and control
Use the stated blade ranges as a starting point, then consider the actual work area. A longer blade may extend farther than needed around a joint; a shorter blade may demand more repositioning. The correct length is the one that lets the edge reach the cut while the hand stays stable and the unused blade does not crowd the supporting hand.
Step 4: Inspect the handle and construction
Look for a handle that stays secure in the grip, a bolster that does not interfere with finger placement, and a tang arrangement that matches your preference. A notch may mark the transition between handle and blade, but the hand still needs a clear, controlled position.
Step 5: Plan care before purchase
Confirm how the knife should be washed, dried, sharpened, and stored. Carbon steel needs prompt drying to limit rust. Stainless steel also needs care. Ceramic requires a suitable sharpening method and careful handling because twisting or dropping can cause fracture.
For readers comparing the rest of their cooking equipment, our frying-pan buying discussion shows the same drawer-space test in another category: a tool deserves room when its specific control solves a recurring problem.
Step 6: Make the first cut safely
Secure the board, dry the handle, and position the food so it cannot roll. Keep the supporting hand clear and cut away from it. Start with a shallow separation cut, follow the seam, and stop if the blade bends, twists, or meets unexpected resistance.
Frequently Asked Questions
What makes a boning knife different from a chef’s knife or a fillet knife?
A boning knife has a narrow blade intended for separating meat from bone and connective tissue. A chef’s knife is a broader general-preparation tool, while a fillet knife is associated with following delicate fish contours. Blade flexibility overlaps among these tools, so the food and motion matter more than the name printed on the package.
Should poultry, meat, and fish use different flexibility?
Often, yes. Poultry contouring benefits from a blade that follows changing surfaces. Dense meat and joint work generally call for more stiffness and direct control. Fish may require behavior closer to a fillet knife. A blade that is too flexible can wander during dense trimming, while one that is too stiff can resist a curved surface.
Can a boning knife cut through bone?
A boning knife is intended to separate meat from bone, not chop through hard bone. Forcing the blade into bone can damage the edge and contribute to slipping. Follow the boundary between meat and bone with controlled strokes. Tasks that require cutting through bone belong to tools designed for that work, such as cleavers or bone saws.
How should a boning knife be cleaned and stored?
Wash the knife after use, dry the blade and handle promptly, and store it so the edge cannot contact other utensils. Carbon steel can rust if left wet, while stainless steel still needs cleaning and drying. Dishwashers may damage the edge, handle, or corrosion resistance through movement and contact, so follow the manufacturer’s care instructions.