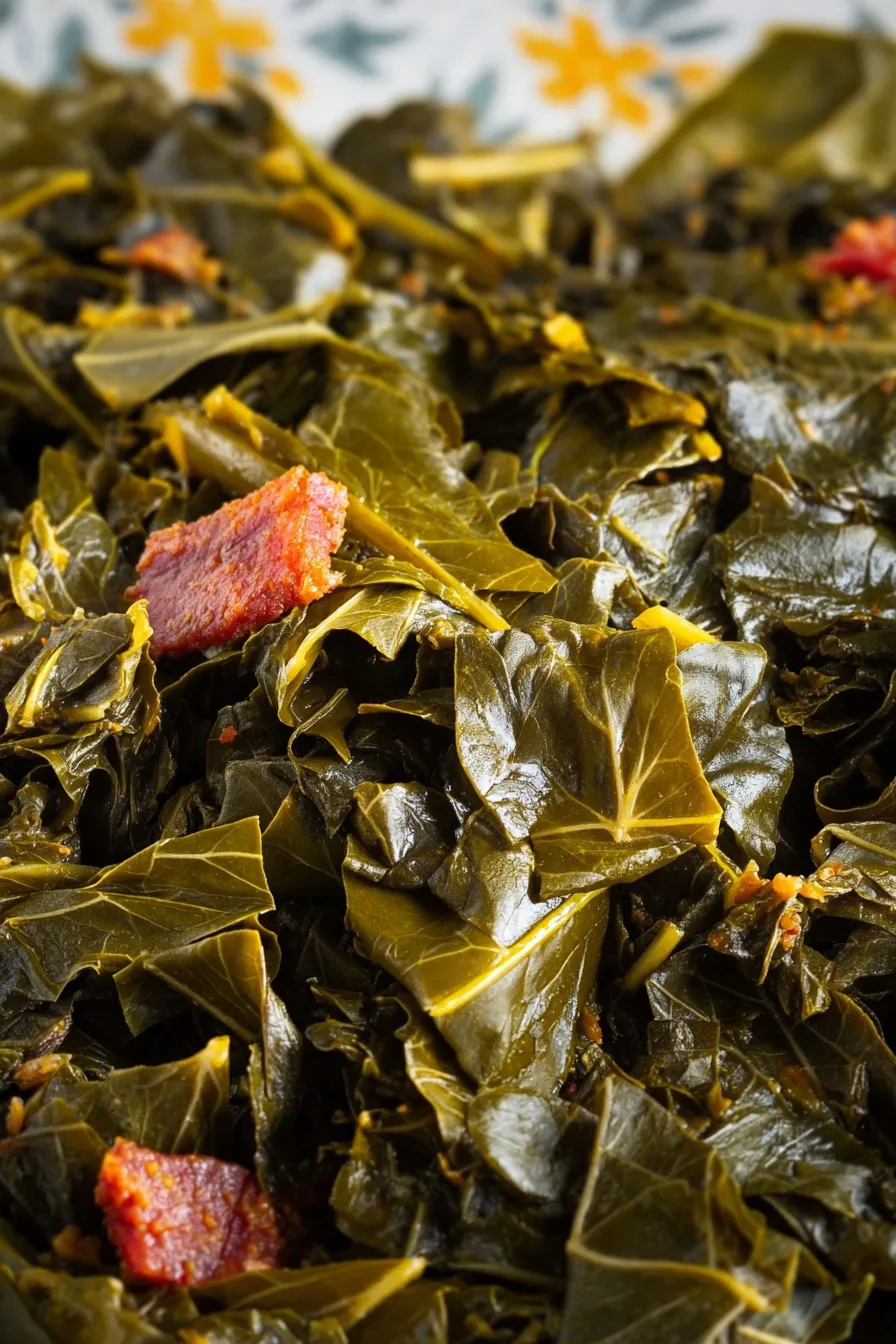
Hey everyone. Welcome to my kitchen. Today, we are making a true classic. A proper Southern collard greens recipe.
It is special. Very special. It brings pure comfort right to your dining table.
You simply cannot rush good greens. It takes time. A low, slow simmer. Think of it like making a really good, hearty stew. This slow process breaks down the tough leaves. And it builds a rich, savory broth.
We call this broth pot likker. It is pure liquid gold. It is packed with incredible depth.
Making these greens is an honored tradition. A real labor of love. It rewards you with every single bite.
Just last month, the rain was pouring down heavily here in Chattogram. My mother, Sultana Razia, came over for a visit. I wanted to make us something warm. Something grounding. I pulled up my recipe notes, got my kitchen ready, and got to work.
Let me show you how to make this iconic side dish.
Finding the Best Greens
You need good ingredients. That is step one.
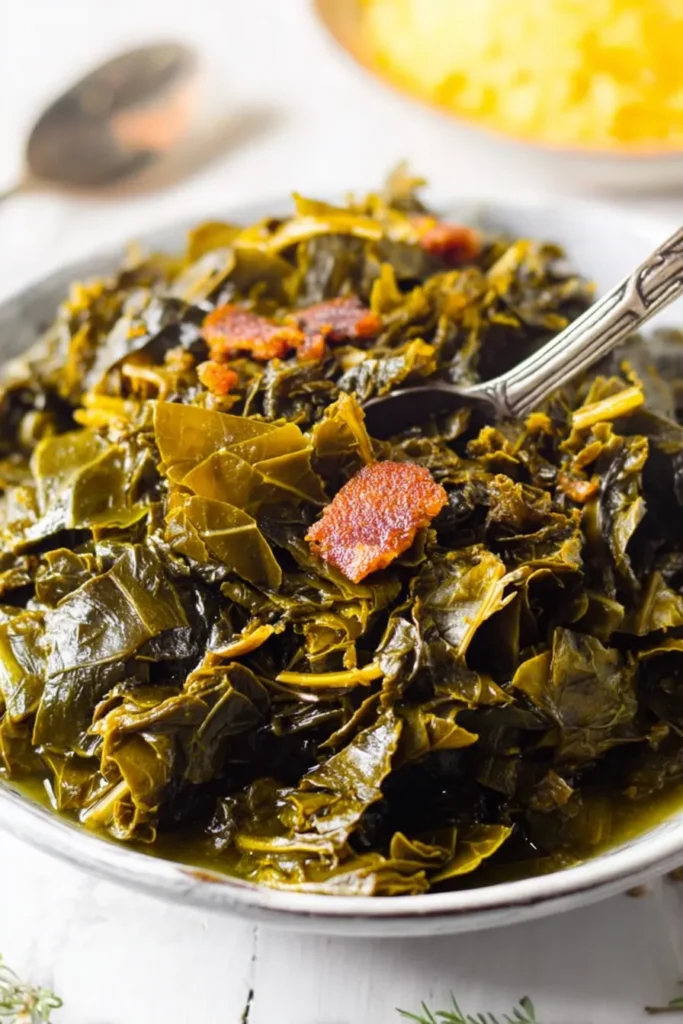
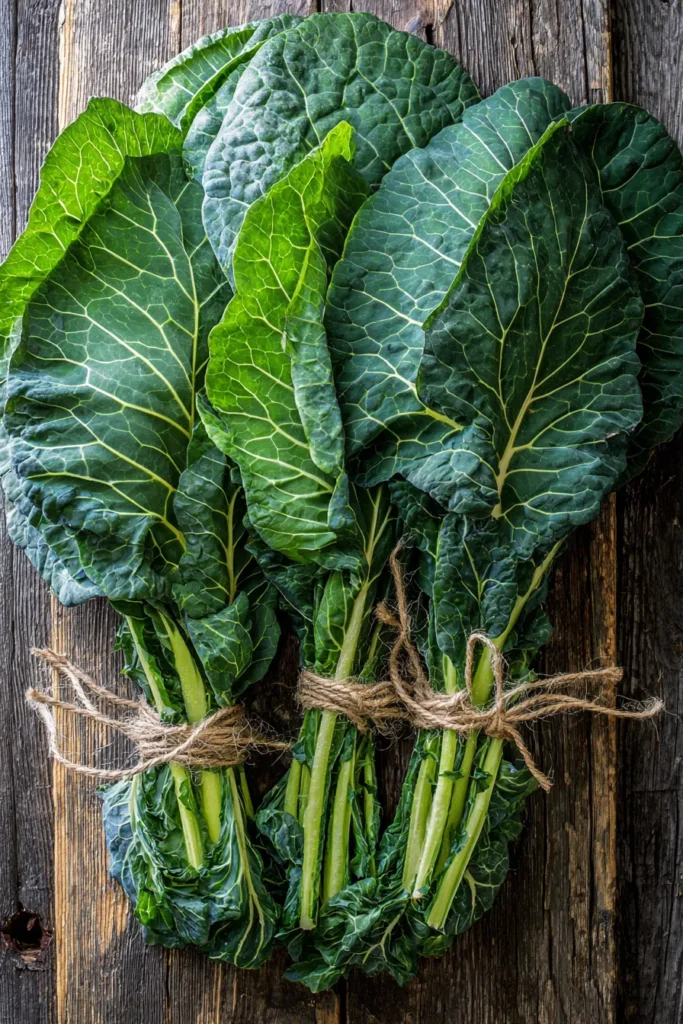
I always prefer the local farmers market. The greens there are crisp. They are vibrant. You can check them yourself.
No market nearby? The grocery store is perfectly fine. Look for large, dark green leaves. Skip the yellowed ones. Skip the bruised ones. You want them firm. But you do not want them feeling like tough leather.
The Art of Cleaning
Washing is critical. Please do not skip this.
Collards grow very close to sandy dirt. The dirt hides in the deep ridges. Nobody likes crunchy greens in their teeth. Yuck.
Start with a spotless sink. Fill it with cool water. Splash in some white vinegar. Dunk the leafy greens completely underwater.
Swish them around with your hands. Be vigorous. It is like washing clothes by hand. The heavy dirt falls right to the bottom.
Let them sit for five minutes. Lift them out slowly. Drain the sink. Rinse the sink out. Repeat this entire process.
You must wash them three times. Three times is the magic number. It guarantees perfect greens.
Prepping Like a Pro
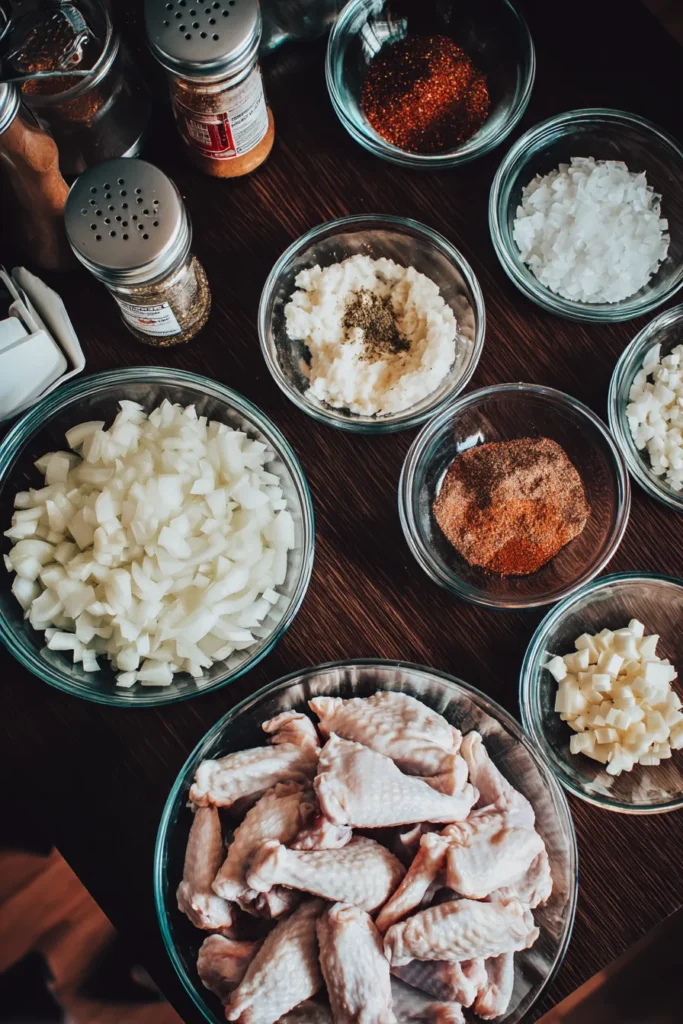
I love being organized. I am a huge fan of mise en place.
It means putting everything in its proper place. Chop and measure your ingredients first. It makes cooking totally stress-free. It keeps your mind focused.
Taking off the tough stems is easy. Grab the thick stem with one hand. Pull the leafy part off with your other hand. Or, just use a small paring knife.
Next, stack the leaves. Roll them up tight. Like a thick cigar.
Take your chef’s knife. Slice the roll into thick ribbons. Cut those ribbons one more time. Now you have perfect bite-sized pieces.
Recipe Timing Breakdown
| Phase | Time | Notes |
| Prep Time | 20 minutes | Wash and chop everything before starting. |
| Cook Time | 2 hours 15 minutes | Low and slow is the secret. |
| Total Time | 2 hours 35 minutes | Absolutely worth the wait. |
| Servings | 8 to 10 | Great for feeding a crowd. |
| Difficulty | Medium | The steps are easy, it just takes patience. |
Ingredients You Will Need
| Ingredient | Quantity | Notes |
| Vegetable or canola oil | 2 tbsp | Use a neutral oil for searing the meat. |
| Smoked meat | 2 lbs | Smoked turkey wings are highly recommended. |
| White onion | 1 large | Finely chopped for a smooth, sweet base. |
| Garlic | 4 cloves | Minced or pressed finely. |
| Red pepper flakes | 1 tsp | Adjust slightly for your preferred heat level. |
| Kosher salt & black pepper | To taste | Season carefully because the meat is salty. |
| Chicken stock or broth | 6–8 cups | Low-sodium is best so you control the salt. |
| Hot sauce | 1 tsp | Plus keep extra nearby for serving. |
| Light or dark brown sugar | 1 tbsp | Packed tightly. This balances the bitterness. |
| Apple cider vinegar | 2 tbsp | Adds a bright, necessary acidity. |
| Fresh collard greens | 3 lbs | Cleaned, stems removed, and chopped small. |
Step 1: Sear the Smoked Meat
We have our mise en place ready. Let’s start cooking. We are going to build flavor layer by layer.
Grab a large Dutch oven. Put it on medium-high heat. Pour in your two tablespoons of oil. Wait for it to shimmer nicely.
Swirl it around carefully. Coat the bottom well.
Drop in your smoked turkey wings. Let them sear. Give them about three minutes per side.
Look for a beautiful, golden-brown crust. This caramelization is key. It makes your final broth taste incredible.
Step 2: Build the Flavor Base
Leave the meat right in the pot. Add your finely chopped onions.
Sauté them next to the resting meat. Stir them often so they do not stick.
Give it four or five minutes. The onions will get very soft. They will look translucent.
Now, add the minced garlic. Toss in the red pepper flakes, salt, and black pepper.
Pour in six cups of chicken stock immediately. Add your teaspoon of hot sauce. Give it all a really good stir.
Step 3: Create the Pot Likker
Turn your stove heat down. Medium-low is perfect. Put a tight-fitting lid on the pot.
Walk away. Let it simmer undisturbed for one whole hour.
This simmering phase is vital. The smoky flavor leaves the meat. It deeply infuses the liquid. Your simple stock transforms into savory pot likker.
After an hour, check the meat. It should be incredibly tender. Use tongs to pull the meat out. Put it on a cutting board to cool.
Once it is safe to touch, shred it with a fork. Throw away the bones and skin. Put those shredded meat pieces back into the pot.
Step 4: Braise the Greens
Here is the main event. Add the brown sugar. Pour in the apple cider vinegar. Stir until the sugar dissolves completely.
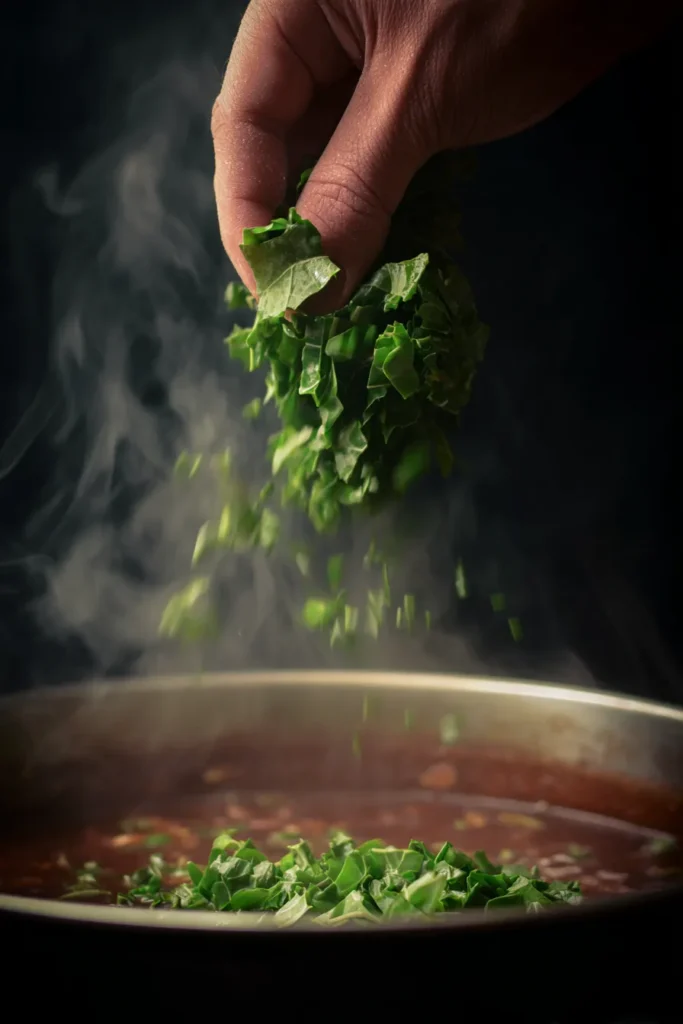
Start adding your chopped greens. Grab big handfuls.
It will look like way too much food. Do not panic. They wilt down significantly when they hit the heat. Just like spinach does.
Step 5: The Final Simmer
Push the greens gently down into the liquid. Stir them up so the meat and greens mix.
Check your broth level. Did it cook down too much earlier? Just add more stock. One or two cups usually does the trick.
Put the lid back on. Keep the heat low and steady.
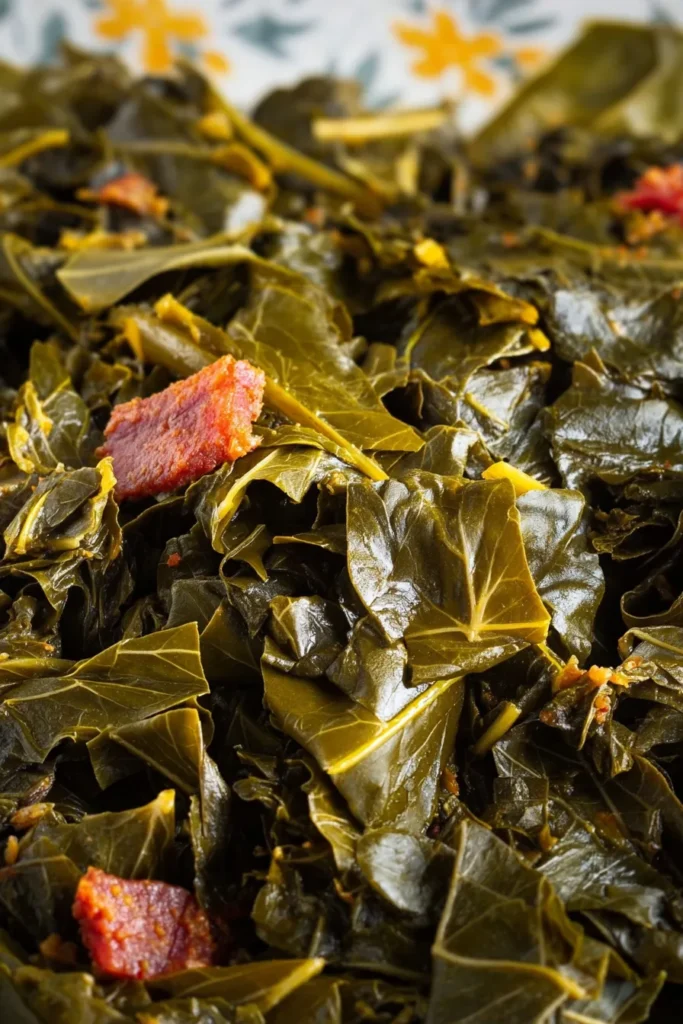
Let the greens braise for another hour. Sometimes I let mine go for an hour and a half. You want the leaves to become supremely tender.
Taste the broth before you serve it. Need more salt? Add a pinch. Want more spice? Splash in some extra hot sauce.
How to Serve Your Greens
You did it. The kitchen smells amazing right now. Let’s dish it up.
Serving this correctly matters. You simply must have cornbread on the side.
Cornbread is the perfect tool for soaking up the broth. Tearing off a piece and dipping it is mandatory.
These greens go with everything. Macaroni and cheese. Candied yams. Big holiday dinners. Or just a quiet, cozy weeknight meal.
Proper Storage and Reheating
The good news? This tastes even better the next day.
The flavors rest. They deepen in the refrigerator overnight.
Let your leftovers cool to room temperature. Transfer the greens and the broth into an airtight container. They stay fresh in the fridge for up to four days.
Want to reheat them? Pour a portion into a small pot. Warm it on the stove over low heat. A microwave works great for a quick lunch, too.
Freezing for Later
Freezing leftovers is incredibly easy. Cool the greens down completely first.
Ladle the greens and the liquid into plastic freezer bags.
Squeeze the air out. Seal it tight. Lay the bags flat in the freezer. This saves a lot of space. They maintain their quality for four months.
Ready to eat? Put the frozen bag in the fridge the night before. Let it thaw slowly. Heat it gently on the stove the next day.
Frequently Asked Questions
Can I use pre-washed bagged greens to save time?
- Yes, you certainly can.
- It saves a lot of prep time.
- Bagged greens are already chopped for you.
- But please, give them one extra rinse anyway. Just to be safe. Keep in mind, fresh bundles usually have a slightly better texture.
What if my greens taste too bitter after cooking?
- Bitterness means they probably need more time.
- Keep cooking them until they get very soft.
- Still slightly bitter? Add a tiny pinch of sugar. A small splash of extra vinegar helps balance it beautifully.
Can I make this recipe completely vegetarian?
- Yes, you easily can.
- Skip the smoked meat entirely.
- Use a rich vegetable broth instead of chicken stock.
- Add a teaspoon of smoked paprika. Or use a dash of liquid smoke. This replaces that missing smoky depth.
Why do I need both sugar and vinegar in the pot?
- It is all about flavor balance.
- The vinegar is bright. It cuts right through the rich flavors.
- The brown sugar calms down the natural bitterness. Together, they make the broth taste incredibly complex.
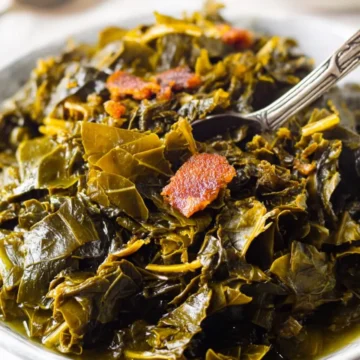
Classic Southern Collard Greens
Ingredients
- 2 tbsp vegetable or canola oil
- 2 lbs smoked turkey wings
- 1 large white onion finely chopped
- 4 cloves garlic minced or pressed finely
- 1 tsp red pepper flakes
- kosher salt & black pepper to taste
- 6-8 cups chicken stock or broth low-sodium recommended
- 1 tsp hot sauce plus extra for serving
- 1 tbsp brown sugar packed tightly
- 2 tbsp apple cider vinegar
- 3 lbs fresh collard greens cleaned, stems removed, chopped
Instructions
- Heat oil in a large Dutch oven over medium-high heat. Sear smoked turkey wings for 3 minutes per side until golden-brown.
- Add onions to the pot and sauté for 4-5 minutes until translucent. Add garlic, red pepper flakes, salt, and pepper. Pour in 6 cups of chicken stock and hot sauce; stir well.
- Reduce heat to medium-low, cover, and simmer for 1 hour. Remove meat, shred with a fork (discarding bones and skin), and return the meat to the pot.
- Stir in the brown sugar and apple cider vinegar until sugar dissolves. Add the chopped greens in batches, allowing them to wilt into the broth.
- Ensure greens are submerged (add more stock if needed). Cover and simmer on low for another 1 to 1.5 hours until greens are tender. Adjust seasoning with salt or hot sauce before serving.