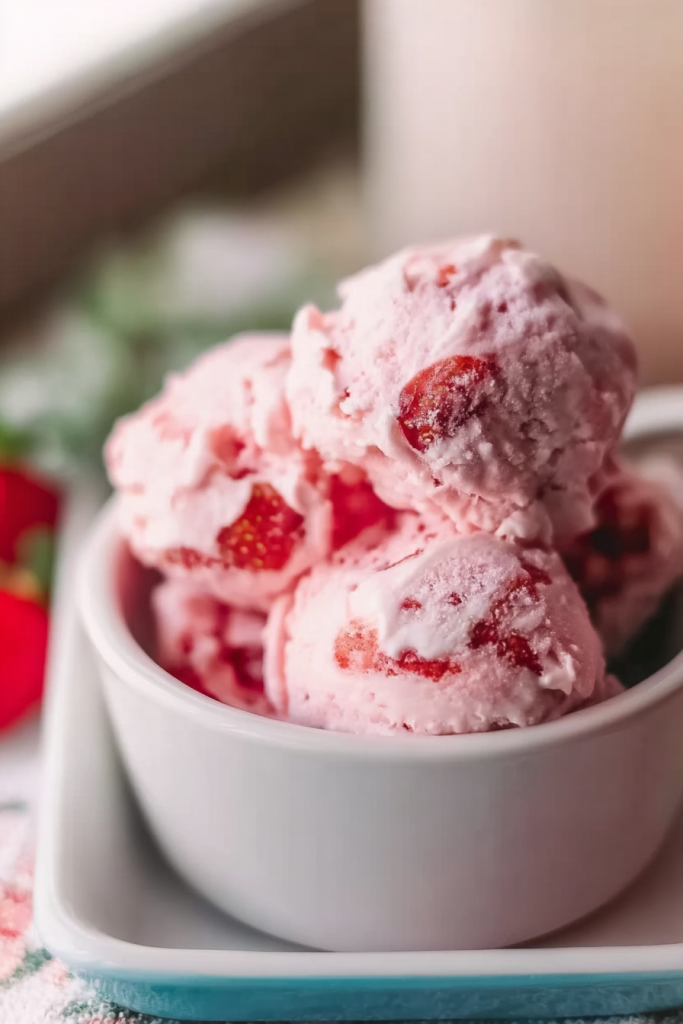
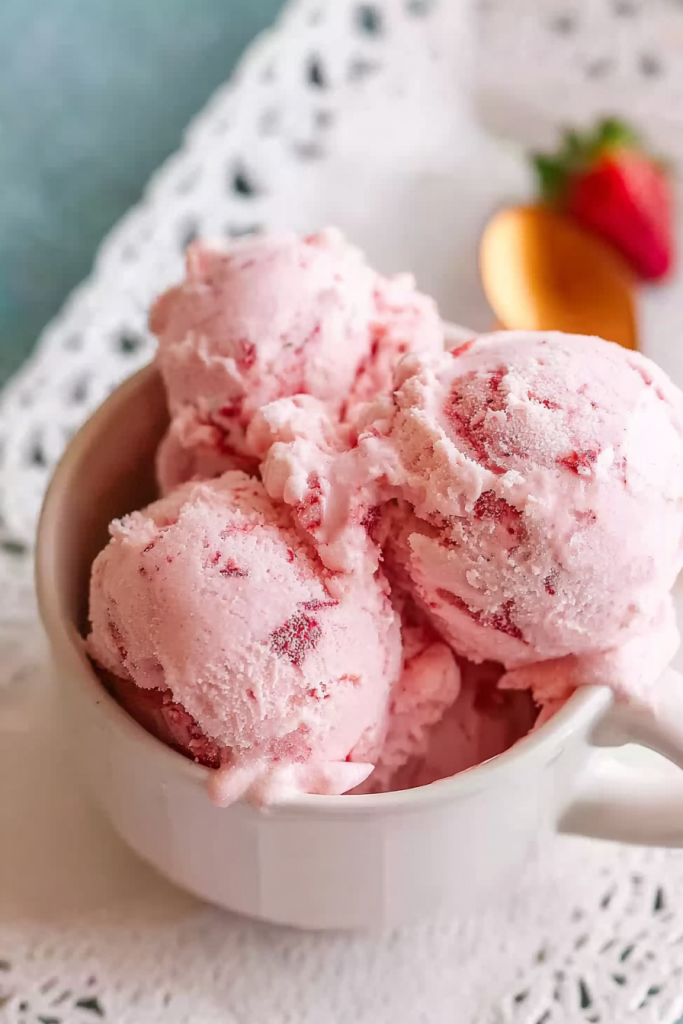
Fresh strawberries. Heavy cream. A little bit of magic. That’s all it takes to make the creamiest strawberry ice cream you’ve ever tasted.
Making Ice Cream from Scratch Changed Everything for Me
Look, I’ll be honest with you.
There’s something about making ice cream at home that just hits different. It’s part nostalgia, part “wow I actually made this myself” excitement.
My ice cream obsession started on a ridiculously hot June day. I was standing in my kitchen, sweating through my shirt, craving something cold and sweet.
Store-bought ice cream? Meh. Not cutting it anymore.
So I grabbed some strawberries from the farmer’s market down the street. Figured I’d give homemade ice cream a shot.
And holy cow.
The result was so much better than anything I’d picked up from the grocery store freezer aisle.
That gorgeous pink color? All natural. No weird artificial stuff. Just real strawberries doing their thing.
Here’s what I love about this recipe.
It’s simple. Like, really simple.
You need an ice cream maker (worth every penny, trust me). And a handful of ingredients you probably already have.
I’ve made this for:
- Fourth of July barbecues
- My niece’s birthday party
- Random Tuesday nights when I needed something special
Every single time? People ask for the recipe.
The texture is perfect. Creamy but not heavy. Light but not icy. And that strawberry flavor? It’s intense without being too sweet.
Here’s Why This Recipe Actually Works
Most people don’t know this, but the secret is in how you treat the strawberries.
We’re going to macerate them. Fancy word, simple concept.
Basically, you mix the berries with sugar and honey. Then you wait. The sugar pulls out all those natural juices and the flavor gets way more intense.
The lemon juice seems random, right?
But here’s the thing. That little bit of acid brightens everything. Makes the strawberries taste more like… well, strawberries. Plus it keeps that pretty pink color from fading.
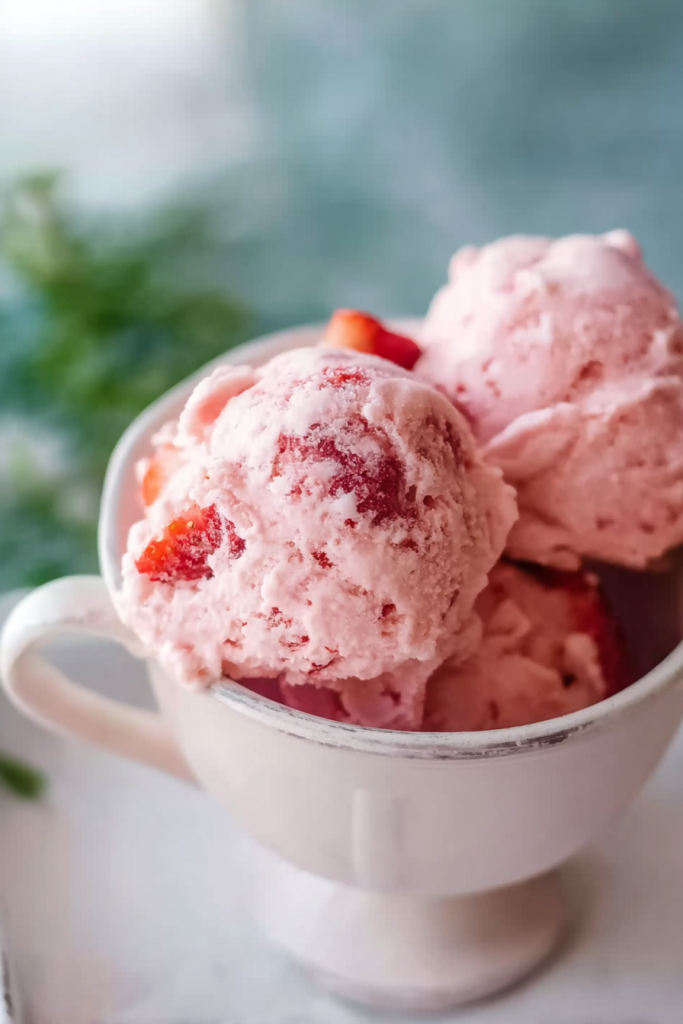
Now, I like leaving little strawberry chunks in my ice cream. Gives it texture. Proves you’re eating real fruit.
But maybe you’re a smooth ice cream person. That’s cool too. Just blend it up. Both ways taste amazing.
The cream situation is important here.
Heavy cream + half-and-half = that rich, dreamy texture we’re after.
And get this. No eggs. No cooking custard. No standing over the stove stirring for twenty minutes.
Just mix. Churn. Done.
I served this at my sister’s anniversary dinner last month. She literally hugged me. Said it was better than the fancy Italian place downtown.
Kids go crazy for this recipe too. My nephew loves smashing the strawberries with the potato masher. Makes him feel like a real chef.
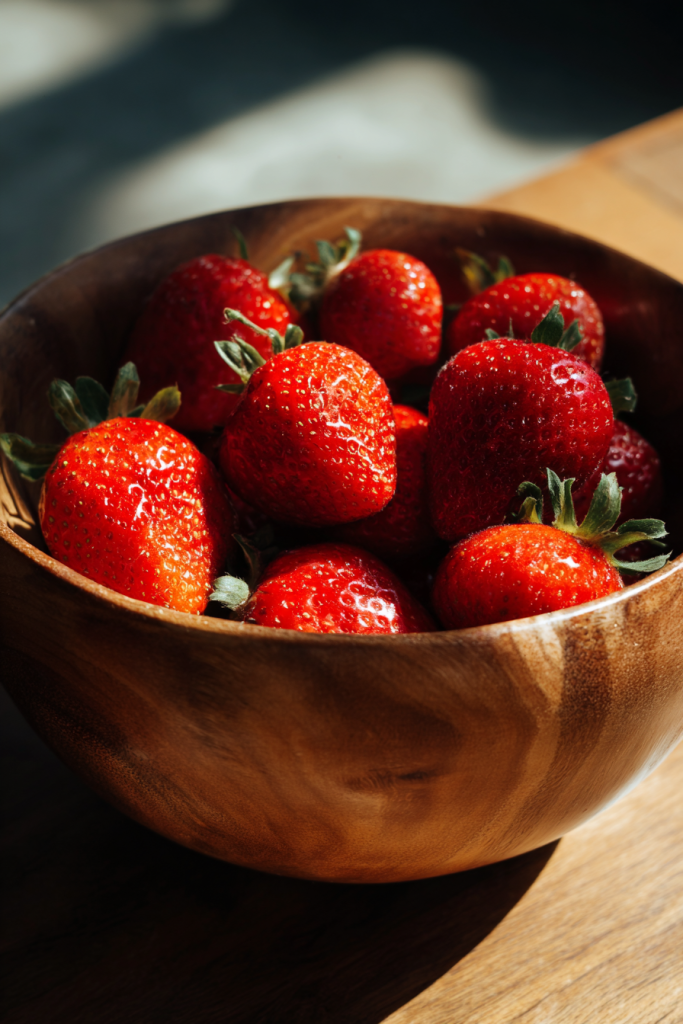
Let’s Talk About Your Strawberries
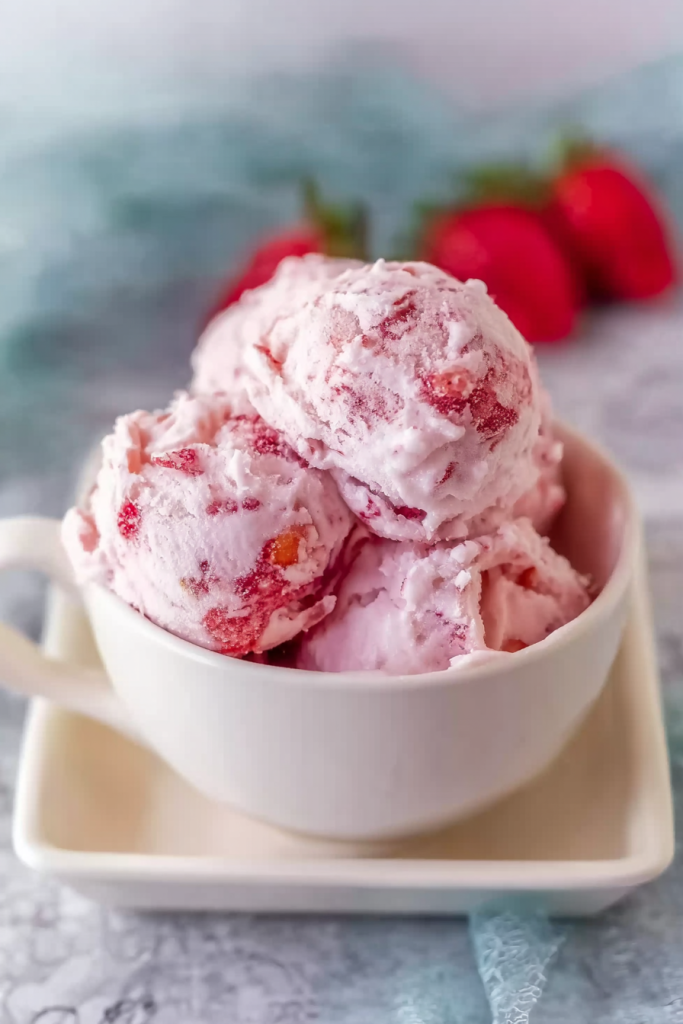
This might sound picky, but your strawberries matter. A lot.
Good strawberries = good ice cream. It’s that simple.
Look for berries that smell sweet. If you can’t smell anything? They probably won’t taste like much either.
Color matters too. You want deep red all the way through. Not those ones that are white near the top.
Here’s something cool though.
Slightly overripe strawberries? Actually perfect for this recipe. Their sugars are fully developed. More flavor.
I always make this between April and July. That’s when strawberries are at their peak. Better taste, better price.
I’m telling you right now.
This homemade version beats any premium store brand. And it’s not even close.
Ready to make some? Let’s do this.
What You Need (And Why Each Ingredient Matters)
Every single ingredient here has a job to do. Here’s the full lineup:
| Ingredient | Quantity | Notes |
|---|---|---|
| Strawberries | 1 1/2 cups | Hull and dice into small pieces |
| Honey | 2 Tbsp | Use pure honey for best flavor |
| Granulated sugar | 1/2 cup | Regular white sugar works perfectly |
| Lemon juice | 1 tsp | Freshly squeezed preferred |
| Heavy whipping cream | 1 cup | Full-fat for creamiest texture |
| Half and half | 1/2 cup | Don’t substitute with milk |
| Vanilla extract | 1 tsp | Pure vanilla recommended |
Recipe Timing:
Prep Time: 10 minutes | Cook Time: 15 minutes | Total Time: 25 minutes
Servings: 4 | Difficulty: Easy
Let’s Make This Ice Cream (Step by Step)
Step 1: Get Those Strawberries Ready
Wash your strawberries under cool water. Pull off the green tops.
Now cut them up. I go for quarter-inch pieces. Not too big, not too small.
This size works great because they macerate evenly. And you get nice texture in the final ice cream.
Toss them in a large bowl.
Add the sugar, honey, and lemon juice right on top. Stir everything around until the berries are coated.
Now here’s the part where you practice patience.
Let that bowl sit for 15 to 20 minutes. Just leave it on the counter.
Watch what happens. The strawberries start releasing their juice. The sugar and honey create this amazing syrupy situation.
The berries get softer. The flavors concentrate. It’s basically strawberry magic happening right in your bowl.
Step 2: Mash It Up
Grab your potato masher. Or a fork if you don’t have one.
Start mashing those strawberries. Keep going until there aren’t any big chunks left.
Quick tip: Want it completely smooth? Throw everything in a blender instead. Pulse it a few times until you’re happy with the texture.
Me? I like keeping some texture. Those little bits of real strawberry are what make this special.
Once you’ve mashed everything to your liking, add the heavy cream. Pour in the half-and-half too.
Splash in that vanilla extract.
Stir gently. Just until everything’s combined. Don’t go crazy with the mixing.
And boom. Your ice cream base is ready.
Step 3: Time to Churn
Pour your mixture into the ice cream maker.
Every machine is a little different, so follow whatever instructions yours came with.
Most take about 15 to 20 minutes. You’ll see the mixture start to thicken. It’ll increase in volume too.
How do you know it’s done?
It should look like soft-serve. Smooth texture. Holds its shape a little bit.
Now you’ve got two options.
How to Serve This Beautiful Creation
Option 1: Eat it right now
Scoop it straight from the ice cream maker. It’ll have that soft-serve texture. Creamy and smooth. Honestly? This is my favorite way.
Option 2: Freeze it first
Transfer everything to an airtight container. Stick it in the freezer for 3 to 4 hours.
This gives you traditional ice cream texture. The kind you can scoop into perfect balls.
If you go the freezer route, here’s what you need to know.
Let it sit out for 5 to 10 minutes before you try to scoop it. Homemade ice cream gets pretty hard in the freezer.
That softening time makes everything easier. Your scoop will glide right through.
Storing Your Ice Cream
Got leftovers? (Lucky you.)
Use a container with a tight lid. Press plastic wrap right on the surface before you seal it up.
Keeps in the freezer for up to two weeks. Maybe longer if you’re lucky enough to not eat it all first.
Everything I’ve Learned Making This Recipe a Hundred Times
Tips That Actually Matter
The strawberry selection process is real
Pick berries that are firm but give a little when you squeeze them. Avoid the ones with white tops or green spots.
And seriously. Smell them first.
Good strawberries smell sweet before you even cut into them. No smell? No flavor. That’s just how it works.
Your ice cream maker bowl needs to be COLD
I’m talking 24 hours in the freezer minimum. Sometimes I keep mine in there all the time just to be ready.
Cold bowl = better churning = creamier ice cream.
Stop ice crystals before they start
Here’s a trick I learned the hard way. Press plastic wrap directly onto your ice cream before you put the lid on.
This keeps air away from the surface. Less air = fewer ice crystals = better texture.
Want to get fancy?
Try adding a tablespoon of balsamic vinegar to the strawberry mixture. Sounds weird. Tastes amazing.
The vinegar makes the strawberry flavor pop like crazy.
Or fold in some chocolate chips after churning. Strawberry and chocolate is a combination that never gets old.
The temperature trick
Chill your strawberry mixture in the fridge for an hour before you churn it. Cold ingredients churn faster and come out smoother.
Questions People Always Ask Me
Can I use frozen strawberries?
Yeah, you can. Thaw them completely first. Drain off the extra liquid.
Fresh is better, not gonna lie. But frozen works when you’re desperate for ice cream in January.
Why does my ice cream turn into a brick in the freezer?
Homemade ice cream doesn’t have all those stabilizers and chemicals that store-bought stuff has.
That’s actually a good thing. But it means your ice cream freezes harder.
Solution? Let it sit out for 5 to 10 minutes before serving. Problem solved.
What if I don’t have an ice cream maker?
You can still make it. The texture just won’t be as smooth.
Pour everything into a shallow pan. Freeze it. Then come back every 30 minutes and stir it really well. Do this for 3 to 4 hours.
More work? Yes. Still delicious? Also yes.
How long will this keep?
Two weeks in an airtight container. But real talk? The texture is best in the first week.
After that you might notice some ice crystals forming.
Can I cut down on the sugar?
You can, but be careful. Sugar doesn’t just make things sweet.
It also keeps ice cream from freezing into a solid block. Use less than 1/3 cup and you’re gonna have problems.
Trust me on this one.
I don’t have half-and-half. Now what?
Mix equal parts whole milk and heavy cream. That’ll work.
But don’t use just milk. You need that fat for the creamy texture. Milk alone will give you icy, sad ice cream.
The Bottom Line
This strawberry ice cream recipe has become my summer staple.
I make it when I’m happy. When I’m stressed. When friends come over. When I just want something cold and delicious.
Is it more work than buying a pint from the store?
Sure.
But the taste? The satisfaction of making something this good yourself?
Totally worth it.
Go make some ice cream. Your future self will thank you.

Homemade Strawberry Ice Cream
Ingredients
- 1 1/2 cups strawberries hulled and diced into small pieces
- 2 Tbsp honey pure honey for best flavor
- 1/2 cup granulated sugar
- 1 tsp lemon juice freshly squeezed preferred
- 1 cup heavy whipping cream full-fat for creamiest texture
- 1/2 cup half and half
- 1 tsp vanilla extract pure vanilla recommended
Instructions
- Prepare the strawberries: Wash strawberries under cool water and remove green tops. Cut into quarter-inch pieces and place in a large bowl.
- Macerate the berries: Add sugar, honey, and lemon juice to the strawberries. Stir until berries are coated. Let sit for 15-20 minutes at room temperature until berries release their juices and create a syrup.
- Mash the mixture: Use a potato masher or fork to mash the strawberries until no large chunks remain. For completely smooth ice cream, blend in a blender instead.
- Combine ingredients: Add heavy cream, half-and-half, and vanilla extract to the mashed strawberries. Stir gently until just combined.
- Churn the ice cream: Pour mixture into ice cream maker and churn according to manufacturer’s instructions, about 15-20 minutes, until it reaches soft-serve consistency.
- Serve or freeze: Enjoy immediately as soft-serve, or transfer to an airtight container and freeze for 3-4 hours for traditional ice cream texture. Let sit at room temperature for 5-10 minutes before scooping if frozen.
Notes
Ice Cream Maker Bowl: Freeze the bowl for at least 24 hours before churning for best results.
Storage: Store in an airtight container with plastic wrap pressed directly on the surface. Keeps for up to 2 weeks in the freezer, best texture within the first week.
No Ice Cream Maker: Pour mixture into a shallow pan and freeze. Stir vigorously every 30 minutes for 3-4 hours.
Variations: Add 1 tablespoon balsamic vinegar to intensify strawberry flavor, or fold in chocolate chips after churning.
Sugar Substitution: Don’t reduce sugar below 1/3 cup as it prevents ice cream from freezing too hard.
Half-and-Half Substitute: Mix equal parts whole milk and heavy cream if you don’t have half-and-half.Claude is AI and can make mistakes. Please double-check responses.